


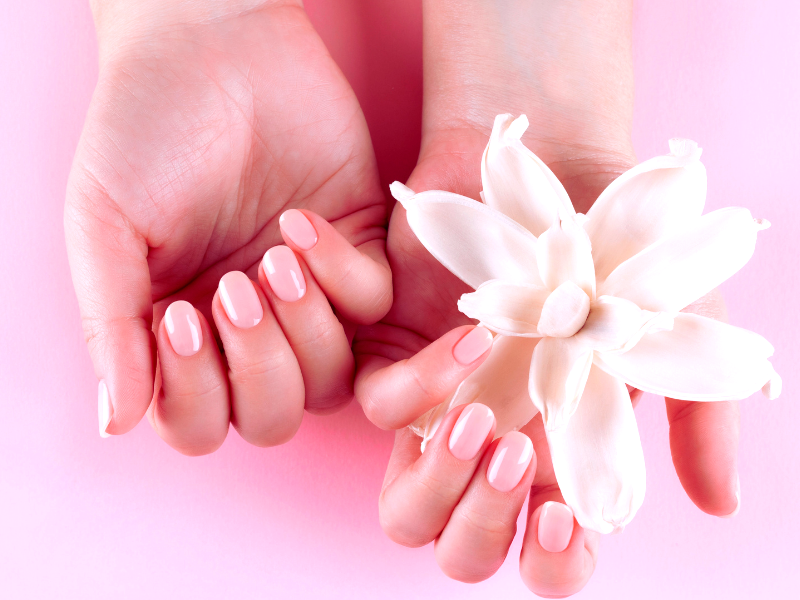
Whether you’re considering a DIY manicure to save time and money or simply for the joy of creativity, you might be asking: are nail extension kits safe to use at home? With the proper precautions and usage, the answer is yes. However, there are crucial safety aspects to consider, such as using UV/LED lamps correctly, understanding the chemical components involved, and protecting your natural nails from damage. In this article, we’ll navigate through these safety waters, offering insight and guidance to ensure your at-home nail enhancement experience is not only satisfying but also secure.
Key Takeaways
- Gel nail extensions can be applied safely at home, offering a more convenient and less hazardous alternative to traditional acrylic nails, with UV/LED lamps and protective measures like gloves or sunscreen being important for safe UV exposure.
- Chemical safety is crucial when using gel nail extensions; avoiding direct skin contact with uncured products and using protective gloves can prevent allergic reactions, while correct application prevents damage to natural nails.
- High-quality nail extension kits like Aprés Gel X and Kiara Sky Gelly Tips provide a natural finish and longevity, yet recognizing when to consult a professional nail technician is key for advanced designs or special nail conditions.
Nail Extension Kits
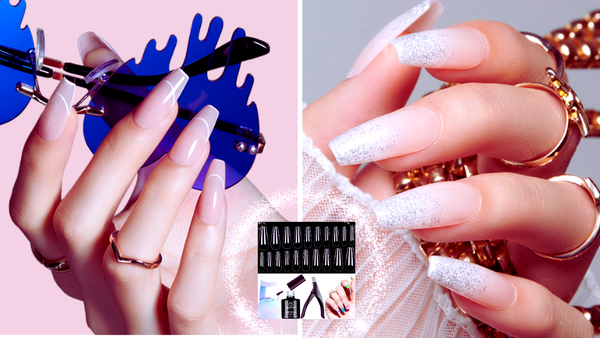
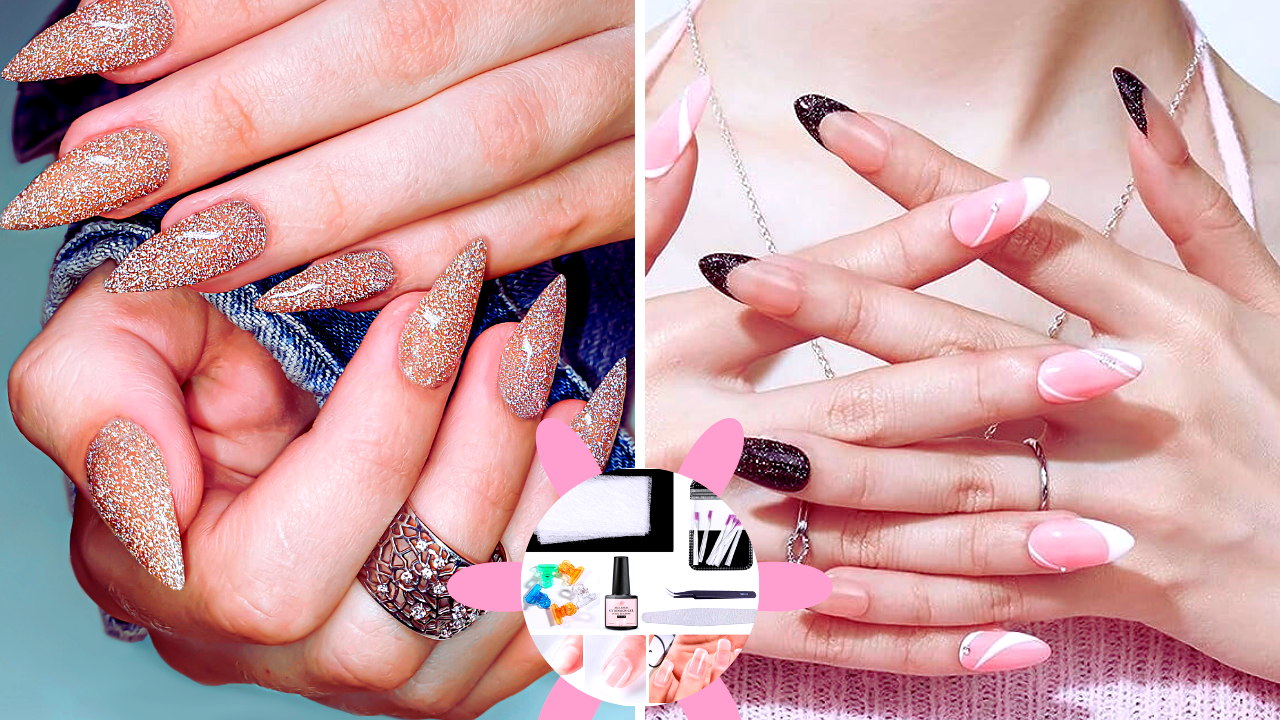
Nail extension kits are like a secret weapon in your beauty arsenal, offering various styles to cater to different nail shapes and preferences. Whether you have flatter nails or desire a sculpted appearance, there’s a nail extension kit for you. One of the popular nail enhancement options is the Aprés Gel X extensions. They offer a balance between the ease of press-on nails and the durability found in dip nails, acrylics, or hard gel systems.
Excitingly, gel nail extensions can be easily applied at home. This means you can achieve salon-quality gel nails without stepping out of your house, broadening the possibilities for DIY beauty enthusiasts. So, no more waiting for your turn in nail salons or worrying about the potential hazards of acrylic nails. While it all sounds quite exciting, you might be wondering about the safety profile of home gel extensions. Let’s delve into that further.
Safety Profile of Home Gel Extensions
When we talk about the safety of home gel extensions, there are three main facets we need to consider—using UV/LED lamps correctly, ensuring chemical safety, and protecting your natural nails from potential damage.
Proper Use of UV/LED Lamps
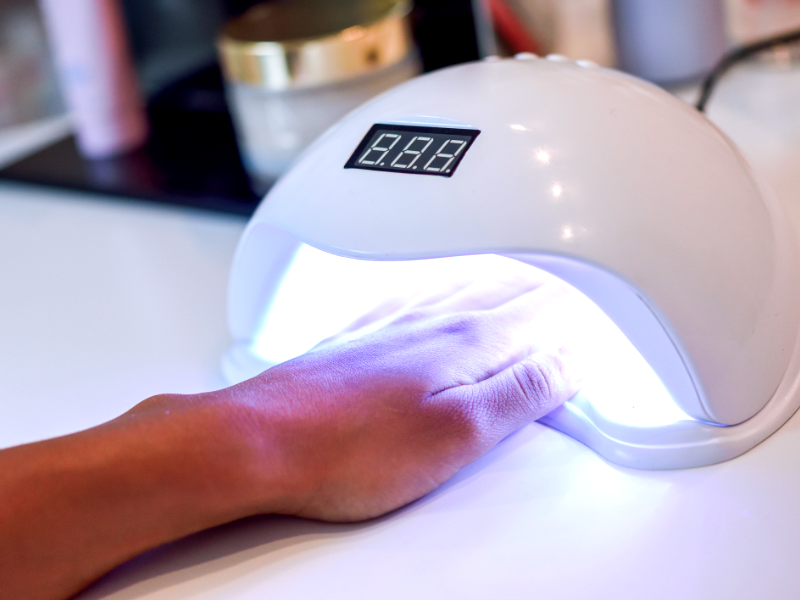
One of the key elements in applying gel nail extensions is curing the gel polish using UV or LED lamps. While UV lamps are commonly used, they can pose a risk of overexposure due to the strong UV light they emit. That’s where LED lamps come into the picture. They are considered safer for curing gel nails as they emit less UV radiation and cure the polish quicker, reducing exposure time.
However, both UV and LED lamps emit ultraviolet radiation, predominantly in the form of UVA. While a study suggests that biweekly exposure to UVA from gel manicures is not likely to significantly increase the risk of skin cancer, it’s still recommended to limit hand exposure to UV light during the curing process. You can do this by using UV protective gloves or applying sunscreen on your hands.
Keep in mind that matching the LED lamp with the right gel products is necessary for proper curing and to prevent overexposure.
Chemical Safety Measures
The second aspect of safety revolves around the chemical components of nail extensions. Gel nail extensions differ from acrylics in their chemical makeup. Unlike acrylics, they do not contain harsh chemicals such as methyl methacrylate and toluene. This makes gel nail extensions a safer choice for home use compared to acrylics.
Yet, with gel nail extensions, it’s crucial to steer clear of direct contact with uncured products. Repeated skin contact can lead to allergic reactions. Allergies to chemicals in nail products, such as HEMA, can develop over time from overexposure, starting as irritation and redness. To protect yourself against this, consider using nitrile gloves with adequate thickness and replace them after each use.
Preventing Damage to Natural Nails
The third and final aspect of safety is all about protecting your natural nails from potential damage. Following correct application and removal techniques is vital for this. This means avoiding harmful practices such as soaking nails in acetone baths, using electric nail drills without experience, and peeling off gel polish without acetone.
If you have sensitive nails or skin conditions, it’s recommended to seek advice from a nail technician before attempting at-home gel manicure applications. Apart from that, maintaining a clean and dust-free workspace is vital to prevent allergies and irritations caused by uncured product dust filings. Having covered the safety profile, we’ll now transition into discussing the necessary tools for a safe and efficient application of nail extensions.
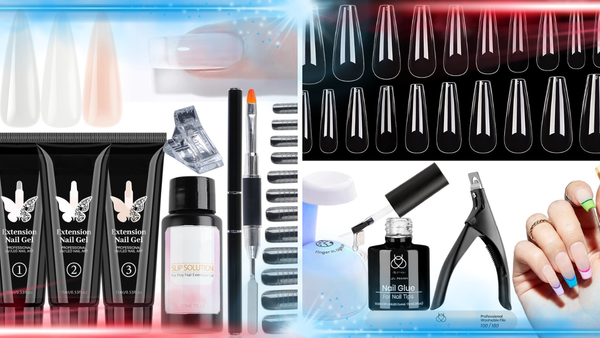
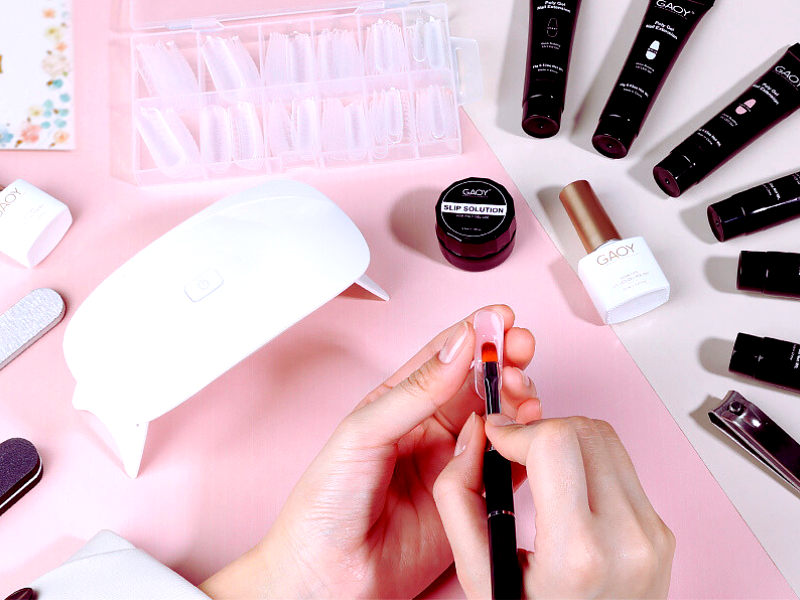
Essential Tools for Safe Application
An LED or UV lamp is indispensable for curing gel nails, with LED lamps being the preferred choice due to quicker curing times and reduced UV exposure. For shaping and smoothing nails, glass or crystal nail files over emery boards are recommended. You’ll also need lint-free cotton pads to prevent fibers from contaminating the gel application process. To safeguard your skin from UV radiation during the curing of gel nail extensions, consider applying broad-spectrum sunscreen on your hands or wearing fingerless gloves. A comprehensive gel nail extension kit should include all these tools and solutions, contributing to a safe and effective at-home nail extension application. Wondering how to apply nail extensions? Let’s walk through the process.
Step-by-Step Guide to Applying Nail Extensions
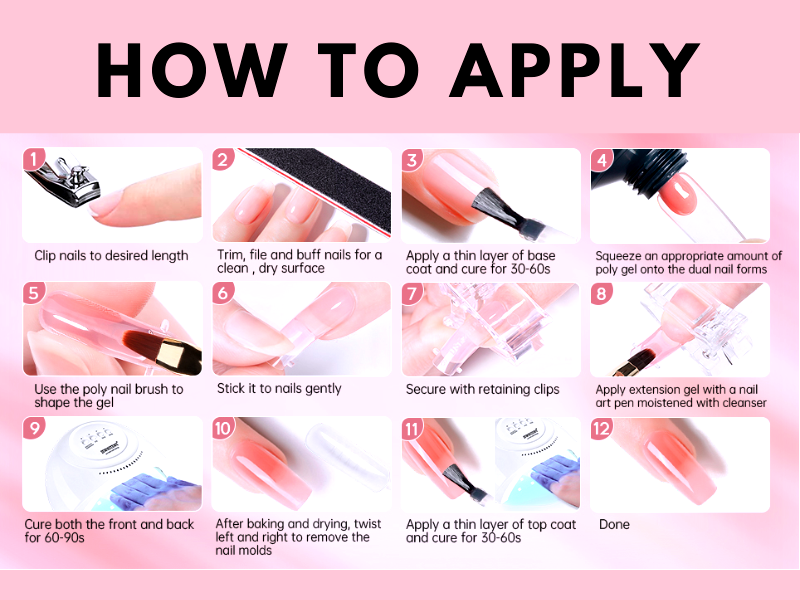
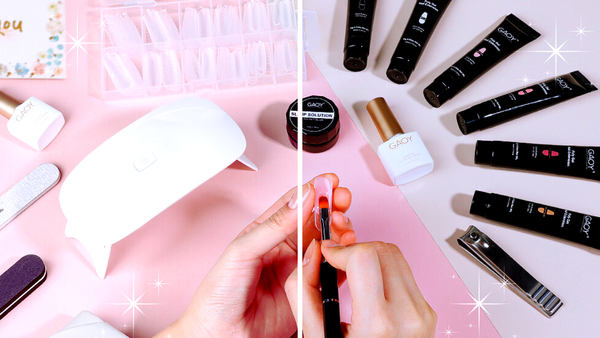
Applying nail extensions at home might seem like a daunting task, but with the right guide, it can be quite straightforward. The first step is preparing your nail beds. Wipe them down with rubbing alcohol to remove excess oil, buff them to create a suitable surface for adhesion, and ensure everything is completely removed from the nails.
Once your nails are prepped, move on to attaching the nail extensions. Select the right sizes from the kit, ensuring the extensions line up with the edges of your nail beds. Remember, some length is necessary for your natural nails to adhere more securely. Next, a nail primer is applied to prevent issues with bonding and create a flawless application by preventing air bubbles.
Once the extensions are applied, it’s time to cure them properly under a ready light. This helps prevent displacement of the gel and ensures the extensions are long-lasting. After curing, shape and file them to mimic your natural nails. Before you begin, it’s crucial to understand how to identify high-quality nail extension kits.
Recognizing Quality in Nail Extension Kits
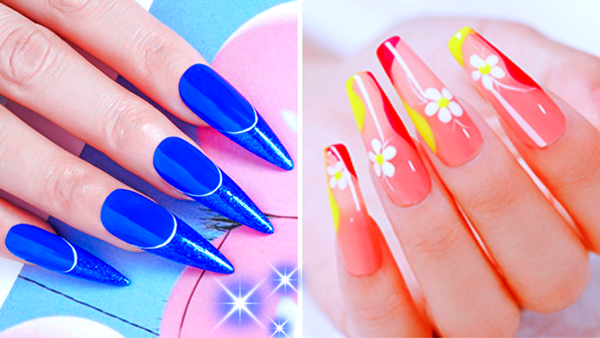
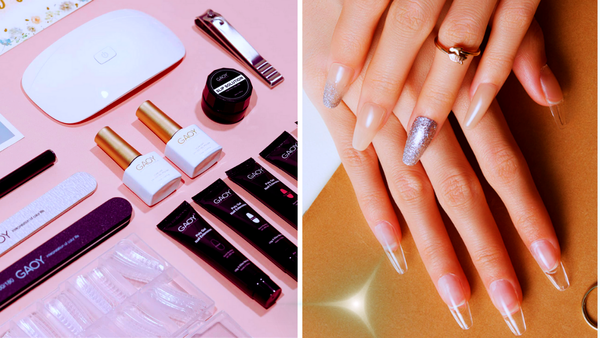
A high-quality nail extension kit should be lightweight, offer a natural-looking finish, and be safe and healthier than alternatives like acrylic nails. The Gel-X Nail Extension Kit is a perfect example of an easy-to-use and professional-grade nail extension system, that allows you to create your gel nails. It provides high-quality results and is suitable for both beginners and experienced nail technicians. It includes half sizes for better fit and has a thinner base and thicker free edge to balance natural looks with durability.
When it comes to brands, established ones like Kiara Sky Gelly Tips and Apres Gel X are often recommended by manicurists for their quality and user-friendly products. Premium nail extension kits like the S&L Gel Nail Polish Starter Kit offer comprehensive toolsets to aid in a safe and effective application, making them a great gel beginner starter kit choice.
You may encounter some obstacles as you begin using your nail extension kit. Fear not, we’re here to help!
Tackling Common Home Gel Extension Hurdles
When applying gel nail extensions at home, you might face a few common hurdles. But with the right approach, these can be easily tackled. One such hurdle is choosing the right nail extension tips. It’s crucial to match the curvature and size of your natural nail to avoid lifting and ensure a proper fit.
Another common hurdle is using the right amount of adhesion gel. The correct viscosity is key to preventing the lifting of the gel after curing. Also, applying the correct level of pressure during tip application is important for good adhesion and to avoid issues with the finished nail. If you experience persistent lifting or other application issues, consider seeking professional assistance.
On the topic of professional help, let’s explore situations where it might be necessary to consult a nail tech at a nail salon, especially when dealing with nail plate issues.
Professional Insights: When to Consult a Nail Technician
While nail extension kits make DIY nail enhancements a reality, there are times when professional insights can be invaluable. For instance, if the desired results require advanced techniques or specialized nail art that are beyond the typical capabilities of DIY methods, it’s a good idea to consult a nail technician. Nail technicians are trained to handle intricate designs that can be difficult to replicate at home without professional experience or equipment. Some situations where it’s best to consult a nail technician include:
- Creating intricate nail designs
- Applying nail extensions with complex shapes or designs
- Repairing damaged or broken nails
- Achieving a specific nail shape or length requires advanced techniques
By seeking professional help in these situations, you can ensure that your nails look their best and that you achieve the desired results.
If you’re a beginner or have sensitive or special nail conditions, you might find it safer and more satisfying to seek the help of a nail technician. Remember, DIY nail extensions can be a fun and creative endeavor, but it’s important to recognize when it’s time to consult a professional for the best results and care. Once your nail extensions are in place, knowing how to maintain them is crucial.
Maintenance and Aftercare of Nail Extensions
Maintaining your nail extensions is just as important as applying them correctly. One of the key aftercare products you should have is cuticle oil. It helps nourish and moisturize the nails and surrounding skin, promoting healthy nail growth. Regular application of cuticle oil also supports the integrity of nail extensions without causing damage.
Apart from this, it’s crucial to prevent your gel nail extensions from becoming overly grown out. Regular maintenance can reduce the risk of damage to your natural nails. Wondering about the lifespan of your nail extensions? Let’s establish some realistic expectations.
Longevity and Wear: Realistic Expectations
The longevity of your gel nail extensions can vary depending on several factors. Here are some general guidelines:
- Gel-X nails, a type of soft gel extension, can last over four weeks with proper application and care.
- Typically, hard gel nail extensions last about two weeks.
- Soft gel tips can last between two to four weeks.
- At-home gel nail extensions usually last 2-3 weeks before peeling or chipping.
However, the duration can significantly vary depending on your frequency and type of hand-related activities, such as household cleaning and opening packages. Taking care of your nails, avoiding frequent exposure to water, using high-quality gel polish, and curing each coat properly can further increase the endurance of your at-home gel nails. Also, using the Gel-X Prep, designed to enhance adhesion, plays a crucial role in ensuring the longevity of Gel-X extensions.
With longevity covered, we’ll now demystify the process of removing nail extensions.
Removal Process Demystified
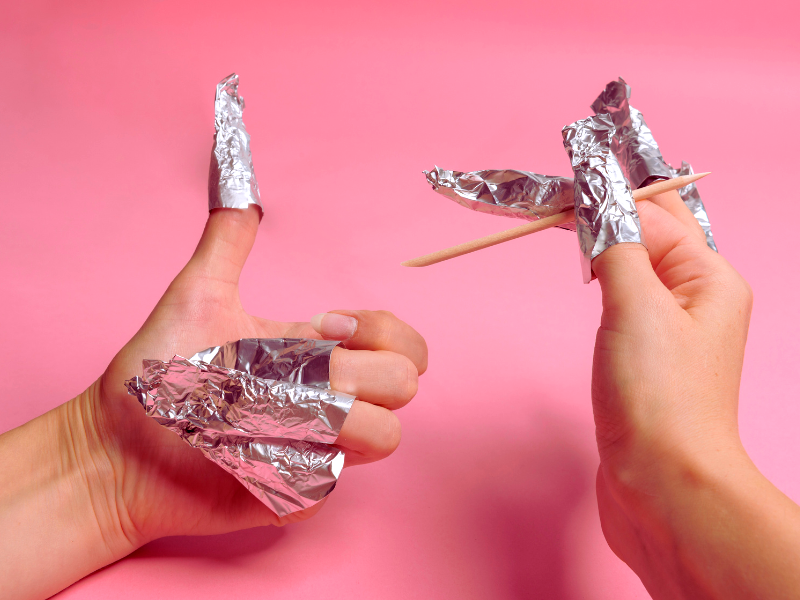
Removing gel nails at home can seem intimidating, but it can be done safely and effectively with the right process and tools. To begin with, you’ll need a nail file, cuticle pusher, cotton balls, acetone, aluminum foil, and cuticle oil
If you're unsure about the correct removal technique, it’s always a good idea to seek professional guidance before you start. Also, always work in a well-ventilated area and preferably do one hand at a time.
Alternatives to Traditional Nail Extensions
While gel nail extensions are a fantastic option, there are alternatives you might want to consider. Dip powder nails and Polygel are available options for DIY nail extensions. Dip powders use a chemical called cyanoacrylate, while Polygel is a hybrid between acrylic and gel. Note that while these options offer their unique advantages, they also come with their own safety and maintenance considerations.
Another alternative to regular nail polish is using long-lasting, salon-quality polishes like Olive & June Clean Polish. This product provides a salon-quality, long-lasting manicure that is vegan, cruelty-free and does not require UV light for application. This makes it a safer alternative for nail enhancements.
Summary
We’ve covered a lot of ground in this blog post, from understanding nail extension kits and their safety to applying, maintaining, and removing them. We’ve set realistic expectations for longevity and wear and even explored some alternatives. The world of DIY beauty is vast, and nail extension kits offer an exciting opportunity to explore your creativity and style. Remember, safety and proper technique are key, and when in doubt, don’t hesitate to consult a professional. Here’s to beautiful, salon-quality nails right at home!
FAQs
Are gel nail extensions safe to use at home?
Yes, gel nail extensions are safe for home use as long as you follow the correct application and removal techniques and use the right safety measures. Just make sure to protect your skin during curing and application.
How long do gel nail extensions last?
Gel nail extensions can last for about two weeks for hard gel, and over four weeks for soft gel tips like Gel-X nails with proper care and application.
Are there any alternatives to traditional nail extensions?
Yes, you can try alternatives to traditional nail extensions such as dip powder nails, Polygel, and long-lasting, salon-quality polishes like Olive & June Clean Polish. Give them a try!