


Key Takeaways:
- Customizing your nail polish rack can be a fun and practical way to organize your nail polish collection.
- DIY nail polish racks can be made from various materials and tailored to fit your space and style.
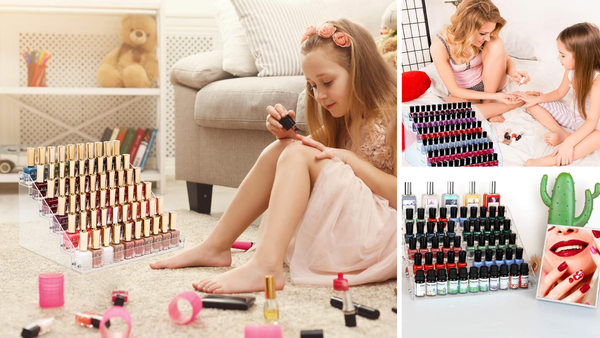
- A customized nail polish rack can enhance the aesthetic of your nail salon or bathroom.
Why Customize Your Nail Polish Rack?
Customizing your nail polish rack is a fantastic way to keep your nail polish collection organized and easily accessible. Whether you have a small collection of nail polishes or a vast array of colors, a customized rack can help you display your nail polish bottles in a way that suits your space and style. Plus, it can be a fun DIY project that adds a personal touch to your nail salon or bathroom.
Many people find that store-bought nail polish racks don't quite fit their needs. They might be too small, too large, or just not the right style. By creating your own DIY nail polish rack, you can ensure that it fits perfectly in your space and matches your decor. Plus, you can customize it to hold as many or as few nail polishes as you need.
Materials for DIY Nail Polish Racks
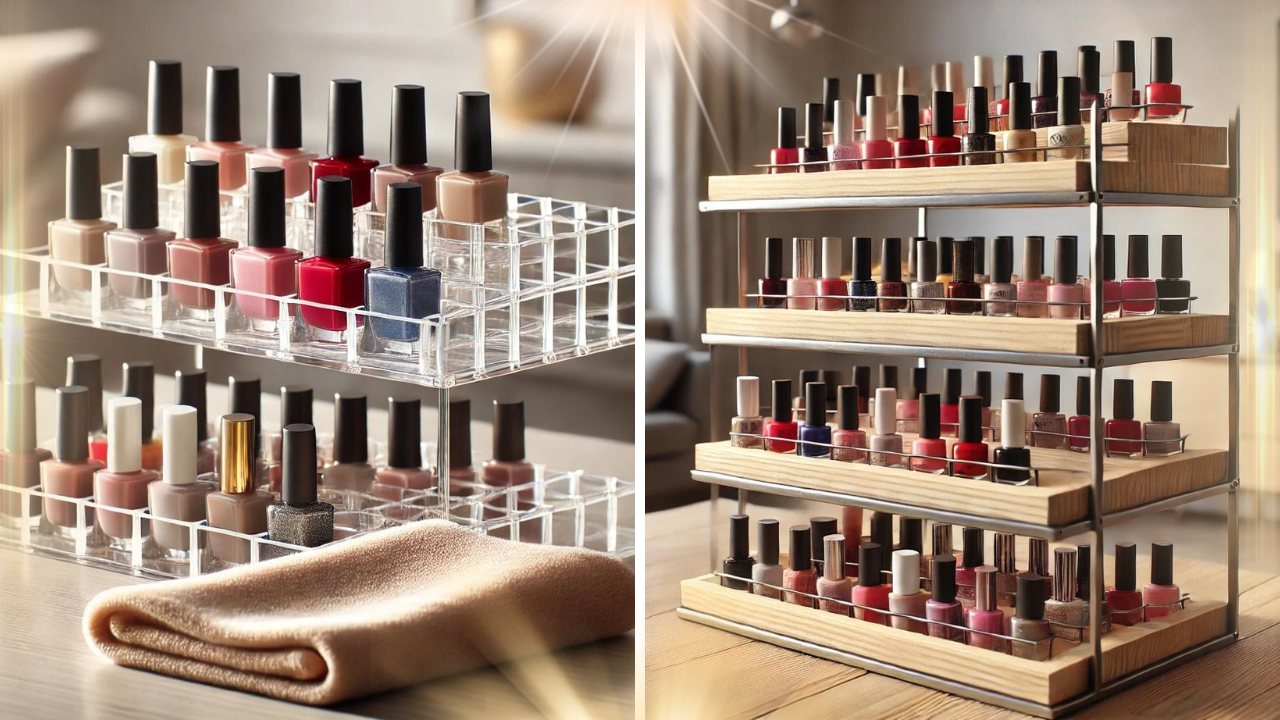
When it comes to creating a DIY nail polish rack, the possibilities are endless. You can use a variety of materials, depending on your budget and the look you're going for. Some popular options include wood, plastic, and metal. Each material has its own advantages and can be used to create a unique and functional nail polish rack.
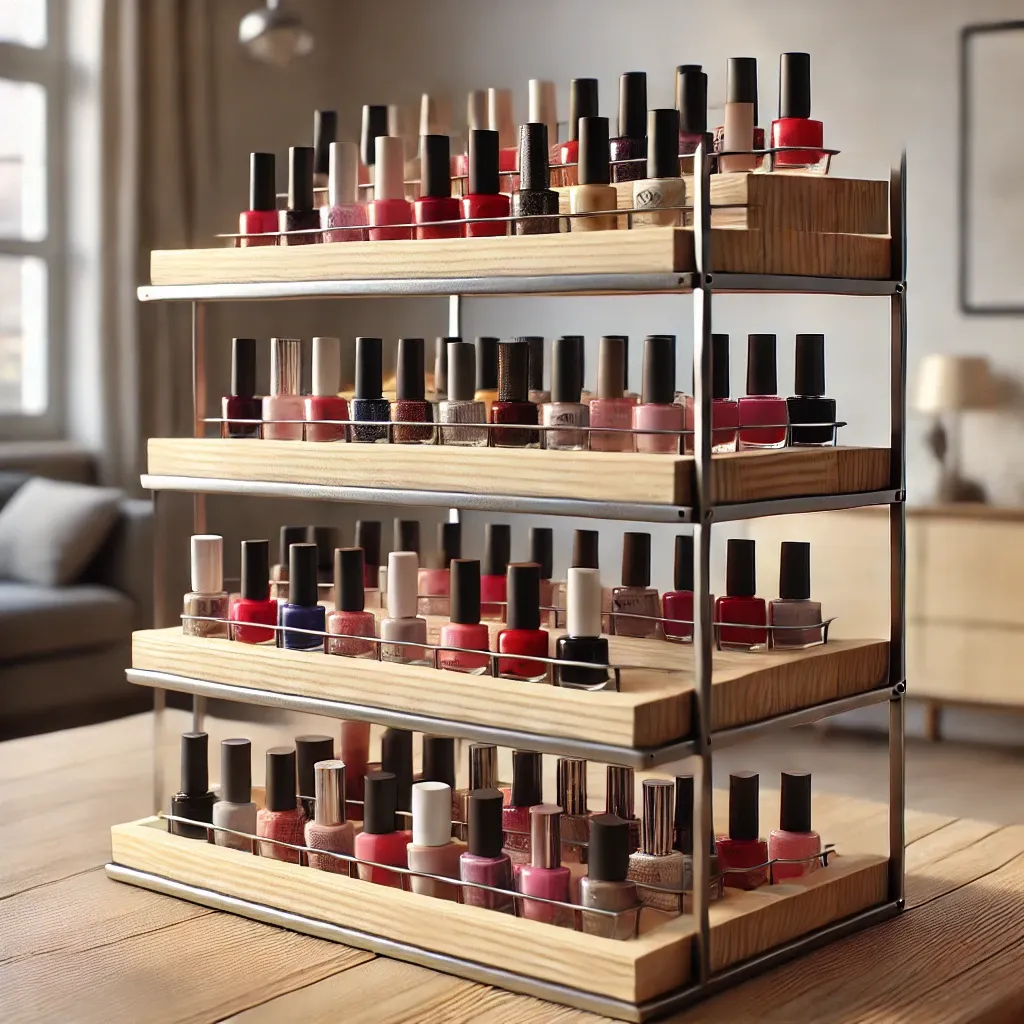
Wood is a popular choice for DIY nail polish racks because it's easy to work with and can be painted or stained to match your decor. You can use reclaimed wood for a rustic look or buy new wood for a more polished finish. Plastic is another great option, especially if you're looking for something lightweight and inexpensive. Metal racks can add a modern touch to your space and are often very durable.
Designing Your Nail Polish Rack
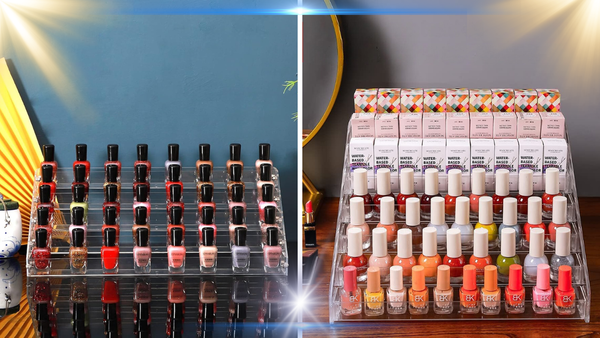
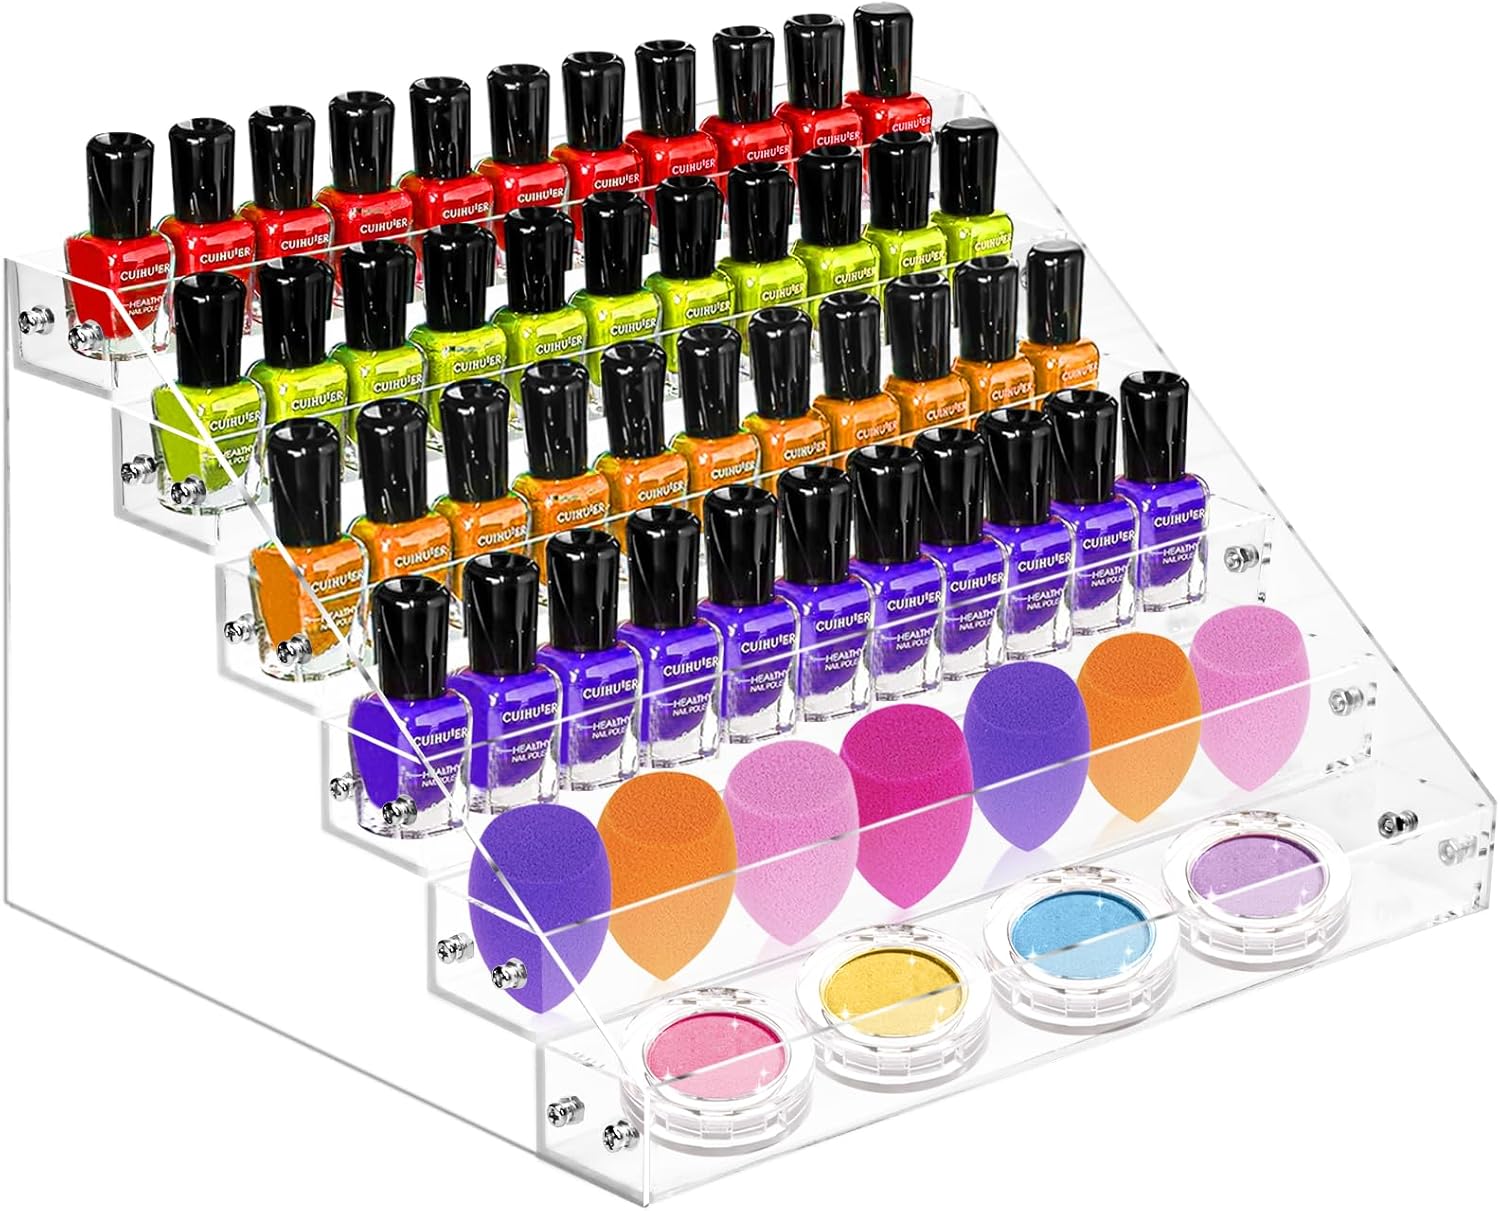
The design of your nail polish rack is entirely up to you. You can create a simple shelf to hold your nail polishes, or you can get creative with a more intricate design. Think about how many nail polish bottles you have and how you want to display them. Do you want them all in a single row, or do you prefer a multi-tiered rack?
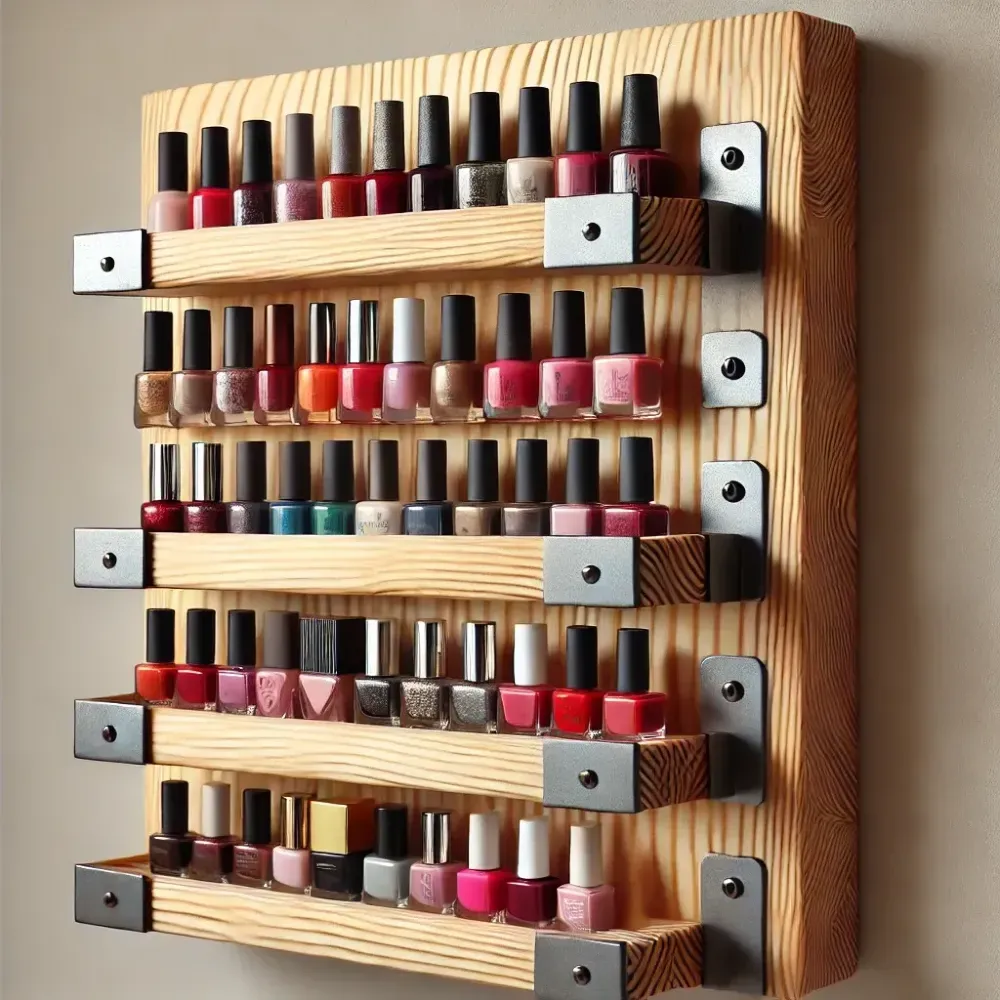
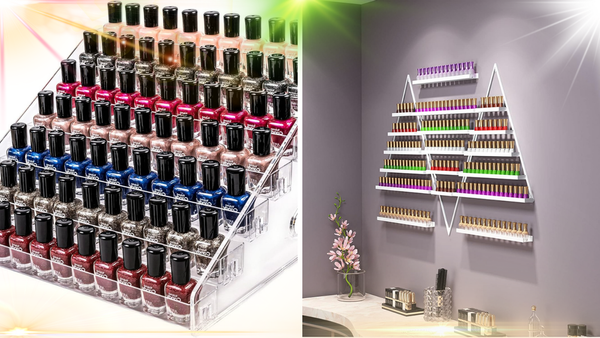
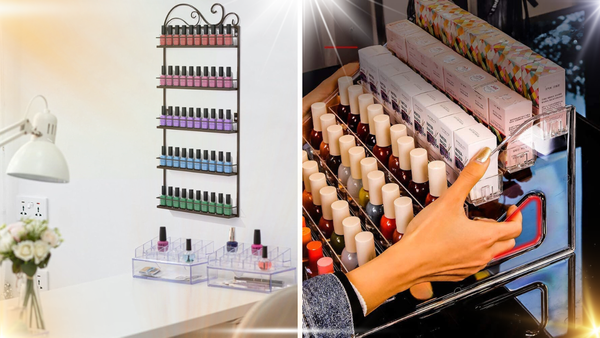
Consider the space where you'll be placing your nail polish rack. If you have a small bathroom, you might want to create a compact rack that can be hung on the wall. If you have a larger space, you can create a more elaborate display. The key is to design a rack that fits your needs and complements your space.
Step-by-Step Guide to Building a DIY Nail Polish Rack
Building a DIY nail polish rack can be a straightforward project if you follow a few simple steps. First, gather your materials. You'll need wood, plastic, or metal, as well as screws, nails, or adhesive to hold everything together. You'll also need tools like a saw, drill, and measuring tape.
Next, measure and cut your materials to the desired size. If you're using wood, you might want to sand the edges to ensure a smooth finish. Assemble your rack by attaching the pieces together with screws, nails, or adhesive. Once your rack is assembled, you can paint or stain it to match your decor. Finally, hang your rack on the wall or place it on a shelf and fill it with your nail polish collection.
Tips for Organizing Your Nail Polish Collection
Once you've built your DIY nail polish rack, it's time to organize your nail polish collection. Start by sorting your nail polishes by color. This will make it easier to find the shade you're looking for and create a visually appealing display. You can also organize your nail polishes by brand or type, such as regular polish, gel polish, or top coats.
Consider labeling your nail polish bottles to make it even easier to find the color you want. You can use small stickers or write directly on the bottles with a permanent marker. If you have a large collection, you might want to create a catalog of your nail polishes, either on paper or digitally. This can help you keep track of what you have and make it easier to plan your next manicure.
Creative Ideas for Displaying Your Nail Polishes
There are many creative ways to display your nail polishes on your customized rack. You can arrange them in a rainbow pattern, with each color blending into the next. This creates a beautiful and eye-catching display. You can also group your nail polishes by season, with bright colors for summer and darker shades for winter.
If you have a lot of nail polishes, consider creating a rotating display. This can be as simple as a lazy Susan or a more elaborate carousel. A rotating display allows you to easily access all of your nail polishes and makes it easy to see what you have. You can also add decorative elements to your nail polish rack, such as small plants, photos, or other personal touches.
Maintaining Your Nail Polish Rack
To keep your nail polish rack looking its best, it's important to maintain it regularly. Dust your rack and nail polish bottles regularly to keep them clean. If you notice any spills or drips, clean them up immediately to prevent staining. You might also want to periodically reorganize your nail polishes to keep your display fresh and interesting.
If you used wood for your DIY nail polish rack, consider applying a coat of sealant to protect it from moisture. This is especially important if your rack is in a bathroom or other humid area. For metal racks, check for any signs of rust and address them promptly. Plastic racks are generally low-maintenance, but you should still clean them regularly to keep them looking their best.
Benefits of a Customized Nail Polish Rack
A customized nail polish rack offers many benefits. It allows you to create a storage solution that fits your specific needs and space. You can design a rack that holds all of your nail polishes and displays them in a way that makes it easy to find the color you want. A customized rack can also add a personal touch to your space and make it feel more organized and stylish.
In addition to being functional, a customized nail polish rack can also be a fun and rewarding DIY project. It gives you the opportunity to get creative and make something unique. Plus, it's a great way to repurpose materials you might already have on hand. Whether you're a nail polish enthusiast or just looking for a way to organize your collection, a customized nail polish rack is a great solution.
Summary
Customizing your nail polish rack is a practical and enjoyable way to organize your nail polish collection. By creating a DIY nail polish rack, you can ensure that it fits your space and style perfectly. Whether you choose wood, plastic, or metal, you can design a rack that holds all of your nail polishes and displays them beautifully. With a little creativity and effort, you can create a customized nail polish rack that enhances your space and makes it easy to find the perfect color for your next manicure.
If you’re looking for other nail products with great discounts, click here for products with up to 50% off!
FAQ Section
Can I customize my nail polish rack if I have a small space?
Absolutely! There are many ways to customize a nail polish rack to fit a small space. You can create a compact rack that hangs on the wall or fits on a small shelf. Consider using vertical space to maximize storage without taking up too much room.
What materials are best for a DIY nail polish rack?
The best materials for a DIY nail polish rack depend on your preferences and budget. Wood is a popular choice because it's easy to work with and can be painted or stained. Plastic is lightweight and inexpensive, while metal can add a modern touch and is very durable.
How can I make my nail polish rack look more attractive?
There are many ways to make your nail polish rack look more attractive. You can paint or stain it to match your decor, arrange your nail polishes by color or season, and add decorative elements like small plants or photos. A well-organized and visually appealing nail polish rack can enhance the overall look of your space.