Key Takeaways:
- You can create stunning acrylic nails with glitter at home by following a step-by-step guide.
- Essential tools include acrylic powder, glitter mix, a nail file, and a top coat.
- Proper preparation and application techniques ensure a professional-looking finish.
Introduction
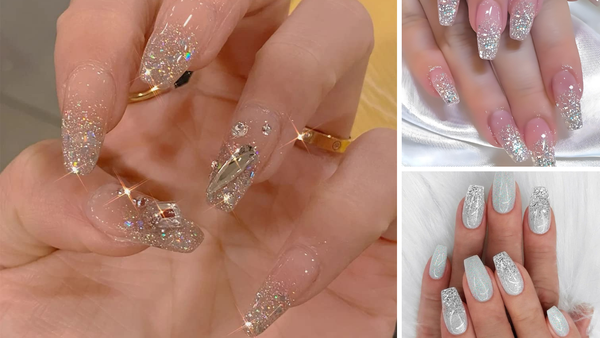
Creating acrylic nails with glitter at home can be a fun and rewarding experience. With the right tools and a bit of patience, you can achieve salon-quality results without leaving your house. This blog post will provide a step-by-step guide to help you master the art of glitter acrylic nails.
Gathering Your Supplies
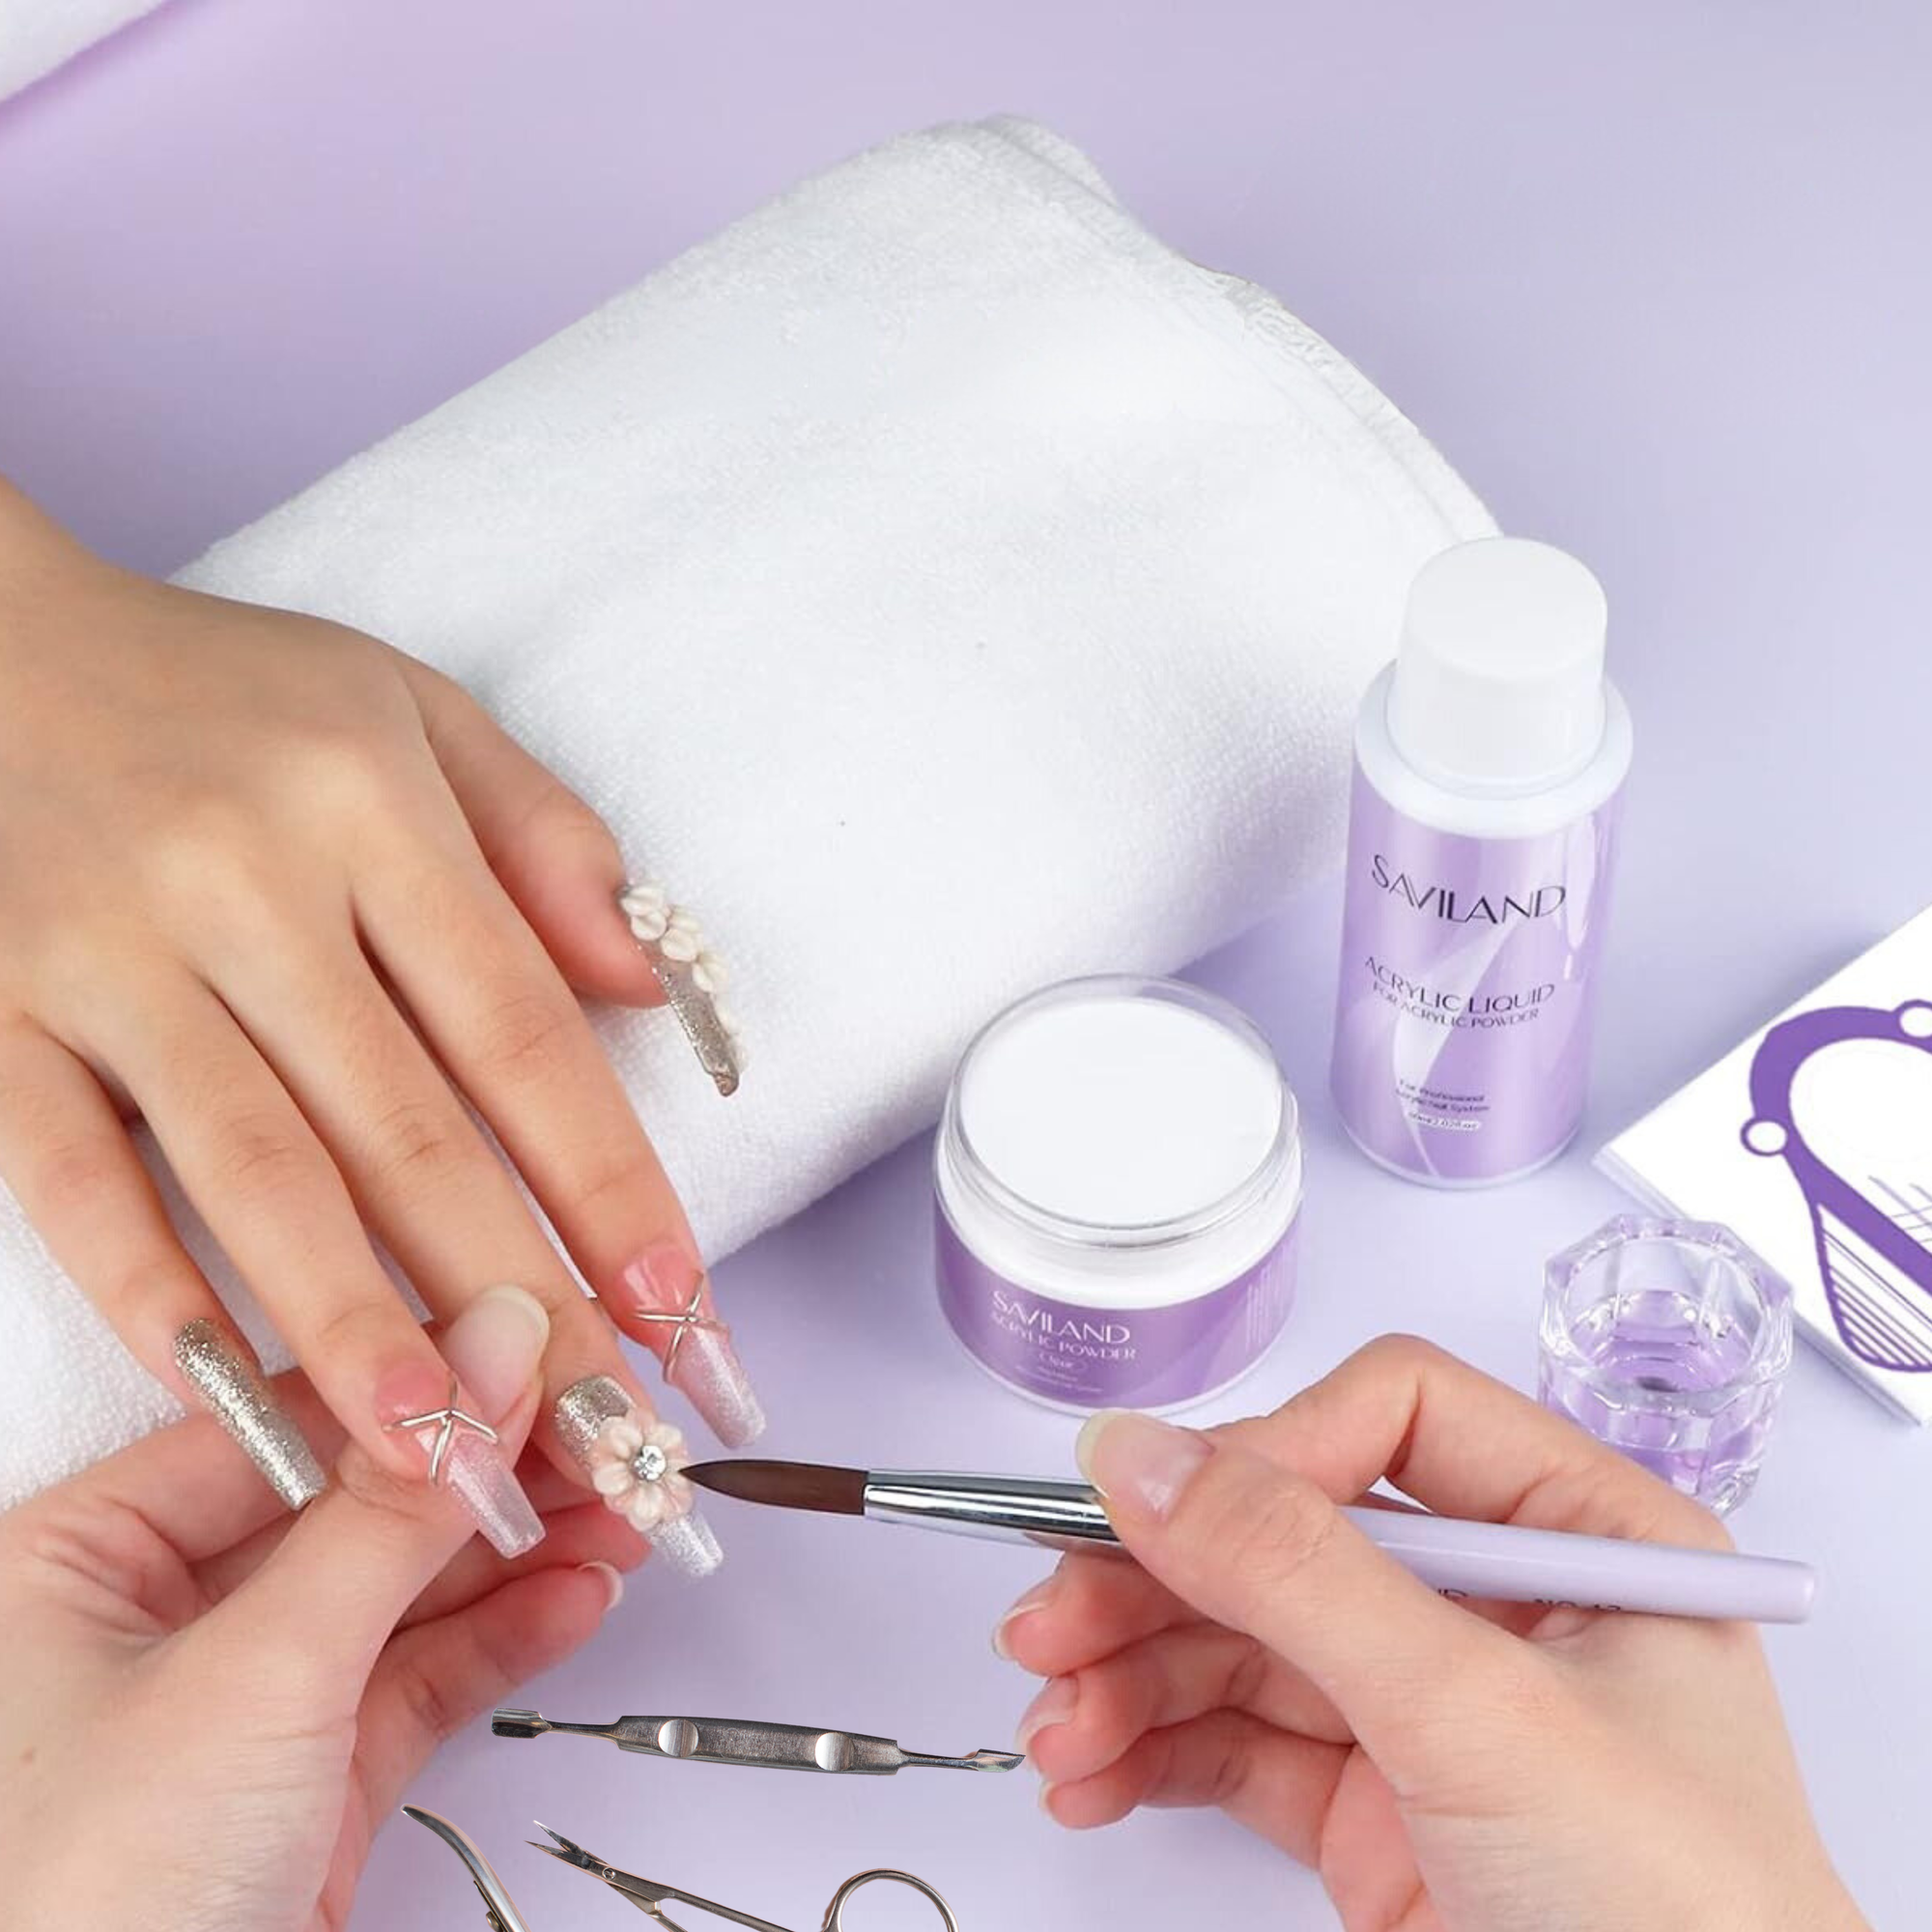
Before you start, gather all the necessary supplies. You will need acrylic powder, acrylic liquid, a dappen dish, a nail file, a buffer, a cuticle pusher, and a brush. Additionally, have your glitter mix, a base coat, a top coat, and a cotton pad ready.
Having everything within reach will make the process smoother. Ensure you have a clean workspace to avoid any mess and to keep your tools organized.
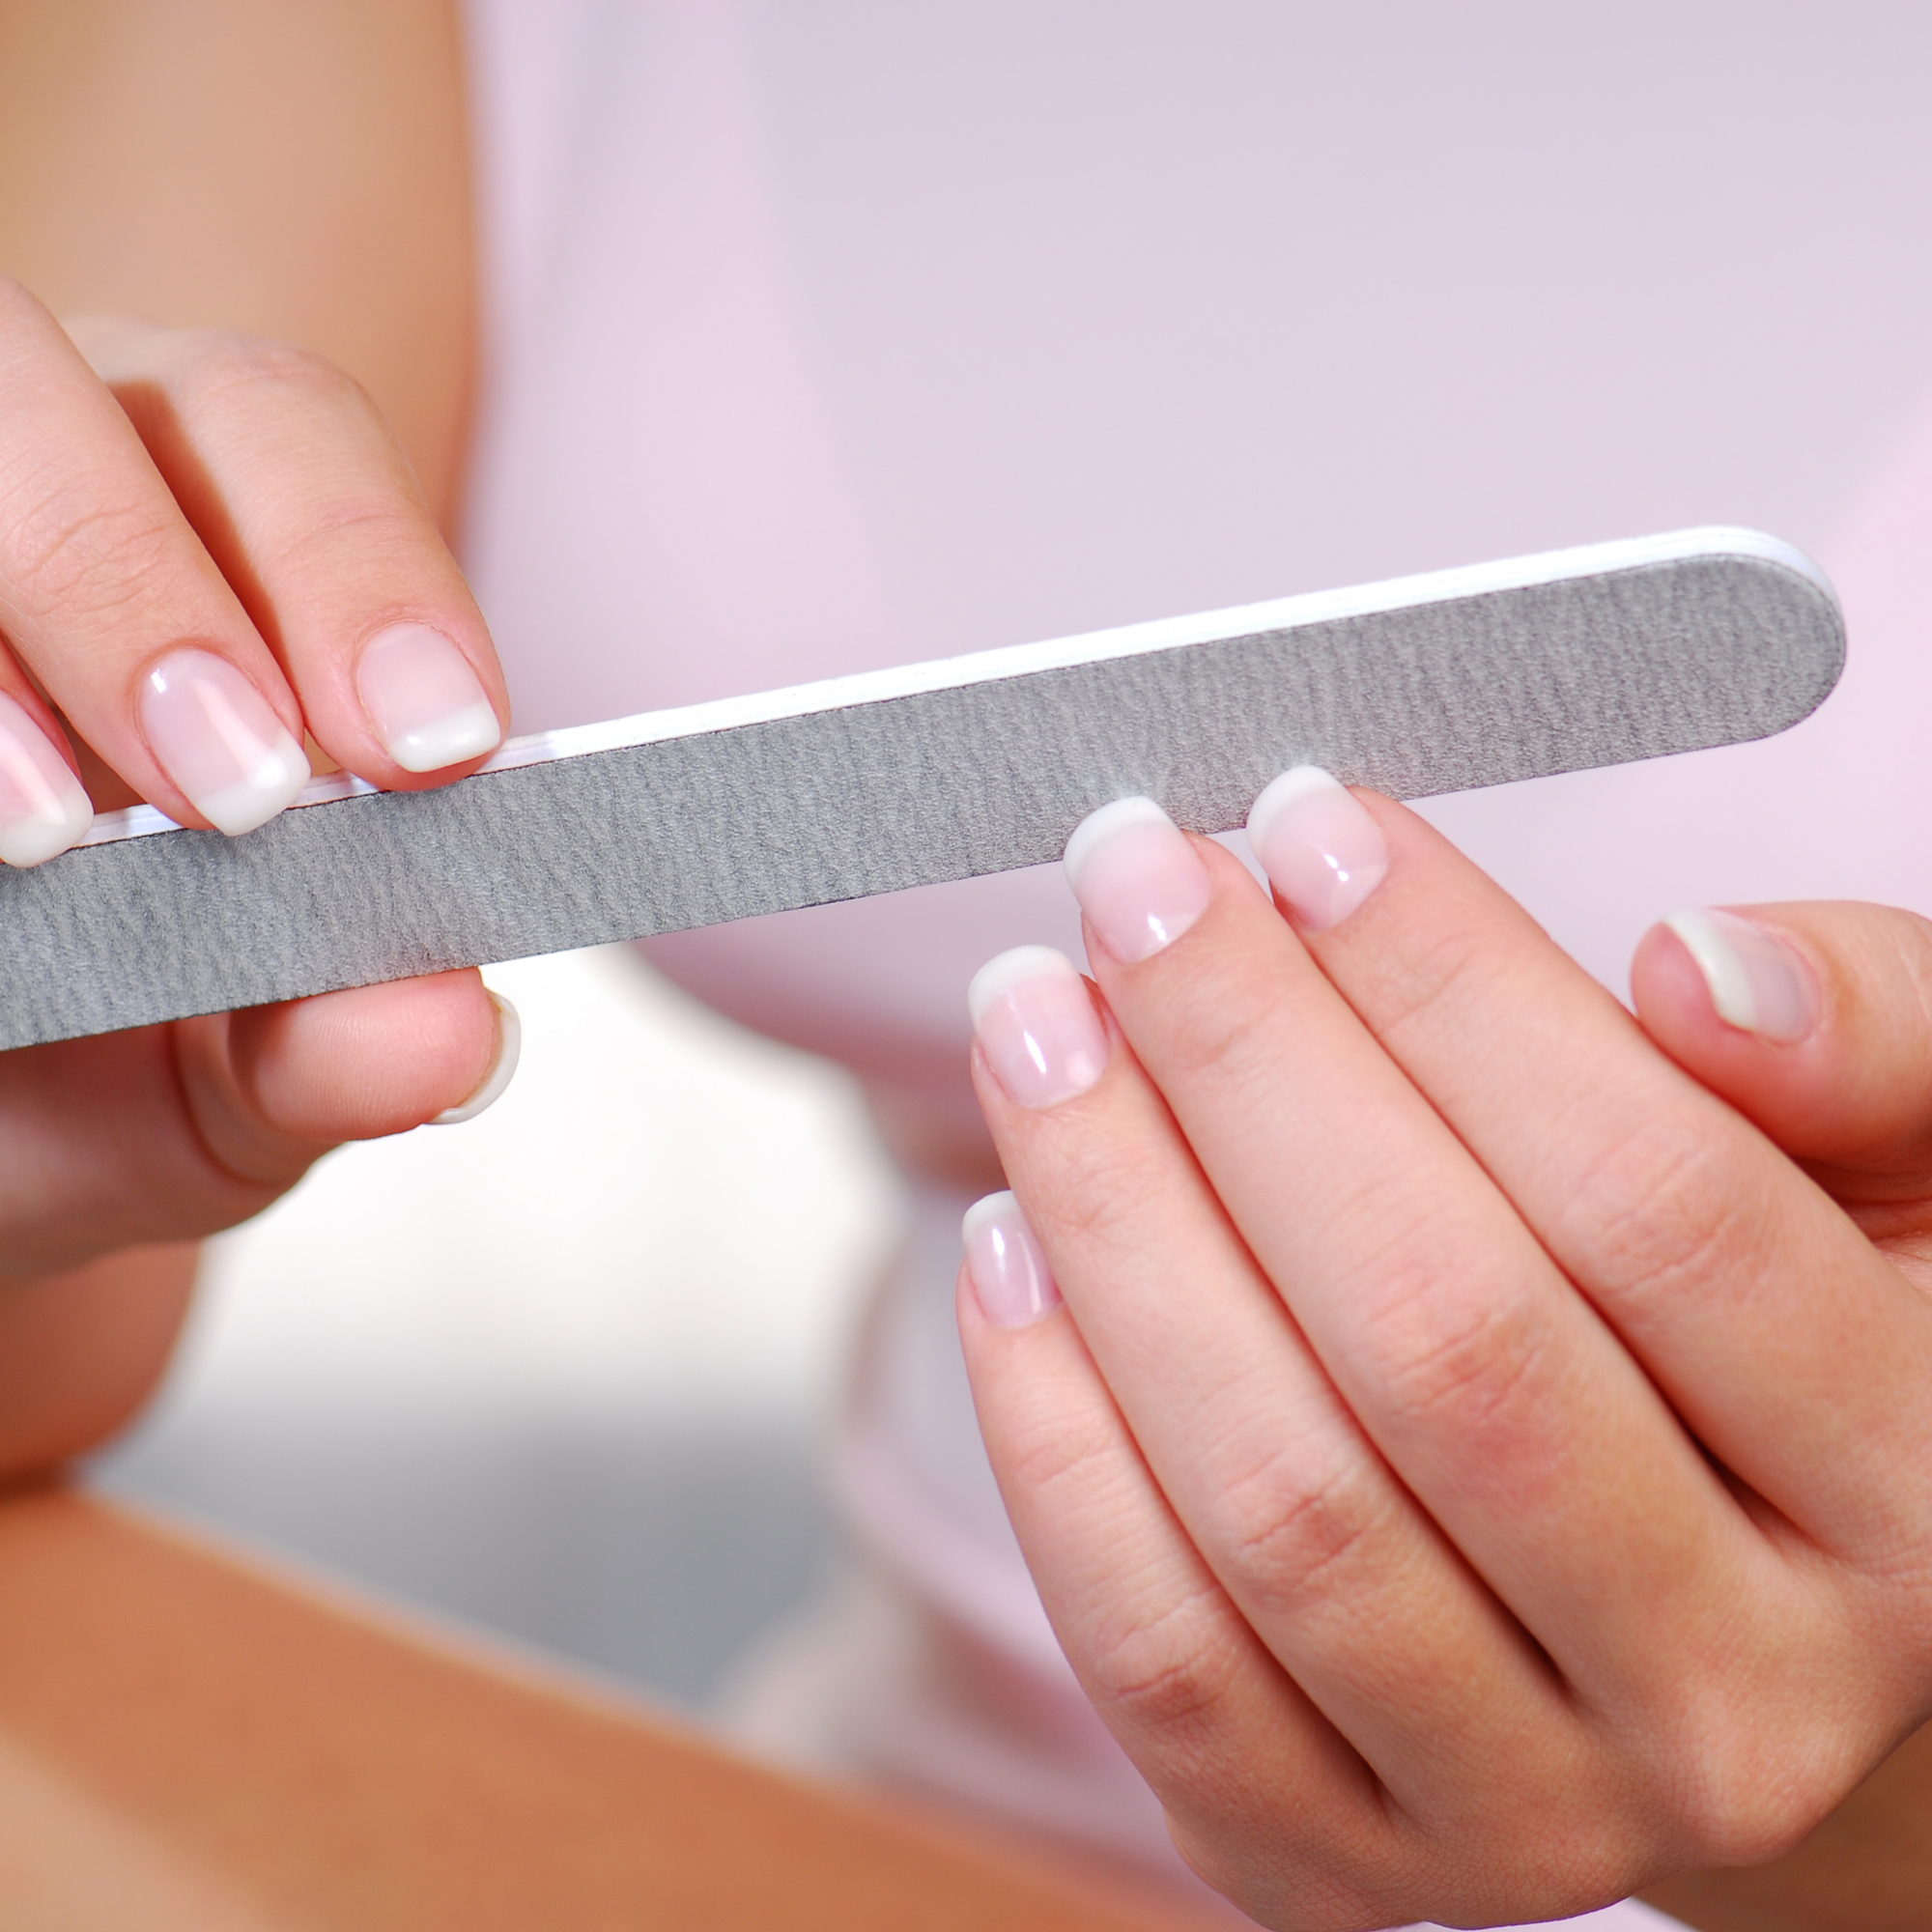
Preparing Your Nails
Start by gently pushing back your cuticles with a cuticle pusher. This step is crucial to ensure the acrylic adheres properly to your nail bed. Next, use a nail file to shape your nails and remove any shine from the surface.
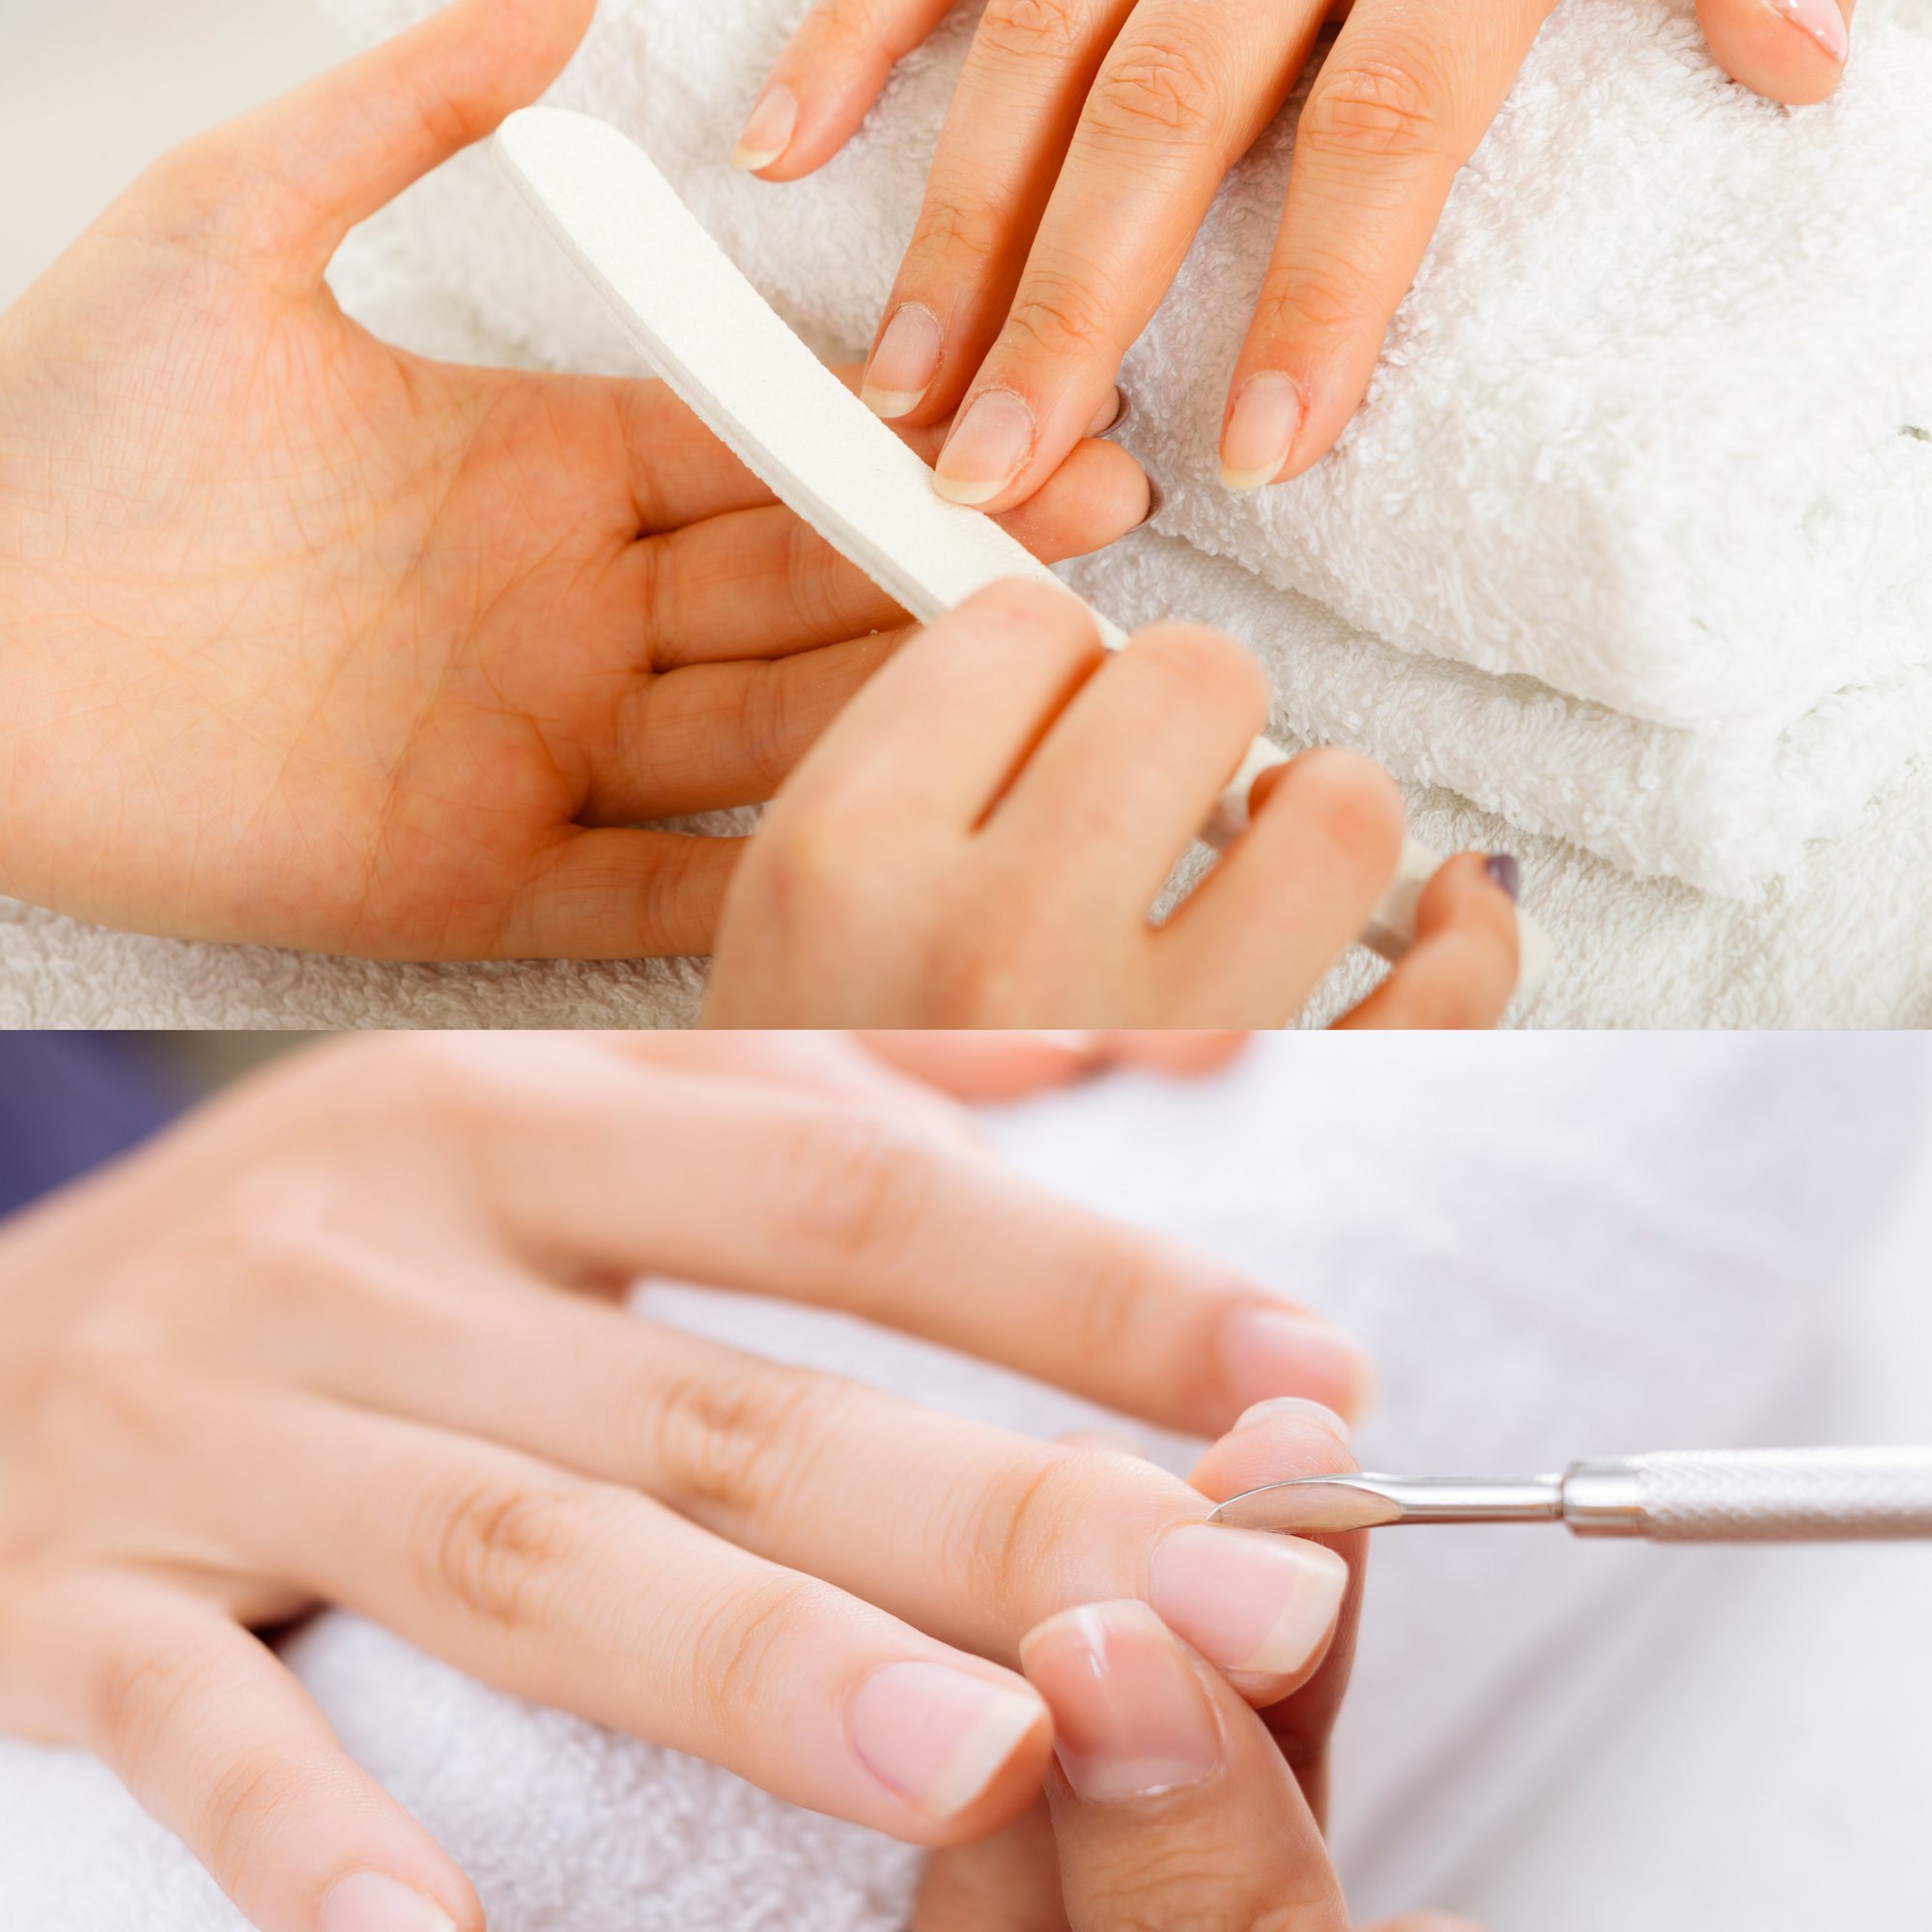
Buffing the nails with a buffing block will help the acrylic stick better. Wipe your nails with a cotton pad soaked in acetone to remove any dust or oils.
Applying the Base Coat
Apply a thin layer of base coat to your nails. This step is essential as it helps the acrylic adhere better and protects your natural nails. Allow the base coat to dry completely before moving on to the next step.
A good base coat will also prevent staining and make the removal process easier. Make sure to cover the entire nail evenly.
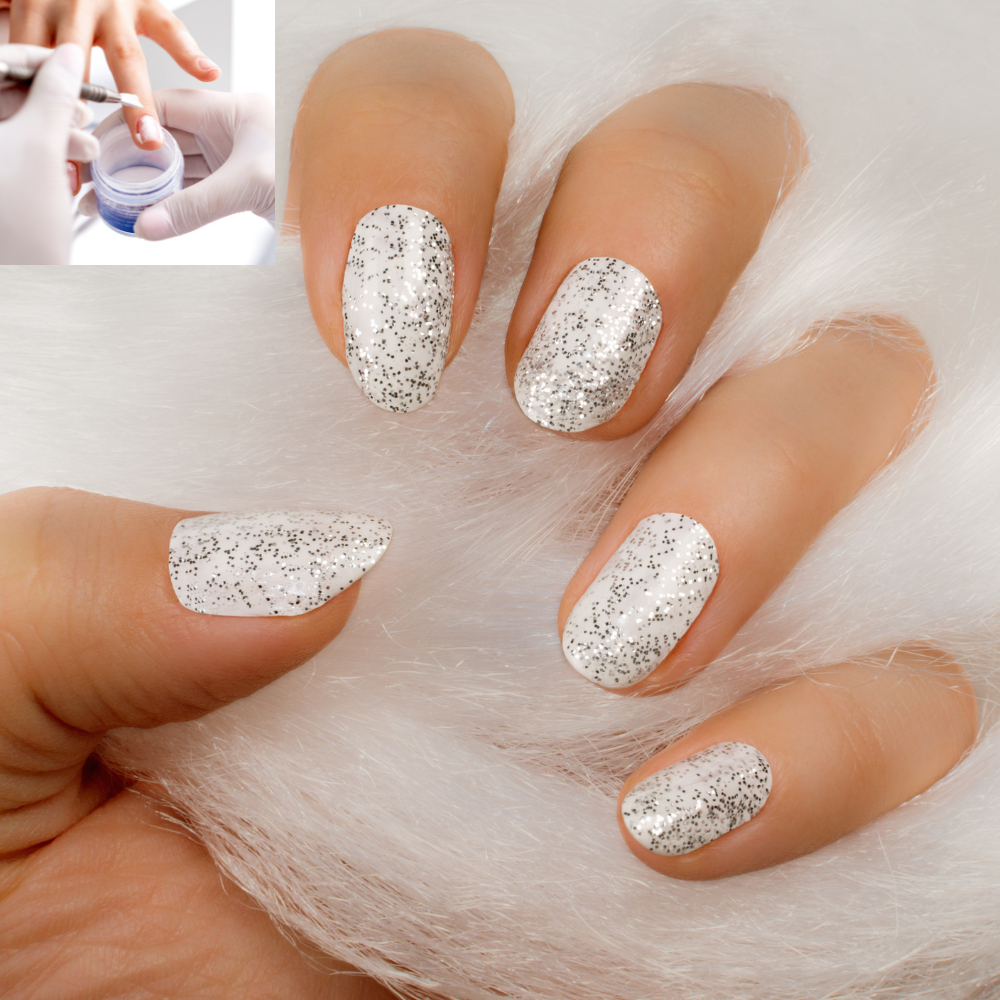
Mixing the Acrylic and Glitter
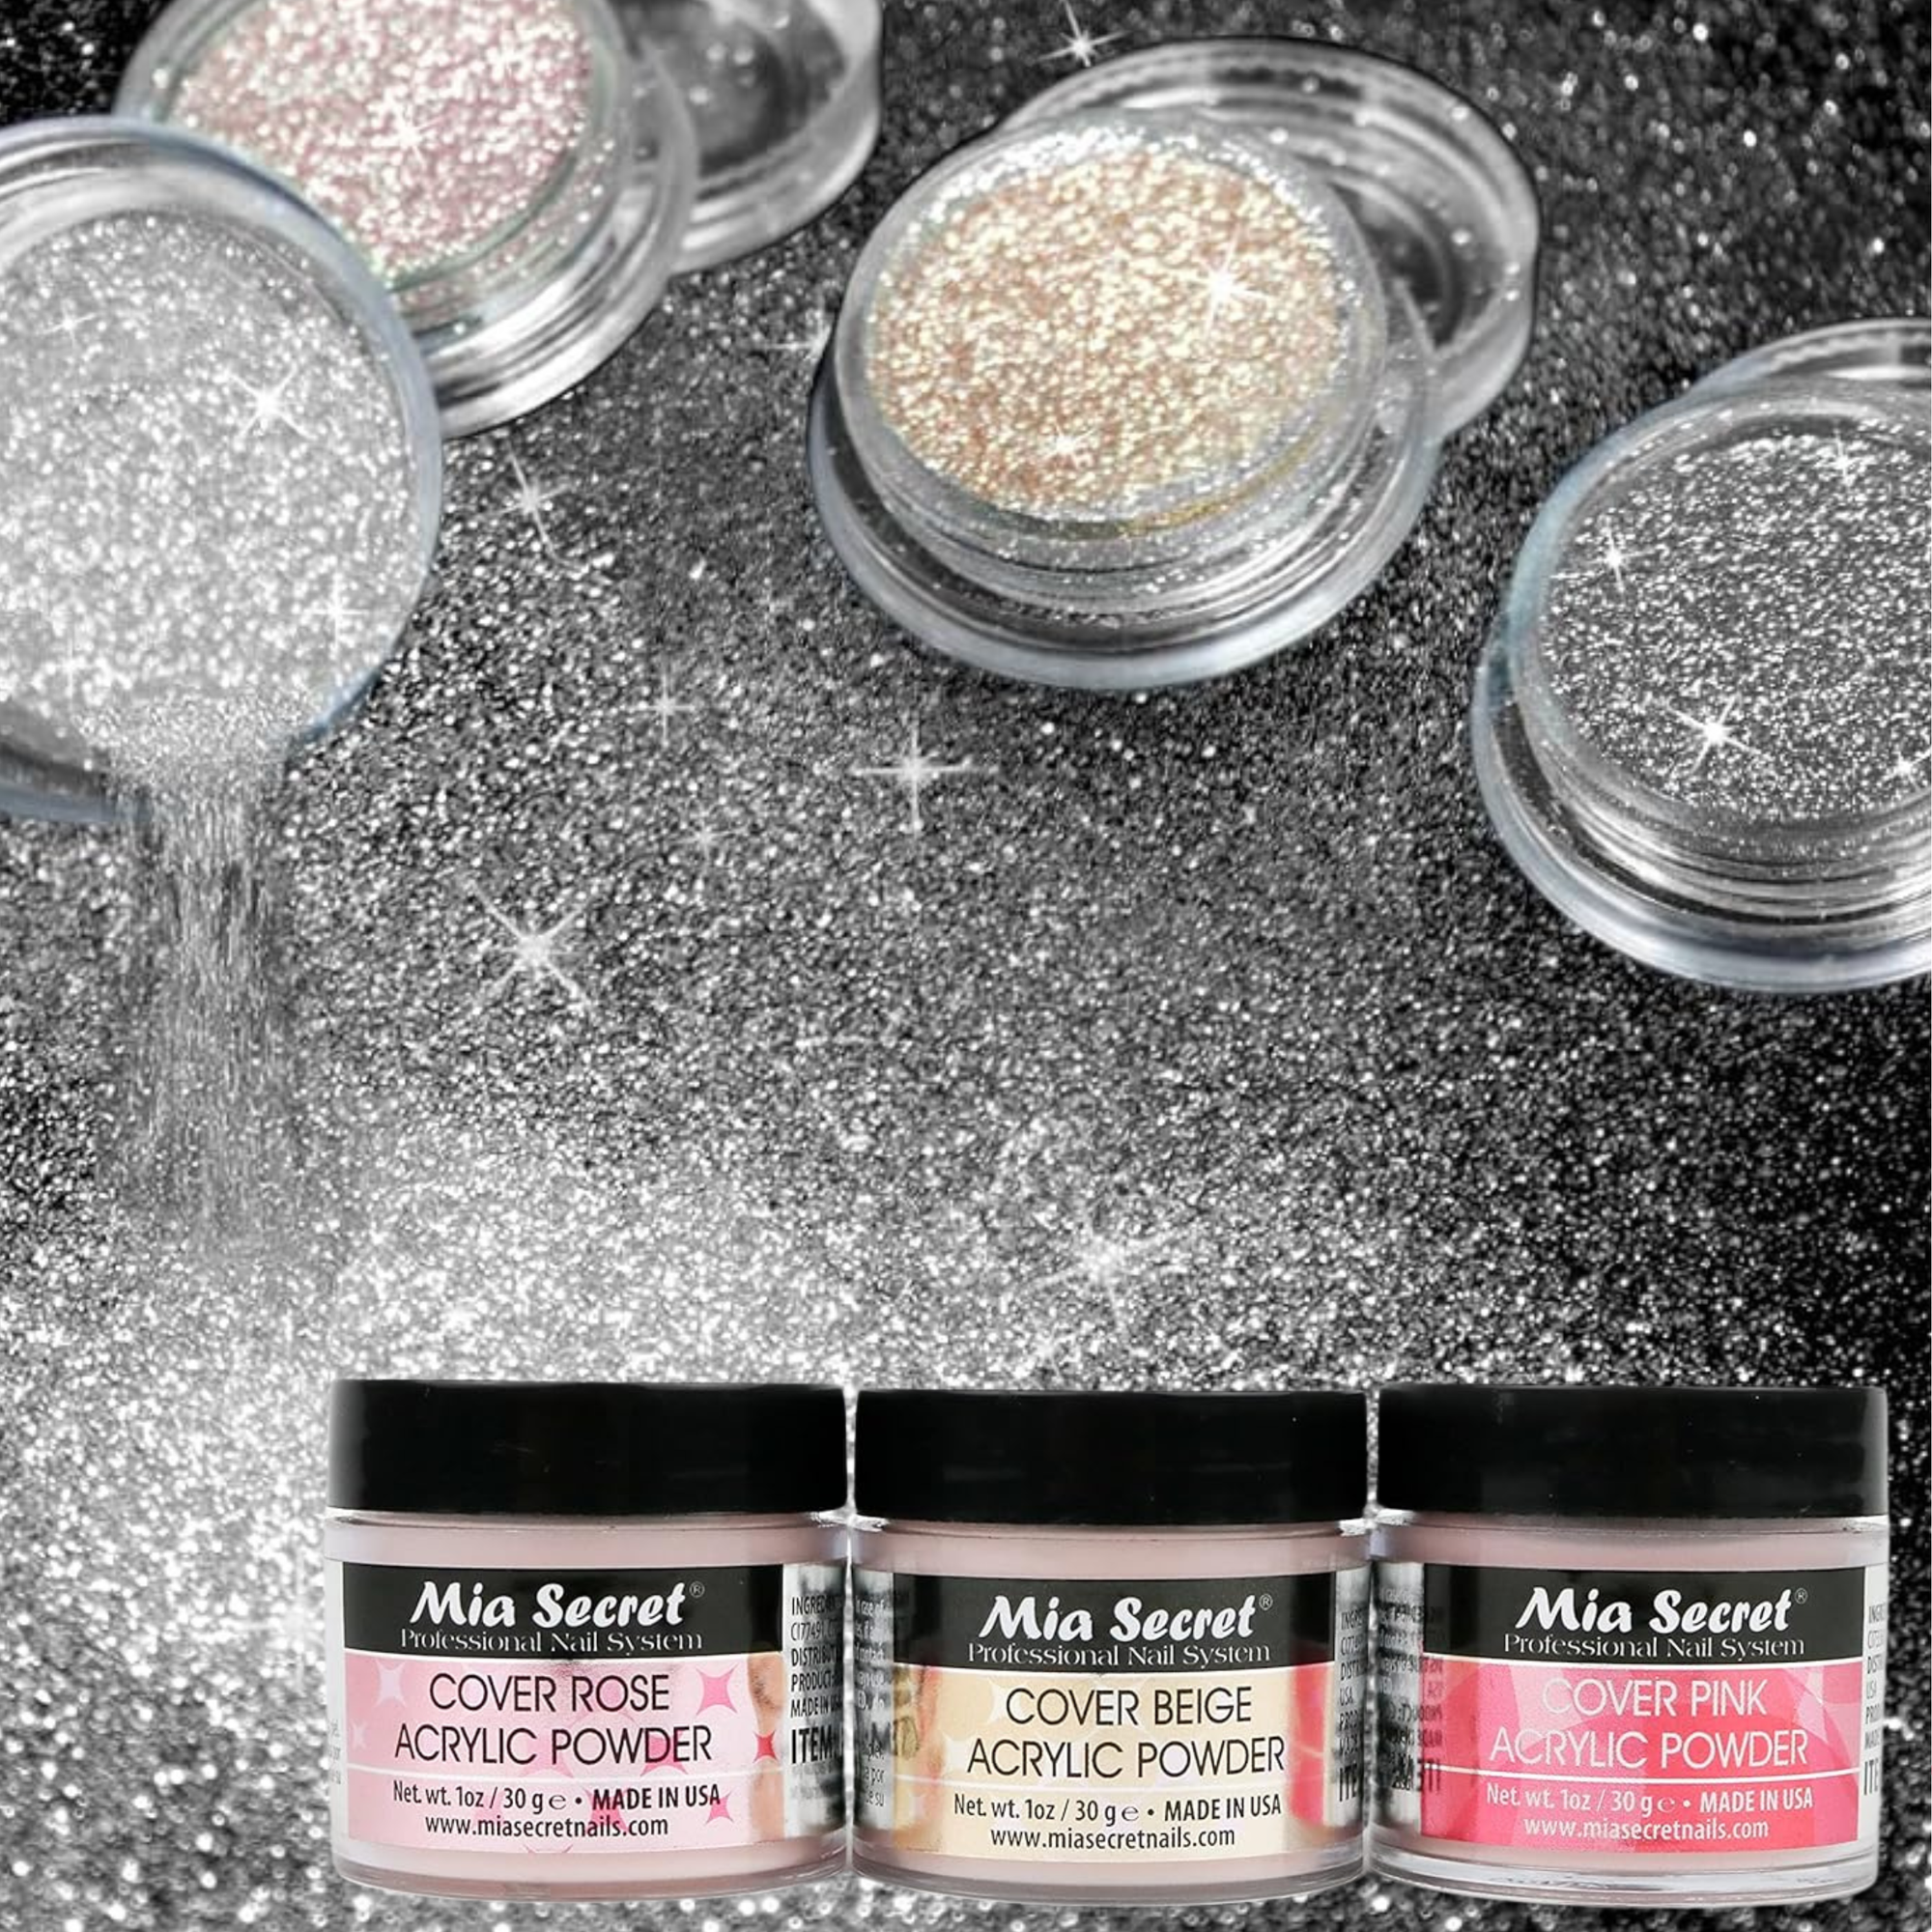
In a dappen dish, mix your acrylic powder with the glitter. The ratio depends on how sparkly you want your nails to be. A good starting point is a 2:1 ratio of acrylic powder to glitter.
Stir the mixture well to ensure the glitter is evenly distributed. This will help you achieve a consistent look across all your nails.
Applying the Acrylic Mixture
Dip your acrylic brush into the acrylic liquid and then into the glitter-acrylic powder mix. Apply the mixture to your nails, starting from the cuticle and working your way to the tip. Use small beads of the mixture to avoid lumps.
Spread the mixture evenly across the entire nail. If you want a more intense glitter effect, you can add another layer once the first one is dry.
Shaping and Buffing
Once the acrylic has dried, use a nail file to shape your nails. Gently buff the surface to smooth out any imperfections. This step is crucial for achieving a professional finish.
Buffing also helps to remove any excess glitter that may be sticking out. Wipe your nails with a cotton pad to remove any dust.
Adding the Top Coat
Apply a generous layer of top coat to seal in the glitter and add shine. This will also protect your nails from chipping and make them last longer.
Allow the top coat to dry completely. For an extra glossy finish, you can apply a second layer.
Cleaning Up
Use a cuticle pusher to gently push back any acrylic that may have spread onto your skin. Wipe your fingers with a cotton pad soaked in acetone to remove any residue.
Cleaning up ensures that your nails look neat and professional. It also helps to prevent any irritation or discomfort.
Tips for Long-Lasting Nails
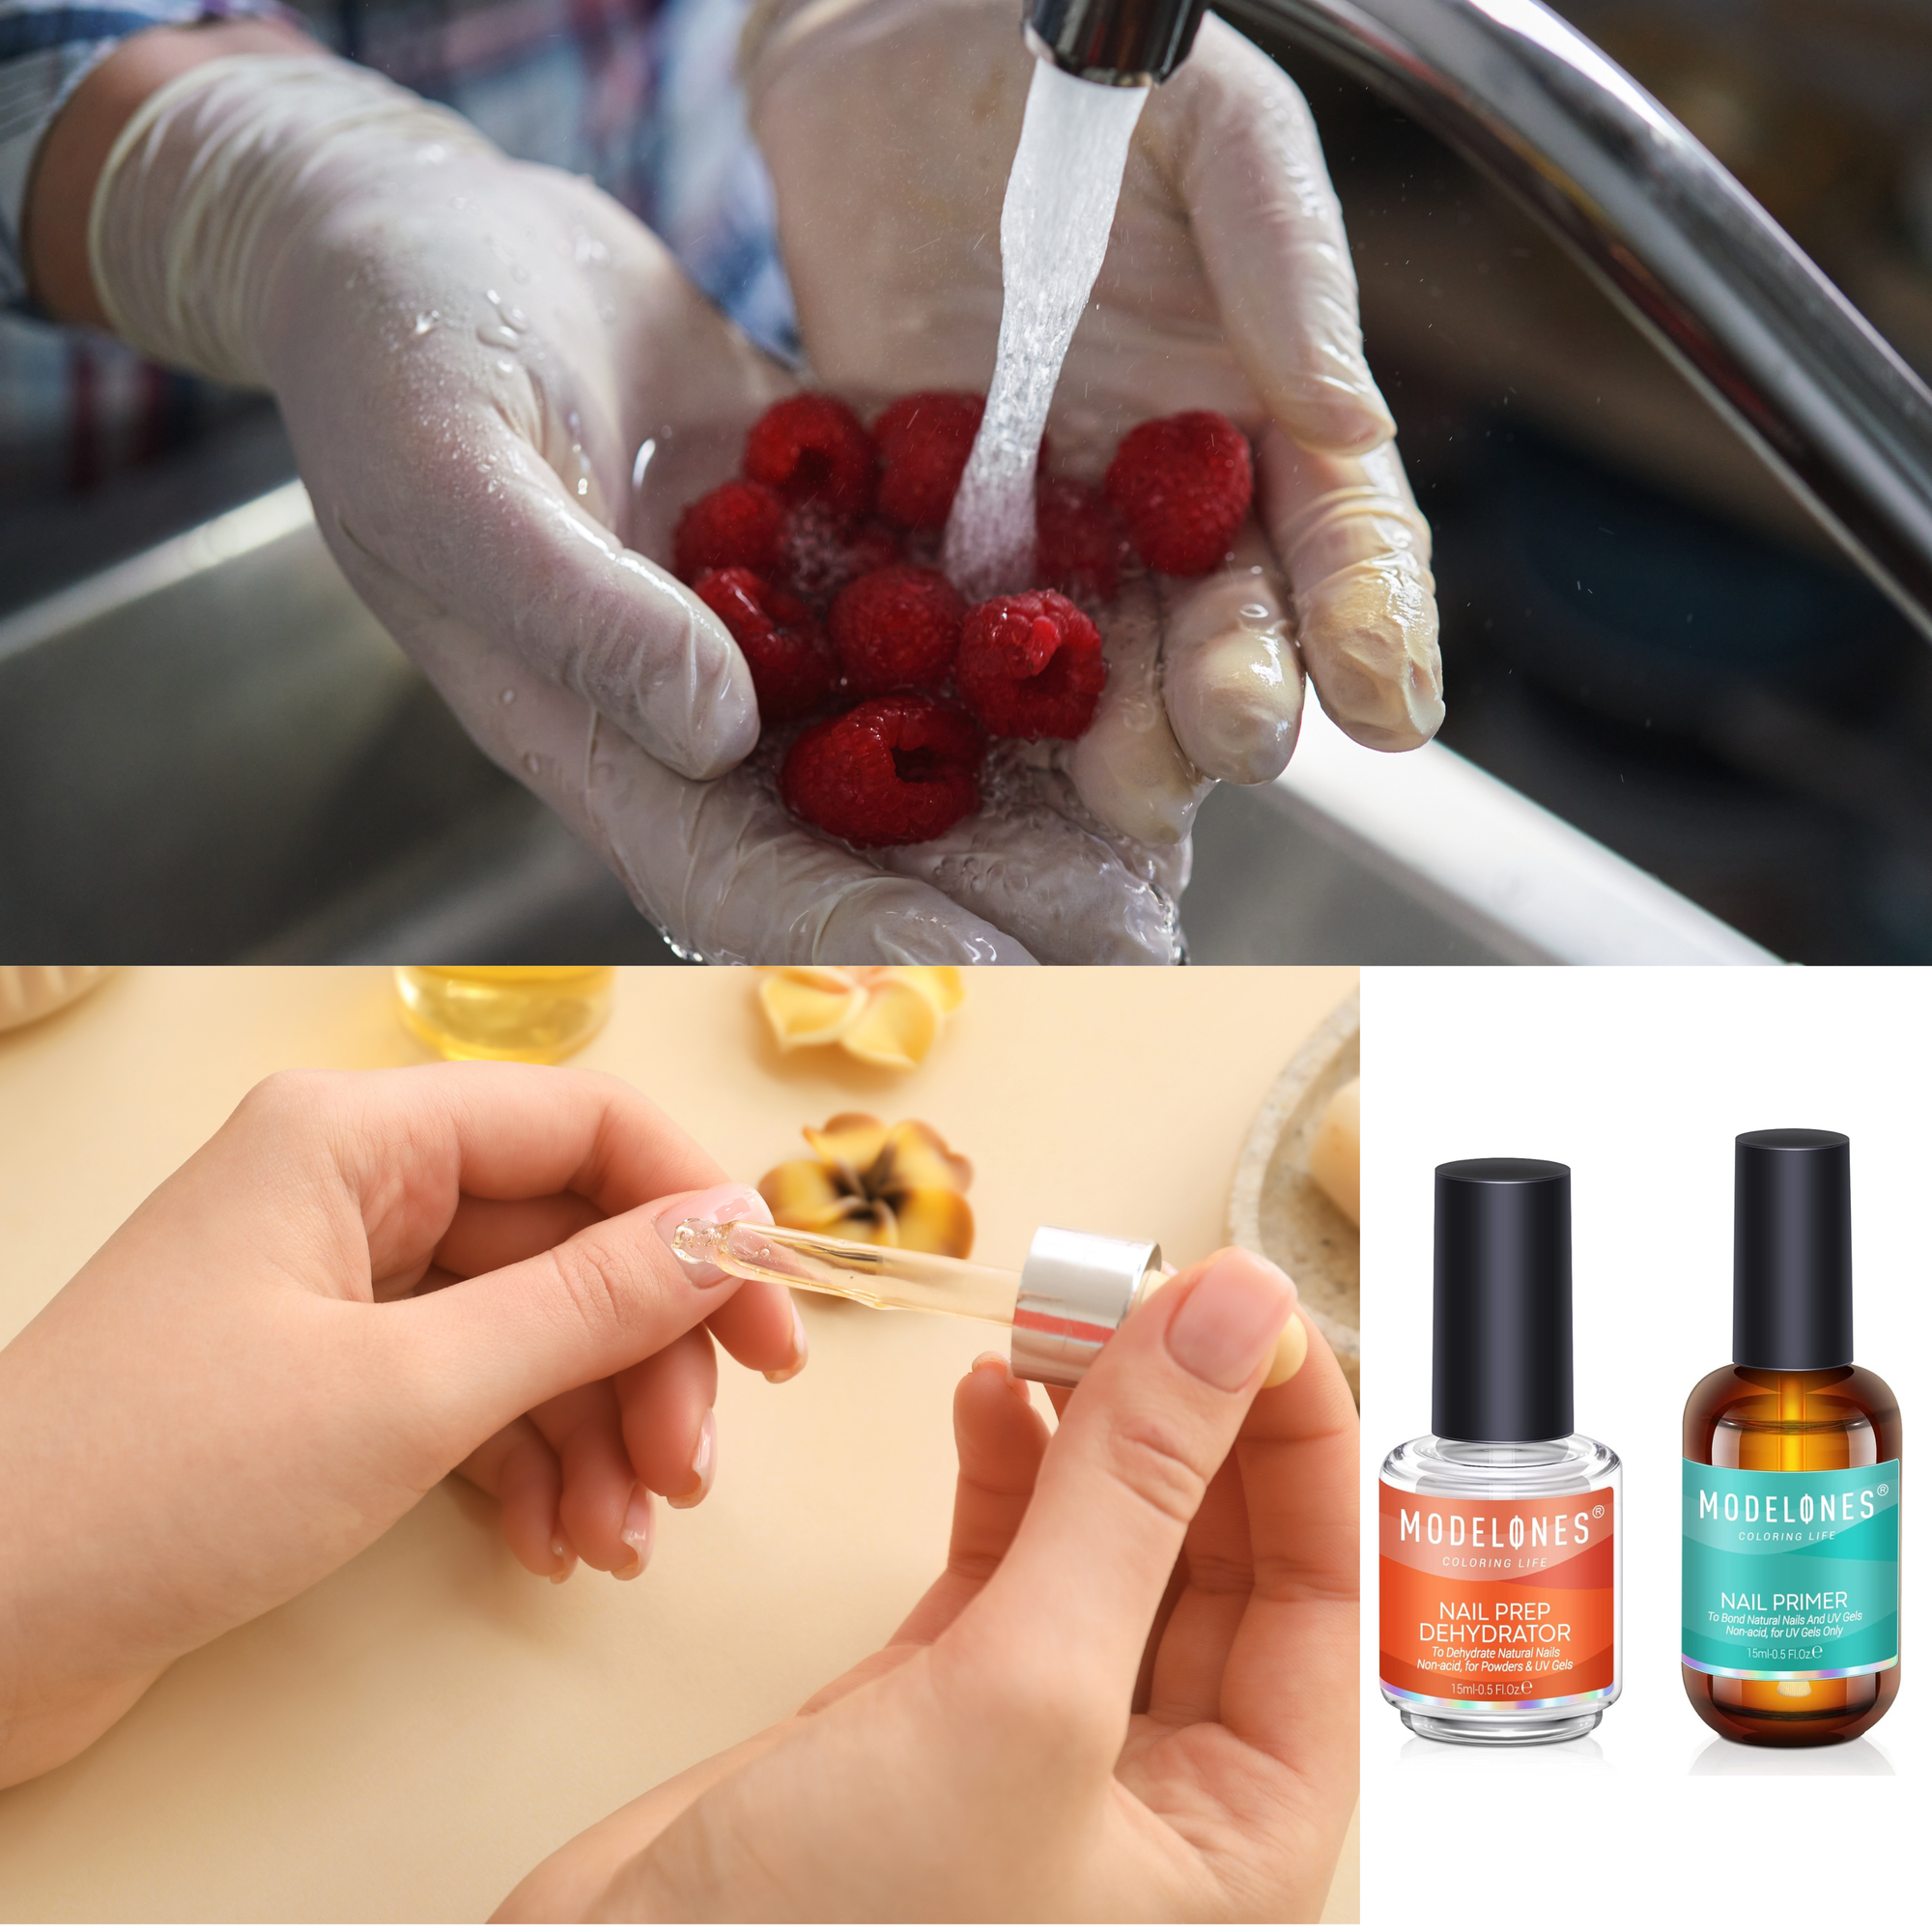
To make your glitter acrylic nails last longer, avoid using your nails as tools. Wear gloves when doing household chores to protect your nails from harsh chemicals.
Regularly apply cuticle oil to keep your nails and cuticles hydrated. This will also help to maintain the shine and prevent your nails from becoming brittle.
Troubleshooting Common Issues
If you notice any lifting or chipping, gently buff the affected area and reapply a small amount of acrylic mixture. Seal with a top coat to fix the issue.
For any air bubbles, use a fine needle to pop them before the acrylic dries. This will help to achieve a smooth finish.
Removing Acrylic Nails
To remove your acrylic nails, soak a cotton pad in acetone and place it on your nail. Wrap your finger in aluminum foil and let it sit for 15-20 minutes.
After soaking, use a cuticle pusher to gently remove the softened acrylic. Buff your nails to remove any remaining residue.
Experimenting with Different Glitter Types
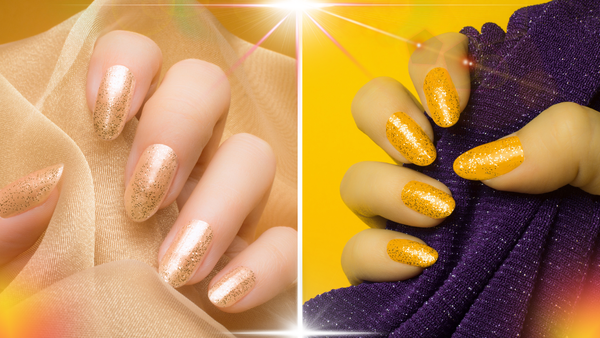
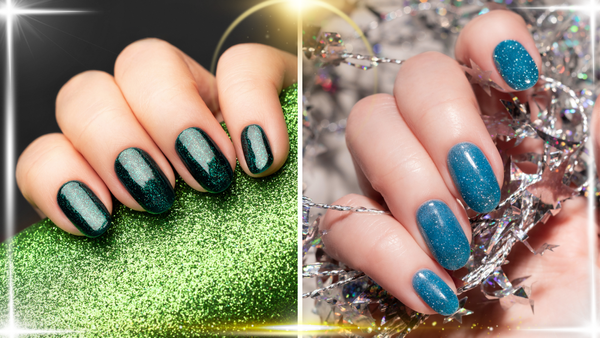
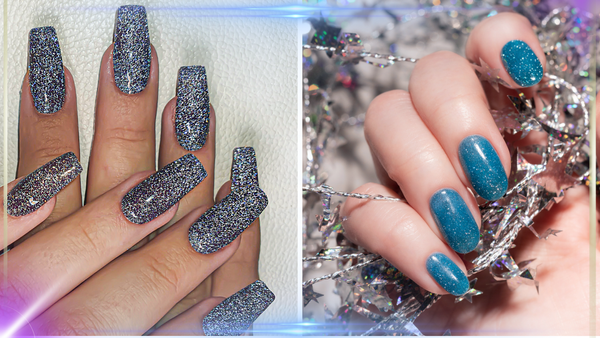
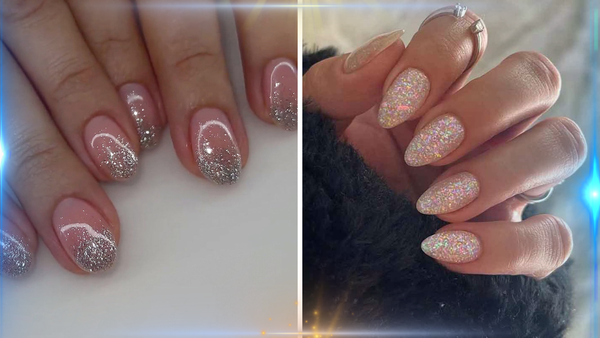
You can experiment with different types of glitter, such as fine glitter, chunky glitter, or holographic glitter. Each type will give your nails a unique look.
Mixing different glitters can also create a fun and personalized design. Just make sure to mix them well with the acrylic powder for an even application.
Maintaining Your Tools
Clean your brushes and dappen dish with acetone after each use. This will prevent the acrylic from hardening and make your tools last longer.
Store your tools in a clean, dry place to keep them in good condition. Regular maintenance will ensure that you get the best results every time.
Summary
Creating acrylic nails with glitter at home is a rewarding experience that allows you to express your creativity. By following this step-by-step guide, you can achieve salon-quality results without the hefty price tag. Remember to gather all your supplies, prepare your nails properly, and take your time with each step. With practice, you'll become a pro at creating stunning glitter acrylic nails.
For those interested in some nail products' huge discounts with amazing deals up to 50% off, please click here.
FAQ Section
Can I use regular glitter for my acrylic nails?
Yes, you can use regular glitter, but make sure it is cosmetic grade to avoid any skin irritation. Fine glitter works best for a smooth finish.
How long do acrylic nails with glitter last?
With proper care, acrylic nails with glitter can last up to 3-4 weeks. Regularly applying a top coat and avoiding harsh chemicals will help maintain their longevity.
Can I use gel polish instead of acrylic for glitter nails?
Yes, you can use gel polish. Apply the gel polish, sprinkle the glitter on the wet polish, and cure it under a UV lamp. Seal with a top coat for a lasting finish.