


Nail art enthusiasts often wonder if their collection of regular nail polishes can double up for the intricate art of stamping. If you're looking to dive into nail stamping without investing in specialized products immediately, you're in the right place. Let's explore the possibilities and techniques of using regular nail polish for stamping plates.
Key Takeaways:
- Regular nail polish can be used for stamping plates, but there are specific techniques to ensure success.
- The consistency and pigmentation of the polish are key factors in achieving clear stamped designs.
- Proper preparation and practice can enhance the results when using regular polishes for stamping.
Understanding Nail Stamping Basics
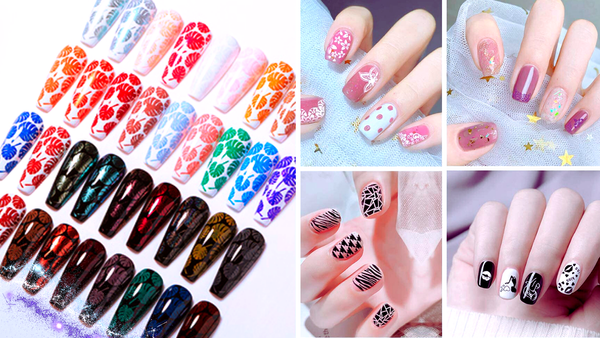
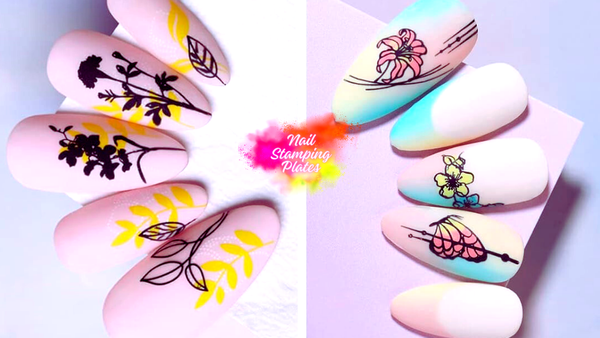
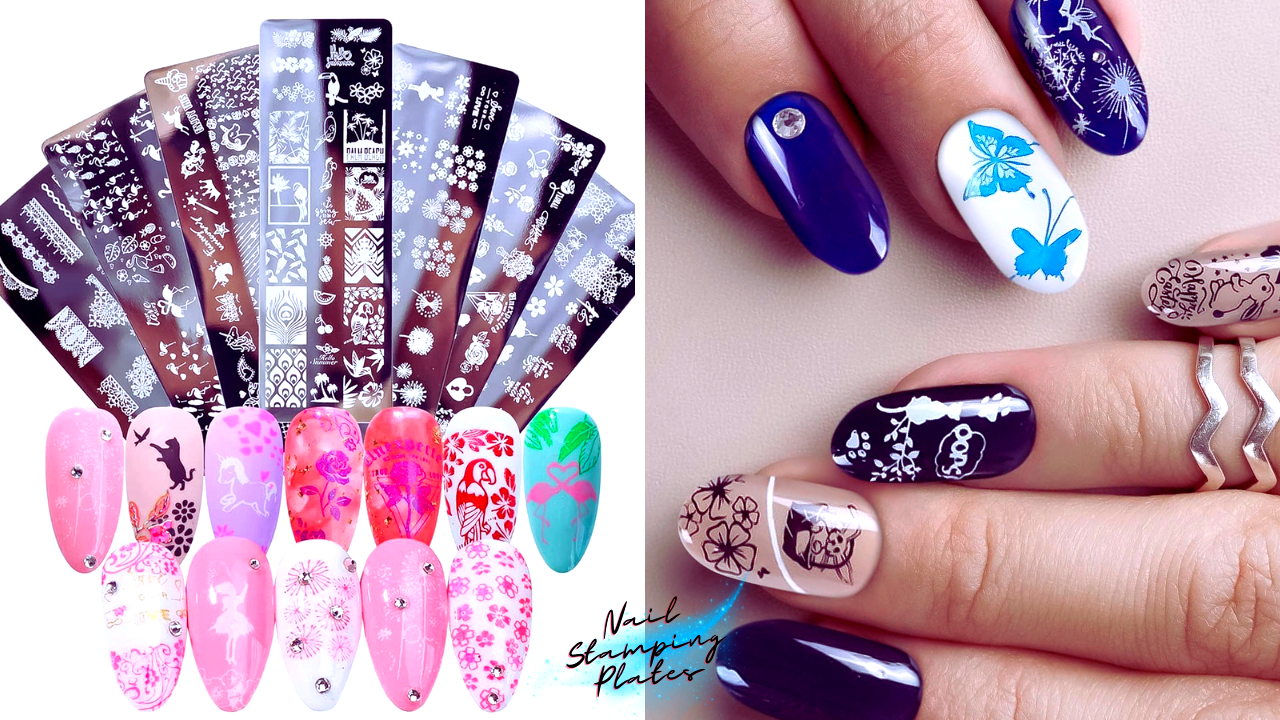
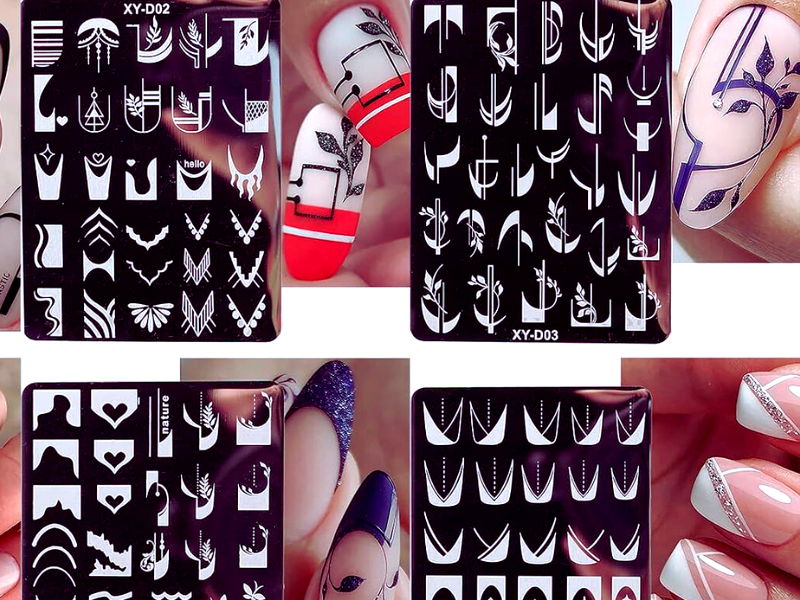
Nail stamping is a technique that allows you to transfer designs from metal stamping plates onto your nails using a stamper. Typically, stamping polishes are thicker and more pigmented to ensure the design is opaque and stands out. However, not all nail enthusiasts have access to these specialized polishes. This is where the versatility of regular nail polishes comes into play.
The Role of Polish Consistency
The thick consistency of stamping polishes makes them ideal for nail stamping. They stay wet longer, giving you ample time to transfer the design. Most regular nail polishes tend to have a thinner consistency, which means they dry quicker. To use a regular polish, you need to work quickly and choose polishes that are slightly thicker and highly pigmented.
Selecting the Right Regular Polish
When choosing regular nail polish for stamping, opt for creamy and opaque ones. Avoid polishes that are too thin or have a sheer finish. The pigment in the polish is crucial; the more pigmented, the better it will show up on your nails. Dark colors often work best but don't shy away from experimenting with bold, bright shades.
Preparing Your Stamping Plates
Before you begin, make sure your stamping plates are clean and free from oils and residue. Wipe them down with nail polish remover or alcohol. A clean plate ensures that the regular polish will adhere properly and transfer the design more cleanly.
The Stamping Process with Regular Polish
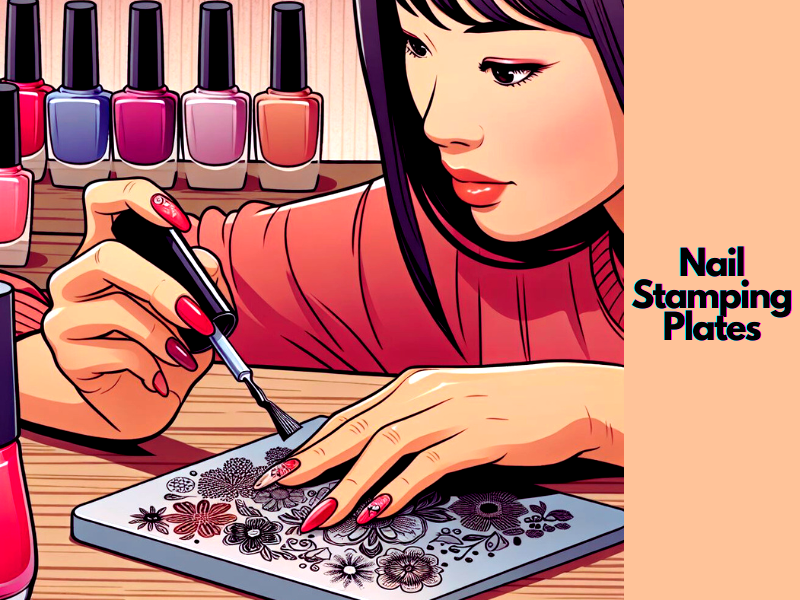
Apply a generous amount of regular polish onto the design of your choice on the stamping plate. Then, using a scraper or an old credit card, quickly scrape off the excess polish at a 45-degree angle. Immediately after scraping, press your stamper onto the design to pick it up, then stamp it onto your prepped nail.
Tips for a Successful Stamp
Timing is everything. You must work quickly to ensure the regular polish doesn't dry before you stamp it. Use a rolling motion to pick up the design and apply it to the nail. If the design doesn't transfer well, it might be because the polish has started to dry or isn't pigmented enough.

Troubleshooting Common Issues
If you're finding that the design isn't picking up, it could be due to the polish drying too fast. In this case, try using a thicker layer of polish. If the design is smudging, it might be because you're pressing too hard or not working quickly enough. Practice makes perfect, so don't get discouraged.
Aftercare for Stamped Nails
Once you've successfully stamped your design, wait for it to dry completely before applying a top coat. Use a thin coat to avoid smearing the design. A top coat not only seals in your art but also adds a glossy finish and prolongs the wear of your manicure.
Incorporating Gel Polish into Stamping
Gel polish can also be used for stamping, but it requires curing under a UV lamp. If you decide to use gel polish, apply a thin layer onto the plate, scrape, stamp, and then cure under the lamp. Remember to remove the inhibition layer after curing to avoid a sticky residue.
Creative Tricks to Optimize Regular Polish
So, you've found a regular polish you love, but it's not quite hitting the mark for stamping. Don't worry; there are creative tricks to make it work. The goal is to manipulate the polish to mimic the properties of stamping polish. Here's how:
Thickening Older Nail Polish for Better Stamping
This can work to your advantage for nail stamping. If you have an older bottle that's become gooey, try it on your stamping plates. The thicker consistency might just provide the perfect medium for picking up and transferring designs. Remember, you don't want it too thick—aim for a honey-like consistency. If it's gotten too thick, a few drops of nail polish thinner can bring it back to the desired thickness.
The Matte Finish Hack: A Top Coat Twist
Here's a neat trick: if you're struggling with regular polish not transferring designs cleanly, try using a matte top coat over your base color before stamping. Matte surfaces can sometimes help the polish from the stamping plate adhere better, leading to a more precise transfer. Once you've stamped your design, you can seal it with a glossy or matte top coat, depending on your preferred finish.
The Difference Between Stamping and Regular Polishes
Stamping polishes are specifically formulated for nail stamping. They have a thicker consistency and higher pigmentation level, which helps in creating crisp designs. Regular polishes, while not designed for this purpose, can be used with the right technique and a bit of patience.
Expanding Your Nail Art Arsenal
If you find joy in using regular polishes for stamping, consider gradually adding stamping polishes to your collection. They can make the process easier and expand your creative possibilities. A starter kit with a few stamping polishes, a clear stamper, and a couple of plates is a great way to begin.
Embracing the Learning Curve
Using regular nail polish for stamping plates may require a learning curve. Don't be afraid to experiment with different brands and formulas to find what works best for you. With each attempt, you'll refine your technique and discover new ways to create stunning nail art.
Summary
While stamping polishes are ideal for their thick consistency and pigmentation, regular nail polishes can also be used for stamping plates with the right approach. Selecting the right polish, preparing your tools, and working quickly is key to achieving beautiful stamped designs. Remember, practice is essential, and as you get more comfortable with the process, you'll be able to create intricate nail art with the polishes you already have. Happy stamping!
FAQ Section
Can any regular nail polish be used for stamping?
Not all regular nail polishes are suitable for stamping. You should look for polishes that are more opaque and have a thicker consistency. Darker colors usually work better for stamping.
How do I prevent the stamped design from smudging when applying a top coat?
To prevent smudging, wait until the stamped design is completely dry before applying a thin layer of top coat. Apply the top coat with as few strokes as possible.
What should I do if the regular polish dries too quickly on the stamping plate?
If the regular polish dries too quickly, try using a thicker layer of polish and work as quickly as possible. You can also try using a polish that has a slower drying time. Practice is key to mastering the timing.