


Key Takeaways:
- Nail foil can be used on natural nails, offering a variety of unique and creative designs.
- Proper preparation and application techniques are crucial for achieving long-lasting results.
- Nail foils can be combined with different nail polish and gel types to enhance the overall look.
Nail art has taken the beauty world by storm, and one of the most exciting trends is nail foil. But can nail foil be used on natural nails? The answer is a resounding yes! Nail foils offer a dazzling array of designs and patterns that can transform your nails into miniature works of art. In this article, we'll explore how to use nail foil on natural nails, the best practices for application, and tips for making your nail foil art last longer.
Preparing Your Natural Nails
Before applying nail foil, preparing your natural nails properly is essential. Start by cleaning your nails with a nail polish remover to remove any oils or residue. Next, lightly buff the surface of your nails with a light buffer to create a smooth base. This step ensures that the nail foil adheres better and lasts longer. Caring for your natural nails during this preparation process is crucial to maintain their health and strength.
Applying a Base Coat
A clear base coat is crucial for protecting your natural nails and providing a smooth surface for the nail foil. Apply a thin layer of base coat and allow it to dry completely. This step not only protects your nails but also helps the nail foil stick better.
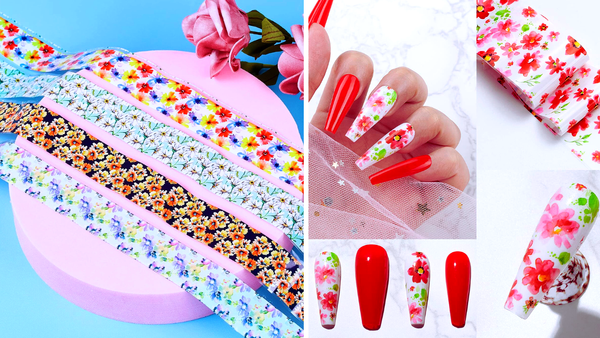
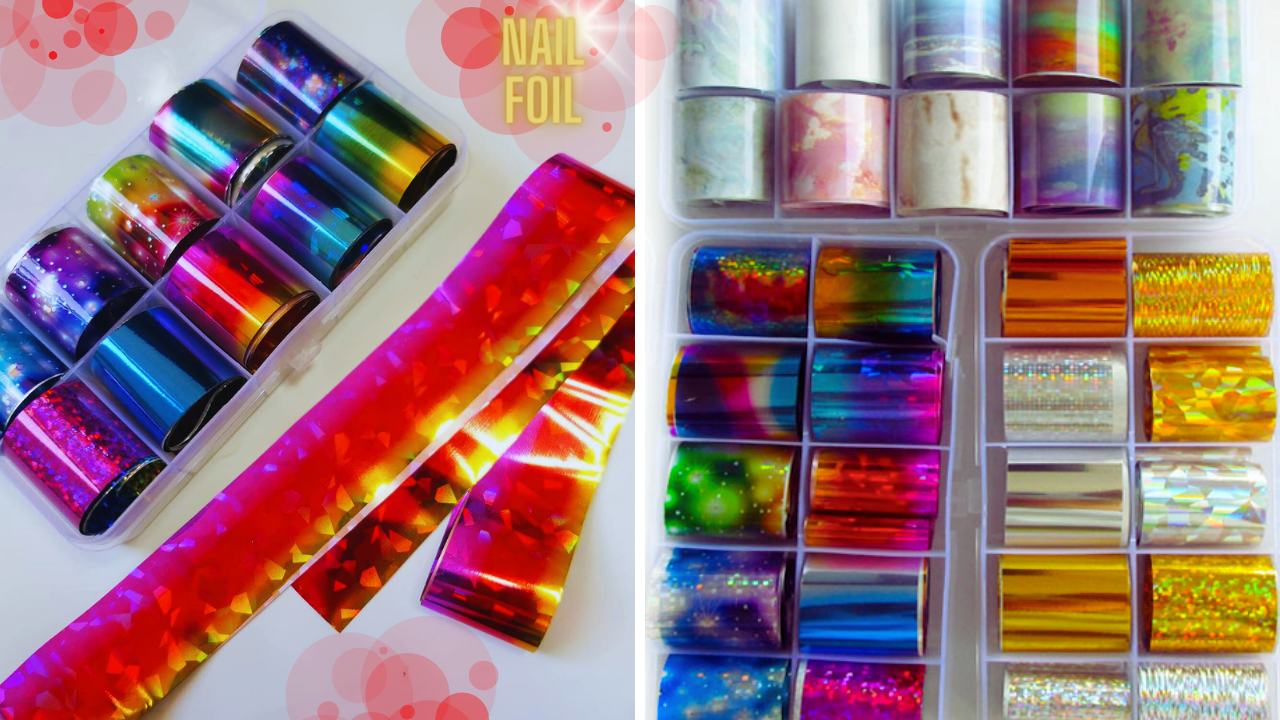
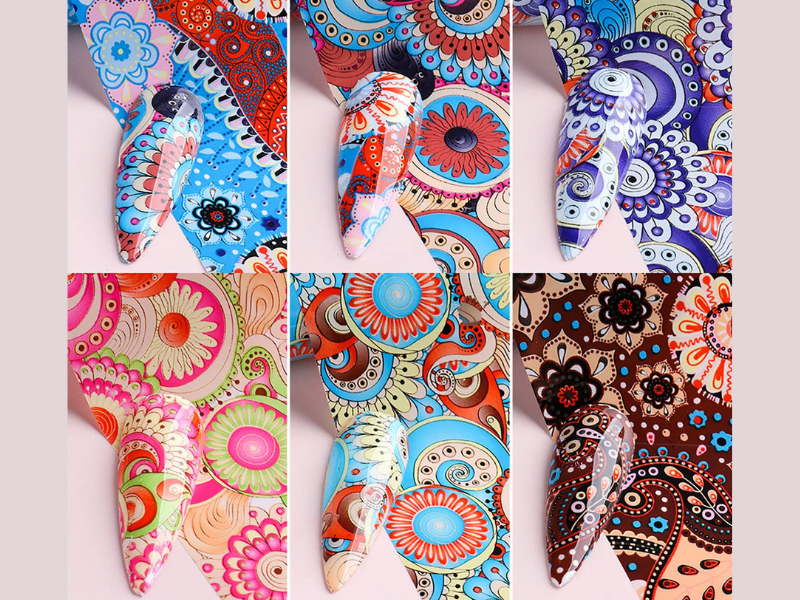
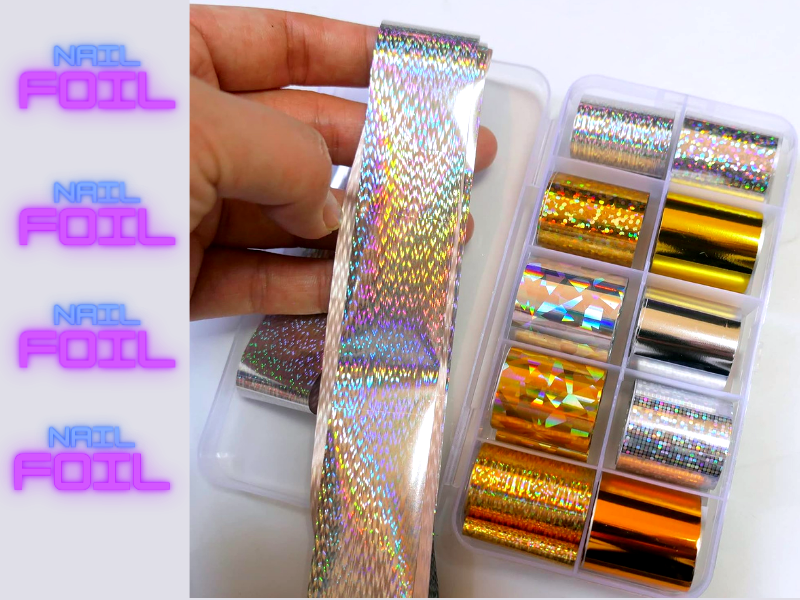
Choosing the Right Nail Foil
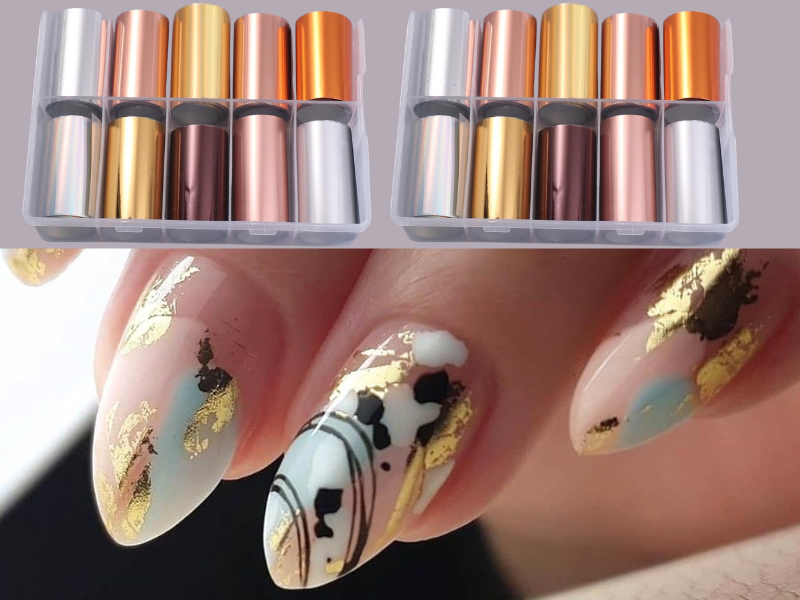
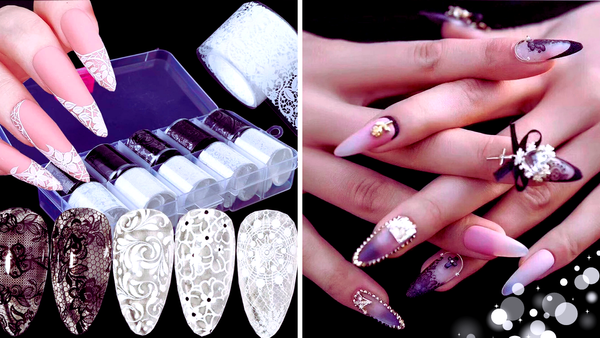
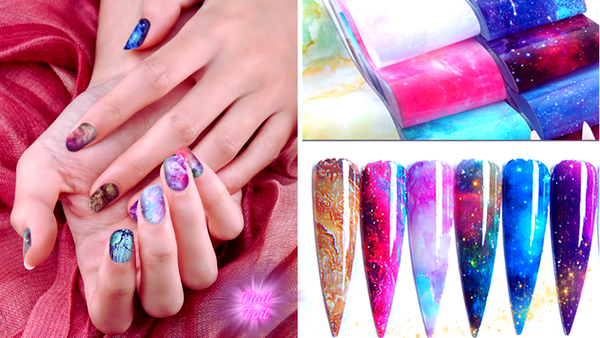
When selecting nail foils, consider the design and color that best suits your style. Nail foils come in various patterns, from metallic to holographic, and can be used to create unique looks. Choose a foil that complements your gel color or nail polish for a cohesive design.
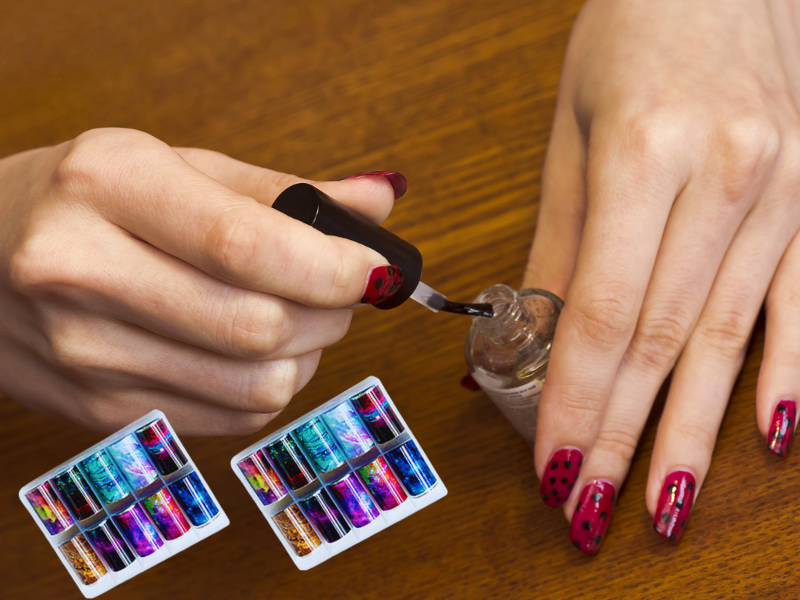
Applying Nail Foil with Nail Polish
To apply nail foil with nail polish, start by applying a layer of your chosen nail polish color. While the polish is still tacky, gently press the nail foil onto the entire nail surface. Use a cotton bud or Q-tip to smooth out any wrinkles and ensure the foil adheres evenly. Gently peel off the foil to reveal the design. Alternatively, using gel nail polish allows for smoother application and longer-lasting coverage compared to regular nail polish or nail glue.
Using Nail Foil with Gel Polish
For a more durable finish, you can use nail foil with gel polish. Apply a layer of gel polish and cure it under a UV or LED lamp. Next, apply a thin layer of foil gel, which is crucial in the nail foil application process, and cure it again. You can use nail foil gel with an art brush to create intricate designs. Press the nail foil onto the sticky layer and gently rub it to transfer the design. Cure the nails one last time to set the foil.
Sealing the Nail Foil
To ensure your nail foil art lasts, apply a top coat over the entire nail surface. This step seals the foil and adds a protective layer, preventing the foil from peeling or chipping. For a shiny finish, use a glossy top coat, or opt for a matte top coat for a different look.
Removing Nail Foil
When it’s time to remove nail transfer foil, use acetone and avoid pulling or picking the foil off. Soak a cotton pad in acetone and place it on your nail. Wrap your finger in aluminum foil and let it sit for about 10-15 minutes. Gently peel off the foil and use a cuticle pusher to remove any remaining foil.
Tips for Long-Lasting Nail Foil Art
To make your nail foil wrap art last longer, avoid using your nails as tools and wear gloves when doing household chores. Additionally, a top coat should be reapplied every few days to maintain the shine and protect the foil.
Combining Nail Foil with Other Nail Art Techniques
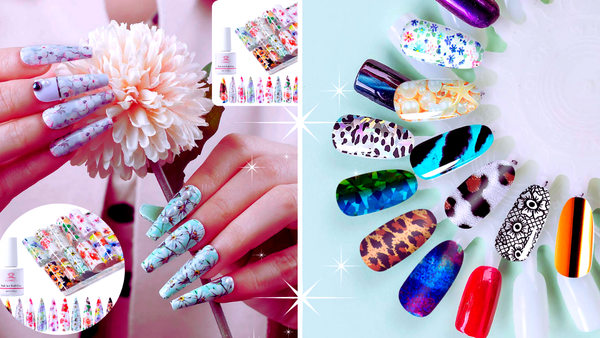
Nail foils can be combined with other nail art techniques, such as stamping, freehand painting, and glitter. Experiment with different combinations to create unique and eye-catching designs. The versatility and variety of nail transfer foil designs allow for endless creative possibilities, making it easy to combine them with other techniques for stunning nail art.
Common Mistakes to Avoid
One common mistake is not allowing the base coat or nail polish to dry completely before applying the foil. This can cause the foil to lift or not adhere properly. Another mistake is using too much pressure when applying the foil, resulting in wrinkles or uneven application.
Nail Foil for Special Occasions
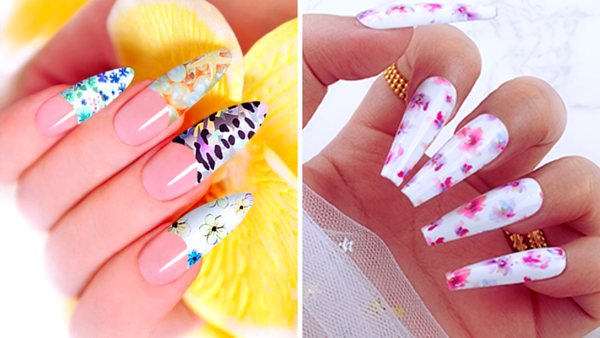
Nail foils are perfect for special occasions like weddings, parties, and holidays. They add a touch of glamour and can be customized to match your outfit or theme. For example, metallic nails are great for a New Year's Eve party, while floral patterns are perfect for a spring wedding.
DIY Nail Foil Art at Home
Creating nail foil art at home is a fun and cost-effective way to experiment with different designs. You can achieve salon-quality results with a few basic tools and some practice. Start with simple designs and gradually move to more intricate patterns.
Maintaining Healthy Natural Nails
While nail foil art is beautiful, it's essential to maintain the health of your natural nails. Keep your nails trimmed and filed, and moisturize your cuticles regularly. Avoid using harsh chemicals and give your nails a break between foil applications to prevent damage.
Nail Foil Trends
Nail foil trends constantly evolve, with new designs and techniques emerging regularly. Stay updated with the latest trends by following nail art blogs, social media accounts, and YouTube tutorials. Experiment with different styles to keep your nail art fresh and exciting.
Nail Foil for Beginners
If you're new to nail foil art, start with simple designs and practice your technique. Use small pieces of foil to create accent nails or add subtle details to your manicure. You can experiment with full-coverage foil designs and more complex patterns as you become more comfortable.
Nail Foil for Professionals

For professional nail technicians, nail foils offer a versatile and creative tool for enhancing clients' nails. Invest in high-quality foils and tools to ensure the best results. Offer a variety of foil designs to cater to different client preferences and occasions.
Nail Foil Art Inspiration
Looking for inspiration for your next nail foil design? Browse online galleries, Pinterest boards, and Instagram accounts dedicated to nail art. Save your favorite designs and use them as a reference when creating your nail foil art.
Nail Foil for Different Nail Shapes
Nail foils can be used on various nail shapes, including square, oval, almond, and stiletto. Adjust the size and shape of the foil pieces to fit your nails perfectly. Consider using larger foil pieces to cover the entire nail surface for longer nails.
Summary
Nail foil can be used on natural nails, offering endless possibilities for creative and unique designs. You can achieve stunning results that last by following proper preparation and application techniques. Whether a beginner or a professional, nail foils are a versatile tool that can elevate your nail art game.
FAQ
Can nail foil be used on natural nails without damaging them?
Yes, nail foil can be used on natural nails without causing damage, provided you follow proper application and removal techniques. Always use a base coat to protect your nails, and avoid harsh chemicals.
How long does nail foil art last on natural nails?
Nail foil art can last up to two weeks on natural nails, depending on the quality of the foil and the application technique. Applying a top coat and reapplying it every few days can help extend the longevity of your nail foil art.
Can I use regular nail polish with nail foils?
Yes, you can use regular nail polish with nail foils. Apply the nail polish and let it become tacky before pressing the foil onto the nail. Consider using gel polish and foil transfer gel for a more durable finish.