


Are you ready to turn your nail polish sets into art masterpieces? Yes, you can use your collection of colors to dive into nail art. In this article, we’ll walk you through practical techniques and innovative ways to use regular nail polishes for creating personalized, vibrant nail art. But first, let’s answer the question: can nail polish sets be used for creating nail art? Expect tips on transforming simple manicures into detailed expressions of your artistic flair.
Key Takeaways
- Regular nail polish sets are versatile for creating intricate nail art designs. They enable layering, texture, and pattern techniques even for beginners without the need for specialized tools.
- A well-equipped nail art toolkit, including dotting tools, striping tapes, and quality brushes, is key for precision. DIY tools like bobby pins and toothpicks can be used for simple designs, and a topcoat is crucial for sealing and protecting the artwork.
- Advanced nail art skills include 3D designs, negative space nails, and custom color mixing with polish sets. Practice on paper or practice nails helps improve precision, and proper aftercare extends the manicure's life.
Unlocking the Potential of Nail Polish Sets for Artistic Creations
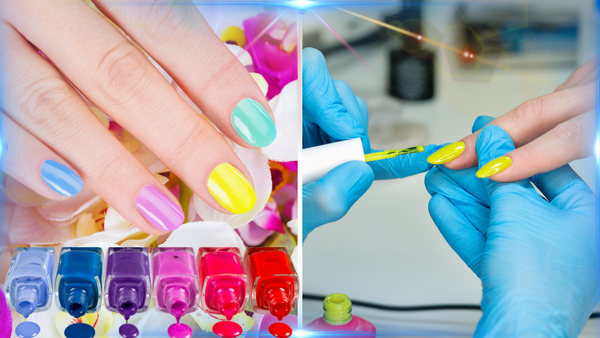
Nail polish sets aren’t just for simple, single-color manicures; they can be the key to creating stunning nail art designs. With a wide palette of colors at your fingertips, the possibilities are endless. High-quality nail polishes ensure longevity, efficient drying, and a lump-free finish, making them perfect for intricate designs. Imagine tapping the center of a flower design with a brown polish-coated thin brush to add a ‘seedy’ look—this is just one example of the creative potential of regular nail polish sets.
Exploring the basics of nail art with regular polish is a great starting point. Techniques like color layering and creating textures and patterns can transform your nails into mini masterpieces. Let’s dive into these techniques and see how you can get started.
The Basics of Nail Art with Regular Polish
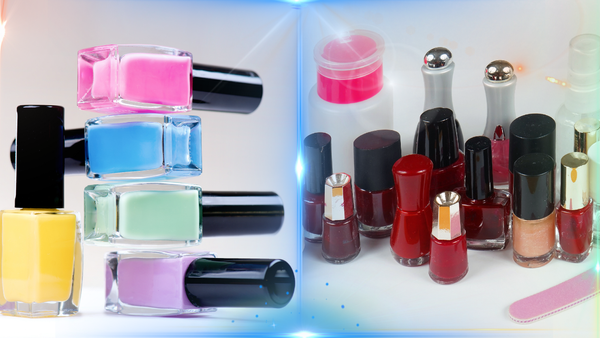
Starting with regular nail polish sets is perfect for beginners. These sets offer a versatile palette for creating various nail art designs without needing specialized paints,. Simple tools like toothpicks or bobby pins can be used to design dots and stripes, turning your regular nail polish into a medium for detailed artwork.
This cost-effective approach allows aspiring nail artists to explore and develop their skills without significant investment.
Color Layering Techniques
Layering colors can create unique effects and enhance your nail art designs. Jelly nail polishes, with their translucency, are perfect for this technique as they allow underlying colors to show through. Start by applying two coats of a darker or more pigmented color, then follow with a single coat of a lighter color for a desired layered effect.
Mix colors from adjacent positions on the color wheel for cleaner shades, or experiment with opposite colors for a more daring look.
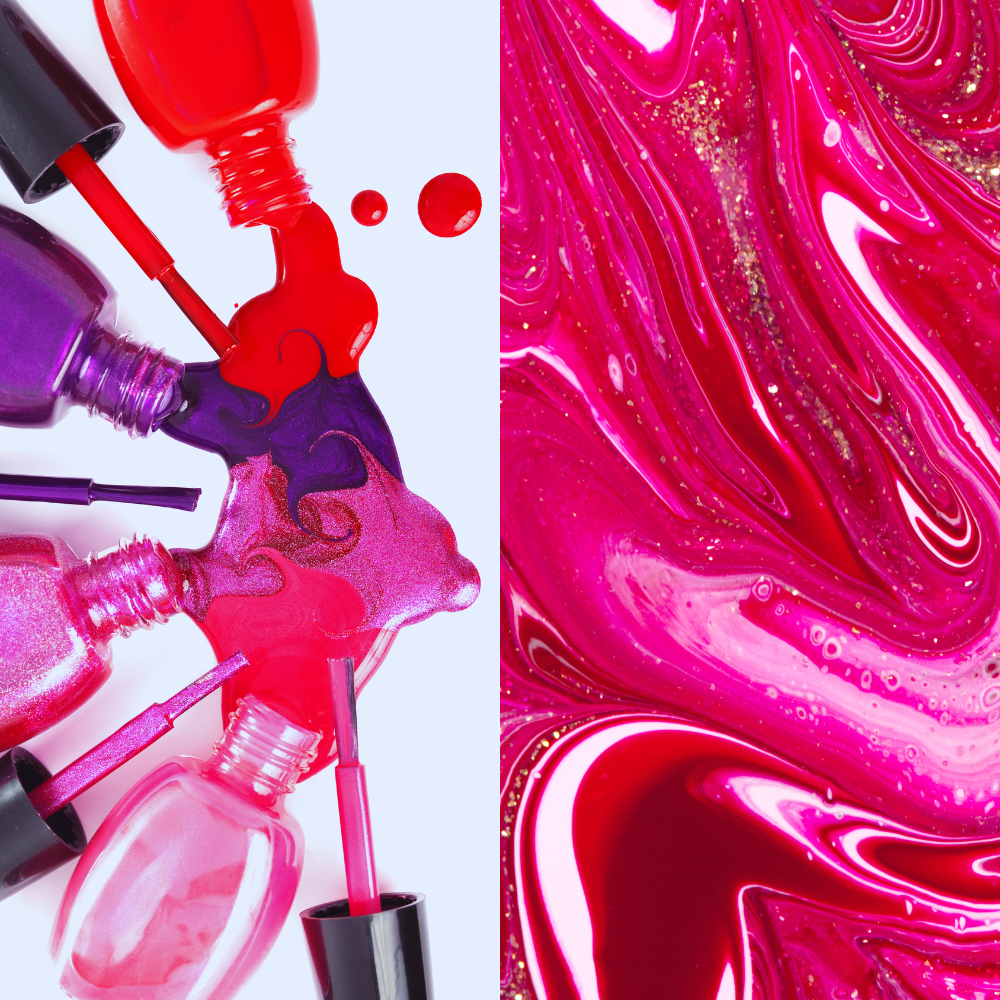
Creating Textures and Patterns
Textures and patterns add a whole new dimension to nail art. Nail polish viscosity plays a crucial role in creating specialized textures. For instance, a pointed kitchen knife can drag wet polishes to form swirls and other fun patterns. Techniques like marbling utilize this method to mix polishes directly on the nail for unique effects.
Dotting and sponging also use different polish consistencies to create distinctive textures and patterns.
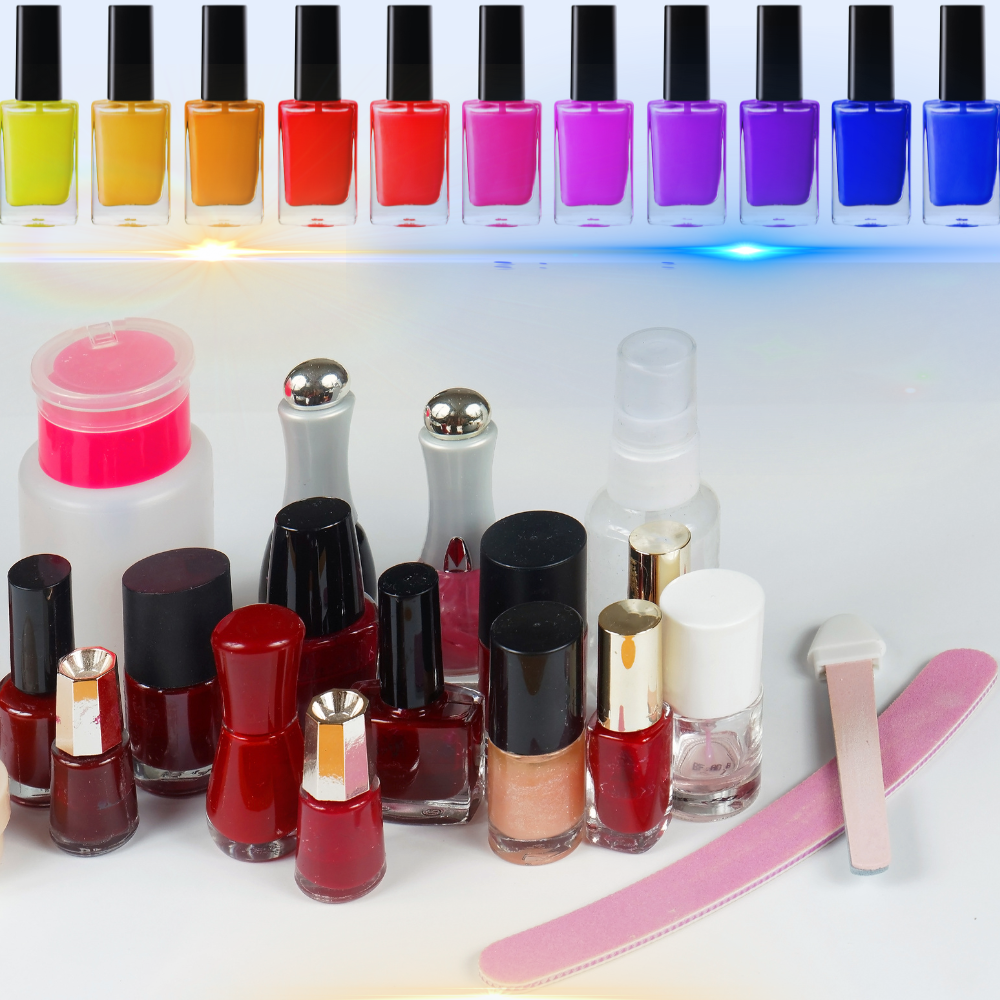
The Essential Toolkit for DIY Nail Artists
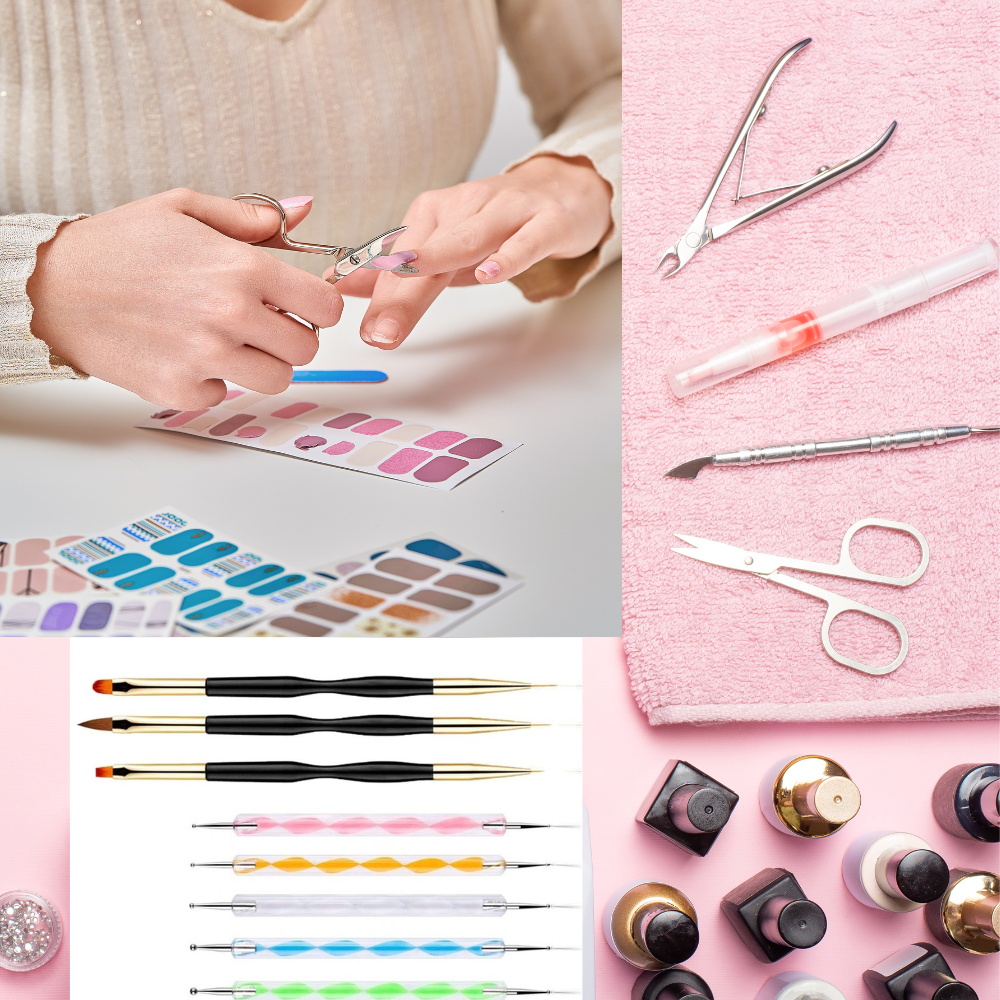
Creating stunning nail art requires more than just polish; having the right tools is essential. Dotting tools, striping tapes, and nail art stickers are crucial for creating various designs, from simple dots to intricate patterns. Adding rhinestones, loose glitter, and caviar beads can give your designs extra style, sparkle, and texture. Investing in quality nail art brushes will boost precision and allow for more intricate creations.
You’ll also need a few extra tools to perfect your nail art. A nail polish correcting pen and lint-free cotton swabs will help erase errors and achieve a flawless finish. Nail stamping kits can replicate complex designs without advanced hand-painting skills, making them a valuable addition to your toolkit.
From Dotting to Stripes: Simple Tools at Home
You don’t need to buy fancy tools to start creating nail art. Household items like:
- bobby pins or the back of an eyeliner pencil cap can serve as improvised dotting tools for applying polish dots on nails
- toothpicks can add fine details
- tape can help create clean, straight lines or stripes
These simple tools can transform your nail art without the need for a significant investment.
Investing in Quality Brushes
Quality brushes are essential for achieving detailed and controlled nail art designs. A fine-tipped brush allows for precision, making it easier to create intricate patterns and fine lines. Proper maintenance of these brushes ensures they remain effective over time, enhancing your ability to create stunning nail art.
Specialized products like soft gel nail art liners can further boost precision.
Sealing Your Masterpiece
A topcoat is crucial for sealing your nail art and providing a final, lustrous finish. It not only enhances the aesthetic appeal of your manicure but also protects the design, ensuring its durability and longevity.
A well-applied gel topcoat can make the difference between a short-lived design and a lasting work of art.
Mastering the Art of Precision with Nail Polish
Precision is key to creating stunning nail art designs. Here are some tools that can help:
- Nail stripers: equipped with thin brushes, they are indispensable for painting fine lines and adding precise color accents.
- Nail art brushes: a varied set, including fan-shaped, flat, angled, thin, and long striper brushes, is critical for adding intricacy to your designs.
- Nail art pens or fine brushes for the utmost precision.
Mastering these precision techniques requires practice and a steady hand.
Free Edge Finesse
Sealing the free edge is crucial for a polished look and to prevent accidental overpainting. The initial step to perfect nail painting involves effectively sealing the free edge, ensuring neatly defined lines.
This technique enhances the overall appearance and durability of your manicure.
Stencil and Sticker Magic
Stencils and stickers are fantastic for adding complex and detailed designs without needing advanced painting skills. To achieve optimal results, follow these steps:
- Apply the stickers and stencils firmly.
- Trim any excess material.
- Use stationery tape to create sharp geometric designs and crisp lines. Be sure to wait until the base polish is completely dry to avoid ruining your design.
Practice Makes Perfect
Practicing designs on paper or practice nails can significantly improve your precision. This approach helps avoid mistakes during the manicure process and allows you to experiment with various designs.
As an aspiring nail artist, it’s essential to develop advanced nail art skills through ongoing practice on your nails and staying updated with industry trends at a nail salon, setting you on the path to becoming a successful nail artist.
Mixing and Matching: Combining Polishes for Unique Effects
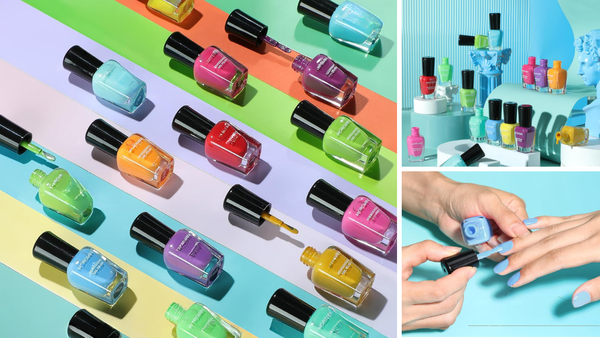
Mixing and matching nail polishes can create custom colors and unique effects, opening up endless possibilities. Combining different shades within a nail polish set allows you to craft an array of custom colors and finishes not originally found in the set.
Techniques like adding acetone to nail polish can create watercolor effects, allowing the polish to spread in delicate, translucent layers. This approach not only adjusts the consistency but also enables the creation of custom shades and finishes.
Custom Color Creation
Creating custom nail polish colors involves:
- Mixing two shades using polishes with the same base type from the same brand for consistency
- Adjusting the intensity and hue by adding white polish to lighten or more of the original darker color to deepen it
- Layering sheer polishes over another polish adds depth and special effects, such as shimmering finishes or the illusion of more colors.
Gradient effects can also be achieved by strategically applying mixed colors for seamless transitions.
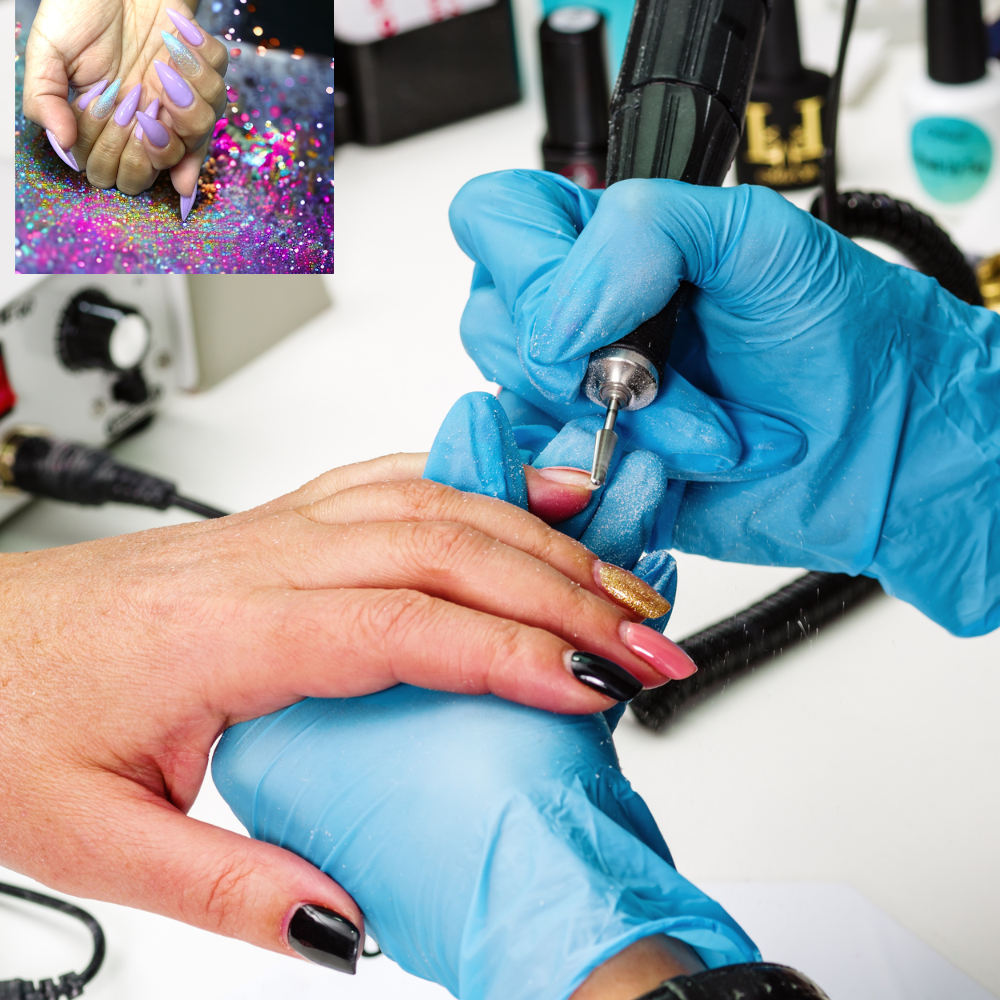
Glitter and Flair
Adding glitter to your nail art can provide extra depth and texture. Here are some tips for using glitter in your nail art:
- Mix gels and tiny loose glitters with clear nail polish to create dazzling, custom color variations.
- Apply superfine to medium-sized glitter over gel polish.
- Seal the glitter with a top coat to secure the particles.
Encapsulation with a stronger medium like builder gel ensures durability for larger glitter pieces. Glitter not only adds a shimmering finish but also enhances the overall visual effect of your nail art.
The Role of a Base Coat
A base coat is essential for:
- Protecting your nails
- Ensuring a smooth application of polish
- Serving as a protective layer, preventing discoloration from polish pigments
Using a base coat can also help prevent chipping, peeling, and overall wear and tear, providing a solid foundation for a long-lasting manicure.
Advanced Nail Art Techniques Using Polish Sets
Advanced techniques like 3D textured designs and negative space nails offer exciting possibilities for those looking to take their nail art to the next level. Using regular polish sets, you can create intricate 3D designs like:
- sweater nails by applying gel polish with a fine brush and using loose acrylic powder to create a raised knitwear-like design
- floral designs by using a dotting tool or toothpick to create petals and leaves
- geometric patterns by using striping tape or nail stencils to create clean lines and shapes
Mixing various products, such as acrylic paint, pigment powders, gels, and polishes, allows for versatility in your artwork.
Negative Space Nails
Negative space nails incorporate the nail's natural color into the design, creating a modern and visually striking look. By meticulously applying polish so that portions of the nail remain unpainted, you can utilize the natural nail color as part of the aesthetic. Adhesive stencils help achieve clean and precise designs, making this technique accessible even for beginners.
Applying negative space designs on accent nails can add a unique flair to your manicure.
Splatter and Spray Effects
Splatter nail art creates an abstract, spray paint-like effect, resembling scattered paint droplets on nails. Dip a straw into nail polish and blow air through it to disperse the paint onto the nails to achieve this pattern. Alternatively, brushes can flick polish onto the nails for a similar effect.
Different sizes and types of brushes can offer varied splatter effects, adding a unique touch to your nail art.
Watercolor Wonders
Watercolor nail art involves creating a diffused effect with soft colors blending into one another, resembling delicate watercolor paintings. To prepare for this technique, you will need:
- Nail polish
- Polish remover or alcohol
- Thin liner brushes
- Dotting tools
- Small sponges
To achieve the watercolor effect, dilute the nail polish with a small amount of polish remover or alcohol to achieve a thin, blendable consistency. Jelly finish polishes, which are sheer and shiny, are perfect for layering and mixing to produce the watercolor look.
Start with a neutral base coat, let it dry, and then blend the chosen diluted colors for an ethereal effect. Alternatively, Sharpie markers can be used on the nails, blended with rubbing alcohol, and sealed with a topcoat for a similar appearance.
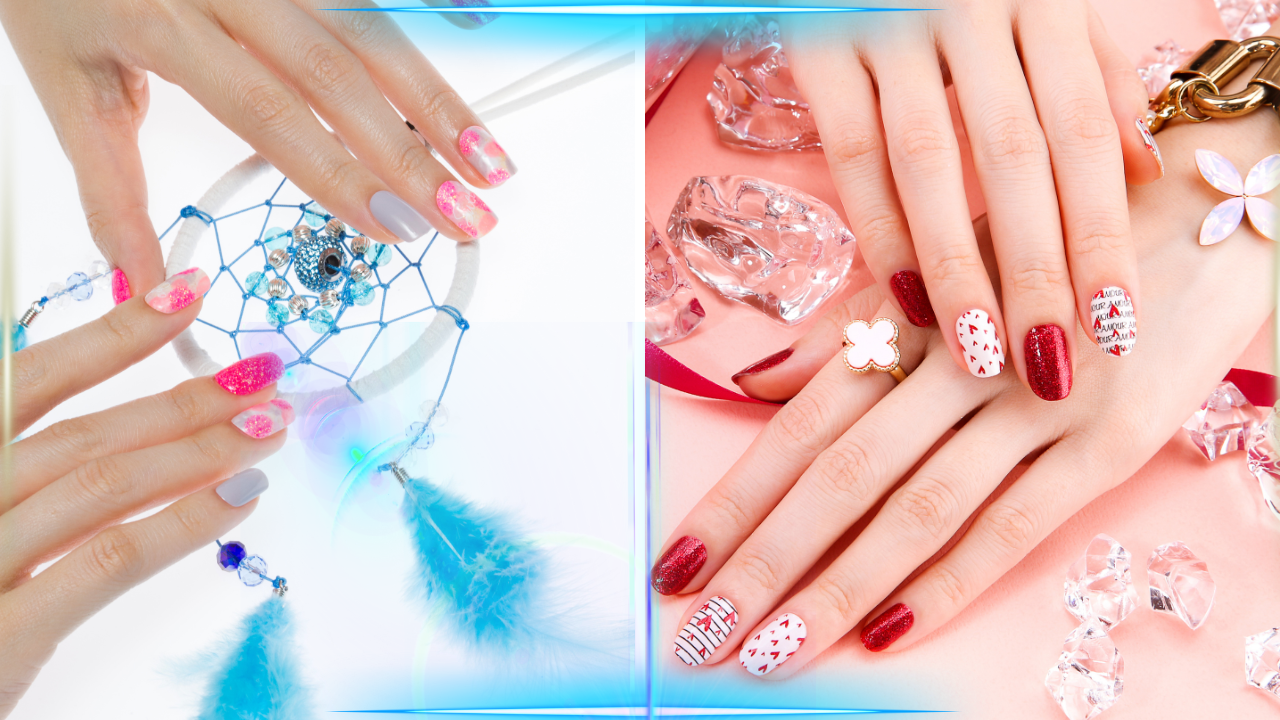
Transforming Traditional Manicures with Nail Art Flair
Traditional manicures can be effortlessly transformed with a touch of nail art. Here are some ideas to enhance your manicure:
- Start with a classic two-coat nail polish base, providing a subtle and elegant foundation for additional designs.
- Simple accessories like glitter, rhinestones, or stickers can be applied over this base to add personal style without overpowering the elegance of the manicure.
- Patterns such as dots, stripes, or minimalist shapes can also enhance a traditional manicure, making it suitable for various occasions by balancing sophistication and personal expression.
Let’s explore specific ways to add flair to traditional manicures, from accent nails to reinvented French manicures and minimalist designs.
Accent Nails
Accent nails are a popular way to personalize a manicure by applying a contrasting color or design to one nail on each hand, often the ring finger. Ideas for accent nails include:
- A black-and-white color scheme
- A nude nail with a terracotta accent
- High-contrast colors like navy and yellow
- Natural finishes with sparkly polish
- Intricate designs like stripes or polka dots
Accent nails can also creatively disguise chips, turning a flawed manicure into a stylish new design.
Start with a clean, prepped nail base, apply a primary color to most nails, select an accent nail, apply a contrasting polish, and finish with a top coat.
French Manicure with a Twist
The French manicure has evolved from classic pink and white to featuring bold colors and patterns while preserving its traditional shape. Current styles include tips with arcs of bold colors like neon, tie-dye, and themed patterns.
To do a French manicure at home, follow these steps:
- Start with a central dash and create arcs on each side for even tip thickness.
- This style works on both long and short nails.
- It can be applied to nude or bare nails, offering a stylish look that accommodates natural nail growth between salon visits.
Minimalist Designs
Minimalist nail designs focus on simplicity and understated elegance, often embracing the natural nail color as part of the nail art design. Some key features of minimalist nail designs include:
- A restrained color palette that allows the natural beauty of the nail to stand out
- Simple geometric patterns or thin lines that create visually striking designs without overwhelming the nail
- Strategically placed dots or minimalist floral patterns that add subtle detail and enhance the nail’s natural beauty
Accentuating features like the lunula with minimalist designs adds sophistication. A single sticker or tiny rhinestone can add a hint of charm to a simple manicure while combining glossy and matte topcoats creates a subtle yet intriguing contrast.
Summary
Creating stunning nail art with regular nail polish sets is within your reach. From mastering basic designs to exploring advanced techniques, you can transform your nails into works of art. Remember, the key is to experiment, practice, and maintain your creations with proper care. Whether you’re a beginner or an experienced nail artist, these tips and tricks will help you achieve and preserve beautiful nail art. So, grab your polishes and start creating your masterpieces today!
For those interested in some nail products' huge discounts with amazing deals up to 50% off, please click here.
Frequently Asked Questions
Can I use regular nail polish for nail art?
Absolutely! You can use regular nail polish for your nail art. Just use the right tools and techniques to achieve the designs you want.
What household items can I use for nail art?
You can use bobby pins, toothpicks, and tape to create cool nail art designs at home, like dots and stripes. Give it a try, and have fun experimenting with different designs!
How do I create custom nail polish colors?
To create custom nail polish colors, mix two shades of polish with the same base type from the same brand for consistency, and adjust the intensity by adding white polish to lighten or more of the original color to deepen it. You got this!
How can I make my nail art last longer?
To make your nail art last longer, ensure each layer of polish is fully dried, use a base coat and a topcoat, and apply cuticle oil daily. Additionally, wearing gloves while doing chores can help protect your nail art and make it last longer.
What are negative space nails?
Negative space nails leave unpainted portions of the natural nail, creating a modern and visually striking design. Try it out for a unique look!