


Key Takeaways
- For the most intense and durable glow, charge your glow-in-the-dark nail polish with sunlight or a UV lamp, though other light sources can work, too.
- Use a UV flashlight to charge your nails efficiently, but LED flashlights can also be effective; just ensure that you apply a white base coat and multiple layers of polish for the best results.
- To maintain the glow of your nail polish, apply a regular base coat and a proper top coat to seal the glow. Use quality polish with good glow retention; store in a cool, dark place to prevent clumping.
Shedding Light on Glow: The Essentials of Charging Glowing Nail Polish

Ladies and gents, rev up your UV lamps as we delve into the radiant realm of glowing nail polish. This isn’t your regular nail polish; we’re talking about a unique lacquer that can emit light when exposed to any light source, be it sunlight, lamps, ultraviolet light, or even flashlights. Exposing your polish to bright or black light is recommended for an optimal glowing effect. Even dim sources like nightlights can activate its glow.
However, among various light sources, sunlight is the most effective in charging your glow-in-the-dark nail polish, resulting in a more intense and lasting glow.
Understanding UV Light and Nail Polish

So, how does UV light work magic on your glowing nail polish? The secret lies within the polish's phosphors. When these phosphors come into contact with UV light, they absorb it and later re-emit it as visible light, giving your nail polish its glow.
This process of absorbing UV light and re-emitting it intensifies the brightness of the glowing effect in nail polish. Black lights or ultraviolet lights are particularly effective at activating your glow-in-the-dark polish, leading to an increased glow intensity.
Types of Flashlights for Optimal Charging

Not all flashlights are created equal when it comes to charging your glowing polish. UV flashlights are considered superior due to their specific light frequency, which makes them highly effective in charging your glow-in-the-dark polish. These flashlights have features like USB-C rechargeability and varying brightness levels, adding to their appeal and functionality for quick and convenient charging.
Moreover, a focused beam UV flashlight, an efficient UV light source, can charge glowing elements under ambient daylight, making them even more practical. But don’t fret if you don’t have a UV flashlight. Standard LED flashlights can also do the trick, although they may not provide the same efficiency level.
The Science of Glowing
Now, let’s take a moment to appreciate the science of glowing. The glow you see is all thanks to strontium aluminate, a common phosphor used in glow-in-the-dark nail polish. This phosphor is responsible for storing and emitting light, the essence of glow.
Strontium aluminate can absorb and store light energy and slowly release it, creating the characteristic glow we associate with glow-in-the-dark products. This phosphor-based glow can emit light in various colors, often including enchanting blue, green, or yellow hues.
Step-by-Step Guide to Charging Your Nails
Ready to illuminate your nails? Let’s dive into a step-by-step guide to charging your nails with glow-in-the-dark polish. UV light is the most effective for charging your polish, making UV flashlights superior for this purpose. Not all flashlights emit UV light, but those that do, whether they use LED or incandescent bulb technology, can get the job done.
Aim the UV flashlight beam at your nails from a distance of 1-3 inches for about 10-20 seconds to charge your glow-in-the-dark polish.
Preparing Your Nails
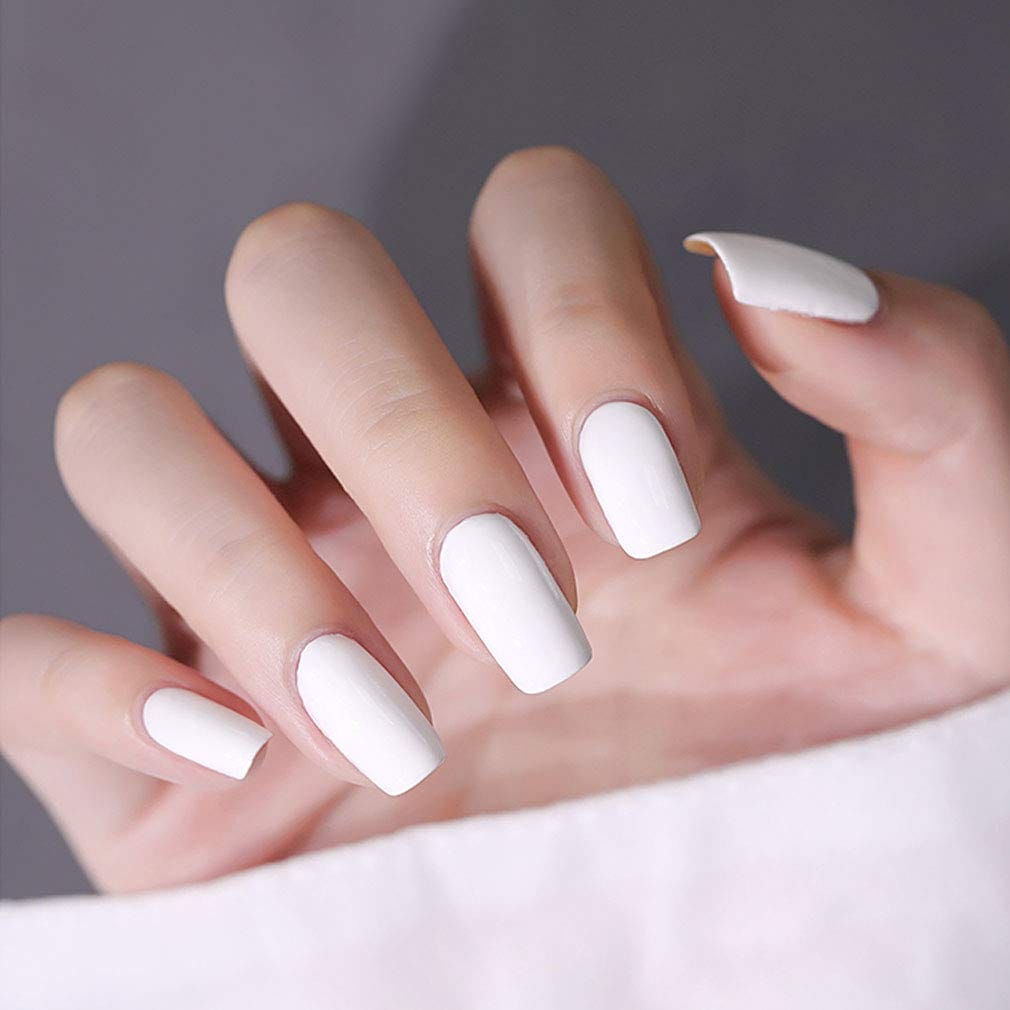
Preparing your nails properly is crucial before we get to the exciting part of seeing your nails glow. Start by applying a white or neutral base coat. This step enhances the glow effect and contributes to its consistency and brightness. Make sure the base coat of regular nail polish is fully dry before applying the glow-in-the-dark polish to prevent smudging and achieve an even application.
In addition, allowing each layer, including the glow paint, to dry thoroughly can enhance durability and maintain the glow effect over time.
Application Techniques for Maximum Glow
Next, let’s discuss application techniques to maximize the glow. For pronounced glowing nails, consider mixing about 25% glow powder into clear nail polish. Keep stirring frequently as the powder may settle.
Shake the bottle of glow-in-the-dark nail polish thoroughly before application to ensure the ingredients, including the glow powder, are properly mixed. We recommend applying multiple coats of glow-in-the-dark nail polish for a brighter and more uniform appearance, allowing each layer to dry thoroughly before the next.
Using a Flashlight to Charge
Now, onto the fun part—charging your nails! Activating the glow-in-the-dark polish requires exposing it to a light source. You can use a regular light bulb or a smartphone’s flashlight to briefly expose your nails to light to enhance the polish’s glow.
If the polish doesn’t glow as expected, don’t panic! It’s probably because your nails need a bit more exposure to light. Direct a flashlight toward your nails for a while, and you should see your nails glow.
Tips for Prolonging the Glow
Once your nails glow, it’s time to focus on prolonging the glow. Glow-in-the-dark nail polish typically glows for 6-7 hours, with the brightest glow lasting 30-60 minutes.
A regular base coat should be applied before the glow-in-the-dark polish to ensure a longer-lasting glow. Sealing the glow in the glow-in-the-dark polish with a topcoat can protect it and help maintain its intensity for an extended period.
Maximizing Charge Retention
It’s crucial to provide adequate initial charging to maximize charge retention. Strontium aluminate's light-storing quality allows it to produce a bright glow that lasts for several hours, with the intensity being most pronounced in the initial hours post-charge. The glow duration can extend up to 10 hours depending on various factors, such as the type of resin used, energy levels used for activation, and the pigment concentration.
Applying a top coat over glow-in-the-dark polish can also help seal the glowing effect, providing additional protection and extending the glow's duration.
Protecting Your Glowing Art
Protecting your glowing nail art is essential for maintaining its vibrancy and longevity. To prevent your gel polish from becoming hard or clumpy, avoid storing it in direct sunlight and use nail polish thinner rather than acetone or nail polish remover.
Applying a clear UV protectant coating can help preserve the glow and color of your glow-in-the-dark polish. For additional protection against wear and tear, consider using shellac or non-UV protectant clear paint over the glow paint.
Creative Nail Art Ideas with Glow in the Dark Polish
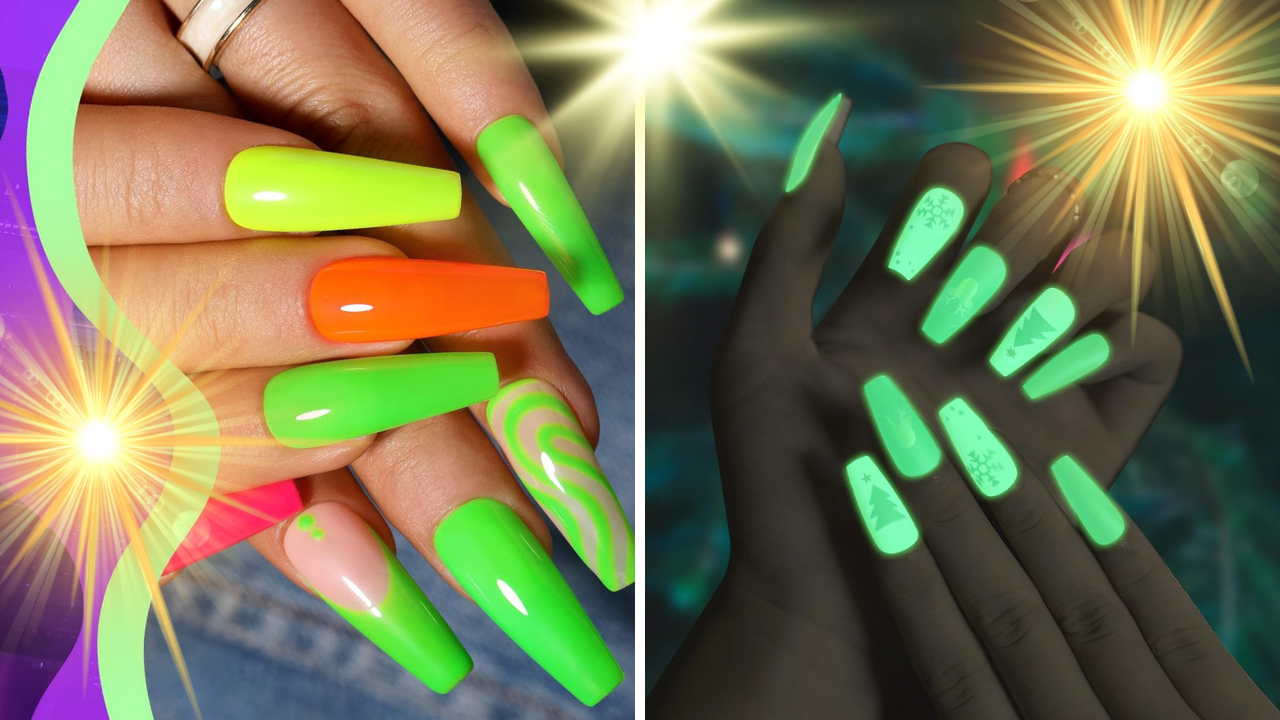
Now that you’re well-versed in the world of glow-in-the-dark nail polish, it’s time to let your creativity shine. This magical medium offers versatile nail art options that appear subtle in daylight but provide a vibrant neon effect after dark, catering to a low-key daytime aesthetic and an eye-catching nighttime style.
Incorporating Glow Effects into Designs
Glow effects can be incorporated into various nail art designs for a personalized touch. Some ideas include:
- Glowing colorful designs
- French tips with a glow-in-the-dark twist
- Ombré effects with a glow-in-the-dark gradient
- An all-over polish look with a glow-in-the-dark finish
The possibilities are endless!
You could choose glowing, colorful rhinestones, celestial themes with layered pastel shades, or themed designs for events like Halloween.
Experimenting with Colors and Layers

Don’t be afraid to experiment with different glow paint colors and layering techniques, including dark paint. By layering various colors of glow paint, you can add depth and dimension to your nail art, enhancing its visual impact.
The versatility of glow-in-the-dark nail polish opens up a world of creative possibilities. So, get out there, experiment with your color schemes and layering techniques, and personalize your glow-in-the-dark nail art.
Themed Designs for Special Occasions
Glow-in-the-dark nail art isn’t just for everyday wear. It can add a festive and spooky touch to special events, particularly during Halloween. Imagine your nails beaming with eerie designs like crocodile print, amorphous blobs, or spooky drops, enhancing the overall scariness of your costume.
You can achieve themed glowing effects for Christmas and other festive occasions by hand-painting your nails with designs like Christmas lights and overlaying them with glow-in-the-dark powder.
Troubleshooting Common Issues with Glow in the Dark Polish
Like any beauty product, glow-in-the-dark nail polish can sometimes present challenges. Here are some tips to prevent issues with gel polish:
- Minimize the time the polish bottle is open during application to prevent hardening from light exposure.
- Store your gel polish in a cool, dark place to avoid UV and natural light exposure.
- If your gel polish becomes hard or clumpy, add a few drops of nail polish thinner to restore consistency.
By following these tips, you can ensure that your glow-in-the-dark nail polish stays in perfect condition.
Storing your gel polish bottles in dark places, away from light sources, can also help maintain their consistency.
Solving Uneven Glow Challenges
Uneven glow can be another common issue when dealing with glow-in-the-dark polish, but it’s easily solvable. This could result from not applying an adequate base coat or applying the glowing nail polish unevenly. For an even application, roll the nail polish bottle between your hands instead of shaking, which can create air bubbles that lead to an uneven glow.
If the uneven glow persists, additional coats can be applied, paying particular attention to lighter areas to help balance out the overall appearance.
Boosting the Brightness of Your Glow
If your glow isn’t as bright as you’d like, don’t worry! There are several ways to achieve a brighter glow and boost the brightness of your current one.
Applying multiple coats of glow-in-the-dark nail polish can significantly enhance the brightness and intensity of the glow visible at night. Selecting polishes with high-quality phosphorescent elements can also maximize glow intensity. And remember, it’s always a good idea to test the glowing effect in a dark room before waiting for darkness outside.
Summary
We’ve come a long way from the traditional world of nail polish to the radiant reality of glow-in-the-dark nail polish. With its ability to absorb and emit light, this innovative product offers a unique way to express your style day and night. The key to a perfect glow lies in understanding its science, preparing your nails adequately, applying the polish correctly, and knowing how to charge it effectively using a UV flashlight.
Frequently Asked Questions
Can I charge glow-in-the-dark nail polish with any flashlight?
Yes, you can charge glow-in-the-dark nail polish with any flashlight, but UV flashlights are the most effective because of their specific light frequency.
How do I prepare my nails for glow-in-the-dark polish?
To prepare your nails for glow-in-the-dark polish, start with a white or neutral base coat to make the glow effect pop. Make sure the base coat is completely dry before applying the glow polish.
How can I boost the brightness of my glow?
To boost the brightness of your glow, apply multiple coats of high-quality glow-in-the-dark nail polish with strong phosphorescent elements. This will help maximize the intensity of the glow.
How can I prolong the glow of my nail polish?
To prolong the glow of your nail polish, apply a regular base coat before the glow-in-the-dark polish and seal it with a topcoat for long-lasting intensity. This will help maintain the glow for an extended period.
What should I do if my glow-in-the-dark nail polish becomes thick or clumpy?
To restore the consistency of your glow-in-the-dark nail polish, you should use a nail polish thinner. Avoid using acetone or nail polish remover, as they contain different chemicals.