


Key Takeaways:
- Stamping polish can be used to paint your nails, but there are specific considerations to keep in mind.
- The consistency and pigmentation of stamping polishes differ from regular nail polishes.
- Proper techniques and tools are essential for achieving the best results with stamping polish.
Nail art has taken the beauty world by storm, and one of the most popular techniques is nail stamping. But a common question arises: Can you paint your nails with stamping polish? This article dives deep into the nuances of stamping polish for painting nails, comparing it with regular nail polish and providing practical tips for achieving stunning nail art.
Understanding Stamping Polish

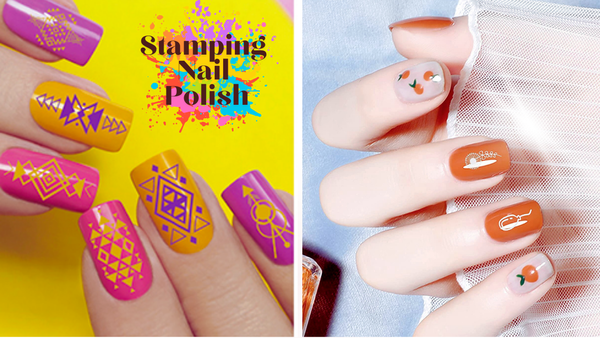
Stamping polish is specially formulated for nail stamping, a technique that involves transferring designs from a stamping plate to your nails. It works exceptionally well with a nail stamping plate, providing good coverage and air drying fast. These polishes are highly pigmented and have a thicker consistency than regular nail polishes. This ensures that the designs are crisp and clear when transferred.
However, the thicker consistency of stamping polish can make it challenging to use as a regular nail polish. It may not spread as smoothly or evenly, and it can take longer to dry. Despite these challenges, many nail enthusiasts experiment with stamping polish to paint their nails due to its vibrant colors and opacity.
Differences Between Stamping Polish and Regular Nail Polish

Regular nail polish is designed for smooth application and even coverage. Most regular nail polishes have a runny consistency and typically require multiple coats to achieve full opacity, especially with lighter colors. Regular polishes are also formulated to dry at a moderate pace, allowing for easy application and correction.
On the other hand, stamping polishes are highly pigmented and designed to dry quickly. Finding the right consistency and pigmentation in nail polish for stamping is crucial for successful nail stamping. This quick-drying feature is essential for stamping but can be a drawback when painting nails, as it leaves less time for smoothing out the polish. Additionally, the thicker consistency can make it harder to achieve a smooth finish with stamping polish.
Pros and Cons of Using Stamping Polish
Stamping polish used to paint nails has pros and cons. On the positive side, stamping polishes are highly pigmented, providing vibrant colors and full coverage with just one coat. They also come in unique shades and finishes, like glitter and metallic, adding a special touch to your manicure. Using glitter nail polish with fine glitter particles can enhance your nail art without ruining the stamp. However, the thicker consistency can make it hard to apply smoothly and evenly. Additionally, the quick drying time, while great for stamping, can be tricky to manage when painting nails.
Tips for Painting Nails with Stamping Polish
If you’re using stamping polish to paint your nails, here are some tips for great results: Although thick nail polish is excellent for stamping, apply thin layers to avoid clumps and uneven spots; multiple thin coats work better than one thick coat. Work quickly because the polish dries fast, so spread it evenly before it sets. Also, use a good base coat to help the polish stick better and provide a smooth surface for your nails.
Tools You’ll Need

To paint your nails with stamping polish, you’ll need a few essential tools:
- Base Coat: To protect your nails and provide a smooth surface.
- Top Coat: Seal in the color and add shine.
- Applicator Brush: A good quality brush can help with even application.
- Acetone: This is used to clean up any mistakes and remove excess polish.
Guide to Painting Nails with Stamping Polish

First, wash your hands and nails well to remove any oils or residue, then apply a base coat to protect your nails and create a smooth surface. You can also repurpose old nail polish for stamping, as older polish tends to thicken and improve consistency. Next, use a good quality applicator brush to put a thin layer of stamping polish on your nails, working quickly to spread it evenly, and apply a second coat if needed. Clean up any excess polish around your nails with acetone and a small brush for a neat look. Finally, once the stamping polish is dry, apply a top coat to seal in the color, add shine, and make your manicure last longer.
Comparing Stamping Polish with Gel Polish
Gel nail polishes are another popular option for nail art, known for their long-lasting and chip-resistant finish. Unlike stamping polish, gel nail polishes require curing under a UV or LED lamp, which adds an extra step to the process. While gel polish offers a smooth and durable finish, it doesn’t have the same level of pigmentation as stamping polish. This means that you may need multiple coats to achieve full opacity. Additionally, the removal process for gel polish is more involved, requiring soaking in acetone.
Using Stamping Polish for Stamping

While stamping polish can be used to paint nails, it truly shines in its intended purpose: nail stamping. The thick, highly pigmented formula is perfect for transferring intricate designs from stamping plates to nails. To use stamping polish, start by applying a base coat and a base color to your nails. Choose a design from your nail stamping plates and apply the stamping polish to it. Use a scraper to remove excess polish, then press a stamper onto the design to pick it up. Finally, press the stamper onto your nail to transfer the design.
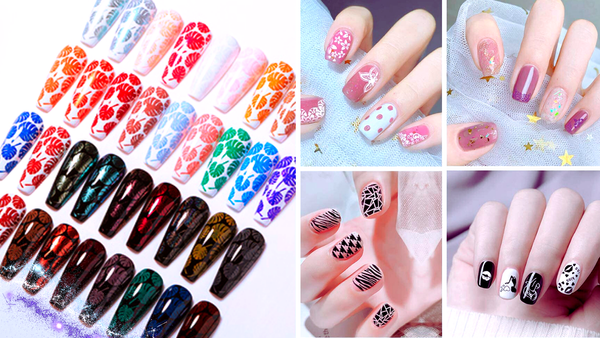
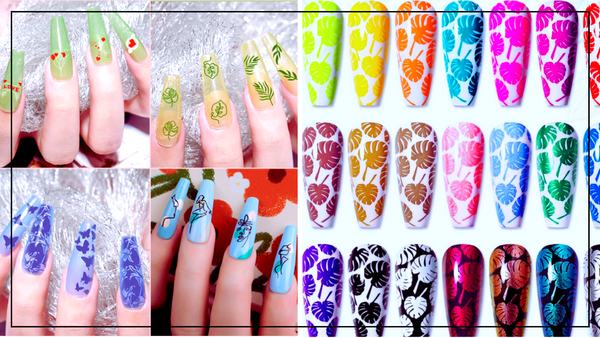
Different Colors and Finishes
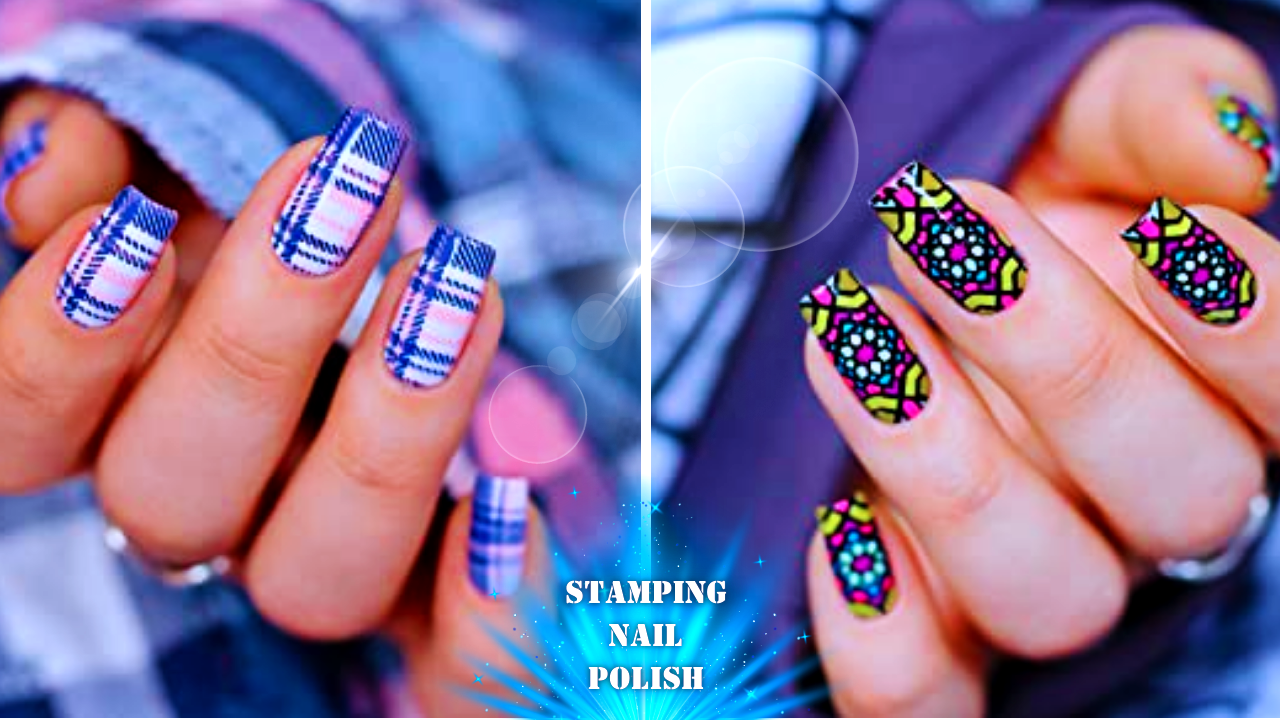
One fun aspect of stamping polish is experimenting with different colors and finishes. From bright pinks and purples to glitter and metallics, there are endless possibilities for creating unique and eye-catching nail art. For example, you can use a glitter stamping polish to add a touch of sparkle to your manicure. Or, try a metallic stamping polish for a bold and edgy look. The key is to have fun and get creative with your nail art.
Removing Stamping Polish
Removing stamping polish can be more challenging due to its thick and pigmented formula. Here’s how to do it effectively:
- Soak a Cotton Ball in Acetone: Place the soaked cotton ball on your nail and wrap it in aluminum foil. Let it sit for 10-15 minutes.
- Remove the Foil: Gently scrape off the polish with a cuticle pusher. If needed, repeat the soaking process.
- Moisturize: After removing the polish, moisturize your nails and cuticles to prevent dryness.
Summary
In conclusion, while stamping polish can be used to paint your nails, it requires special considerations and techniques. The thicker consistency and quick drying time can make it challenging to work with, but the vibrant colors and opacity can make it worth the effort. Following the tips and techniques outlined in this article, you can achieve stunning nail art with stamping polish. Plus, grab amazing deals with up to 50% off nail care products to make your at-home nail art even more budget-friendly!
FAQ
Can you use stamping polish as regular nail polish?
Stamping polish can be used as regular nail polish, but due to its thicker consistency and quick drying time, it requires some special techniques.
What is the difference between stamping polish and regular nail polish?
Stamping polish is highly pigmented and has a thicker consistency, designed for transferring designs from stamping plates. Regular nail polish is formulated for smooth and even application, often requiring multiple coats for full opacity.
How do you remove stamping polish from your nails?
Soak a cotton ball in acetone to remove stamping polish and place it on your nail. Wrap your nail in aluminum foil and let it sit for 10-15 minutes. Gently scrape off the polish with a cuticle pusher and moisturize your nails and cuticles afterward.