


If you’re curious whether “glow-in-the-dark nails charge in the sun,” the straightforward answer is yes. Sunlight’s UV rays are incredibly effective at energizing the special pigments in your nail polish for that night glow. This piece will guide you through the hows and whys, the optimal sun exposure, and practical tips to keep your nails shining and healthy.
Key Takeaways
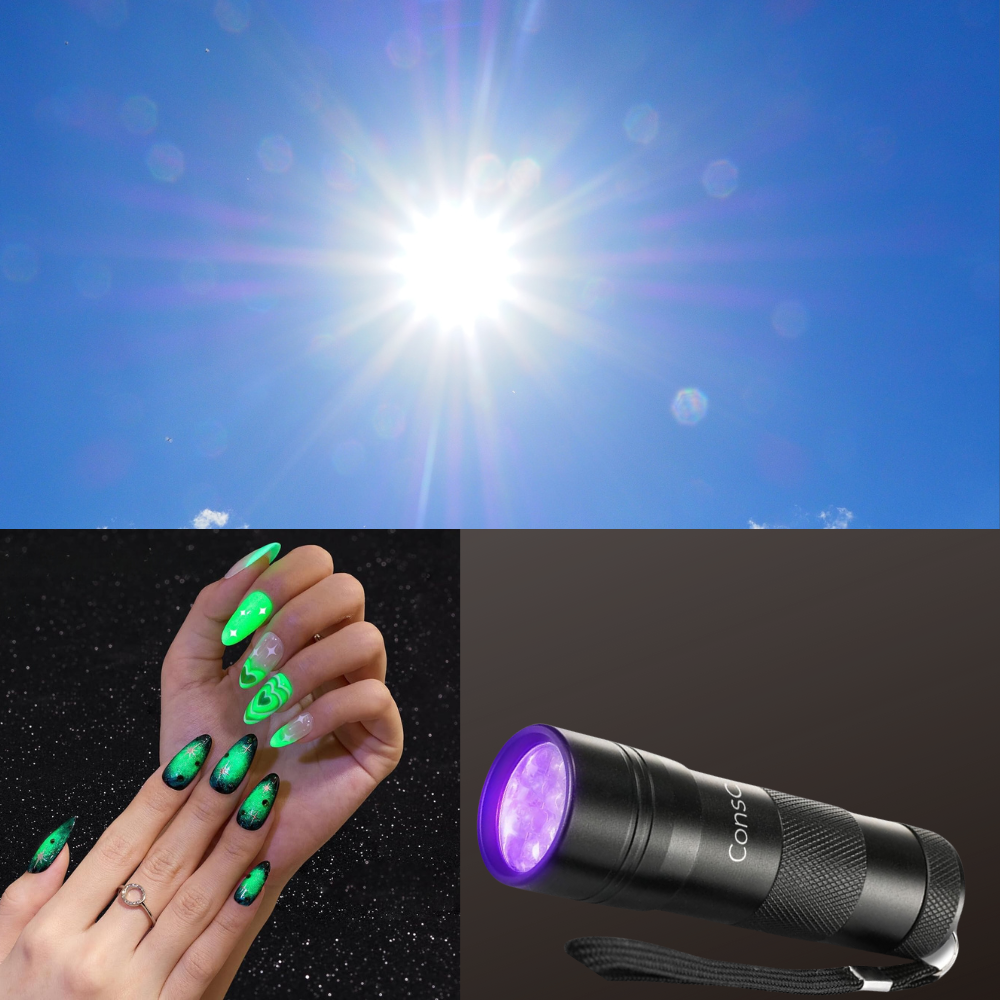
- Glow-in-the-dark nail polish contains pigments that absorb and slowly release light, making your nails radiant in the dark. Sunlight, especially UV rays, supercharges these pigments for a brighter, longer-lasting glow.
- To maximize the brightness of your glow-in-the-dark nails, charge them with natural or artificial UV light, but avoid overcharging. Protect your nails and skin from excessive UV exposure with sunscreen and limit your charging time.
- Layer your phosphorescent nail polish for an enhanced glow, using a white or fluorescent base color. Charge your nails as needed, and consider using DIY charging techniques or UV flashlights at home.
Unveiling the Secrets of Glowing Nails
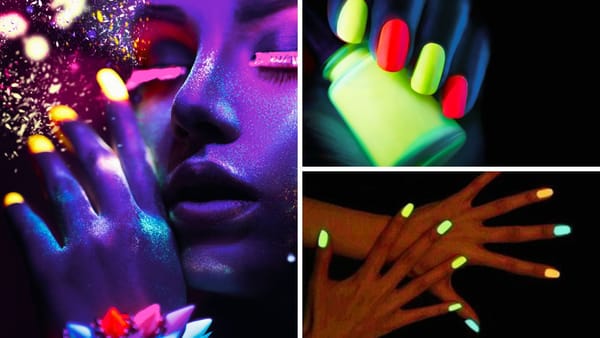
Glow-in-the-dark nail polish is not just your regular nail polish; it’s a bottle of wonder. It contains a medium that can be charged with light, and when the lights go off, voila! Your nails glow with a mystical aura. But what’s behind this magic? The answer lies in pigments, like strontium aluminate or zinc sulfide, that absorb light and release it over several hours. It’s like a slow-motion energy transaction from the sun to your nails, making them shine bright in the darkness.
However, maximizing the potential of this glowing polish requires thoroughly mixing the components. Proper blend and activation of the glow-in-the-dark properties allow for a brighter, longer-lasting glow. Just like mixing a delicious cocktail, you need every ingredient to blend perfectly to achieve the desired taste, or in this case, the desired glow.
What Makes Your Nails Glow?
Imagine your nails as a canvas, with phosphors like strontium aluminate being the paint. When exposed to light, these phosphors absorb it like a sponge and emit it slowly, creating the glow you see. The glow’s intensity and duration depend heavily on the quality of the phosphorescent material. Among these, strontium aluminate steals the show for being particularly efficient in emitting a bright and long-lasting glow.
The phosphors in your glowing polish act as miniature solar panels, taking in light to energize themselves. Once charged, they release this absorbed light as visible light, creating the stunning glow-in-the-dark effect. Sunlight, especially its ultraviolet (UV) light, is like a supercharger for these phosphors, helping them absorb light quickly and efficiently. Just a quick sunbath and your nails will be ready to light up the night!
The Sun's Role in Charging
Nature’s perfect energy source for charging glowing nail polish is undeniably daylight. As efficient as natural, sunlight lets your nails soak up energy for their big glow-up.
The secret ingredient in sunlight's efficiency is its UV rays. These rays are crucial in charging glow-in-the-dark nail polish faster and more effectively. It’s like sunlight has a supercharging mode, designed exclusively to power up your glow-in-the-dark nails!
Soaking Up the Sun: A Bright Idea for Glowing Nails?
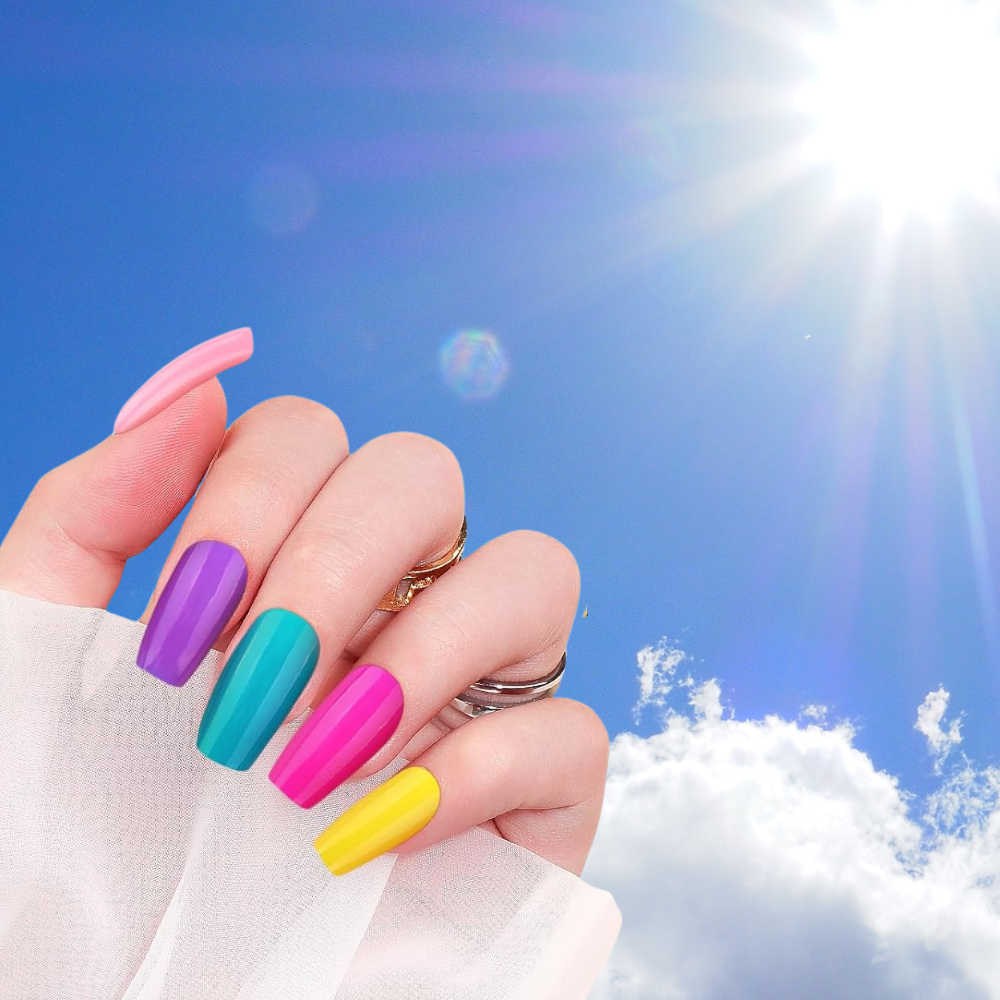
Charging your glow-in-the-dark nails with sunlight is akin to powering your home using a solar panel – it’s natural, effective, and ingenious. With its abundant and intense light, direct sunlight is a fantastic source to energize the glowing pigment in your nail polish.
However, not all light is created equal. Some sources, like the UV black light from the sun, are particularly good at charging glow-in-the-dark pigment powders in nail polish. These light sources have a VIP pass, getting straight to the heart of the pigment to give it the best possible charge.
The Power of UV Light from the Sun
Among the spectrum of sunlight, the UV component stands out in charging glow-in-the-dark nail polish. UV light is like a supercharger, able to whizz your polish to full capacity within just a few minutes. It’s the light equivalent of a caffeine shot, quickly giving your nails the boost they need to glow brightly.
Like coffee works faster on an empty stomach, UV light charges glow-in-the-dark materials best in complete darkness. So, the next time you want to charge up your glow-in-the-dark nails, consider giving them a sunbath followed by a peaceful rest in darkness. They’ll wake up all refreshed, ready to glow like never before!
Duration Matters: How Long Should You Charge?
Charging glow-in-the-dark nails is not just about absorbing sunlight but also about the duration of absorption. Overcharging might sound like a great idea at first, but finding a balance is essential to ensure a long-lasting glow without damaging your nails or skin.
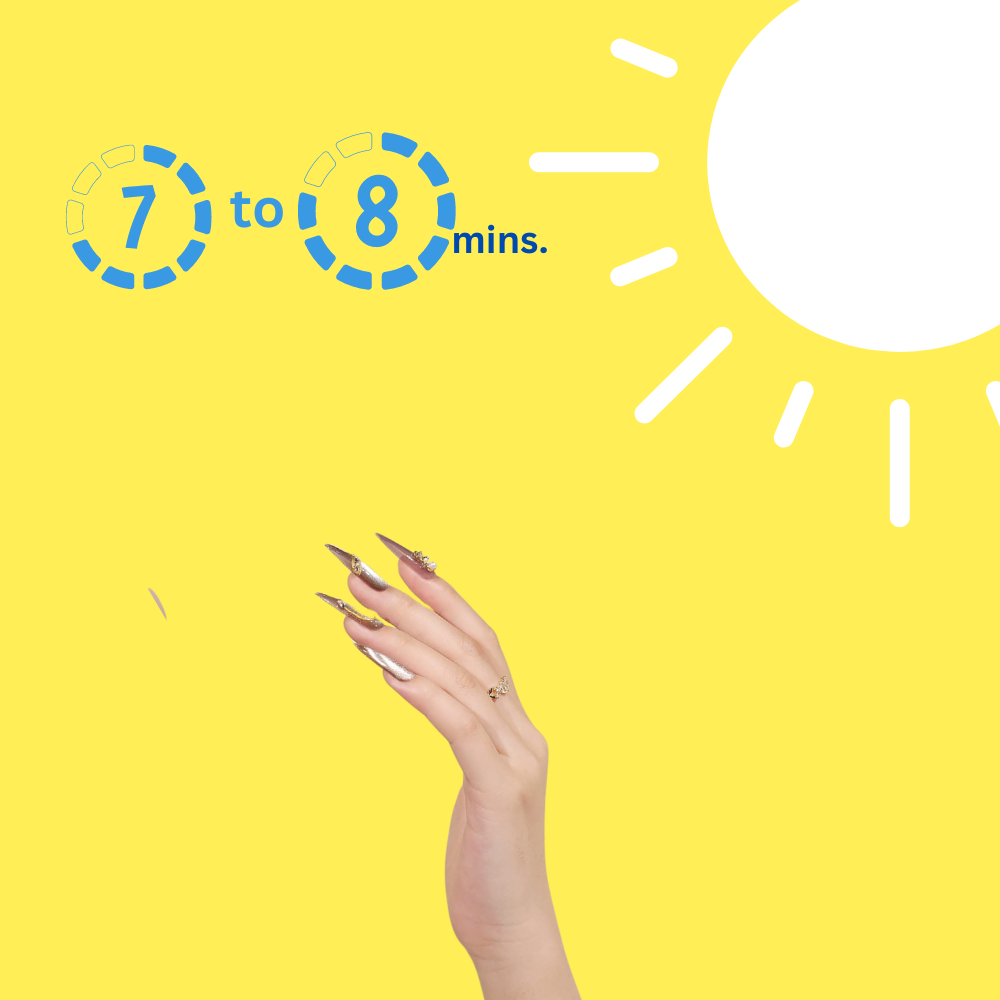
So, what’s the sweet spot? The optimal charging duration with direct sunlight is approximately 7-8 minutes. This time frame allows the neon pigments to charge sufficiently without fading while ensuring protection and longevity of the nail polish’s glow. It’s like baking cookies - too little time and they’re doughy, too much time and they’re burnt, but just the right time and they’re perfect!
Protecting Your Glow: Do's and Don'ts
Despite the sun’s highly beneficial supercharging powers, overexposure to UV light can pose harm. It’s important to take certain protective measures when charging your glow-in-the-dark nails in the sun to ensure your nails' health and your skin's safety.
Apply sunscreen to your hands at least 15 minutes before exposing them to UV light. This allows the sunscreen to absorb properly, providing effective protection for the skin around your nails. Keep in mind that repeated exposure to UV light can lead to risks like premature aging and weakened nails. Prevention is better than cure, so take these preventive measures seriously to safeguard your hands.
Avoid Overexposure to Prevent Damage
While we love the sun for its charging powers, too much of a good thing can lead to damage. It’s recommended to avoid exposing glow-in-the-dark materials to direct sunlight or under fluorescent lighting for extended periods, as these emit a high amount of UV light. It’s like leaving a cake in the oven for too long - it’ll end up burnt and ruined!
Consider using UV-filtering materials such as acrylic or glass sheets to protect your glow-in-the-dark items from light damage when on display. For storage, keep them in archival enclosures and place them in opaque, acid-free boxes stored in cool, dark, and dry places. By doing so, you’ll ensure that your glow-in-the-dark materials maintain their glow by the time it’s dark enough to enjoy them. You can also utilize UV lights, which offer strong UV light with less visible light, allowing your eyes to adapt to the dark while charging the material.
Nail Care Post-Sun Exposure
Like how you would care for your skin after a day in the sun, your nails also need some TLC post-sun exposure. Nail polish remover can remove any residue from sunscreen or dirt, ensuring your nail health is not compromised.
Remember, the sun can be drying, so it’s crucial to moisturize your nails and the surrounding skin after sun exposure. This restores hydration and helps counteract the drying effects of the sun. Applying cuticle oils can further help maintain nail flexibility and prevent brittleness. Find ones with antioxidants to aid in repairing skin and nails from any oxidative damage caused by UV rays.
Because glowing nails are great at the end of the day, but healthy nails are even better.
Alternatives to Sunlight for Charging Glow in the Dark Nails
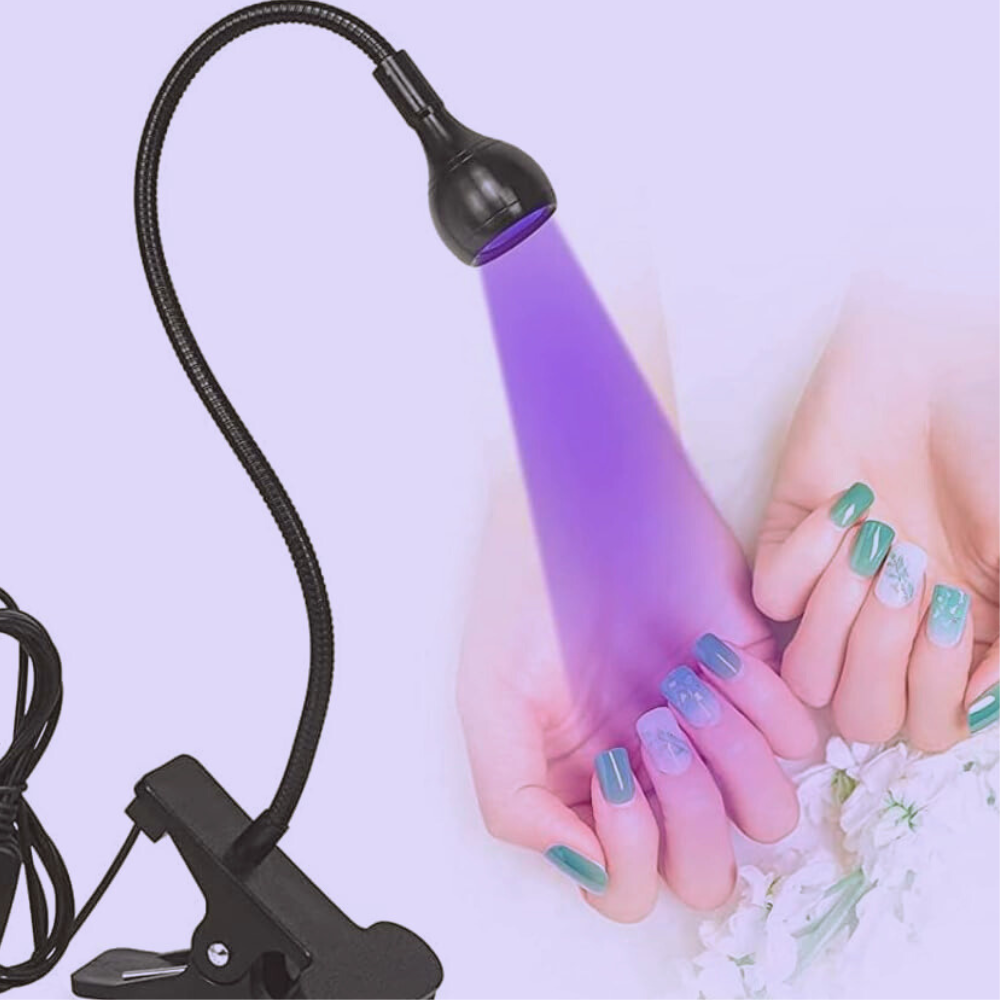
Artificial UV light sources serve as a reliable alternative in the absence of sunlight or for a late-night glow show. Blacklights and UV flashlights can be as effective as the sun for charging your glow-in-the-dark nails. They’re like the night owls of the light world, ready to charge your nails while the sun is away.
Remember, phosphorescent nail polish contains special pigments that glow after being charged, unlike fluorescent polish, which only glows when UV light is present. So, even without sunlight, these pigments don’t lose their ability to shine. It’s like having a battery that never dies.
For the best glowing effect, charge your glow-in-the-dark nails under bright or black light to maximize the phosphorescent properties of the nail polish.
Using Artificial UV Light Sources
Blacklights are the superheroes of artificial UV light sources, penetrating the phosphor deeply to provide an efficient and effective charge. It’s like a turbo boost for your glow-in-the-dark nails, charging them up quickly.
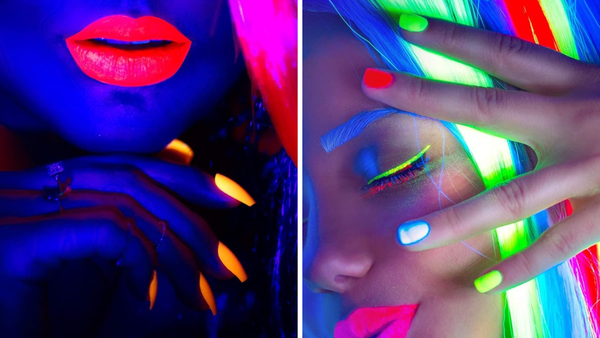
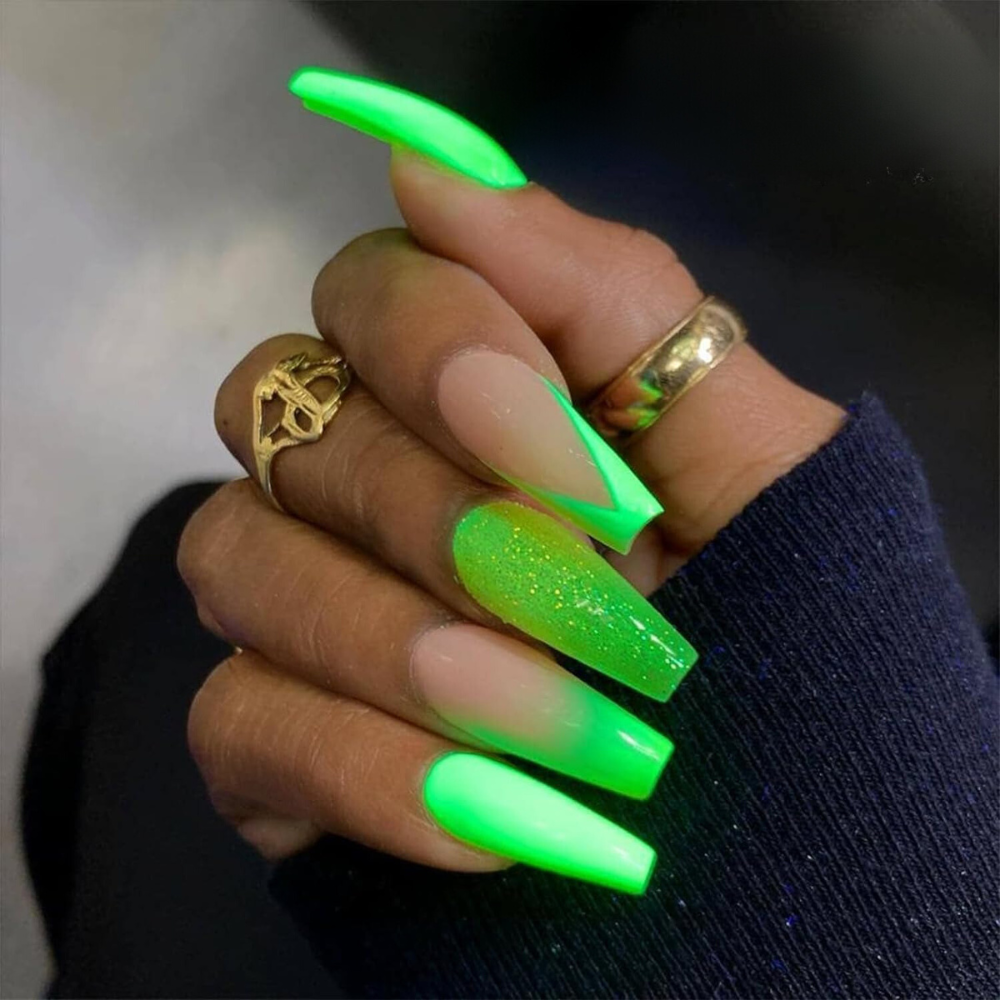
Using a blacklight or UV flashlight can enhance the glow of phosphorescent materials, as they emit a significant amount of ultraviolet light. And remember, fluorescent colors like:
- green
- pink
- yellow
- orange
Using dark paint can help amplify the glow effect under black lights, as they emit light that enhances the appearance, making it glow brighter.
So, if you want to intensify your glow, consider applying a highlighter pen ink on your nails before a topcoat for a brighter glow under a black light.
DIY Charging Techniques at Home
For those who love a good DIY project, there are plenty of ways to charge glow-in-the-dark nails at home. You can use UV flashlights or even make a homemade UV light by pairing your smartphone flashlight with a blue filter. It’s a simple and resourceful way to charge glow-in-the-dark nails without depending on the sun.
But why stop there? Why not construct a UV recharger station for those who enjoy a challenge? With a 3D-printed enclosure and UV LED lights, you can create a more efficient way to charge your glow-in-the-dark nails. It’s like having your charging station ready to power up your nails whenever you need.
Maximizing Your Glow: Tips for Enhanced Brightness
Having learned how to charge your glow-in-the-dark nails, let’s explore some tips for amplifying the glow. First, ensure the room is completely dark when viewing your nails. Ambient light can diminish the visibility of the glowing effect, so the darker the room, the brighter your nails will appear. It’s like watching a movie in a theater. The lights go off, and the screen comes alive.
Secondly, glow-in-the-dark materials often require recharging after a few hours to compensate for the gradual loss of brightness. So, don’t be shy about recharging your nails to keep the glow going.
Lastly, incorporating a transparent medium in the pigment mix can bolster the brightness of your glow-in-the-dark nails. It’s like adding a teaspoon of sugar to your tea. It doesn’t change the color, but it makes it taste sweeter!
Layering for Longer Lasting Glow
Layering your glow-in-the-dark polish could be a viable option to achieve a more intense and prolonged glow. A thicker polish application increases the glow time and brightness, just like adding more layers to a lasagna makes it more delicious and satisfying.
Applying several coats of polish can achieve the desired glow intensity. And don’t forget to seal it all in with a clear topcoat. This adds extra durability to the glow-in-the-dark nails, extending the wear time and preventing fading. It’s like applying a protective seal to your masterpiece, ensuring it stays vibrant and beautiful for longer.
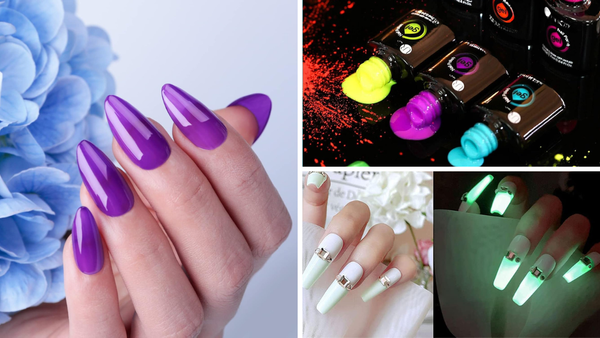
Color Choices and Glow Intensity
The base color of your nail polish plays a pivotal role in determining the final appearance and brightness of your glow-in-the-dark pigments. It’s like choosing the right foundation for your makeup - the right base can make all the difference.
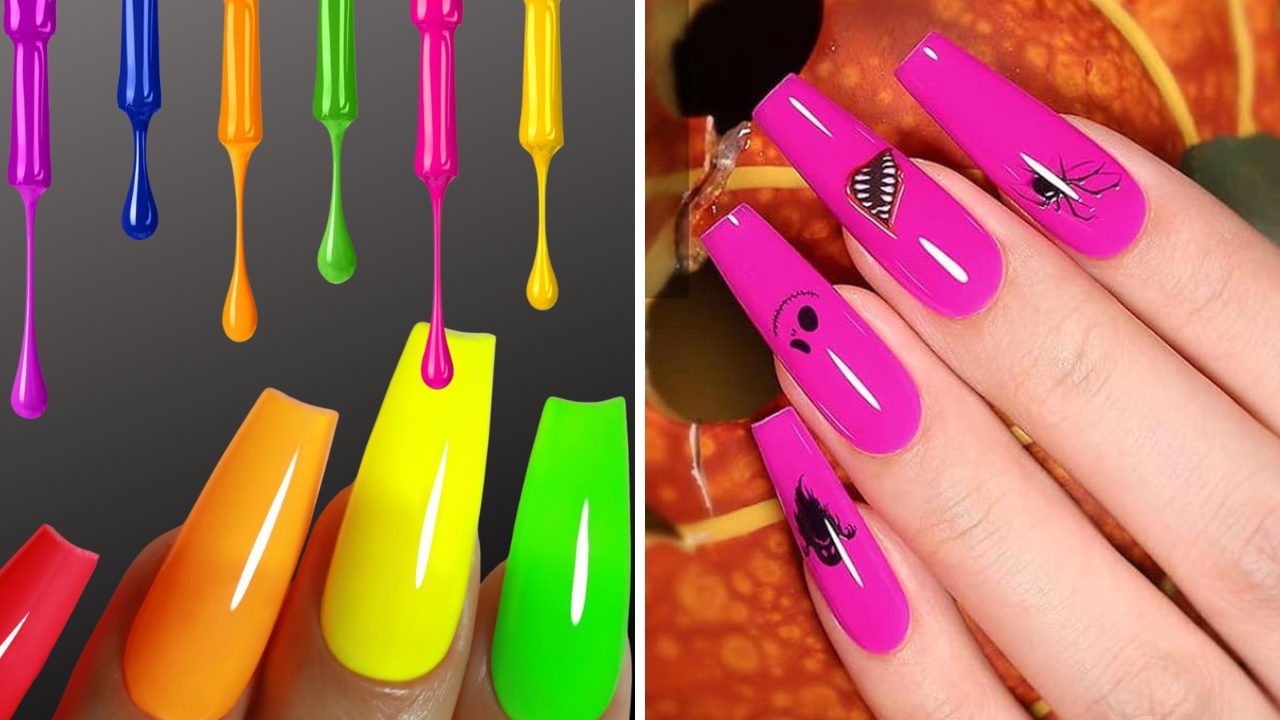
Using a white water-based coat as a base primer can significantly enhance the intensity of the glow-in-the-dark effect. Fluorescent colors or white under a black light setting are more likely to result in a brighter glow when used as a base. Neon colors like green, yellow, and pink make optimal base colors for providing the best glow effects with glow-in-the-dark pigments.
And remember, mixing glow-in-the-dark pigments with different base paint colors alters the final glow color. So, feel free to experiment and let your creativity shine!
Nail Art Under the Moonlight
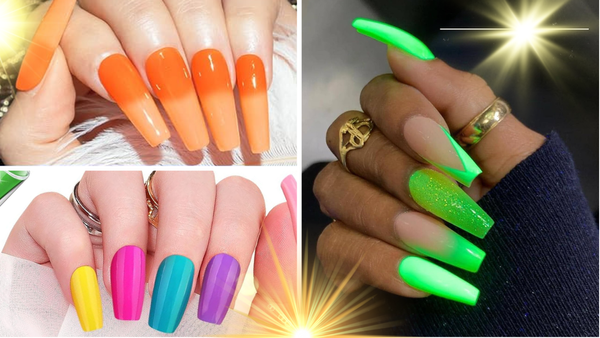
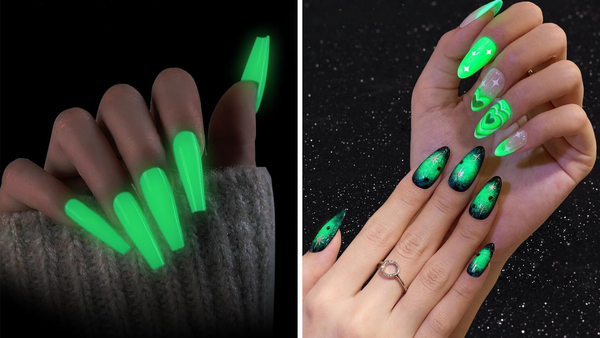
Glow-in-the-dark nail designs are not only a trendy choice, but they also add a special feature to your night-out look. Popular glow-in-the-dark nail art designs include:
- Neon
- Monochromatic
- Starry night
- Halloween themes
Such designs transform your nails into a canvas for creativity, creating miniature masterpieces that glow in the dark.
But why stop at just one design? With additional nail art techniques like ombre, marble effects, and the incorporation of gems, you can create stunning combinations with glow-in-the-dark elements for a truly striking impression. So, next time you’re planning a night out, consider adding a glow-in-the-dark twist to your nail art. You’re bound to turn heads!
Summary
From understanding the science behind glow-in-the-dark nails to exploring different charging techniques and maximizing the glow, we’ve covered a lot of ground in this blog post. But the most important takeaway is that glow-in-the-dark nails are not just a trend but a fun way to express creativity, especially under the moonlight. So why wait? Grab your UV lamp, enter the sun, and let your nails shine bright!
Frequently Asked Questions
What makes glow-in-the-dark nails glow?
Glow-in-the-dark nails glow because phosphors like strontium aluminate absorb light and slowly release it to create the glow. They work by storing light energy and slowly releasing it to produce the glowing effect.
How long should I charge my glow-in-the-dark nails in the sun?
Charge your glow-in-the-dark nails in the sun for approximately 7-8 minutes to achieve optimal glow. Enjoy your glowing nails!
Can I use artificial UV light to charge my glow-in-the-dark nails?
You can charge your glow-in-the-dark nails using blacklights and UV flashlights instead of sunlight. Give it a try!
How can I maximize the glow of my glow-in-the-dark nails?
To maximize the glow of your glow-in-the-dark nails, apply multiple layers of polish, choose the right base color, and view your nails in complete darkness for a brighter effect.
What are some popular glow-in-the-dark nail art designs?
Glow-in-the-dark nail art designs include neon, monochromatic, starry night, and Halloween themes. Get ready to light up the night with these trendy options!