


Key Takeaways:
- Nail foil wraps do not necessarily require UV light for application.
- UV light can enhance the durability and finish of nail foil wraps.
- Understanding the correct application method is crucial for achieving a professional look.
Nail foil wraps have taken the beauty industry by storm, offering a quick and stylish way to elevate your manicure game. These wraps come in various designs and patterns, allowing you to create intricate nail art without needing a steady hand or artistic skills. However, a common question arises: Do nail foil wraps need UV light? Let's dive into this topic and uncover the truth.
The Basics of Nail Foil Wraps
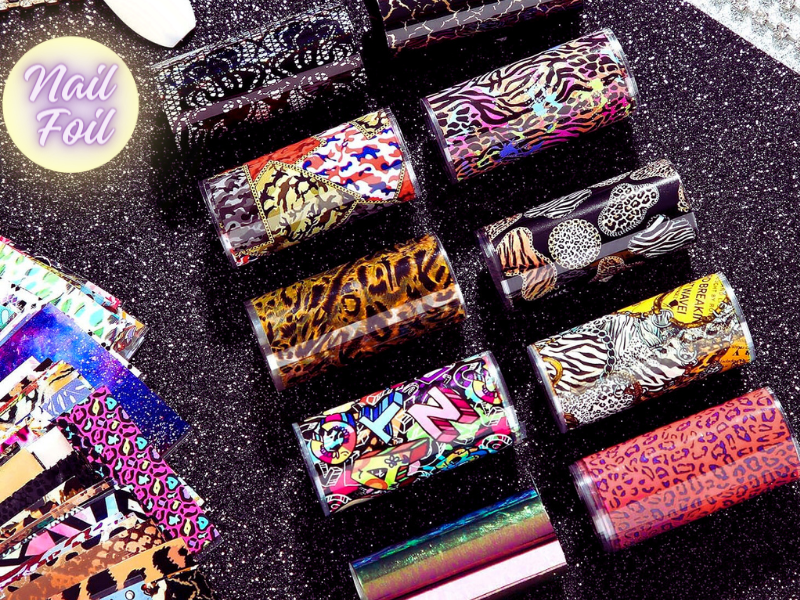
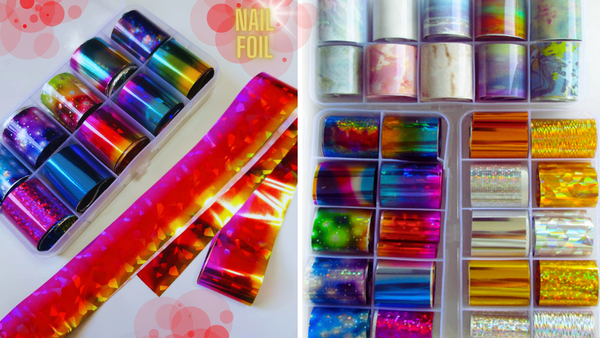
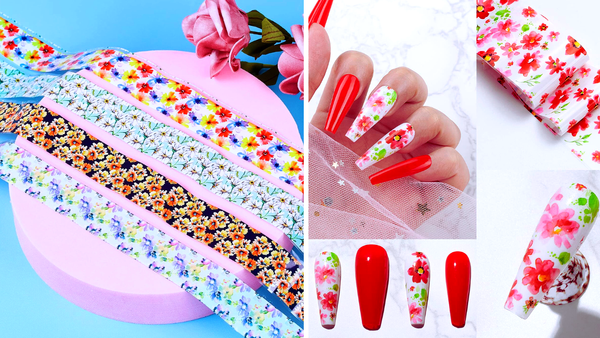
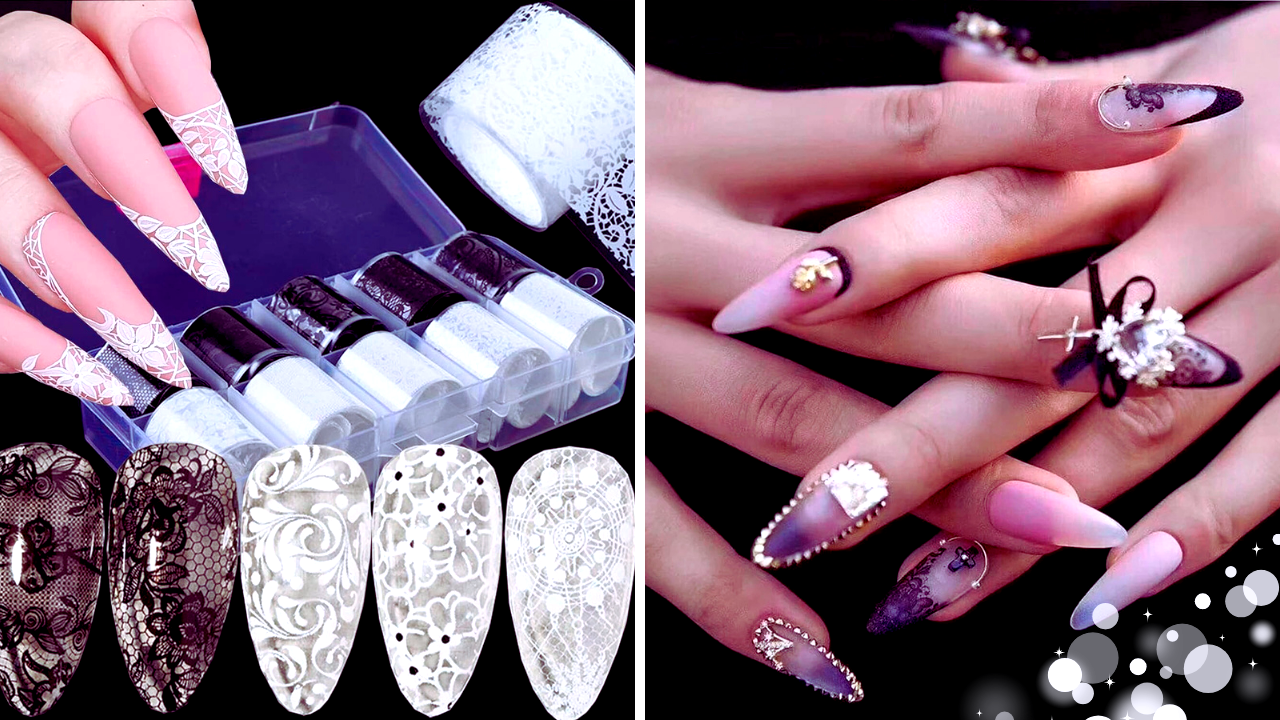
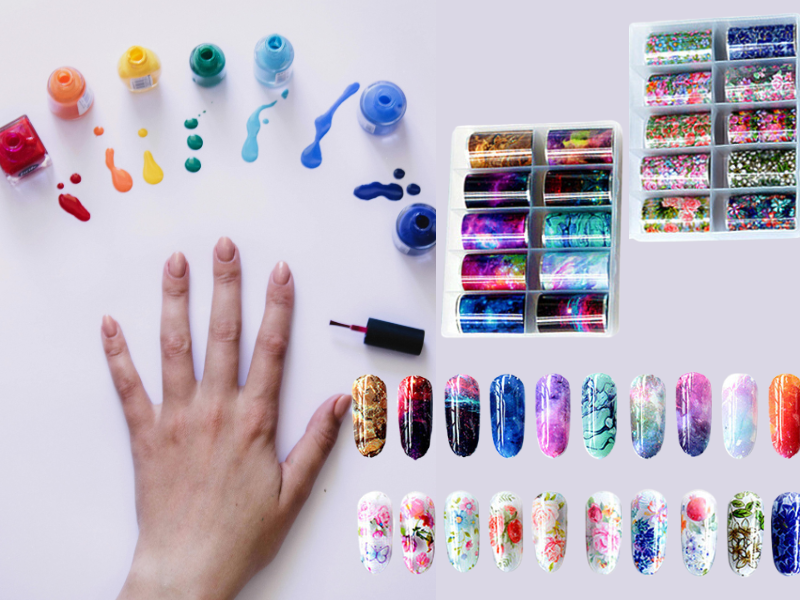
Nail foil wraps are designed to be a quick and easy way to add some flair to your nails. They come in a variety of styles, from metallic finishes to intricate patterns, and can be applied to the whole nail or just as an accent. The key to a successful application is ensuring that the foil adheres properly to the nail surface.
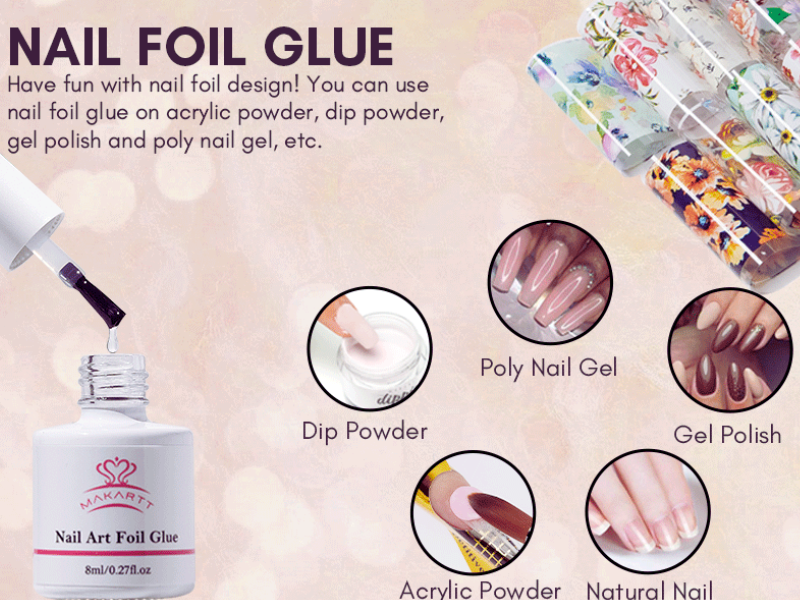
To apply nail foil, you typically start with a base coat, followed by a layer of adhesive or gel polish. Once the adhesive layer is tacky, you press the foil onto the nail, ensuring it sticks evenly. After removing the excess foil, a top coat is applied to seal the design and add durability.
Do Nail Foil Wraps Need UV Light?
The short answer is no, nail foil wraps do not inherently require UV light. However, using UV light can enhance the application process and the final result. When you use a gel polish or a gel top coat, curing it under a UV lamp can provide a more durable and long-lasting finish.
For those who prefer a quick application without UV light, there are adhesive layers and top coats available that do not require curing. These products can still provide a shiny finish and protect the nail design, but they may not last as long as their UV-cured counterparts.
The Role of Gel Polish in Nail Foil Wraps
Gel polish plays a significant role in the application of nail foil wraps. When you use gel polish as a base coat, it provides a smooth surface for the foil to adhere to. Additionally, a gel top coat can seal the foil design, ensuring it stays intact for a longer period.
Curing the gel polish under a UV light helps to harden the layers, making them more resistant to chipping and peeling. This is particularly beneficial for those who want their nail design to last for weeks without needing touch-ups.
Applying Nail Foil Wraps Without UV Light
If you prefer to avoid using UV light, you can still achieve beautiful nail foil designs. Start by applying a base coat to your natural nails, followed by a thin layer of adhesive. Once the adhesive becomes tacky, carefully press the nail foil onto the nail, smoothing out any wrinkles or bubbles.
After removing the excess foil, apply a top coat to seal the design. While this method may not provide the same level of durability as UV-cured gel polish, it can still offer a stunning and long-lasting manicure.
Enhancing Durability with UV Light
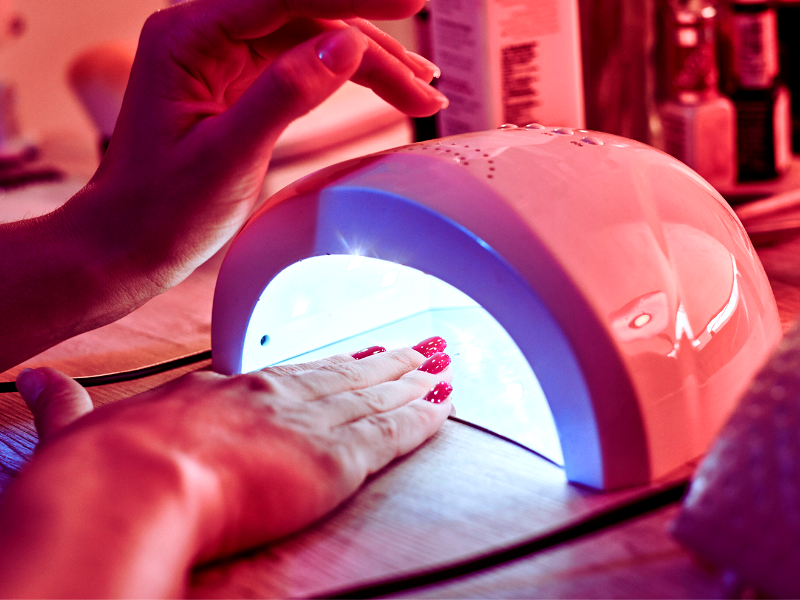
Using UV light can significantly enhance the durability of your nail foil wraps. By curing the gel polish and top coat under a UV lamp, you create a hard, protective layer that shields the foil design from everyday wear and tear.
This method is particularly useful for those who lead active lifestyles or want their manicure to last for an extended period. The UV-cured layers provide a robust barrier that helps prevent chipping, peeling, and fading, ensuring your nails look flawless for weeks.
Tips for a Flawless Application
Achieving a flawless nail foil wrap application requires practice and attention to detail. Start by ensuring your nails are clean and free of oils or residue. This will help the adhesive layer stick better and prevent lifting.
When applying the foil, use gentle but firm pressure to smooth out any wrinkles or bubbles. A small tool like a cuticle pusher can help you achieve a smooth finish. Finally, seal the foil's edges with a top coat to prevent lifting and ensure a long-lasting design.
Common Mistakes to Avoid
One common mistake when applying nail foil wraps is not allowing the adhesive layer to become tacky before pressing the foil onto the nail. This can result in the foil not sticking properly and lifting soon after application.
Another mistake is not sealing the edges of the foil with a top coat. This can lead to the foil peeling away from the nail, especially at the tips. To avoid this, apply a generous amount of top coat and cure it under a UV light if using gel polish.
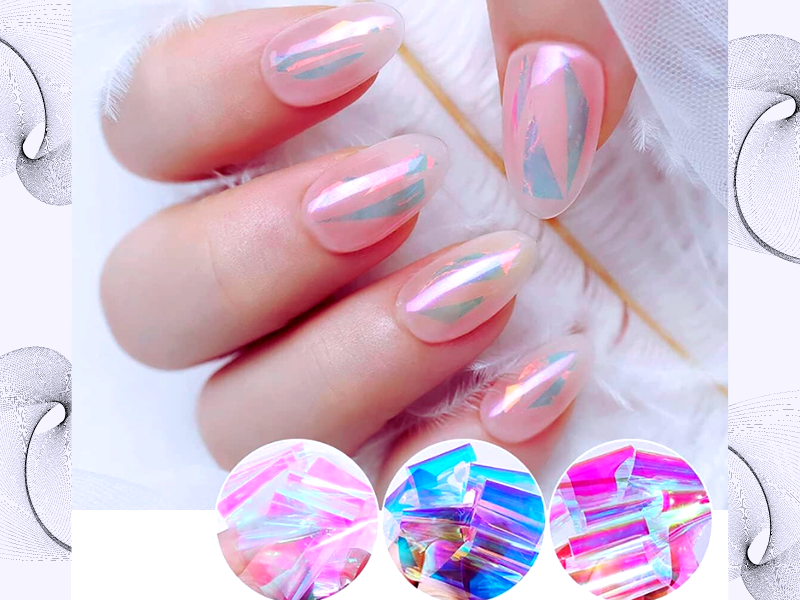
The Benefits of Using Nail Foil Wraps
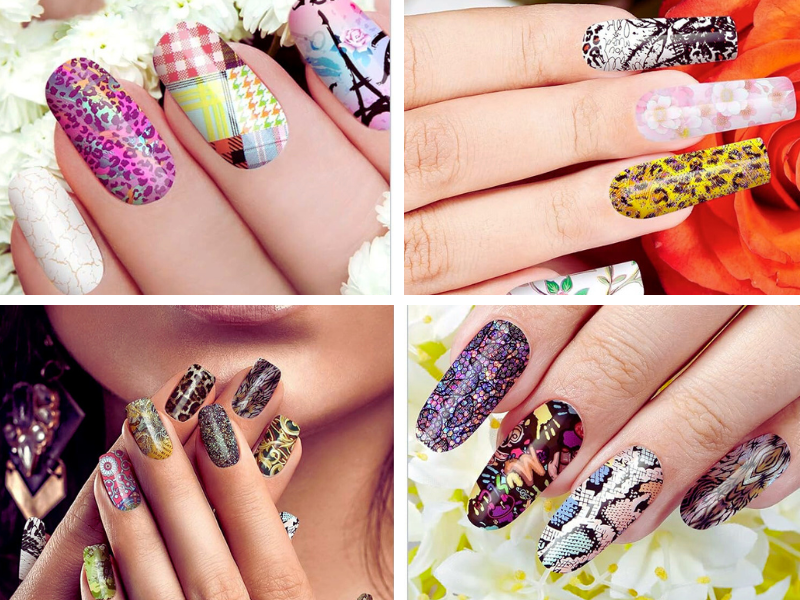
Nail foil wraps offer several benefits, making them popular for nail enthusiasts. They provide a quick and easy way to achieve intricate nail designs without requiring artistic skills or expensive salon visits.
Additionally, nail foils can create various looks, from subtle accents to bold, statement nails. They are also versatile, as they can be applied to natural nails, gel nails, or even over a gel polish base coat.
Choosing the Right Products
Choosing the right products is crucial for achieving a professional-looking manicure with nail foil wraps. Look for high-quality foils that are easy to apply and provide a smooth, shiny finish. Additionally, invest in a good adhesive or gel polish to help the foil adhere properly to the nail surface.
If you prefer a UV-cured finish, use a gel top coat that is compatible with your UV lamp. This will ensure that the top coat cures properly and provides a durable, long-lasting finish.
DIY vs. Salon Application
While nail foil wraps can be applied at home, some people prefer to visit a salon for a professional application. Salon technicians have the experience and tools needed to achieve a flawless finish, and they can also offer additional services, such as nail art and extensions.
However, with a bit of practice and the right products, you can achieve salon-quality results at home. Follow the tips and techniques outlined in this article to master the art of applying nail foil wraps and enjoy beautiful, long-lasting nails.
Maintaining Your Nail Foil Wraps
Maintaining your nail foil wraps is essential for ensuring they last as long as possible. Avoid using your nails as tools, as this can cause the foil to lift or chip. Additionally, wear gloves when doing household chores or working with harsh chemicals to protect your manicure.
If you notice any lifting or chipping, you can touch up the affected areas with a bit of nail foil glue and a new piece of foil. Seal the repair with a top coat to ensure it blends seamlessly with the rest of your nails.
Removing Nail Foil Wraps
Removing nail foil wraps easily at home with a few simple steps. Start by soaking a cotton ball in acetone and placing it on your nail. Wrap your finger in aluminum foil to hold the cotton ball in place and let it sit for 10-15 minutes.
After removing the foil and cotton ball, gently push off the softened foil and adhesive with a cuticle pusher. Be careful not to damage your natural nails during this process. Finish by washing your hands and applying a nourishing cuticle oil to keep your nails healthy.
Nail Foil Wraps for Special Occasions
Nail foil wraps are perfect for special occasions, allowing you to create stunning nail designs that complement your outfit and style. Whether you're attending a wedding, a party, or a holiday celebration, nail foils can add a touch of glamour to your look.
Choose foils that match the event's theme, such as metallic gold for a New Year's Eve party or floral patterns for a summer wedding. With the right application techniques, your nails will be the talk of the event.
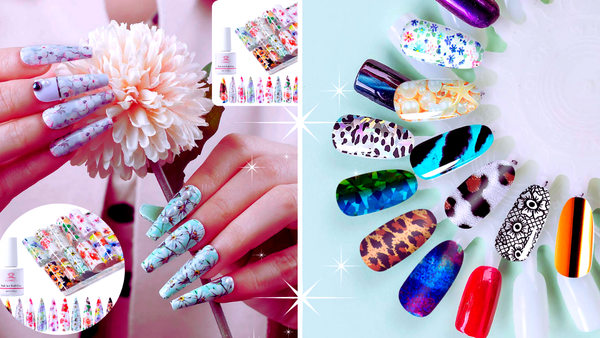
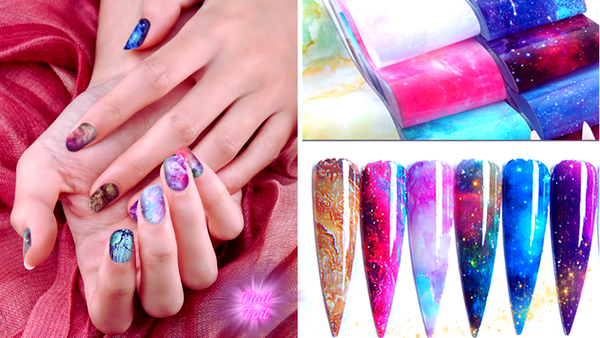
Experimenting with Nail Foil Designs
One of the best things about nail foil wraps is their endless design possibilities. Mix and match different foils to create unique and personalized nail art. Try combining metallic foils with patterned ones for a bold and eye-catching look.
You can also experiment with different application techniques, such as using a thin layer of foil for a subtle accent or covering the entire nail for a dramatic effect. The only limit is your imagination, so have fun and get creative with your nail designs.
The Future of Nail Foil Wraps
As the beauty industry evolves, we can expect to see even more innovative nail foil designs and application methods. New materials and technologies will make achieving professional-looking manicures at home easier than ever.
Keep an eye out for new products and trends in the nail foil market, and don't be afraid to try something new. With the right tools and techniques, you can stay ahead of the curve and enjoy beautiful, long-lasting nails.
Summary
Nail foil wraps are a versatile and stylish way to enhance your manicure. While they do not necessarily require UV light, using a UV lamp can improve the durability and finish of your nail design. You can achieve salon-quality results at home by following the correct application methods and using high-quality products. Whether you're a nail art enthusiast or a beginner, nail foils offer endless possibilities for creating stunning and unique nail designs.
FAQ
Do nail foil wraps need UV light to adhere properly?
No, nail foil wraps do not need UV light to adhere properly. However, UV light can enhance the durability and finish of the nail design, especially when using gel polish or a gel top coat.
Can I apply nail foil wraps on natural nails?
Yes, nail foil wraps can be applied on natural nails. Start with a base coat to protect your nails, followed by an adhesive layer or gel polish. Press the foil onto the tacky layer and finish with a top coat to seal the design.
How do I remove nail foil wraps without damaging my nails?
Soak a cotton ball in acetone to remove nail foil wraps and place it on your nail. Wrap your finger in aluminum foil to hold the cotton ball in place and let it sit for 10-15 minutes. Push off the softened foil and adhesive with a cuticle pusher, and finish by washing your hands and applying cuticle oil.