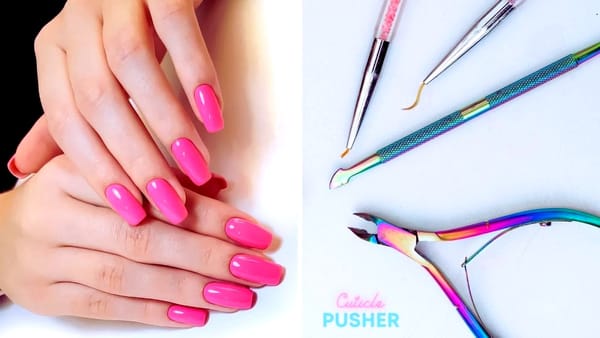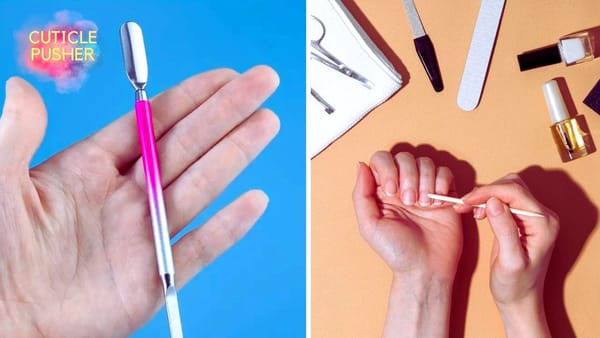


Maintaining your manicure tools is an essential aspect of nail care. A sharp cuticle pusher can make all the difference between a clean, professional-looking manicure and one with jagged cuts or torn edges. If you've noticed your cuticle nippers have become dull, you're likely not getting the precise control and optimal results you desire. But don't worry, you can restore their sharpness right at home.
Key Takeaways:
- Learn the proper techniques to sharpen cuticle nippers at home using simple tools.
- Understand the importance of maintaining a consistent angle and applying the right amount of pressure during the sharpening process.
- Discover how to care for your manicure tools post-sharpening to ensure longevity and prevent rust.
Identifying Dull Cuticle Nippers
Before you begin the sharpening process, it's important to assess whether your cuticle nippers are dull. Dull nippers will struggle to trim cuticles cleanly, often leaving uneven cuts or pulling on the skin. Inspect the cutting edges closely; if they appear shiny or have visible nicks, it's time to sharpen them.
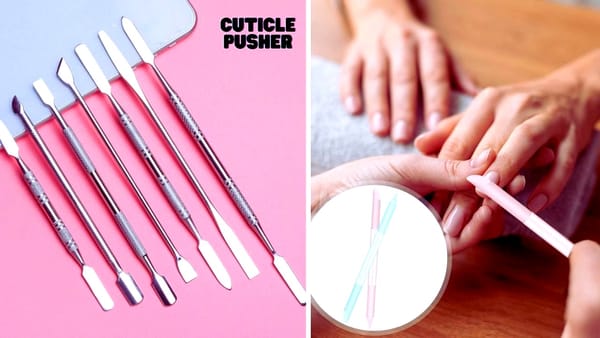
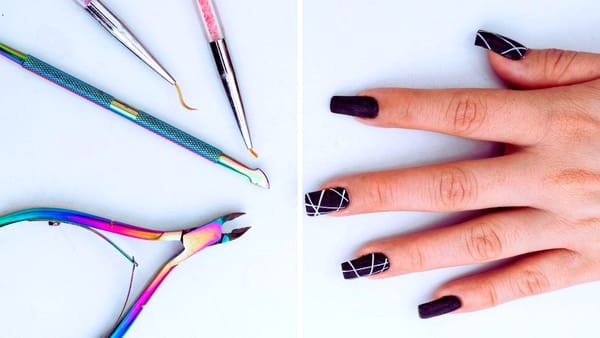
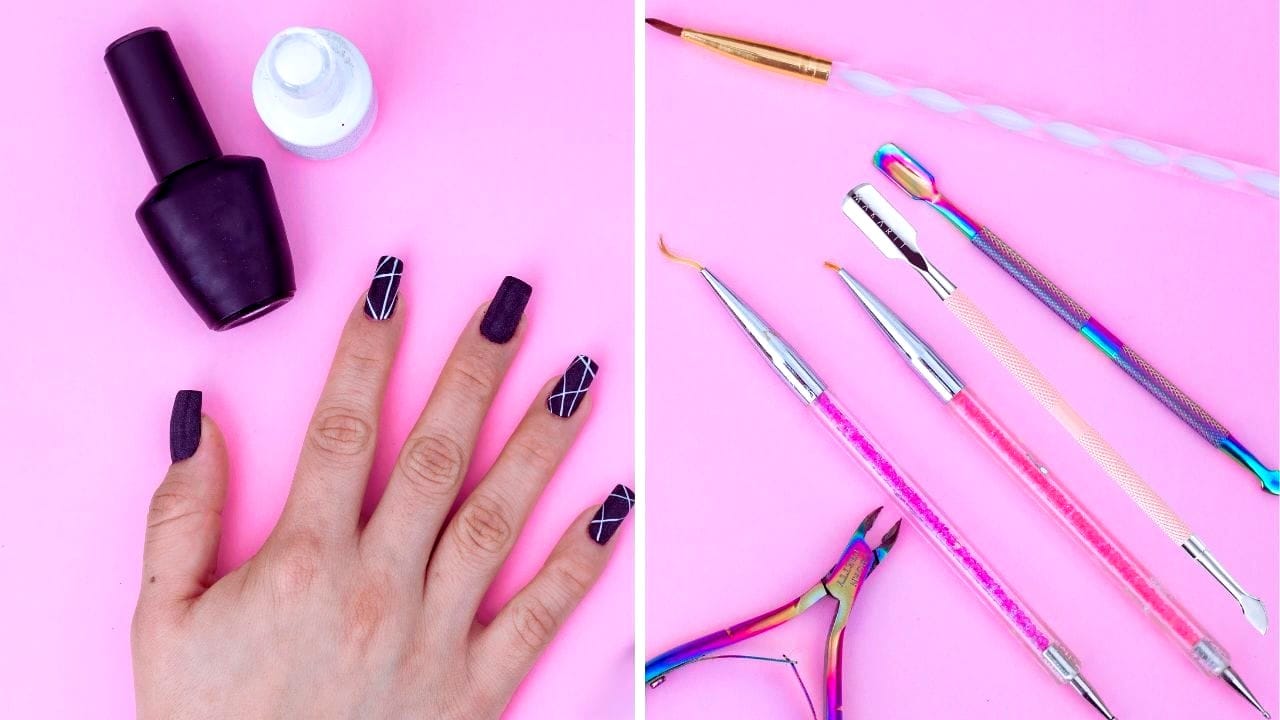
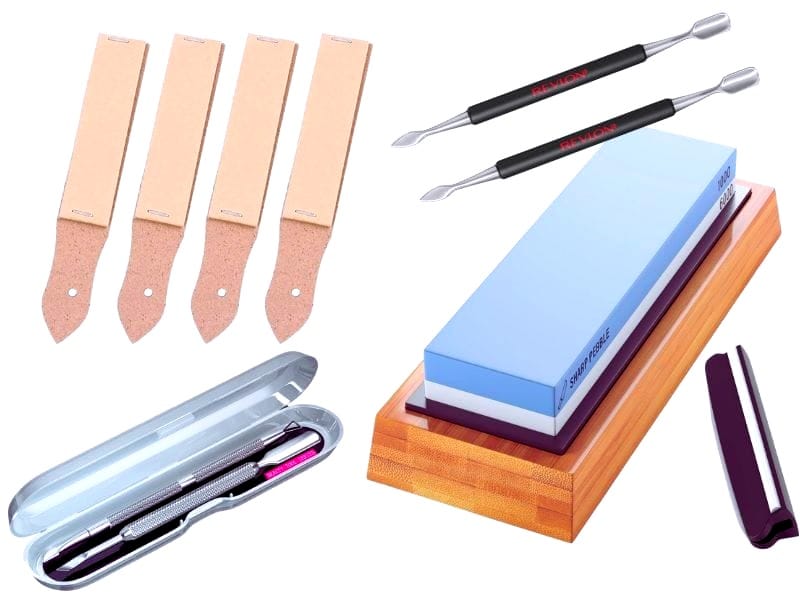
Gathering the Right Tools
To sharpen your cuticle nippers, you'll need a few key items: a diamond file or sharpening stone, mineral oil, a soft cloth, and proper lighting. These tools will help you achieve the desired sharpness and ensure your nippers function like new.
Preparing Your Workspace
Choose a well-lit area with a flat surface to work on. Lay down a soft cloth to protect the surface and your tools. Apply a few drops of mineral oil to the diamond file or sharpening stone; this will help the blade glide smoothly and prevent metal filings from clogging the stone's pores.
The Sharpening Process
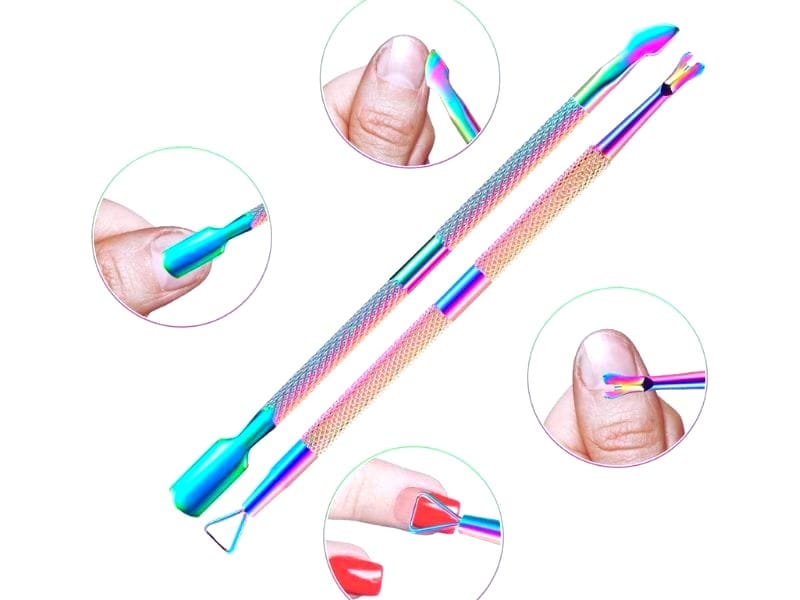
Start by opening the cuticle nippers and placing the inner cutting edge against the diamond file or stone. Hold the nipper at the correct angle, usually between 35 to 45 degrees, and maintain this angle consistently throughout the sharpening process. Use light, even strokes in one direction—pushing away from the hinge to the blade's tip.
Maintaining the Correct Angle
Keeping a consistent angle is crucial for a sharp and even edge. If you change the angle too much, you risk creating an uneven cutting edge that could damage the surrounding skin during a manicure. Practice holding the nippers at the correct angle before sharpening to gain confidence.
Applying the Right Amount of Pressure
Applying too much pressure can damage the cutting edge, while too little won't sharpen the blade effectively. Aim for a balanced pressure that feels firm but not forceful. Listen to the sound of the blade against the stone; a steady, even sound indicates you're applying the right amount of pressure.
Understanding the Importance of Sharp Cuticle Nippers
Have you ever wondered why sharp cuticle nippers are such an important aspect of your nail care routine? Dull nippers can lead to jagged cuts, torn edges, and even damage to the surrounding skin. When you sharpen your cuticle nippers, you're not just making your manicure tools more effective; you're also ensuring that you can achieve professional results at home. Precise cuts are essential for maintaining the health of your nail bed and preventing issues like ingrown nails. By keeping your nippers sharp, you're taking a crucial step in proper nail care.
Moreover, the sharpness quality directly affects the ease and safety of trimming cuticles. Dull tools require more force, which increases the risk of slipping and cutting the skin. Sharp tools, on the other hand, offer precise control, allowing for a clean cut that neatly separates the cuticle from the nail bed without pulling or tearing. This precision is especially important for those with sensitive skin or thin nails. By maintaining a sharp edge on your cuticle nippers, you ensure that your nail care routine is not only effective but also gentle.
DIY Techniques for Sharpening Cuticle Nippers
When considering how to sharpen your cuticle pusher at home, it's essential to understand that the DIY approach can be both effective and time-saving. First, let's talk about the use of a sharpening stone, which is a key tool in the sharpening process. A fine-grit sharpening stone can gently grind away the dull edge of the cuticle nippers, restoring their cutting prowess. It's important to soak the stone in water or mineral oil before starting to ensure a smooth glide over the blade.
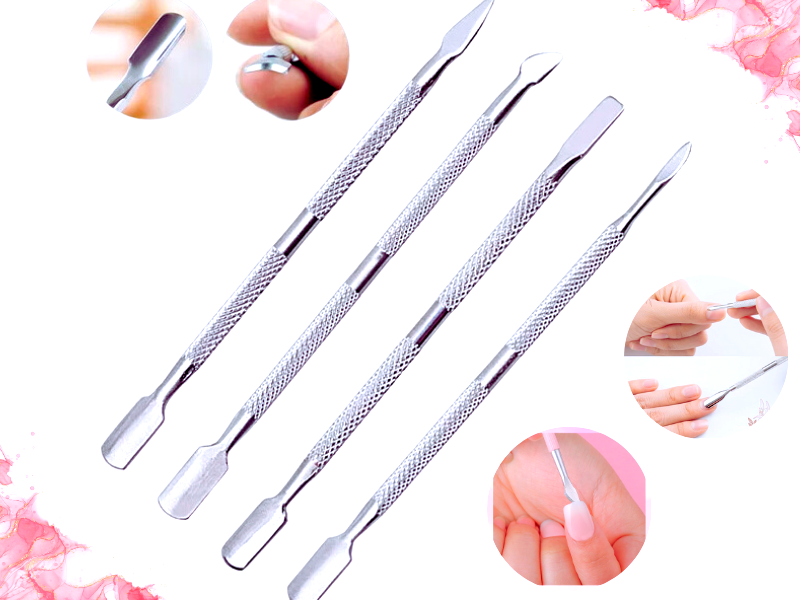
In addition to the sharpening stone, another method involves using a diamond file. This tool is particularly useful for maintaining the sharp edge of cuticle nippers due to its precision and durability. When using a diamond file, work in one direction along the blade's edge, maintaining the correct angle to avoid altering the blade's shape. This technique requires patience and a steady hand but can lead to achieving professional results with your manicure tools.
Exploring the Benefits of a Sharp Cuticle Pusher
When pondering how to sharpen my cuticle pusher at home, it's essential to understand the benefits of maintaining a sharp tool. A sharp cuticle pusher ensures precise control, allowing for clean, precise cuts around the nail bed without causing damage to the surrounding skin. This precision is particularly important for preventing jagged cuts that can lead to torn edges or infection. Moreover, a sharp cuticle pusher can glide more easily, reducing the effort required and minimizing the risk of ingrown nails, which are often a result of uneven cuts.
The Science Behind the Sharpening Process
The sharpening process of cuticle nippers involves a few scientific principles worth noting. The goal is to restore the cutting edge to its desired sharpness, which requires understanding the blade edge angle and how it interacts with the sharpening stone. When sharpening cuticle nippers, it's crucial to maintain a consistent angle to ensure that the edge is honed evenly. This is where the correct angle comes into play, as it determines the sharpness and durability of the blade. Too much pressure can result in an uneven blade, while too little won't effectively sharpen the nippers.
The Art of Restoring Dull Nippers to Their Former Glory
Restoring dull nippers to their former glory is an important aspect of the nail care routine. The process begins with cleaning the blades thoroughly with a soft cloth to remove any debris or buildup that could interfere with the sharpening process. Once clean, inspect the cutting edges for any signs of damage or uneven cuts. If the damage is minimal, proceed with the sharpening; however, if the nippers are significantly damaged, professional resharpening or replacement might be necessary.
The Role of Specialized Equipment in Sharpening Cuticle Nippers
When sharpening cuticle nippers and pushers, using the right tools is crucial for optimal results. Specialized equipment like a diamond file or a sharpening stone designed for small blades can make the sharpening process much more effective. These tools are crafted to provide a consistent angle and a fine edge, essential for the delicate work of sharpening small, precise instruments like cuticle nippers. Without the proper equipment, achieving the desired sharpness and maintaining the correct blade angle can be challenging and time-consuming.
Sharpening the Other Side
Carefully flip the nippers and repeat the process on the other cutting edge. Remember to maintain the same angle and pressure as before. Once you've sharpened both sides, the burr should be present along the entire length of the cutting edge.
Removing the Burr
The final step in the sharpening process is to remove the burr. This can be done by gently running the cutting edge against the diamond file or stone at a slight angle, almost parallel to the surface. This will detach the burr and leave you with a sharp blade.
Cleaning and Oiling After Sharpening
Once sharpened, clean your cuticle nippers with a soft cloth to remove any metal filings. Apply a small amount of mineral oil to the blades to prevent rust and ensure smooth operation. Wipe off any excess oil before storing your nippers.
Proper Storage of Manicure Tools
Store your sharpened cuticle nippers in a dry place to prevent rust. If they come with a protective cap or case, use it to protect the blades. Proper storage is key to maintaining the quality and sharpness of your manicure tools.
Regular Maintenance for Optimal Performance
Incorporate sharpening into your regular nail care routine. Regular maintenance ensures your cuticle nippers remain sharp and effective, providing precise cuts and preventing damage to the nail bed or surrounding skin.
Summary
Sharpening your cuticle nipper and cuticle pusher at home is a straightforward process that requires the right tools, proper techniques, and a bit of patience. Following the steps outlined above, you can maintain your manicure tools in top condition, ensuring clean cuts and professional results every time. Remember to store your tools properly and perform regular maintenance to extend their lifespan and achieve optimal performance.
FAQ Section
How often should I sharpen my cuticle nippers?
The frequency of sharpening depends on how often you use your cuticle nippers. For personal use, sharpening them every few months should suffice. However, if you notice they're becoming dull or not cutting as cleanly, it's time to sharpen them.
Can I sharpen other manicure tools using the same method?
Yes, you can use similar methods to sharpen other tools like nail clippers and scissors. However, ensure you use the correct angle and technique for each tool's specific blade type.
What should I do if I can't achieve the desired sharpness at home?
If you're struggling to get your cuticle nippers sharp enough at home, it may be time to seek professional sharpening services or consider replacing them with a new pair. Professional sharpening ensures precise control and can extend the life of your tools.