Key Takeaways:
- Learn the step-by-step process of attaching artificial nail tips to a nail practice stand.
- Discover the essential nail art tools and accessories needed for a seamless application.
- Understand the importance of choosing the right nail glue and practice stand for optimal results.
Nail art has transformed from a simple beauty routine into a form of self-expression and creativity. Whether you're a professional nail technician or a DIY nail art enthusiast, mastering the art of attaching artificial nail tips to a nail practice stand is a fundamental skill. This comprehensive guide will walk you through the process, ensuring that your nail art journey is both fun and successful.
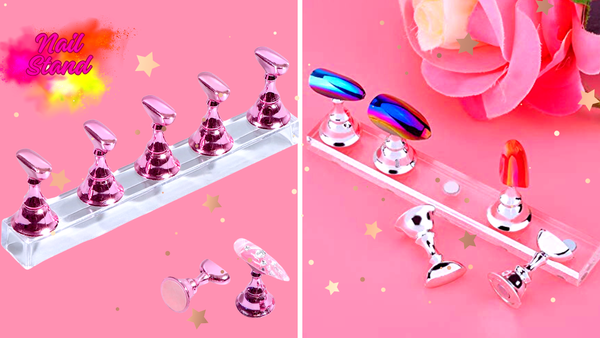
Choosing the Right Nail Practice Stand
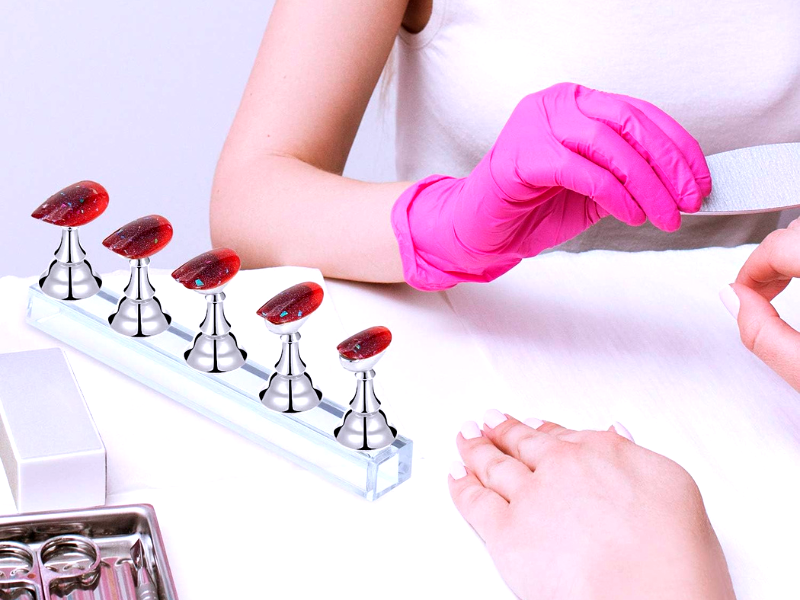
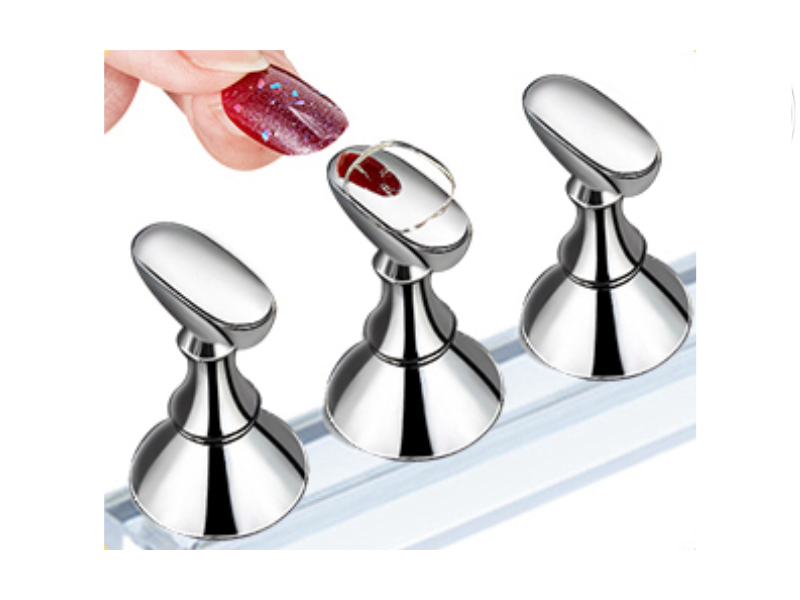
When it comes to nail art, the only problem is often finding the right tools. A nail practice stand is a nail holder that provides a stable base for painting nails and applying nail art design. It's essential to select a stand that is strong, magnetic, and suitable for the size and shape of the nail tips you plan to use. Reviews often highlight the best sellers, so take the time to read them before you buy. Look for a stand that is easy to use, with a magnetic base that holds the tips securely in place.
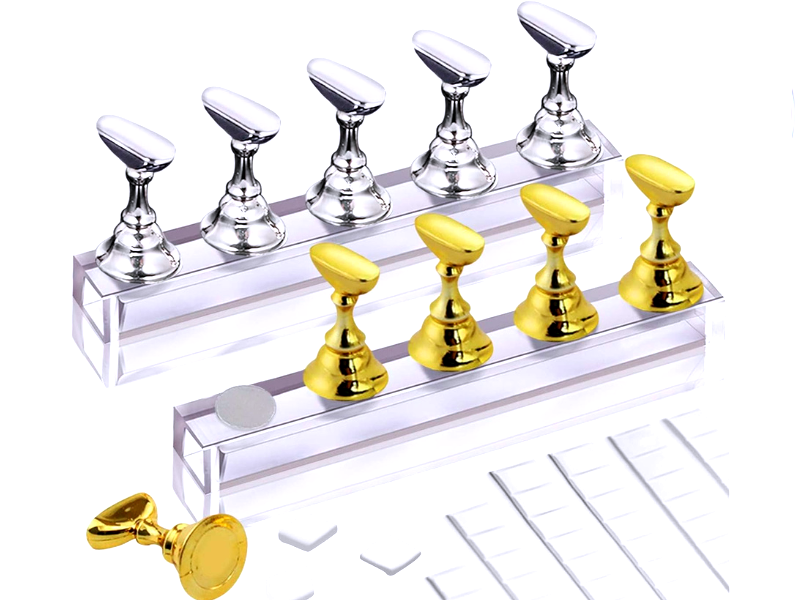
Essential Nail Art Tools and Accessories
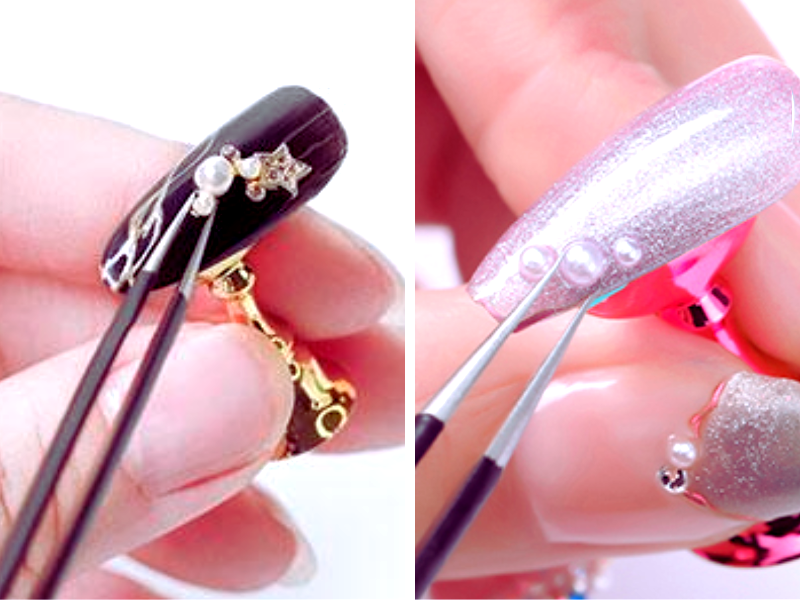
Before you start, ensure you have all the necessary nail art tools. This includes nail tips, glue, a nail stand, and any nail polish or nail art accessories you plan to use. Keep your nail care items, such as files and buffers, in a convenient box or bag. High-quality tools not only make the process smoother but also contribute to the longevity and beauty of your nail art.
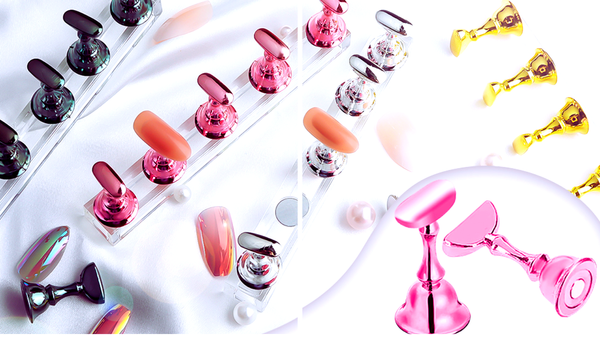
Preparing Your Nail Tips
To begin, select the artificial nail tips that best fit the fingers you're working on. Nail tips come in various sizes, so it's important to choose ones that align with the width of the nail stand's fingers. If the tips are too long or too short, they won't adhere properly, which can lead to issues during the nail painting process. Once you've chosen the right size, lay out the nail tips in an easily accessible manner.
Applying Nail Glue
Nail glue secures the false nails to the nail stand. Opt for a strong, high-quality glue specifically designed for nail art. Apply a small drop of glue to the tip of the nail stand or the base of the nail tip. Be careful not to use too much glue, as this can cause the nail tips to slide around or create a mess that's difficult to clean up.
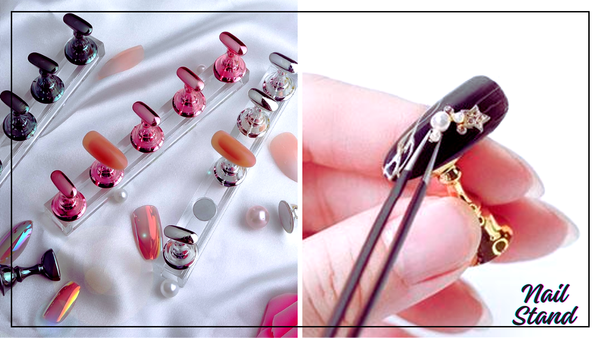
Attaching the Nail Tips
Now, it's time to attach the nail tips to the stand. Press the nail tip onto the stand, ensuring it's straight and centered. Hold it for a few seconds to allow the glue to bond. Repeat this process for each nail, ensuring each tip is securely attached and positioned correctly. If you're using a magnetic nail stand, the magnets will help keep the tips in place as the glue dries. Innovating Nail Art Techniques at Home DIY Nail Art Hacks for Beginners When diving into nail art at home, the nail stand becomes your best friend. It's not just about "how do I attach artificial nail tips to a nail practice stand"; it's about transforming your nails into a canvas for creativity. With a nail holder, you can easily apply nail glue and polish without the fear of smudging. Beginners often find that using a nail practice stand allows for a steadier hand, resulting in smoother lines and more detailed nail art design. Plus, it's a fun way to experiment with different nail painting techniques without the commitment to your nails.
For those who love the look of fake nails but dread the application process, press-ons offer a convenient alternative. They come in various sizes and shapes, making it easy to find the perfect fit for your fingers. And when paired with a nail stand, applying press-ons becomes a breeze. You can paint, glue, and design to your heart's content, then attach them to your nails. This method not only saves time but also allows for a no-mess beauty session at home.
The Art of Choosing the Right Nail Accessories Selecting the right nail accessories is crucial for achieving that salon-quality manicure at home. When browsing for nail art tools, look for items that have strong reviews and are recommended by nail art school professionals. A nail holder with a magnetic base, for instance, can hold your nail tips firmly in place, allowing for precise nail art design. Additionally, investing in a nail practice stand that is adjustable can make a world of difference, as it can be tailored to the angle that's most comfortable for you.
Painting and Designing
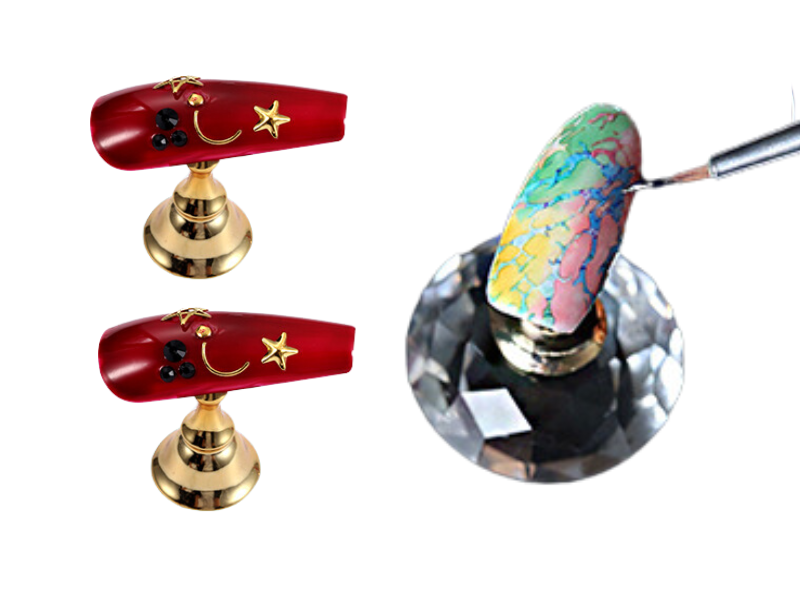
With the nail tips attached, you're ready to unleash your creativity. Start by applying a base coat to protect the nail tips and ensure a smooth surface for painting. Then, proceed with your chosen nail polish or nail art design. Whether you're going for a simple color or an intricate pattern, the nail stand will keep the tips steady, making it easier to achieve a professional-looking result.
Nail Art School Techniques
If you're attending a nail art school or simply looking to improve your skills, practicing on a nail stand is a great way to learn. Experiment with different nail art tools, such as brushes and dotting tools, to create various effects. Try new techniques and styles, and don't be afraid to make mistakes – that's part of the learning process.
Aftercare and Maintenance
Once you've completed your nail art, it's important to take care of both your tools and the artificial nails. Clean your nail stand and accessories with the appropriate solvents, and store them properly to ensure they remain in good condition. If you're using reusable nail tips, remove them carefully from the stand and clean them according to the manufacturer's instructions.
The Convenience of a Nail Practice Stand
A nail practice stand is not only great for nail art design but also for those who want to practice their manicure skills. It's a convenient tool for both home use and professional settings. The stand allows you to work at your own pace and perfect your techniques without needing a live model.
Finding the Best Deals
Accessories, price, and quality are key considerations when shopping for a nail practice stand. Check out different sellers and compare prices, but don't compromise on quality for a lower price. Look for deals that offer a good balance of both. Remember to read reviews and check the return policy before checkout to ensure you get what you paid.
Summary
Attaching artificial nail tips to a nail practice stand is straightforward and requires the right tools, patience, and practice. By following the steps outlined in this guide, you'll be able to easily secure nail tips, allowing you to focus on nail art's fun and creative aspects. Remember to choose a suitable nail stand, use strong nail glue, and take care of your tools to ensure the best results.
FAQ Section
What glue should I use to attach artificial nail tips to a nail practice stand?
Use a strong, high-quality nail glue designed for nail art. This will ensure the nail tips adhere properly and remain in place while you work on your designs.
Can I reuse artificial nail tips after practicing nail art on them?
Yes, many artificial nail tips are reusable. After practicing, carefully remove them from the stand, clean them according to the manufacturer's instructions, and store them for future use.
How do I choose the right size nail tips for my nail practice stand?
Please measure the width of the nail stand's fingers and compare it to the sizes of the nail tips available. Choose tips that match the width as closely as possible to ensure a secure fit and proper adherence.