


Key Takeaways:
- Understand the different grit levels and their specific uses for natural nails, gel nails, and acrylics.
- Select the right nail buffer based on nail type and the desired finish.
- Discover maintenance tips to extend the life of your nail buffers and achieve a consistent, high-quality shine.
Nail care is an essential aspect of personal grooming, and choosing the right tools is crucial for achieving a polished look. Among these tools, nail buffers play a significant role in creating a smooth, shiny surface on your nails. But with so many options available, how do you choose the right one? This article will guide you through selecting the perfect nail buffer for your needs.
Understanding Nail Buffer Grit Levels
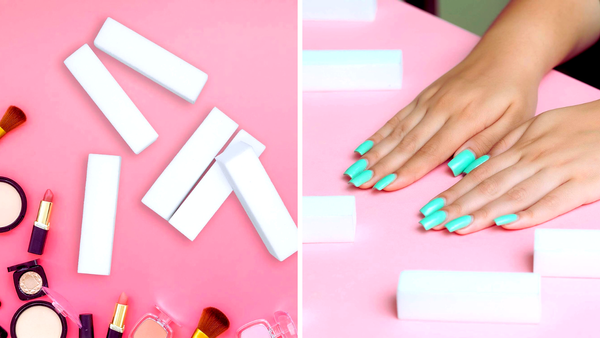
The grit level of a nail buffer indicates the coarseness of the abrasive surface. Lower grit numbers mean a coarser buffer, which is more abrasive and used for shaping and smoothing out larger ridges. Higher grit numbers indicate a finer buffer, ideal for creating shine and a smooth finish. For natural nails, a finer grit is often recommended to avoid excessive buffing, which can weaken the nail plate. Conversely, for acrylic nails or gel polish, a coarser grit may be necessary to blend tips or prep nails for product application.

Selecting the Right Buffer for Natural Nails
When buffing natural nails, it's important to use a softer file to prevent damage to the nail bed. A fine grit buffer is perfect for smoothing the nail surface without applying too much pressure, which can lead to thinning of the nail plate. Look for a buffer with a grit level that's high enough to create a smooth finish without causing harm. For natural nails, a grit level ranging from 1000 to 4000 can provide a mirror finish without the risk of excessive buffing.
Choosing Buffers for Gel Nails and Acrylics
Gel nails and acrylics require a different approach. These artificial enhancements can handle a coarser grit due to their thickness and strength. To shape and prep gel nails or acrylics, a medium grit buffer ranging from 180 to 240 grit is often used. This allows for efficient shaping without creating sharp edges or damaging the enhancements. For finishing touches and to achieve a high shine, a finer grit buffer is then used.
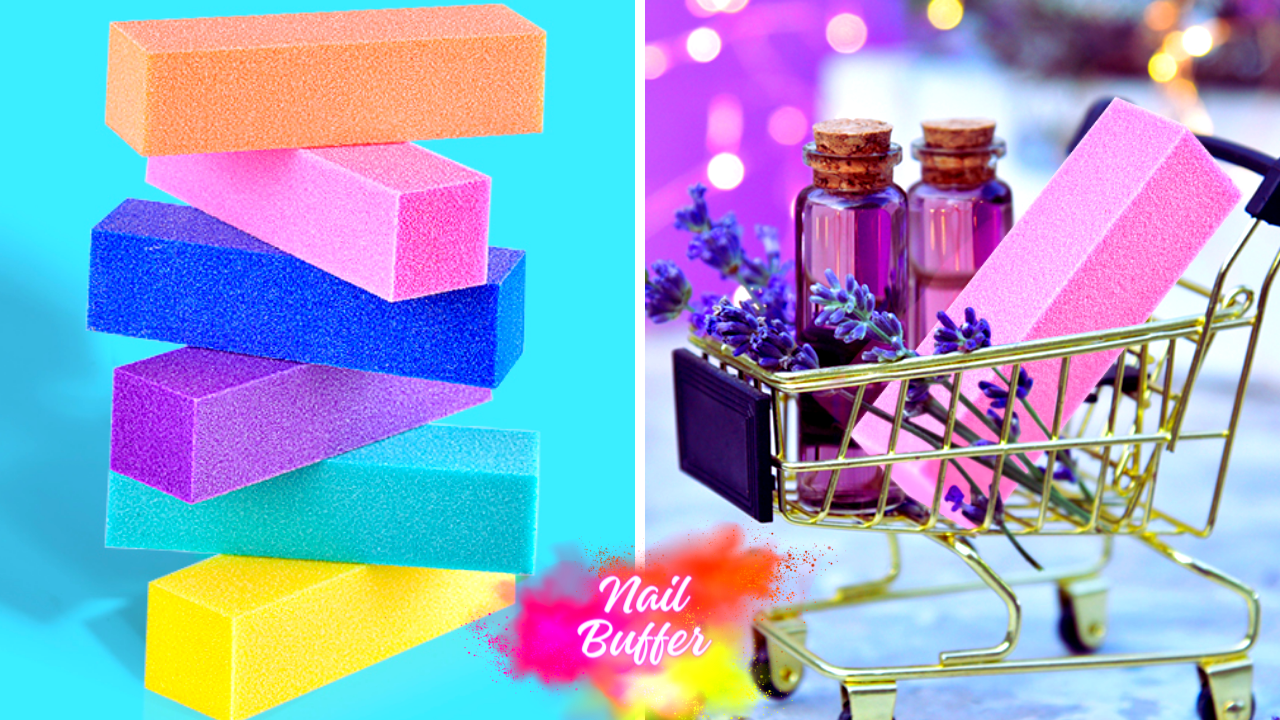
The Importance of Shape and Size
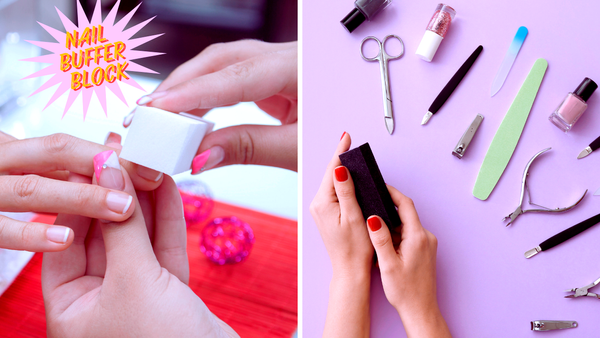
Nail buffers come in various shapes and sizes, each designed for a specific purpose. For instance, a buffer with a straight edge is ideal for working on the free edge and side walls of the nail, while a half-moon shape can be more comfortable for buffing the nail surface near the cuticle area. The size of the buffer also matters; a larger buffer can cover more surface area, making the job quicker, while a smaller one offers more precision.

Buffers for Different Nail Shapes
Different nail shapes may require different buffers. For square nails, a straight-edged buffer can easily reach the corners and side walls. For round or oval nails, a buffer with a softer edge will conform to the natural curve of the nail. It's important to choose a buffer that complements the shape of your nails to ensure even buffing and avoid creating sharp edges that could lead to snags or breaks.
Exploring Nail Buffer Materials
When pondering "how do I choose a nail buffer," the material of the nail buffer is a pivotal aspect to consider. Traditional buffers often come in a block form with sandpaper-like material, suitable for various grit levels. However, innovation in nail care has introduced buffers made from materials like rubber, glass, and even certain fabrics. These materials can offer a gentler buffing experience, particularly beneficial for natural nails prone to damage. A softer file made from fabric might be the perfect tool for achieving a high shine without applying too much pressure on the nail surface.
In contrast, for tougher jobs like shaping acrylics or smoothing out the edges of gel nails, a buffer with a coarse grit made from a sturdier material may be necessary. It's important to match the buffer material to the specific nail job. For instance, rubber buffers can provide a more flexible tool that adapts to different nail shapes, including the challenging half-moon shape at the nail bed. Always remember that the right material not only aids in achieving the desired results but also ensures the longevity of your nail enhancements by avoiding excessive buffing.
Nail Buffer Care and Hygiene
Maintaining the hygiene of your nail buffers is as crucial as selecting the right one. For professional nail technicians, this means adhering to strict sanitation protocols to prevent transferring bacteria or fungi between clients' nails. It's advisable to use a new file or a sanitized buffer for each client, especially when dealing with the delicate cuticle area and side walls. For personal use, cleaning your buffers with soap and water or a disinfectant after each use can help extend their life and prevent the buildup of nail debris and bacteria.
Furthermore, understanding when to replace your nail buffers is key to ensuring a smooth finish every time. Over time, the abrasive surface of buffers can wear down, leading to a lower grit than intended. This can result in a less effective buffing process and potentially harm the nail plate if too much pressure is applied with a worn tool. Keep an eye on the sharp edges and the overall texture of your buffers. If you notice any uneven surfaces or diminished grit, it's time to switch to a new file or buffer to maintain the quality of your nail polish application and the health of your natural nails.

The Role of Grit Sequence in Buffing
When buffing nails, it's important to follow a grit sequence. Start with a coarser grit to shape the nail and remove any imperfections. Then, move to a finer grit to smooth the surface and prepare it for polish or other nail products. Skipping grit levels can result in an uneven surface or damage to the nail. Always progress from a lower grit to a higher grit for the best results.
Maintaining Your Nail Buffers
Proper maintenance of your nail buffers is essential for their longevity and effectiveness. Clean your buffers regularly to remove nail debris and prevent the spread of bacteria. Avoid using the same file on different grits, as this can transfer coarse grains to a finer buffer, reducing their smoothness. Replace your buffers periodically to ensure they remain effective; a worn buffer won't provide the desired results and could damage the nails.

The Debate: Glass Files vs. Traditional Buffers
Glass files are a newer addition to the nail care toolkit and offer a finer grit ideal for natural nails. They are durable, easy to clean, and provide a smooth finish without too much pressure. However, traditional buffers still have their place, especially when working with artificial nails or when a variety of grit levels are needed for different stages of buffing.
Avoiding Common Buffing Mistakes
One of the most common mistakes in buffing is using too much pressure, leading to thinning of the nail plate and increased sensitivity. Another mistake is buffing in a back-and-forth motion, which can create heat and weaken the nail. Instead, use gentle, one-directional strokes. Also, avoid buffing too frequently, as this can strip the nail of its natural oils, leading to brittleness.
When to Consult a Professional
If you're unsure about the right buffer for your nails or how to use it properly, consulting a professional nail technician can be invaluable. They can assess your nail type and recommend the best products and techniques. Additionally, they can provide tips on maintaining your nails between salon visits.

Summary
Choosing the right nail buffer involves understanding the different grit levels, selecting the appropriate buffer for your nail type, and using the correct techniques to avoid damage. Whether you're working with natural nails, gel nails, or acrylics, the right buffer can make all the difference in achieving a smooth, shiny finish. Remember to maintain your buffers properly and consult a professional if you have any doubts.
FAQ Section
How often should I replace my nail buffer?
Nail buffers should be replaced when they show signs of wear, such as a smooth surface or reduced effectiveness. For personal use, replacing them every few months is a good practice, while professionals may need to replace them more frequently.
Can I use the same buffer for natural nails and acrylics?
It's not recommended to use the same buffer for natural nails and acrylics due to the different grit requirements. Natural nails typically need a finer grit, while acrylics can handle a coarser grit. Using the same buffer can lead to damage or an unsatisfactory finish.
Is it better to buff nails before or after applying nail polish?
It's best to buff nails before applying nail polish. Buffing creates a smooth surface that helps the polish adhere better and results in a more even application. However, avoid excessive buffing, as it can weaken the nails.