


Key Takeaways:
- Understanding the different types of nail files and their specific uses is crucial for achieving the perfect manicure.
- The grit of a nail file plays a significant role in determining its effectiveness for various nail types and purposes.
- Proper technique and the right tools can make a difference in maintaining healthy, beautiful nails.
Introduction
Choosing the right acrylic nail file can feel like finding a needle in a haystack. With so many options available, it’s easy to get overwhelmed. But fear not! This guide will help you navigate the sea of nail files and find the perfect one for your needs. Whether you're a professional nail technician or someone who loves doing their nails at home, understanding the nuances of nail files is essential.
Understanding Nail File Grit
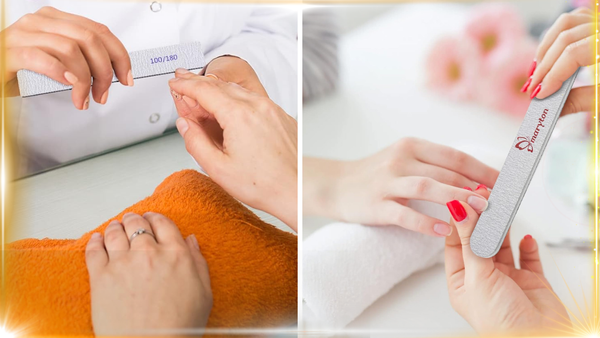
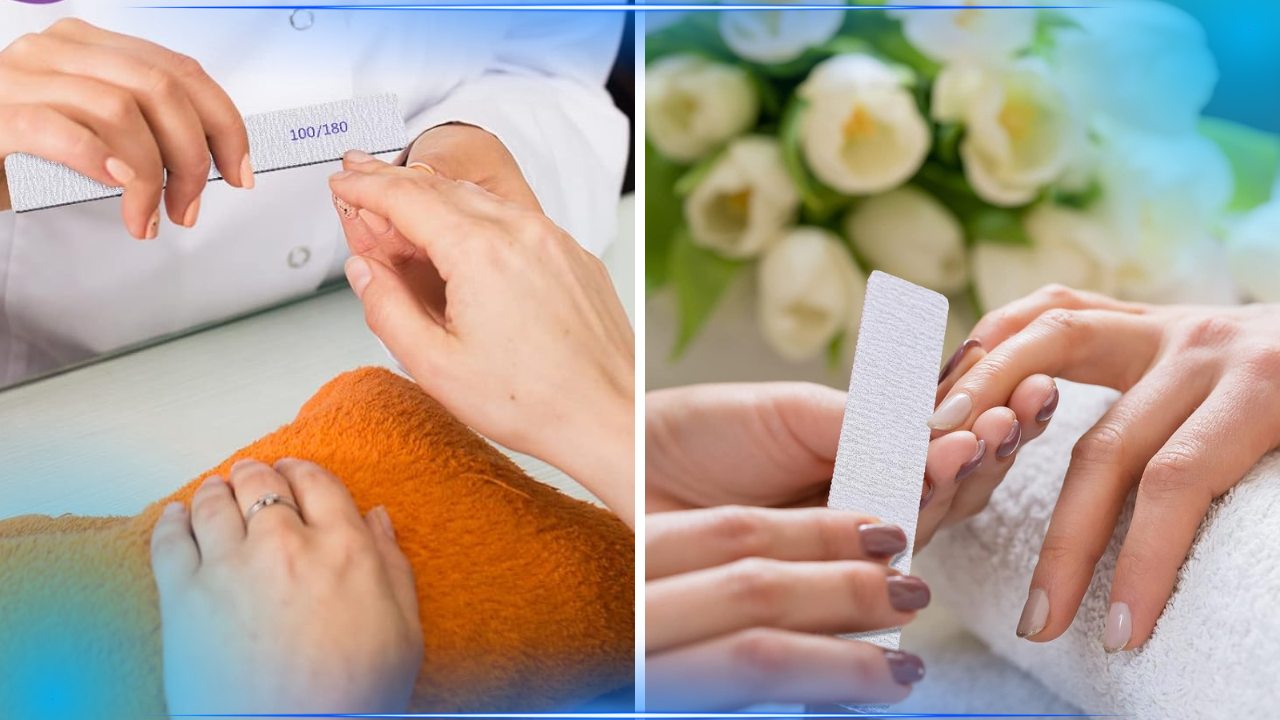
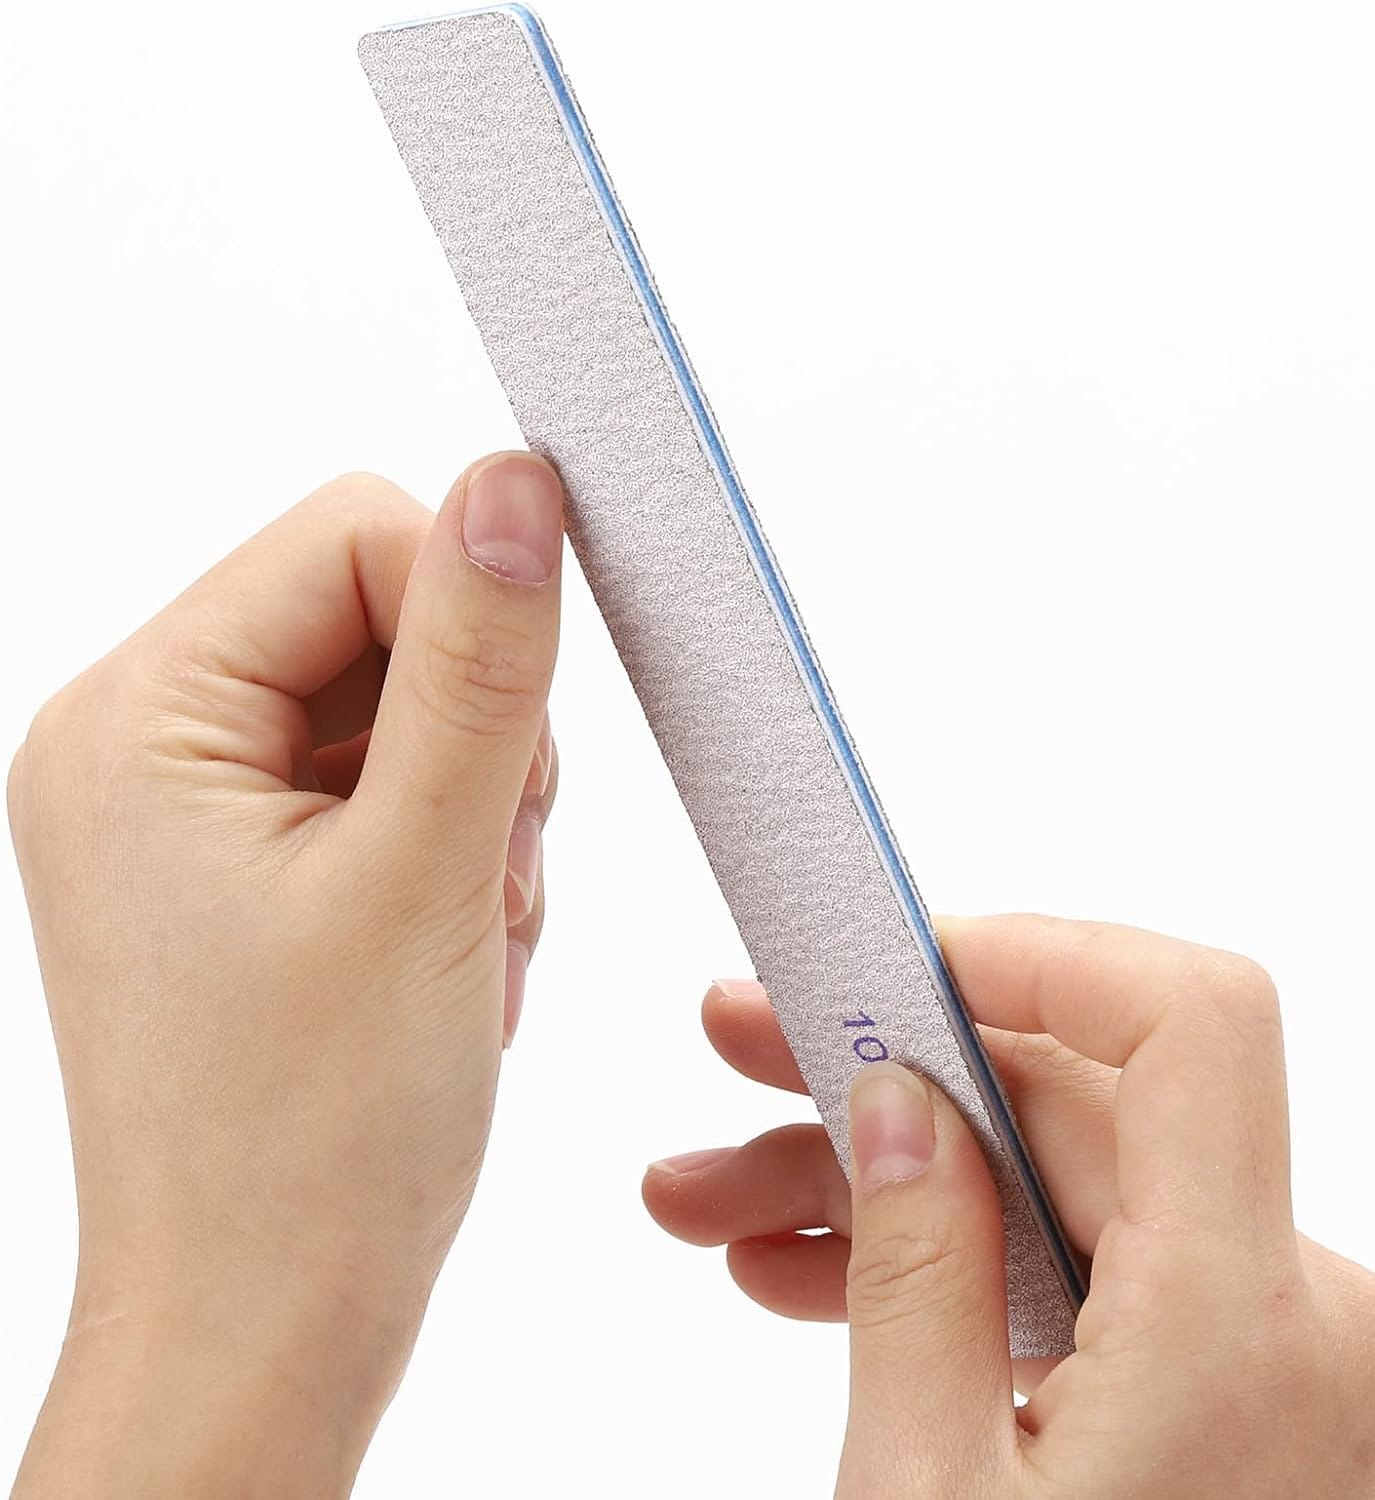
When it comes to nail files, grit is a term you’ll hear often. Nail file grit refers to the coarseness of the file's abrasive surface. The lower the grit number, the coarser the file. For instance, a 100-grit nail file is rougher than a 240-grit nail file. Coarse files are great for shaping and debulking acrylic nails, while finer grits are perfect for smoothing and finishing. Understanding the nail file surface is crucial for selecting the right tool.
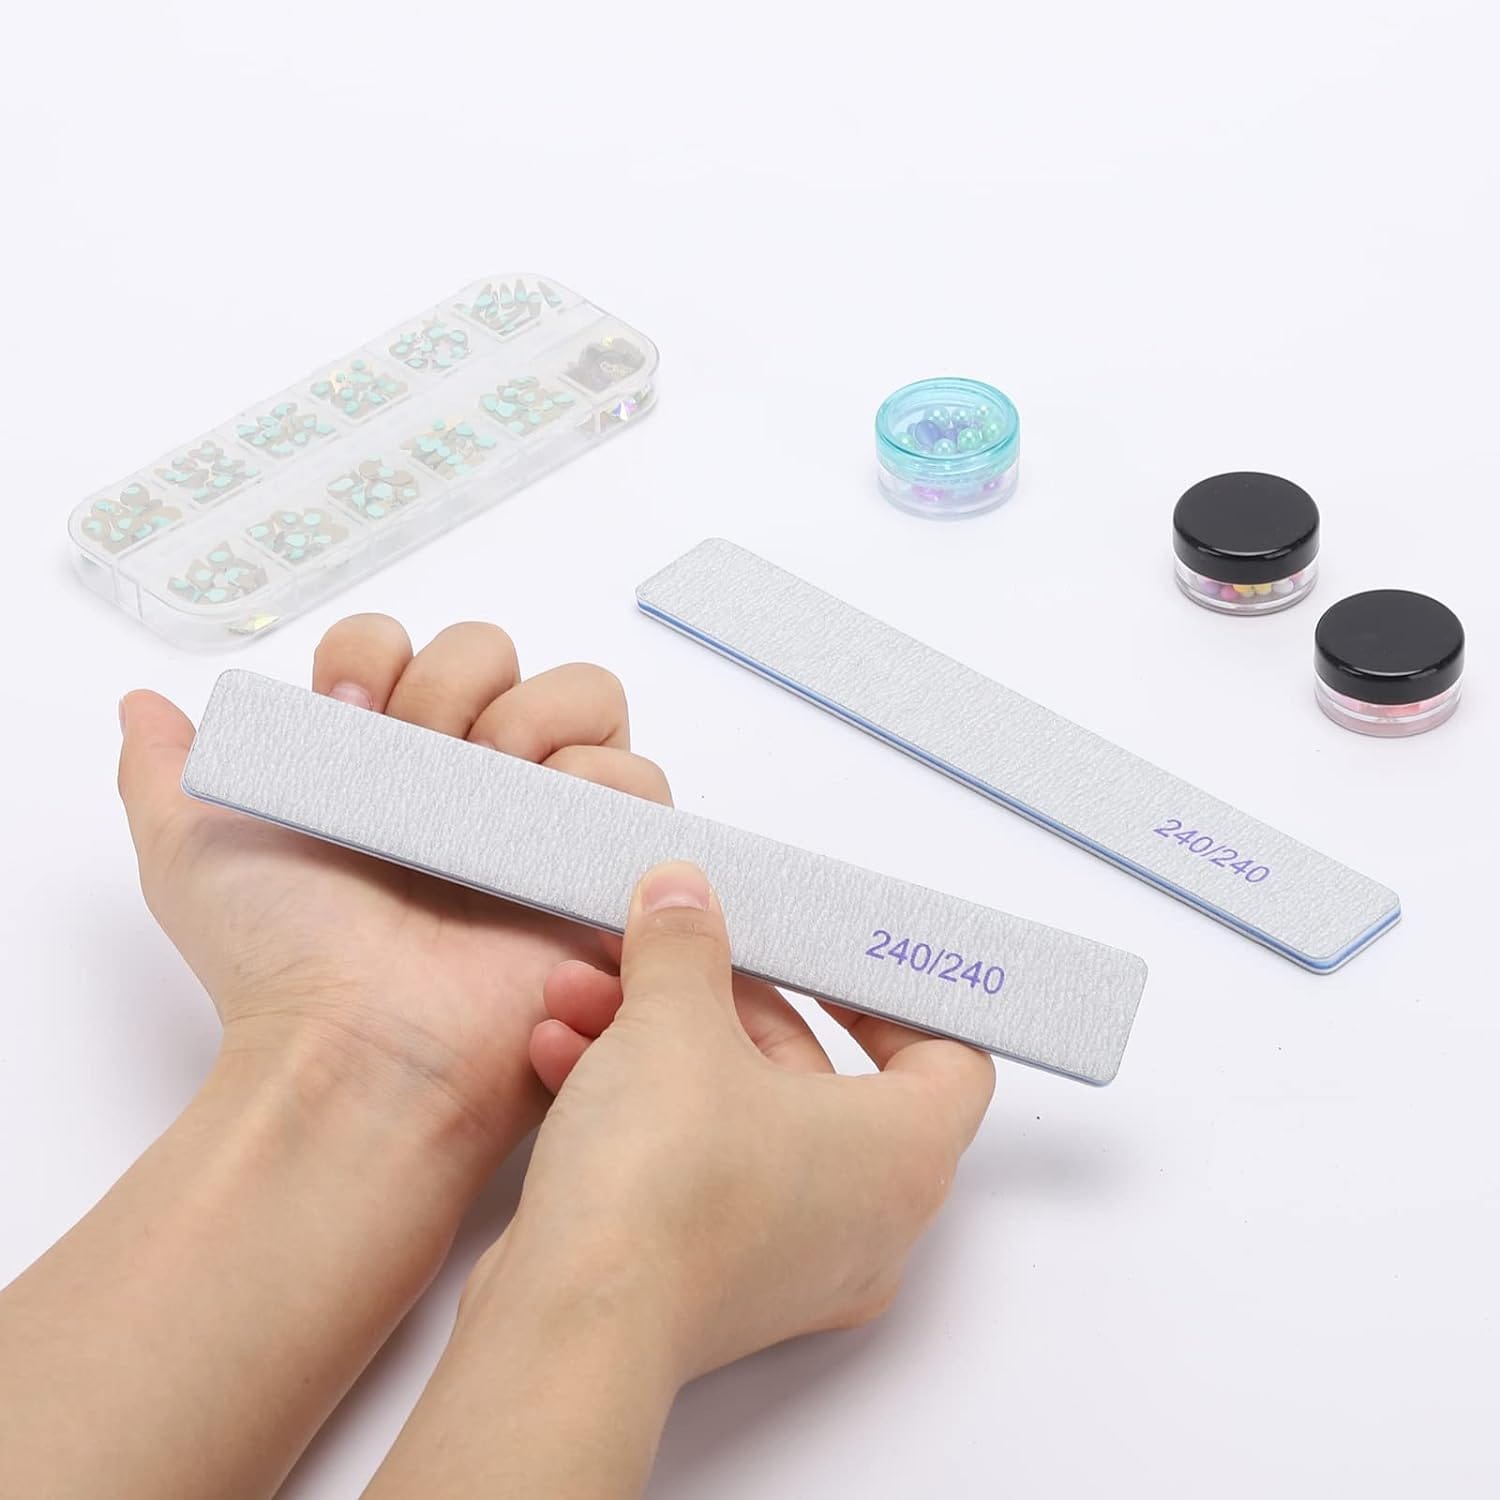
A higher grit file, such as 240 or above, is ideal for natural nails. These files are gentle and prevent damage to the natural nail underneath. On the other hand, acrylic nails can handle lower grit files, like 100 or 180, which are effective for shaping and removing excess material. Nail file grits play a significant role in achieving the perfect manicure and maintaining healthy, beautiful nails.
Types of Nail Files
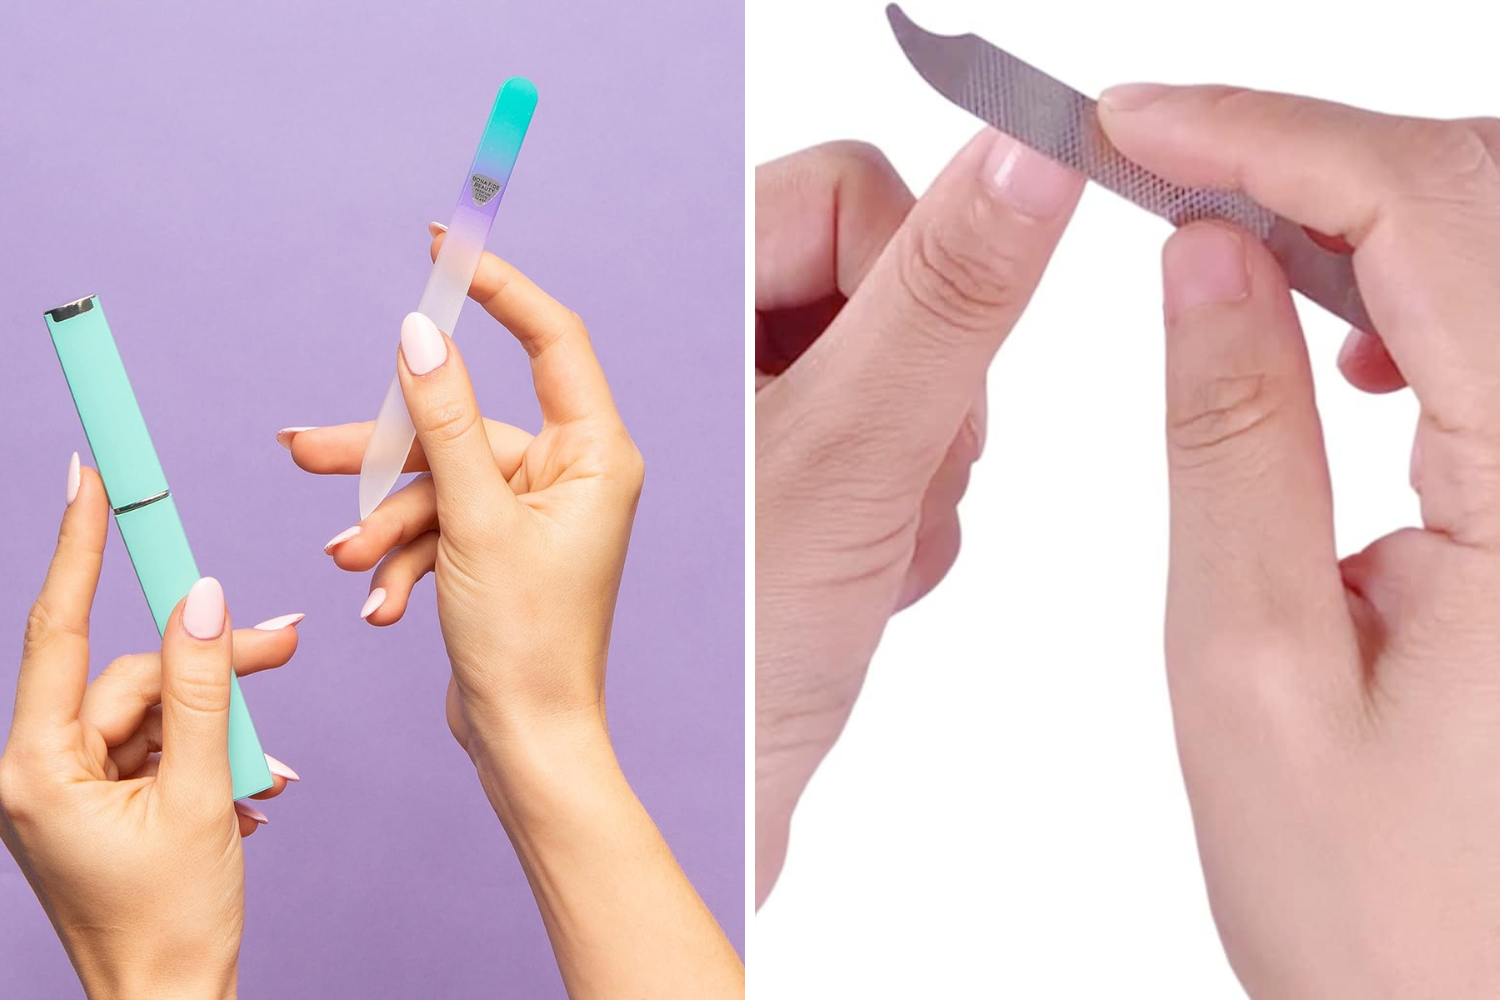
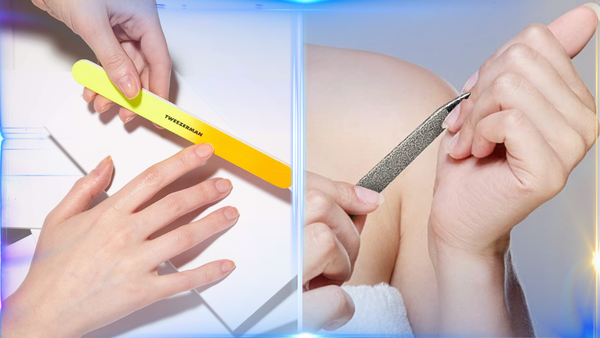
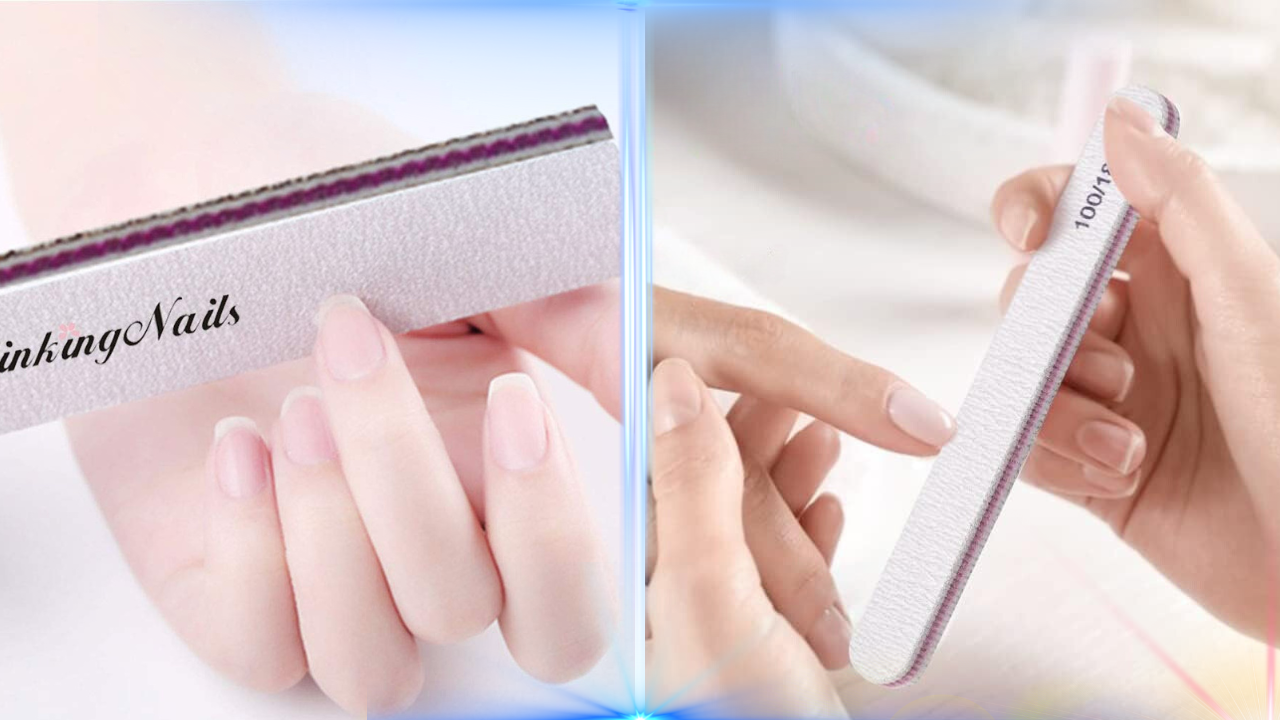
There are several types of nail files, each designed for specific purposes. Paper files are the most common and come in various grits. They are versatile and can be used for both natural and acrylic nails. Glass files, known for their durability and smooth finish, are excellent for natural nails. They gently buff the nail surface without causing damage. Different types of nail files are essential tools for nail technicians.
Metal files are another option, but they are generally not recommended for natural nails as they can be too harsh. Instead, they are better suited for artificial nails. Lastly, cushioned files have a softer surface and are ideal for smoothing and finishing natural and acrylic nails.
Choosing the Right Grit for Acrylic Nails
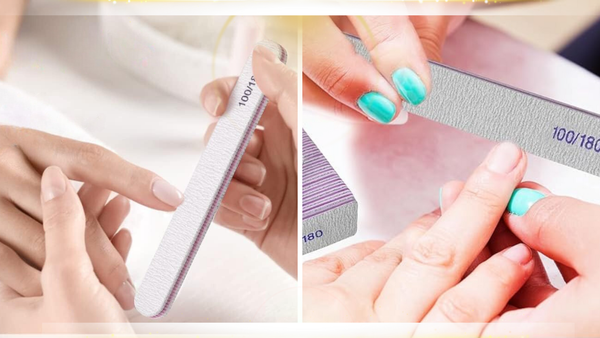
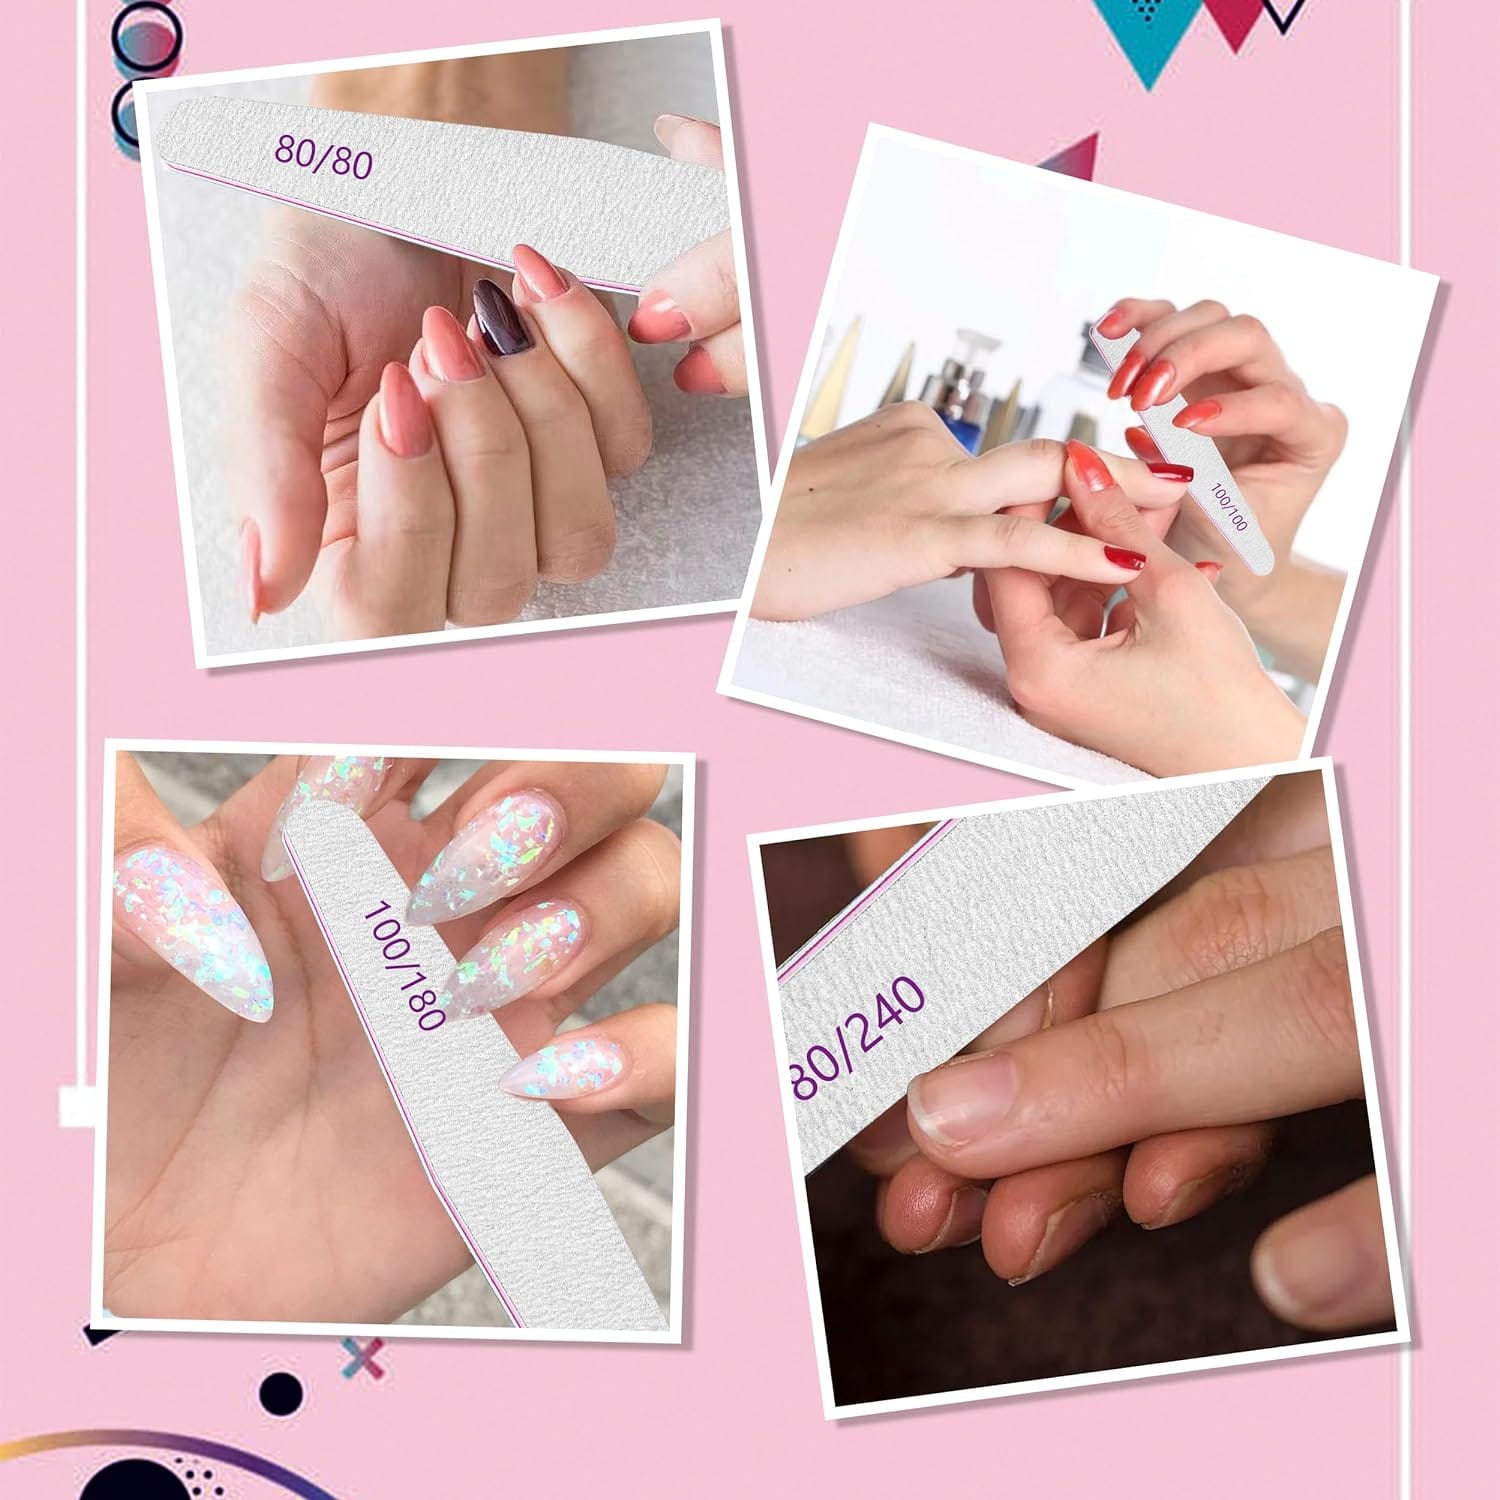
When working with acrylic nails, choosing the right grit is crucial. A 100-grit file is perfect for shaping and debulking. It can easily cut through the hard acrylic material, making it easier to achieve the desired shape. Using the right grit file can prevent damage to the natural nail plate. For smoothing the surface and eliminating scratches, a 180-grit file is ideal. This grit is gentle enough to avoid damaging the nail while providing a smooth finish.
A 240-grit file or higher can create a mirror-like shine for the final touch. This fine grit eliminates any scratches and makes the nails look polished and professional. Using the right grit at each stage ensures a flawless finish and prevents nail damage.
Prepping Natural Nails
Before applying acrylic nails, it’s essential to prep the natural nails properly. Preparing the nail bed is crucial for better adhesion of acrylic nails. Start by gently pushing back the cuticles with a cuticle pusher. This step ensures that the acrylic adheres well to the natural nail. Next, use a 240-grit file to buff the natural nail’s surface gently. This removes any shine and creates a rough surface for better adhesion.
Be careful not to apply too much pressure, which can damage the natural nail. The goal is to create a slightly rough surface that allows the acrylic to bond effectively. Once the nails are prepped, you can proceed with the acrylic application, knowing the foundation is solid.
Shaping the Free Edge
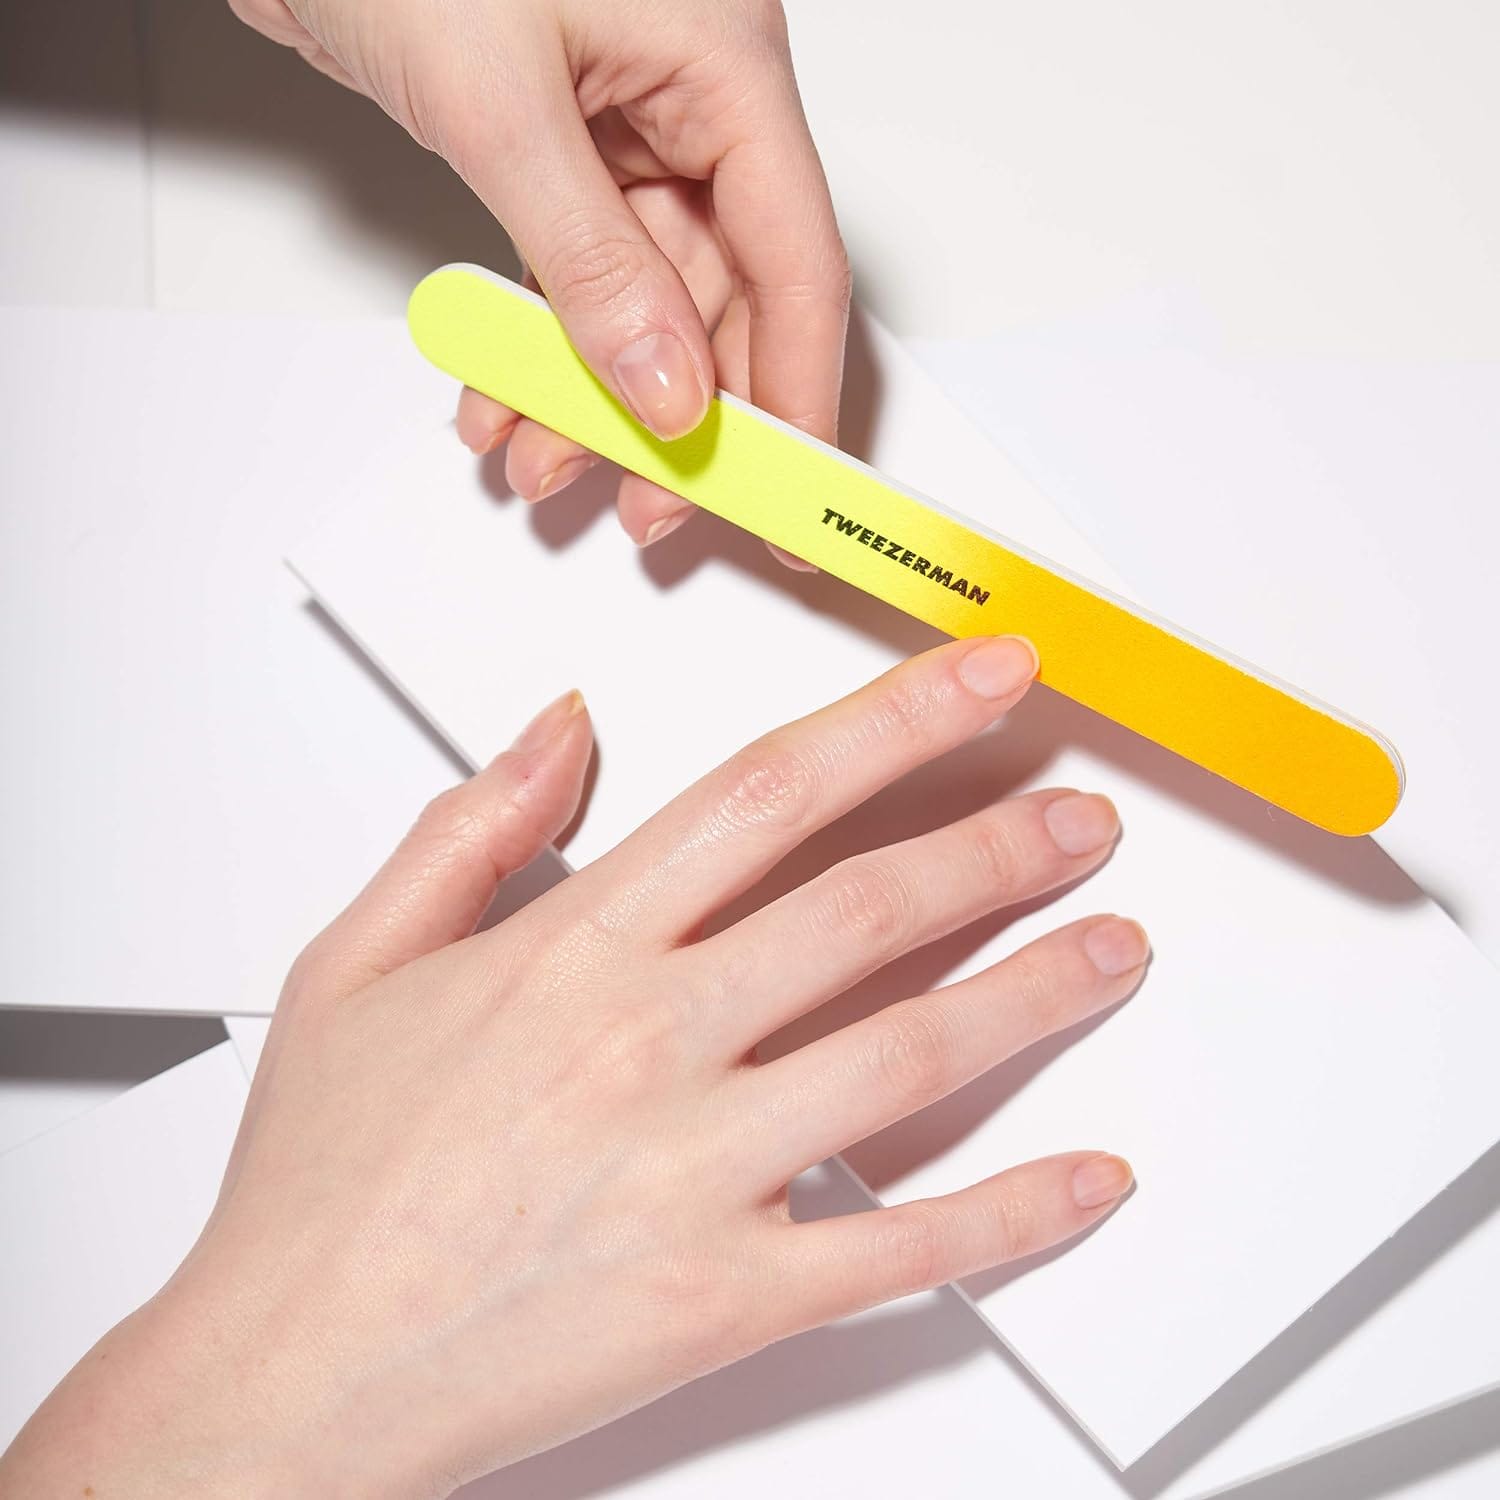
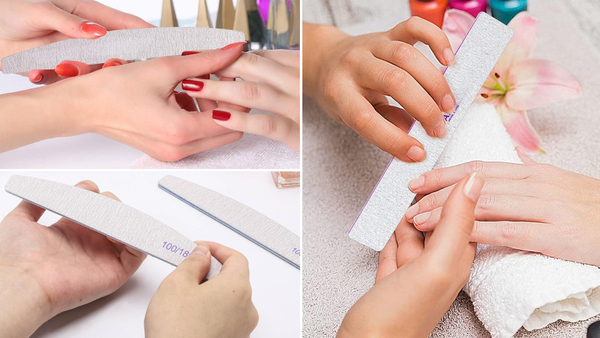
Shaping the nail’s free edge is a crucial step in achieving a professional look. A 240-grit file is ideal for shaping the natural free edge. This grit is gentle enough to prevent splitting and breaking while providing a smooth edge. Hold the file at a slight angle and use gentle, even strokes to shape the nail.
A 100—or 180-grit file is more suitable for acrylic nails. These grits are coarse enough to shape the hard acrylic material effectively. Use a straight file to create a nice, straight shape, and avoid using a sawing motion, as this can cause the acrylic to lift. Proper shaping ensures that the nails look neat and professional.
Smoothing the Nail Surface
After shaping the nails, it’s essential to smooth the surface. For natural nails, a 240 grit file is perfect for this task. Gently buff the surface to remove any ridges and create a smooth canvas for nail polish application. Be sure to use light pressure to avoid damaging the natural nail. Smoothing the nail surface is especially important before UV gel polish application to ensure a flawless finish.
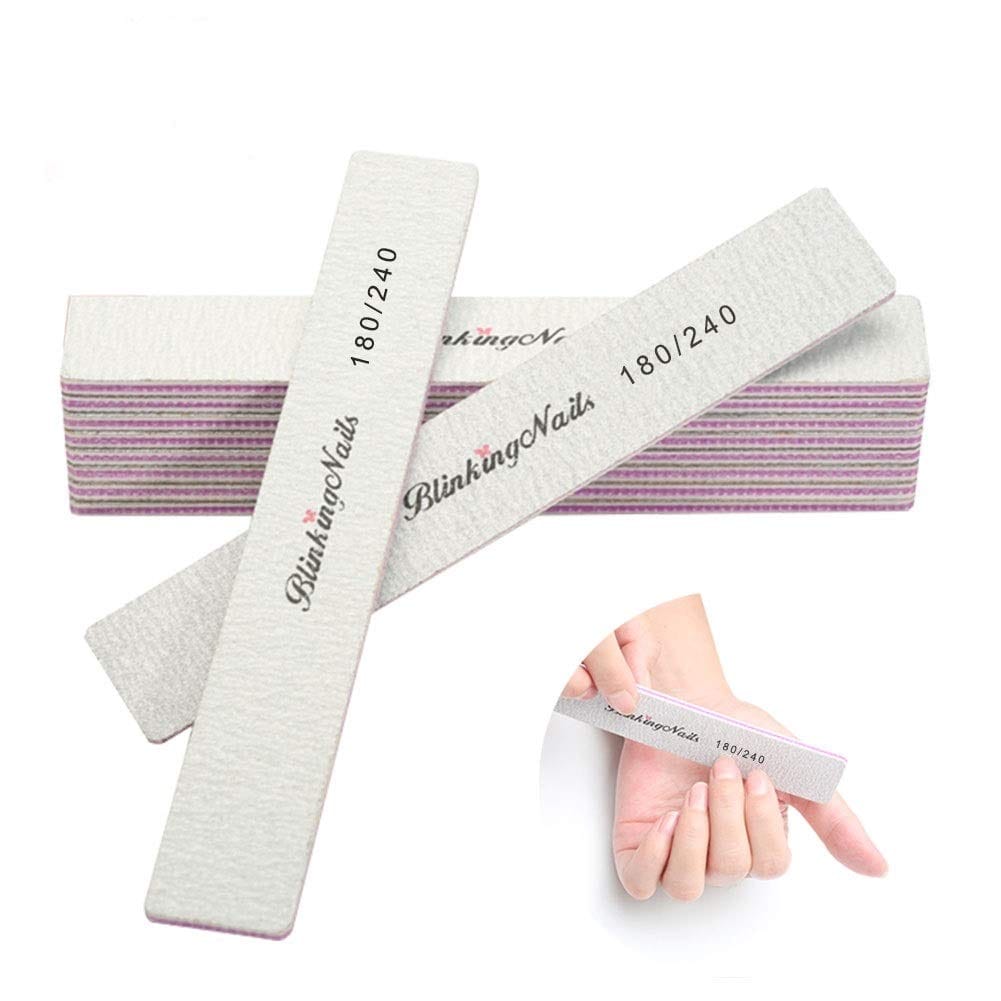
Start with a 180-grit file for acrylic nails to smooth the surface and eliminate any scratches. Follow up with a 240-grit file or higher to create a polished finish. This step is crucial for achieving a professional look and ensuring the nails are smooth and even.
Buffing for a Shiny Finish
Buffing is the final step in achieving a polished, professional look. For natural nails, a fine-grit buffer, such as 240 grit or higher, is ideal. This buffer gently smooths the surface and creates a natural shine. Use light, even strokes to buff the entire nail surface.
Start with a 180-grit buffer for acrylic nails to smooth the surface and eliminate any scratches. Follow up with a 240-grit buffer or higher to create a mirror-like shine. This final step ensures that the nails look polished and professional, with a smooth, glossy finish. For acrylic nails, start with the lowest amount of buffer and work towards the highest one, emphasizing the green side of the 600/4000 buffer to achieve a mirror glass shine.
Removing Gel Nails
Removing gel nails can be tricky, but the right tools can make it easier. Start by gently filing the surface of the gel polish with a 180-grit file. This breaks the seal and allows the acetone to penetrate the gel. Soak a cotton ball in acetone and place it on the nail, then wrap it in foil to hold it in place.
Remove the foil after 10-15 minutes and gently push off the gel polish with a cuticle pusher. If any gel remains, use a 240-grit file to buff the surface gently. Be sure to use light pressure to avoid damaging the natural nail underneath. Proper removal ensures that the natural nails remain healthy and strong.
Maintaining Your Nail Files
Proper maintenance of your nail files is essential for ensuring their longevity and effectiveness. After each use, clean your files with a brush to remove any debris. You can also use soap and water to clean metal and glass files thoroughly. Be sure to dry them completely before storing them.
Avoid getting paper files wet, as this can cause them to deteriorate. Instead, use a brush to remove debris and store it in a dry place. Regular maintenance ensures that your files remain effective and last longer, saving you money in the long run.
Choosing the Right File for Your Needs
Choosing the right nail file depends on your specific needs. A 240-grit file is ideal for shaping and smoothing natural nails. For acrylic nails, a combination of 100, 180, and 240-grit files is necessary for shaping, smoothing, and finishing. Glass files are excellent for natural nails, while metal files are better suited for artificial nails.
Consider your specific needs and preferences when choosing a nail file. If you're unsure, consult with a professional nail technician for advice. The right file can make a difference in achieving a professional, polished look.
Summary
Choosing the right acrylic nail file is essential for achieving a professional, polished look. Understanding the different types of nail files and their specific uses is crucial. The grit of a nail file plays a significant role in determining its effectiveness for various nail types and purposes. Proper technique and the right tools can make a difference in maintaining healthy, beautiful nails.
FAQ Section
What is the best grit for natural nails?
A 240-grit file is ideal for natural nails. This grit is gentle enough to prevent damage while providing a smooth finish.
Can I use a metal file on natural nails?
Using a metal file on natural nails is generally not recommended, as they can be too harsh and cause damage. Instead, opt for a glass or paper file with a higher grit.
How often should I replace my nail files?
The frequency of replacing your nail files depends on how often you use them. For regular use, replacing paper files every few months is a good idea. Metal and glass files can last longer with proper maintenance.