


Key Takeaways:
- Learn the precise steps to apply clear gel polish for a professional-looking gel manicure at home.
- Understand the importance of proper nail preparation to ensure long-lasting wear and prevent chipping.
- Discover tips for maintaining your gel nails and the correct method for gel polish removal.
Applying clear gel polish is a beauty ritual that combines the durability of gel with the simplicity of a clear coat. This comprehensive guide will walk you through the process, ensuring your gel manicure is flawless and long-lasting. Whether you're a seasoned pro or a beginner, these steps will help you achieve salon-quality nails from the comfort of your home.
Preparing Your Nails
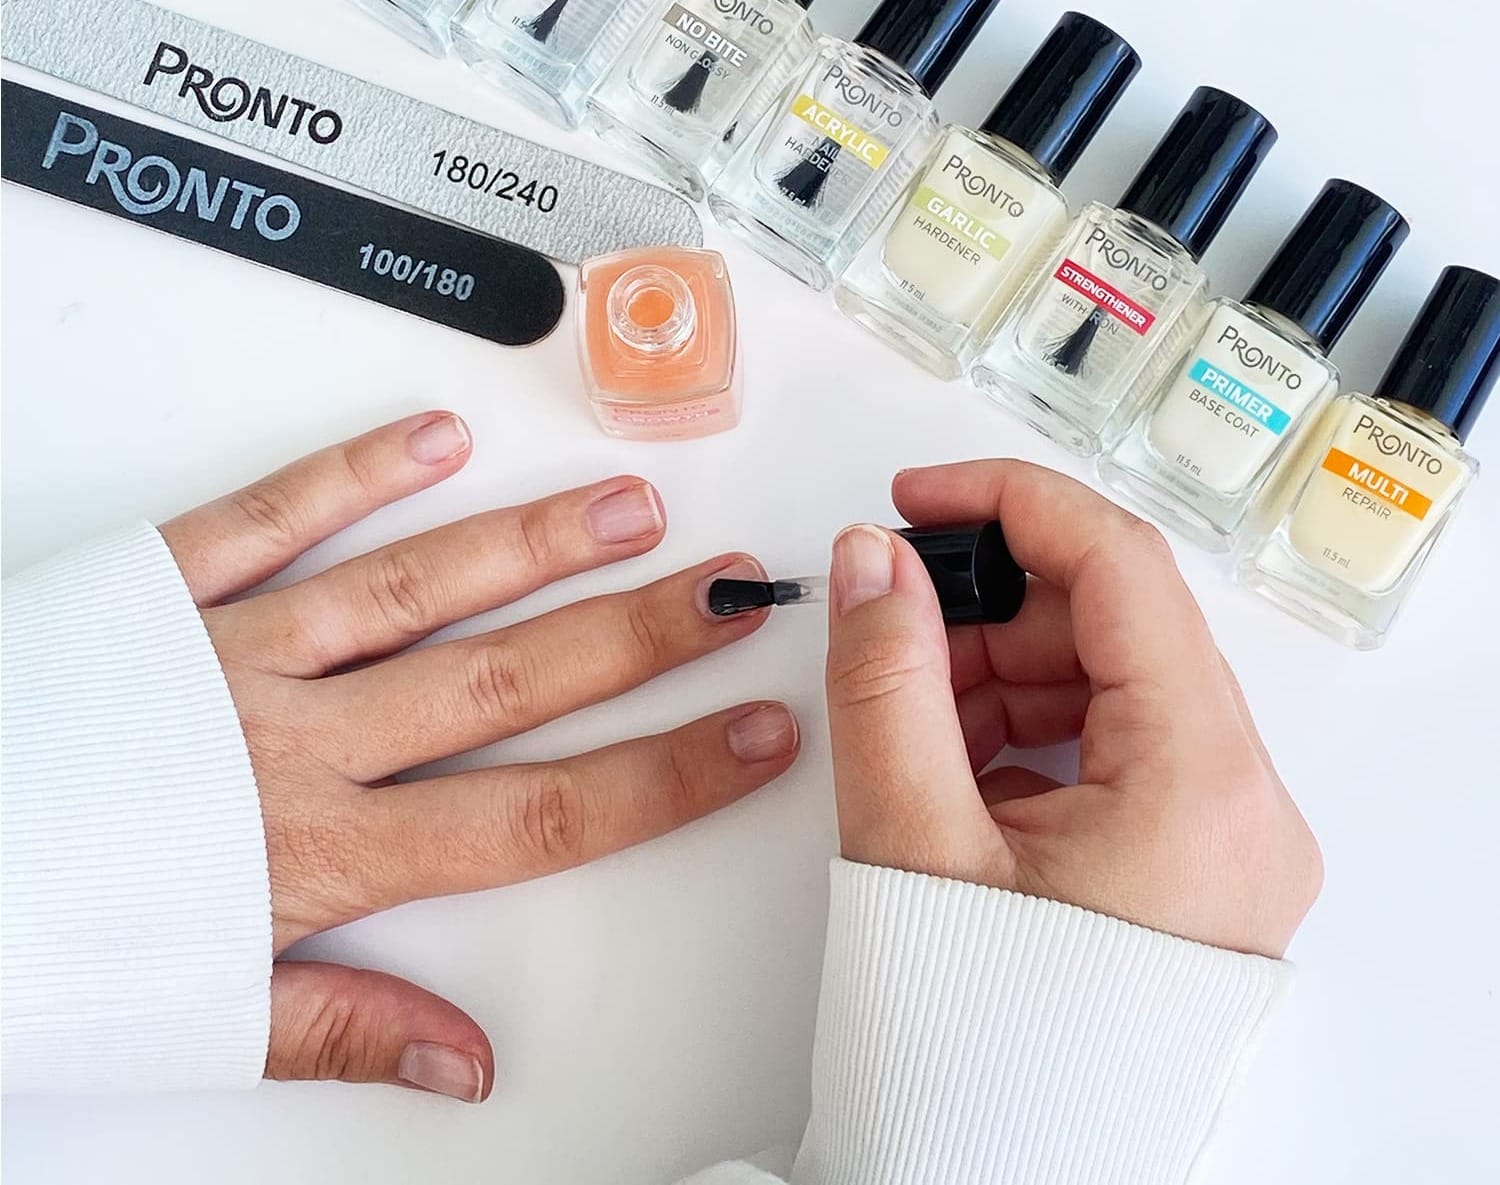
Before you dive into the fun part of applying gel polish, it's crucial to prepare your own nails. Start by cleaning your nails with rubbing alcohol to remove oils or residues. Next, gently push back your cuticles with a cuticle pusher and apply a few drops of cuticle oil to moisturize them. Remember, well-prepped nails are the foundation of a perfect gel manicure.
Shaping and Buffing
Using a nail file, shape your nails to your desired length and form. Once you're happy with the shape, take a nail buffer and lightly buff the surface of the nail plate. This creates a slightly rough texture that helps the gel polish adhere better, ensuring a long-lasting finish.
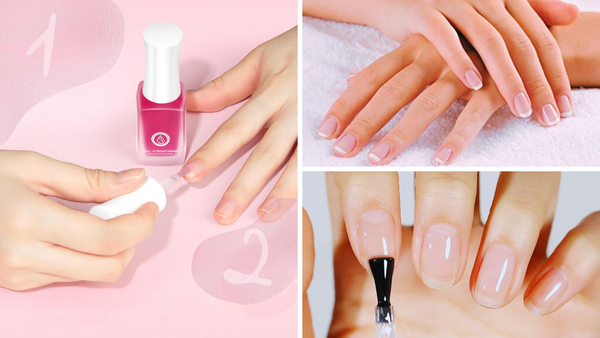
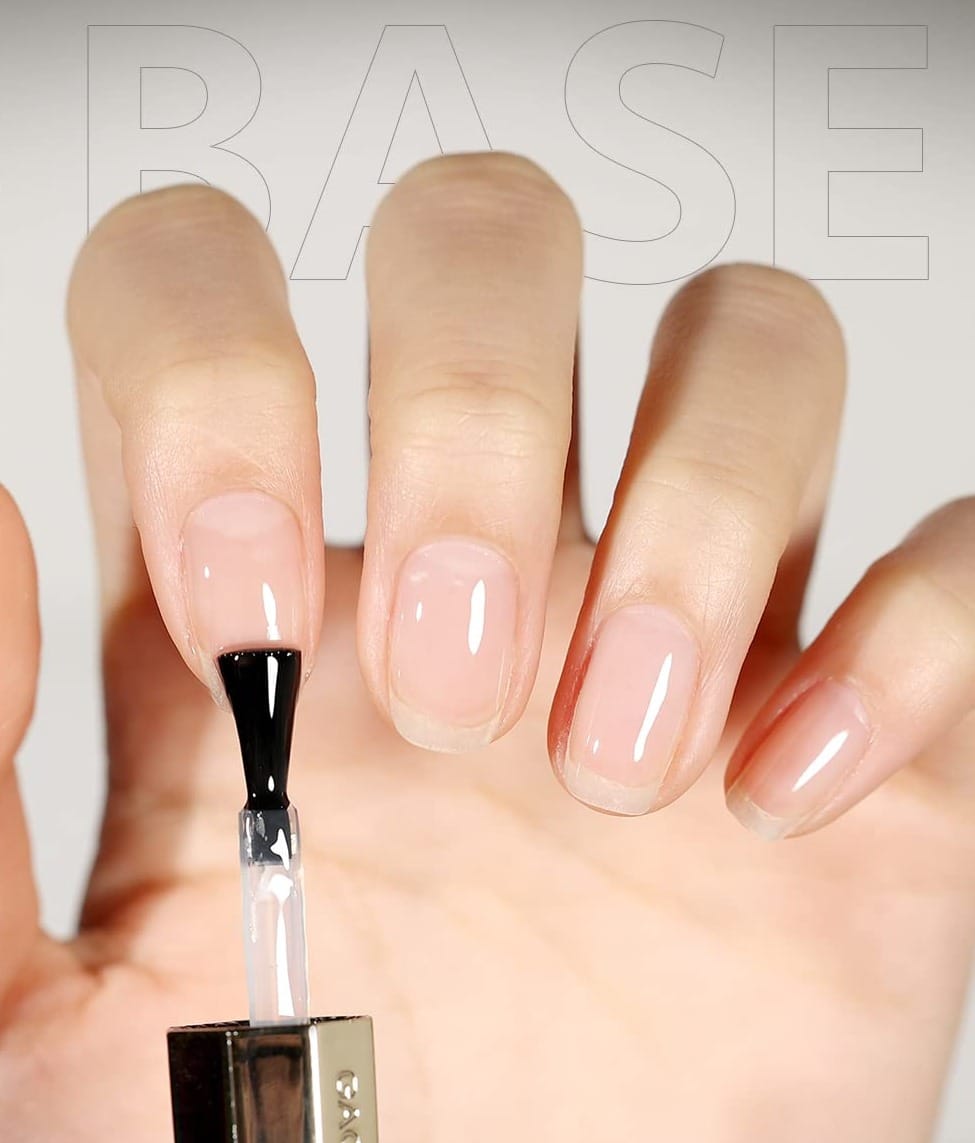
Applying the Base Coat
The base coat is your first layer of defense. Apply a thin base coat to your natural nails, covering the entire nail surface. Avoid the cuticles and skin to prevent lifting. Cure the base coat under a UV or LED lamp according to the manufacturer's instructions. This step is crucial for a strong bond between your natural nails and the gel polish.
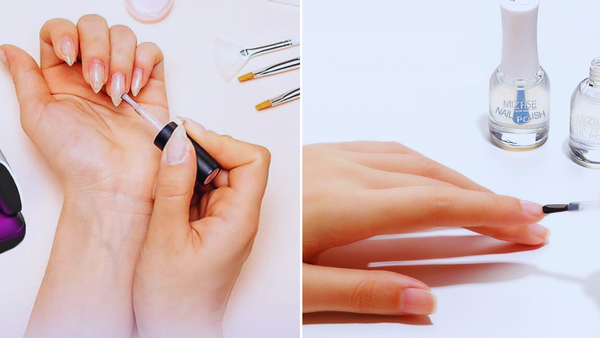
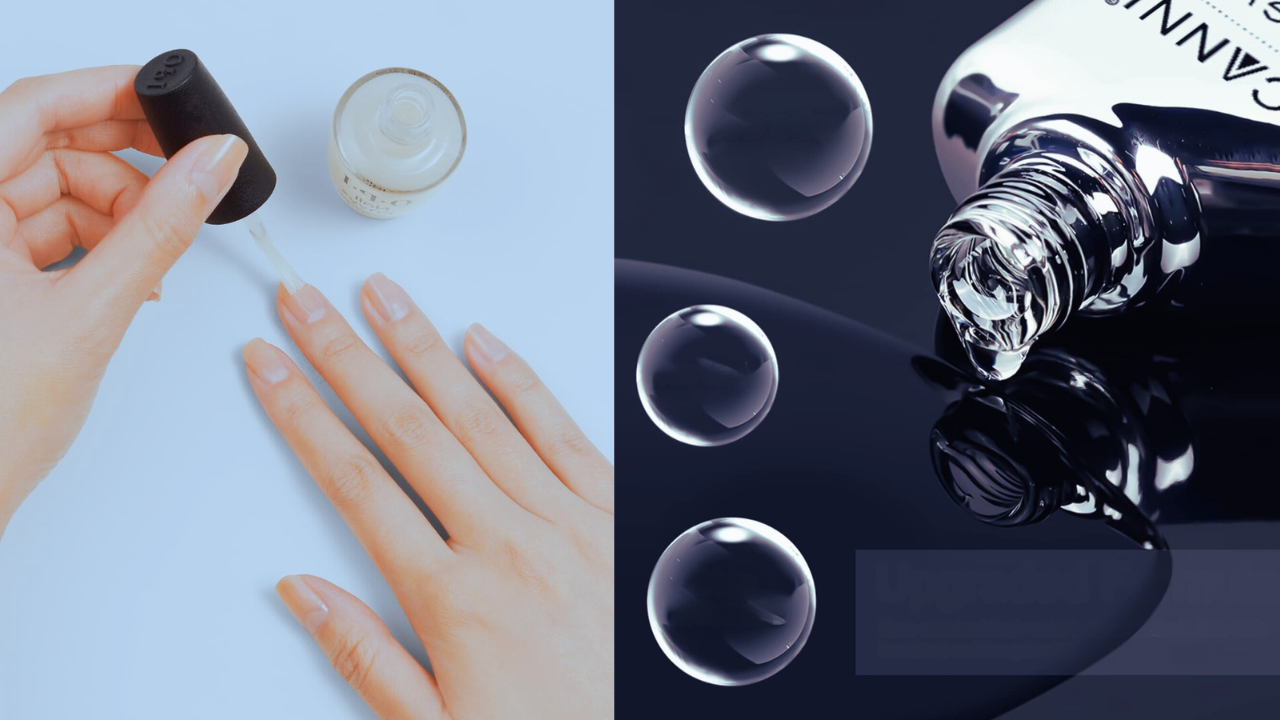
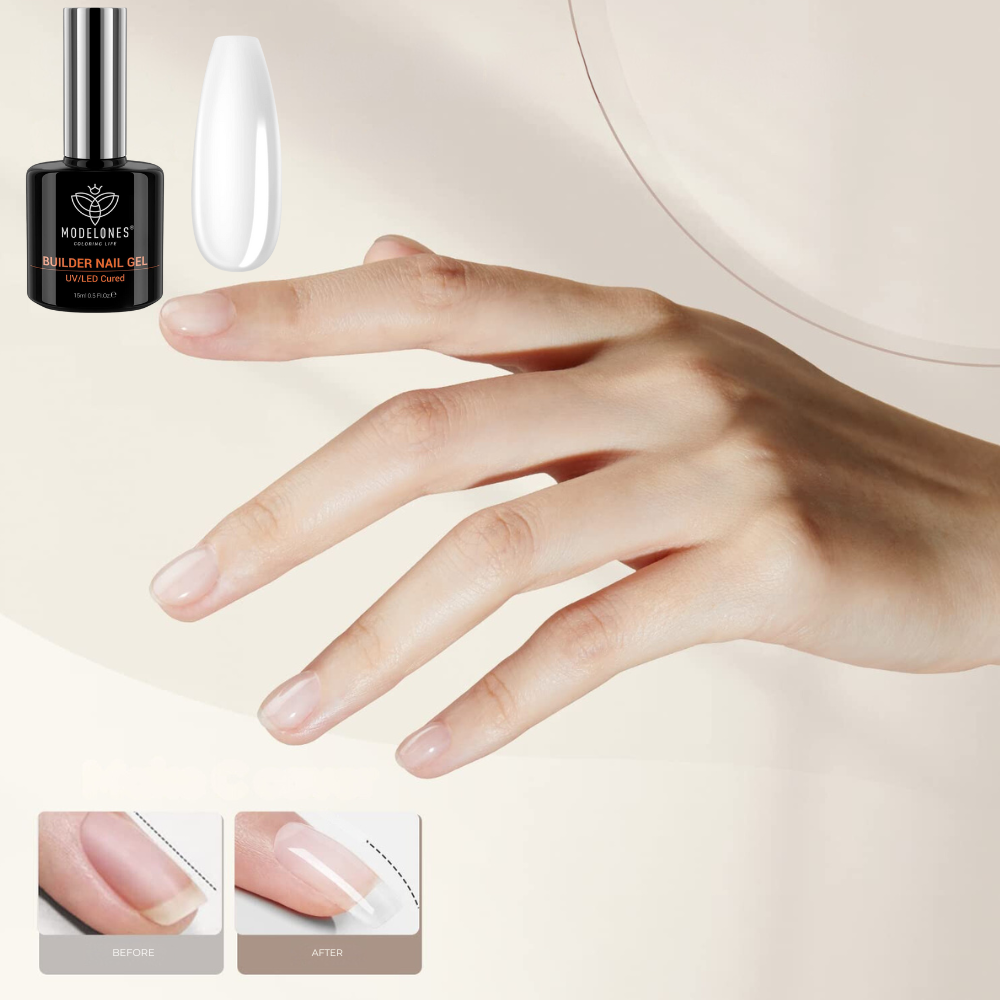
The Clear Gel Polish Application
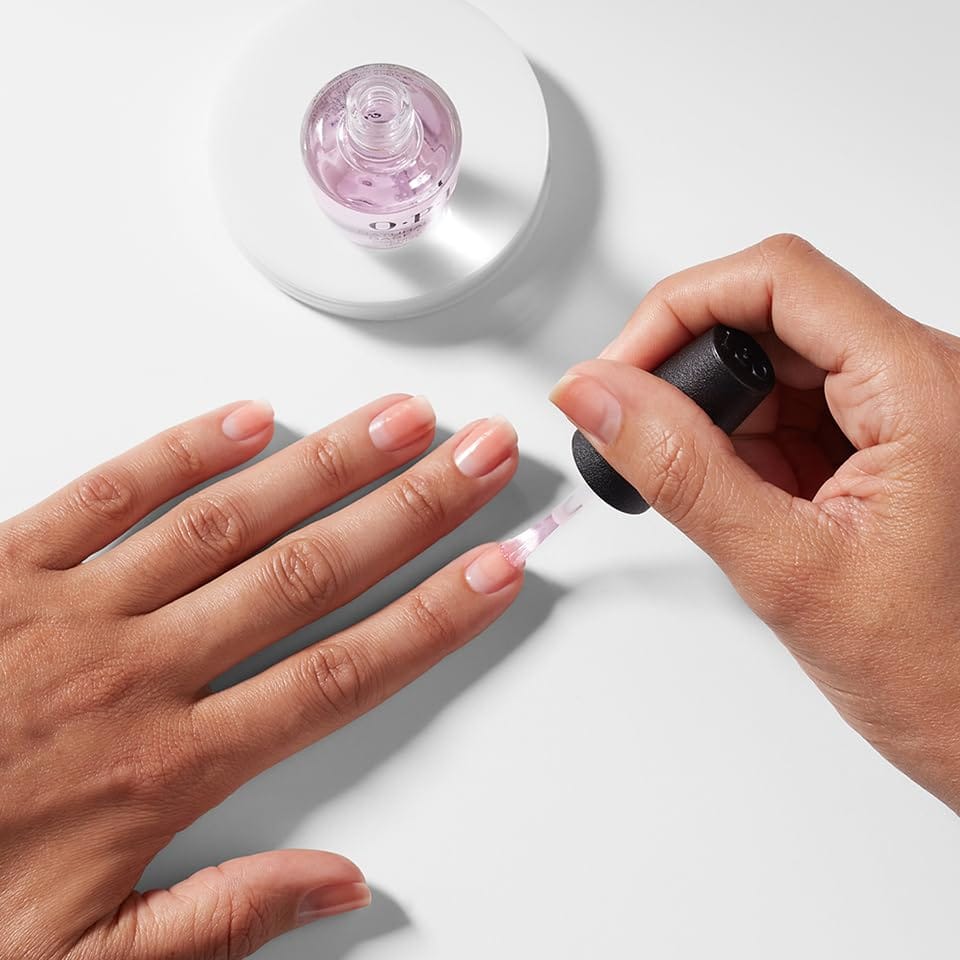
Now, it's time to apply the clear gel polish. Start with a thin coat, carefully covering the nail from the cuticle to the free edge. The key is to apply thin layers to avoid any bulkiness or unevenness. Cure the first coat under a UV or LED light, then proceed with a second coat if desired, curing it as well.
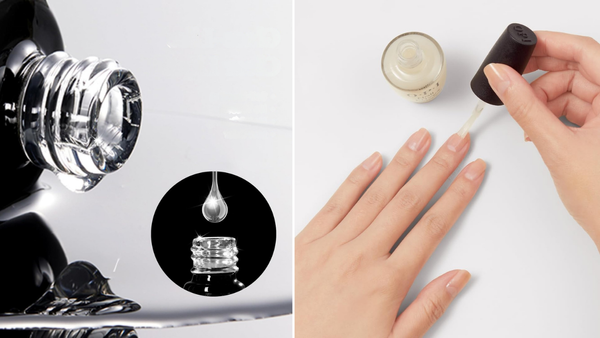
Sealing with Top Coat
After the clear gel polish has been applied and cured, seal your manicure with a gel top coat. This top layer not only adds a glossy finish but also protects your nails from chipping and peeling. Cure the top coat under the lamp, then wipe away any sticky residue with a lint-free wipe soaked in rubbing alcohol.
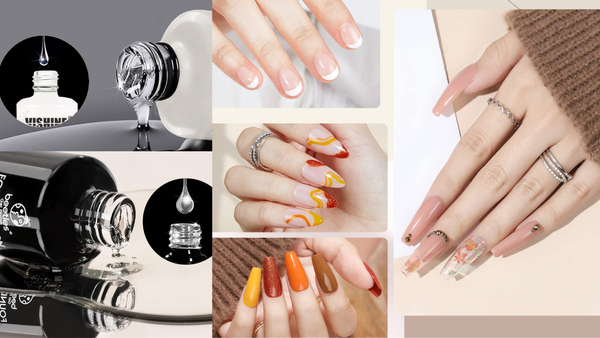
Exploring the Versatility of Clear Gel Polish
Have you ever considered the sheer versatility of clear gel polish? It's not just a top coat; it's a multitasker in the nail care world. When you apply clear gel polish, you're not only sealing in your colored polish for long-lasting wear, but you're also giving your nails a glossy, protective shield. This can be particularly beneficial if you're someone who often works with their hands. The clear gel can prevent chipping and keep your nails pristine for weeks. Plus, for a minimalist chic look, wearing clear gel polish is both sophisticated and low maintenance.
But let's not stop there. Clear gel polish can also create a plump, healthy look for your natural nails. By applying a thin coat of clear gel, you can give your own nails a boost, making them appear stronger and more even. This is a fantastic option for those who prefer a natural look or are giving their nails a break from colored polish. And if you're into nail art, clear gel polish is your best friend. It acts as an excellent adhesive layer for embellishments or can encapsulate designs, ensuring your creative manicure stays put.
Maximizing Longevity: Tips for Long-Lasting Wear
When pondering how to apply clear gel polish for maximum durability, the secret lies in the finer details. Before starting with the base coat, ensure your natural nails are pristine. Wash your hands thoroughly, and use a nail buffer to create a slightly rough surface on the nail plate. This helps the gel polish adhere better. After applying the gel polish, cap the free edge of your nails by running the brush along the nail tip. This technique seals the polish, preventing chipping and lifting and contributing to long-lasting wear.
The curing process is also pivotal in ensuring your gel manicure stands the test of time. After applying each thin layer of gel polish, cure it under a UV or LED lamp as directed. Don't rush this step; if the gel isn't completely dry, it can lead to premature peeling. Between coats, take a lint-free wipe and a little rubbing alcohol to remove any sticky residue. This not only prepares the nails for the next coat but also helps to avoid any potential thickness that could lead to peeling. Remember, patience and attention to detail during the application process are the cornerstones of a durable, long-lasting gel manicure.
Enhancing Durability: How to Prevent Gel Polish Chipping
When considering how to apply clear gel polish, one of the most common concerns is how to prevent chipping and ensure long-lasting wear. The secret lies in the preparation and application process. Before you apply gel nail polish, make sure your natural nails are clean and free of oils. Use a nail buffer to create a slightly rough surface, which allows the base coat to adhere better. Apply thin coats of the gel polish, as thick layers tend to peel off more easily. Each coat should be cured under a UV or LED lamp according to the manufacturer's instructions to ensure it is set properly.
To further prevent chipping, pay special attention to the free edge of your nails. When applying gel polish, cap the free edge with each layer, including the base coat, the clear coat, and the top coat. This technique seals the edges and reduces the likelihood of lifting and peeling. Additionally, avoid using your nails as tools to prevent accidental chipping. Between manicures, apply cuticle oil regularly to maintain the flexibility of your nails, which can also help prevent chips in your gel polish.
The Role of UV and LED Lamps in Gel Polish Application

When pondering how to apply clear gel polish, the significance of proper curing cannot be overstated. UV and LED lamps play a pivotal role in this process. Using a UV lamp or an LED light ensures that each layer of gel polish, from the base coat to the top coat, is perfectly cured. This is crucial for achieving that durable, glossy finish that gel manicures are known for. Without adequate curing, the gel polish remains tacky and vulnerable to smudges and dents, which can ruin the manicure's overall appearance.
The difference between UV and LED lamps is worth noting. UV lamps have been the traditional choice for curing gel nails, taking about two minutes per coat to set the polish. On the other hand, LED lamps are a newer technology that can cure gel polish in as little as 30 seconds. Not only do LED lamps save time, but they are also considered to be more energy-efficient. When applying gel nail polish, ensure that you cover the free edge of the nail during each curing session to seal in the polish and prevent chipping.
The Science Behind Gel Polish Adhesion
Understanding the science behind gel polish adhesion can elevate your gel manicure game. When you apply gel nail polish, you're not just painting your nails; you're creating a chemical bond between the polish and your natural nail plate. This bond gives gel nails long-lasting wear and robustness compared to regular nail polish. The base coat acts as a foundation, promoting adhesion and protecting the natural nail from potential staining. It's essential to apply a thin layer of the base coat and cure it under a UV or LED lamp as directed.
The next step is the application of the clear gel polish itself. Here, thin layers are key. Applying thin coats and curing each one individually allows the polish to bond more effectively, reducing the risk of peeling or lifting. After the final coat of clear gel polish, a gel top coat is applied to seal everything in place, adding an extra layer of protection and shine. Remember, each layer must be completely dry before proceeding to the next to ensure the best adhesion and a smooth, even finish that mimics the quality of a salon manicure.
Nail Art Integration: Unleashing Creativity with Clear Gel Polish
The fun part of any gel manicure is the limitless potential for creativity, and clear gel polish is the perfect canvas for nail art. Whether you're looking to embed glitter, create marble effects, or apply nail stickers, a clear base allows for various artistic expressions. After applying the base coat and curing it, you can start with your nail art before sealing it with a clear gel top coat. For a subtle yet elegant look, simply dip a dotting tool into colored polish and apply a few drops onto your nails, then cure and seal.
For those who love a bit of sparkle, mix fine glitter with clear gel polish and apply thin layers over the entire nail or just as an accent. Cure each layer and finish with a gel top coat for a dazzling, long-lasting finish. Remember to keep each layer thin to avoid a bulky look and to ensure proper curing. With clear gel polish, your next manicure can be as unique as you are, and the clear coat ensures that your nail art stays protected and glossy for weeks to come.
The Removal Process: Safeguarding Your Natural Nails
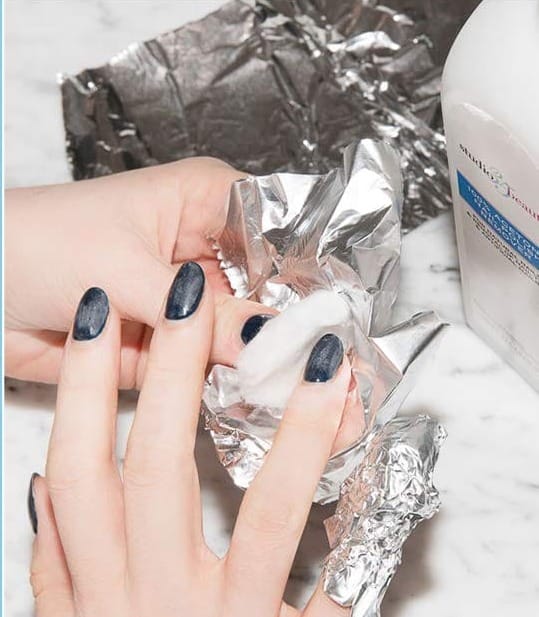
Removing gel polish is a process that requires as much care as applying it. To maintain the integrity of your own nails, start by gently buffing the top layer of the gel to break the seal of the top coat. Then, soak cotton balls in acetone and place them on your nails, securing them with tin foil. This method allows the gel polish to lift without aggressive scraping, which can damage the natural nail. Let the acetone work its magic for 10-15 minutes before checking if the gel has softened enough to be pushed off gently with a cuticle pusher.
After the gel polish removal, it's crucial to show some love to your natural nails and cuticles. Apply cuticle oil generously to rehydrate and nourish the area around your nails. This will help to repair any damage from the acetone and prevent dead skin from building up. Additionally, give your nails a break between gel manicures to allow them to recover. During this time, apply a nourishing base coat or a clear coat of regular nail polish to provide a protective barrier. With these steps, you can enjoy the fun part of gel nails while keeping your natural nails healthy and strong.
The Fun Part: Nail Art with Clear Gel Polish
Now, let's dive into the fun part of using clear gel polish – nail art! Clear gel polish isn't just for a simple, glossy finish; it's an excellent medium for nail art enthusiasts. You can apply a thin layer of clear gel over your base color and, while it's still tacky, gently press in glitter, foil, or dried flowers for a unique, textured look. The clear gel acts as a sealant, keeping your designs in place and giving them a beautiful, glass-like finish. And if you're feeling adventurous, try creating 3D nail art by building up thin layers of clear gel, curing each layer as you go.
But the creativity doesn't end there. For an understated yet elegant touch, use a fine brush to apply gel polish in clear to draw delicate patterns or French tips on your nails. This technique requires a steady hand and some practice, but the results are worth it. The clear patterns over your natural nails or a solid base coat add sophistication that's hard to achieve with regular nail polish. And remember, the key to perfect nail art is patience and practice. So grab your UV or LED lamp, and let's get artistic with clear gel polish!
The Importance of Curing
Curing is what sets gel polish apart from regular nail polish. Each coat must be cured under a UV or LED lamp to harden and set the polish. Follow the recommended curing times for each layer to ensure your gel manicure is completely dry and ready for action.
Maintaining Your Gel Nails
To keep your gel nails looking their best, apply cuticle oil regularly to nourish the skin around your nails. Avoid using your nails as tools to prevent any lifting or chipping. With proper care, your clear gel polish can last for weeks, keeping your nails polished and professional.
Removing Gel Polish
When it's time for a new manicure, removing gel polish requires patience and the right technique. Soak cotton balls in acetone and place them on your nails, securing them with tin foil. After a few minutes, the gel polish should lift easily. Use a cuticle pusher to gently remove any remaining polish, being careful not to damage the natural nail.
Aftercare and Nail Health
After removing the gel polish, give your nails some TLC. Apply a nourishing nail oil and let your nails breathe before your next manicure. Regular breaks from gel polish can help maintain the health and strength of your natural nails.
DIY Gel Manicure Tips
For those who love the DIY approach, applying clear gel polish at home can be a fun and rewarding experience. Invest in quality products and take your time with each step. With practice, you'll be able to achieve a salon-worthy gel manicure without leaving your house.
The Final Look
Once you've mastered applying clear gel polish, you'll enjoy the benefits of a chic, low-maintenance manicure. Clear gel polish offers a natural look with the added bonus of durability and shine. It's the perfect choice for anyone seeking a sophisticated, fuss-free nail option.
Summary
Applying clear gel polish is a straightforward process that, when done correctly, results in a durable and professional-looking manicure. Preparation is key, from cleaning and shaping your nails to buffing the nail plate. Applying thin coats of base coat, clear gel polish, and top coat, with curing in between, ensures a long-lasting finish. Regular maintenance and proper removal are essential for nail health. With these steps, you can enjoy a beautiful clear gel manicure that stands the test of time.
FAQ Section
How long should I cure each coat of gel polish?
The curing time varies depending on the brand of gel polish and the type of lamp (UV or LED) you're using. Typically, a base coat and top coat require 30-60 seconds under an LED lamp or 2 minutes under a UV lamp. Each coat of clear gel polish usually needs the same amount of time. Always refer to the manufacturer's instructions for the best results.
What Are Gel Polishes?
Gel polishes are nail polish that requires curing under a UV or LED lamp to harden and set. They offer longer-lasting wear compared to traditional nail polish.
Can I apply clear gel polish over colored or acrylic nails?
Yes, you can apply clear gel polish over colored polish or acrylic nails. However, ensure that the colored polish or acrylics are completely dry and free from oils or residues before applying the clear gel polish.
How often should I apply cuticle oil when wearing gel polish?
It's beneficial to apply cuticle oil at least once daily to keep the cuticles and skin around your nails hydrated. This practice also helps maintain the overall health and appearance of your gel manicure.
What Are Gel Nail Polishes?
Gel nail polishes are a type of nail polish known for their durability and long-lasting finish. They require curing under a UV or LED lamp to harden and set, providing a glossy and chip-resistant manicure.