


To charge your glow-in-the-dark nails effectively, expose them to a strong light source, such as UV light or sunlight, for a few minutes, and they’ll be ready to glow all night. This brief energizing allows the special pigments in your polish to absorb and later emit light. Dive into this guide to learn specific light exposure times, ideal charging practices, and how to ensure a lasting glow without diminishing brightness - all while answering the question, “How do you charge your glow-in-the-dark nails?”
Key Takeaways
- Charge glow-in-the-dark nails by exposing them to UV light for a few minutes, sunlight for several hours, or artificial lights for a quicker charge.
- Enhance the glow by applying a base coat, multiple layers of glow polish, and a clear top coat for smoother charging and a brighter, more long-lasting effect.
- Maintain your glow by regularly recharging using light sources and avoiding activities that diminish glow; use strontium aluminate-based products for a more persistent shine.
Maximizing Glow on Your Fingernails: The Basics of Charging
Before diving into applying glow-in-the-dark nail polish, let’s decode the science behind it. How does a regular-looking nail polish transform into a vibrant, glow-in-the-dark spectacle? The answer lies in the process of ‘charging’. Like a battery that needs to be charged, glow-in-the-dark nail polish requires exposure to a bright light source to enable the glow pigments to absorb and later re-emit light. Nails should be charged adequately for that bright and long-lasting glow by exposing them to a proper light source.
But what exactly are these ‘glow pigments’? What kind of light sources are best for charging your glow-in-the-dark nails? And how long should you expose your nails to these light sources to get the maximum glow? Let’s uncover these mysteries in the following subsections.
Understanding the Science of Glow

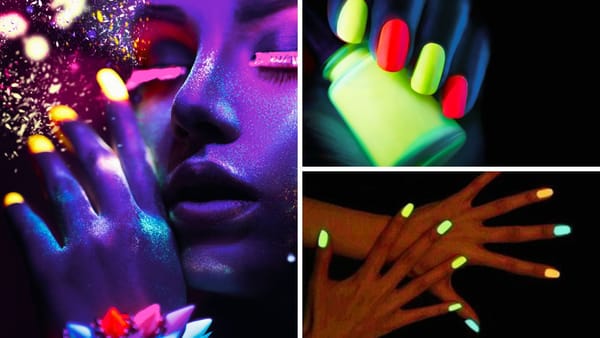
To understand the glow in your glowing nail polish, we must first explore its key ingredients—phosphorescent materials, such as glow pigment. These unique substances can absorb light and later re-emit it, creating a visible glow in darker environments. Two such materials commonly used in these nail polishes are strontium aluminate and zinc sulfide, which are also found in glow stick liquid. Combined with these ingredients in a nail polish bottle, the result is a stunning glowing nail polish effect.
The process is akin to a grand, microscopic dance. When these phosphorescent materials are exposed to light, they absorb the energy, causing their atoms to enter an excited state. Once the light source is removed, these atoms slowly return to their normal state, releasing the stored energy as visible light. This light is what makes your nails glow in the dark! However, not all dancers are alike, and not all light sources are equal when charging these glow particles.
Types of Light for Optimal Charging

So, what light sources can make your glowing nail polish dance the brightest? While light sources can charge your glow-in-the-dark nails, some are more effective. The most effective is ultra-violet (UV) light, which can charge the glow pigments in about 3 to 4 minutes. With its natural UV content, Sunlight is also a potent charger, ranking just after ultraviolet light in terms of charging efficiency.
Black lights, too, are excellent chargers for your glow-in-the-dark nails. These specific types of UV lights emit a deep violet glow, perfect for charging your nails before a night out or a party. So, whether it’s a bright sunny day or a UV lamp in your living room, these light sources can be your best friend when charging your glow-in-the-dark nails. But how long should you expose your nails to these light sources?
Duration of Exposure for Maximum Glow
Knowing the right duration for exposure can be the difference between a subtle shimmer and a standout glow. Under ultraviolet light, glow-in-the-dark nails typically charge just 3-4 minutes. In comparison, charging under a regular light bulb takes approximately 30 to 45 minutes. This glow, however, is not permanent. It’s strongest immediately following exposure to light and diminishes as the atoms transition back to a stable state.
But what if you want your glow to last longer and shine brighter? The trick is to prolong the exposure time. For instance, exposing your glow-in-the-dark nails to direct sunlight for about 2-3 hours will ensure a more intense and long-lasting glow. However, a 7-8 minute exposure in direct sunlight is recommended for a quick charge with a decent glow.
Now that we know how to charge our glow-in-the-dark nails, let’s move on to the application process.
The Right Way to Apply Glow in the Dark Polish for Better Charging
Charging is just half the battle. Applying your glow-in-the-dark nail polish is equally significant in maximizing the glow. Each step contributes to the luminosity and longevity of your nail glow, from preparing your nails to layering your polish and sealing it with a top coat.
So, how do we ensure our nails are prepped and polished for the perfect glow? Let’s break down the process into three simple steps: preparing your nails, layering your polish, and sealing the deal with a top coat.
Preparing Your Nails
Before painting, you must ensure your nails are clean and dry. Any residual oils or moisture can hamper the adhesion of the glow-in-the-dark polish, affecting its effectiveness. But that’s not all. Applying a base coat of regular nail polish in white or neutral colors can significantly enhance the visibility of the glow. For an added touch, consider using a colored polish as your base to create a unique look.
Think of your nails as a canvas and the base coat as a background. It improves the charging process of the glow-in-the-dark pigment, leading to a more vibrant shine. Moreover, a base coat also makes removing the glow-in-the-dark polish easier, reducing the chances of staining your nails when using nail polish remover.
Once your nails are prepped, it’s time to layer on the glow!
Layering Your Polish
Applying the glow-in-the-dark polish is more than just a single swipe. For the best results, you’ll need to layer it on. Applying multiple coats can enhance your nail's glow's luminosity, longevity, and evenness. Here are some tips to follow:
- Apply three to four coats for optimal glow.
- Allow each coat to dry completely before applying the next one.
- Patience is key to maintaining the effectiveness of the glow.
But what if you’re creating your own glow-in-the-dark polish? In that case, follow these steps:
- Make a mixture of glow powder with clear nail polish in a ratio of 1 part glow powder to 4 parts polish.
- Apply at least two layers of the mixture.
- Mix or roll the glow-in-the-dark products before application to ensure proper activation of the ingredients.
- Once your layers are dry, it’s time to seal the deal!
Sealing the Deal with a Top Coat
The final touch to your glowing masterpiece is a clear top coat. But it’s more than just a finishing touch. The top coat seals in the glow, enhancing the glow effect. It also contributes to a smoother nail surface that favors better charging and a more vibrant glow.
Considering the slightly thicker texture of glow-in-the-dark nail polish, applying the top coat smoothly and evenly is essential to prevent a textured finish. Plus, sealing your nails with a clear top coat extends the life of the glowing effect and preps the surface for optimal charging.
Now that we’ve sealed the glow, how do we charge it for that bright, long-lasting shine?
Daytime Prep for Nighttime Glow: Sunlight Charging Techniques

While there are various ways to charge your glow-in-the-dark nails, sunlight is a natural and efficient method. It’s not just about basking in the sun; it’s about harnessing the power of its UV content to charge your nails effectively. Exposing your nails to direct sunlight for 2-3 hours is recommended for the most efficient charge and the best glow effect.
But is there a specific time or angle to maximize sunlight charging? And how do we protect our skin while charging our nails in the sun? Let’s delve into these aspects in the following subsections.
Finding the Perfect Time and Angle
Timing is essential to making the most of sunlight charging. The most effective time to charge your glow-in-the-dark nails in sunlight is around midday when the sun is at its strongest. But time is just one part of the equation. The angle of exposure also plays a crucial role.
Your nails should be exposed to direct sunlight for maximum charge efficiency. This means positioning them perpendicular to the sun's rays to ensure maximum light absorption. But while we’re soaking up the sun for that stellar nail glow, let’s not forget about skin safety.
Protecting Your Skin While Charging
While sunlight is great for charging your glow-in-the-dark nails, it can harm your skin. Extended exposure to UV rays can lead to premature skin aging and increase the risk of skin cancer. Therefore, skin protection is crucial while charging your nails in the sun.
To guard against harmful UV rays during the charging process, it is recommended that you use sunscreen with at least SPF 30 or wear UV protective gloves. Safety, after all, should never be compromised for style.
But what if we want a quicker charge? That’s where artificial light sources come into play.
Boosting Your Nail Glow with Artificial Light Sources

While sunlight is a natural and effective charger, it’s not the only option. Artificial light sources, such as UV lamps and black lights, can boost your nail glow. These lights can enhance the activation of your glow-in-the-dark nail polish, making them effective charging tools. Plus, UV lamps are readily available at stores like Walmart, Target, Sally’s, and Amazon.
But how do we use these artificial light sources effectively? And how do we ensure skin safety while using them? Let’s explore these aspects in the following subsections.
Using UV Lamps for Quick Charging
UV lamps are your best bet if you’re looking for a quick charge. Ultraviolet light is more effective for quickly charging glow-in-the-dark materials than other light sources. But, like with sunlight, safety should never be compromised using UV lamps. To reduce the potential risk of skin damage from UV exposure, it’s advisable to use broad-spectrum sunscreen or wear UV protective gloves while using LED nail curing lamps. Safety and style can, indeed, go hand in hand!
But what if you want to add a fun twist to your charging process?
Black Lights for a Fun and Fast Charge
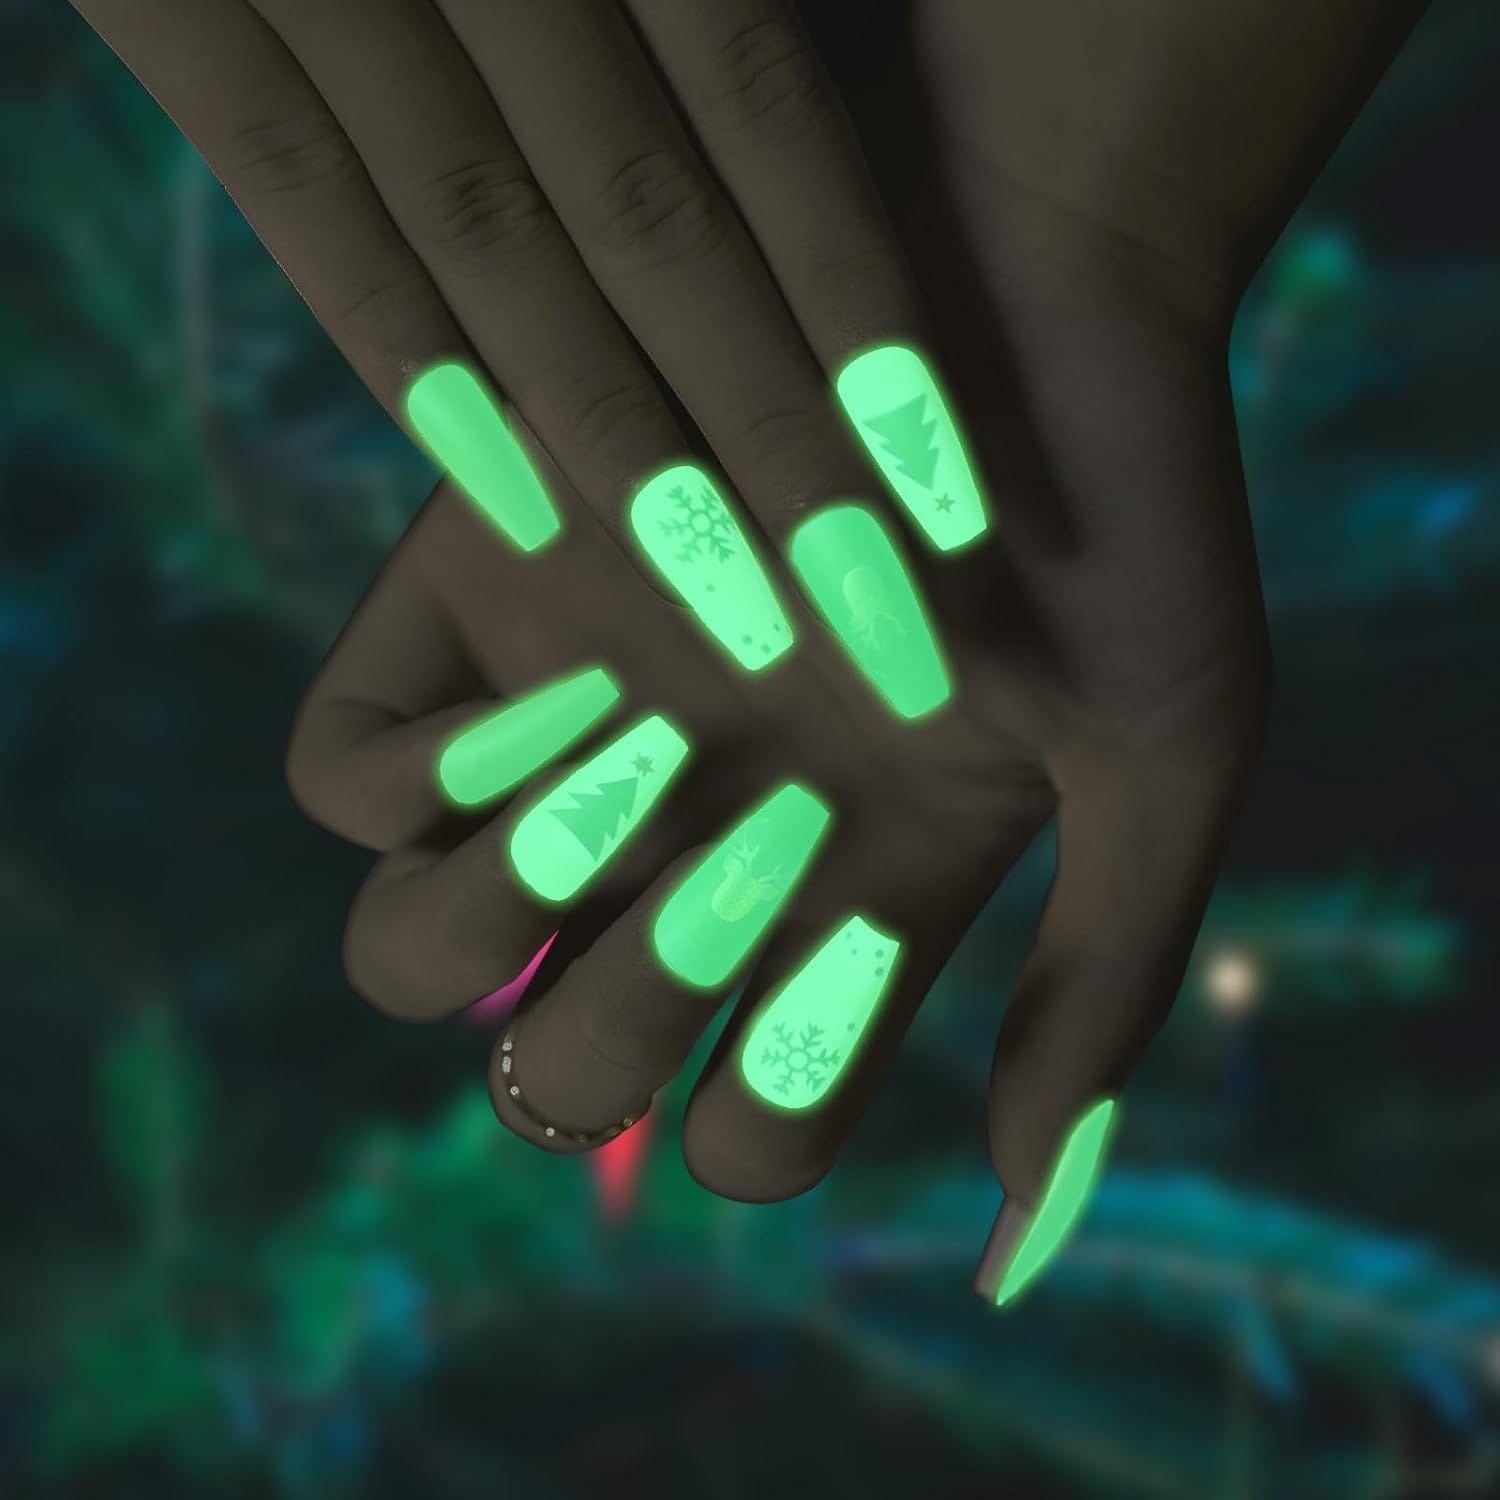
For a fun and fast charge, consider using black lights. These specific types of UV lights emit a deep violet glow, perfect for charging your nails before a night out or a party. The perception of glow from the nail polish can appear brighter in complete darkness after being charged with black light.
So whether you’re prepping for a party or want a quick charge, black lights can offer a quick and entertaining method for charging your glow-in-the-dark nails. Now that our nails are glowing brightly, how do we keep the glow going?
Post-Charging Care: Maintaining Your Nail Glow
So, you’ve charged your nails, and they’re glowing brightly. Now comes the crucial part - maintaining that glow. While the glow in your nails is bound to fade over time, there are ways to prolong it and keep your nails shining brightly for longer.
This section will delve into the post-charging care that can help maintain your nail glow. We’ll explore avoiding activities that can diminish the glow and learn some touch-up tricks for prolonged brightness.
Avoiding Activities That Diminish Glow
The first step in maintaining your nail glow is to avoid activities that limit light exposure or affect the quality of your glow-in-the-dark nail products. For example, covering your nails or storing your products in direct sunlight or high heat can affect their glowing capabilities.
But that’s not all. You can recharge the glow in your nails periodically by exposing them to a light source for a few seconds. This recharging can help maintain the glow as it diminishes over time.
But what if the glow starts to fade anyway?
Touch-Up Tricks for Prolonged Brightness
Fading glow is a common issue with glow-in-the-dark nails. But worry not; you can easily reinvigorate the glow on your nails. One way to do this is by applying an additional layer of glow-in-the-dark polish once the initial brightness diminishes.
Alternatively, you can quickly recharge your nails by exposing them again to a strong light source. And if you’re looking for a brighter and more persistent glow, consider using glow-in-the-dark products that contain strontium aluminate. But what if you face some common glow challenges?
Troubleshooting Common Glow Challenges
As exciting as glow-in-the-dark nails are, you might encounter some common challenges in your glowing journey. Perhaps your nails won’t charge, or the glow starts fading sooner than you’d like. Don’t worry; every problem has a solution, and we’re here to guide you through them.
This section will explore solutions for nails that won’t charge and provide ways to deal with a fading glow. Let’s dive into these common glow challenges and their solutions.
When Your Nails Won't Charge
Frustrated because your nails won’t glow? This could be due to improper charging. Glow-in-the-dark nails require an appropriate charge from a light source to illuminate. They won't glow as expected if they’re not exposed to sufficient light.
To fix this, ensure they get direct and intense light exposure, such as from a UV lamp or direct sunlight. For further guidance on obtaining a successful charge, refer to the practices outlined in sections 1.0, 2.0, 3.0, and 4.0. But what if your glow starts to fade?
Dealing with Fading Glow
Over time, the glow of your glow-in-the-dark nail polish is bound to diminish. But that doesn’t mean your glow game has to end. You can reactivate the glow by re-exposing your nails to a light source.
For a brighter and more persistent glow, consider using glow-in-the-dark products that contain strontium aluminate, such as glow sticks. This can reduce the frequency with which reactivation is needed, keeping your nails glowing longer!
Summary
Glow-in-the-dark nails are more than just a fun fashion trend. They blend art and science that can add a touch of magic to your everyday look. By understanding the science behind the glow, using the right techniques for application and charging, and taking care of your nails post-charging, you can rock the brightest and longest-lasting glow.
So, next time you’re prepping for a night out or want to add some sparkle to your day, remember these tips and tricks. With the right knowledge and techniques, you can illuminate your manicure and let your nails shine as bright as your personality!
Frequently Asked Questions
What makes glow-in-the-dark nail polish glow?
Glow-in-the-dark nail polish glows because it contains phosphorescent materials like strontium aluminate or zinc sulfide, which absorb light and then re-emit it as a visible glow.
How long should I expose my glow-in-the-dark nails to light for maximum glow?
To achieve a more intense and long-lasting glow, expose your glow-in-the-dark nails to direct sunlight for 2-3 hours.
How many coats of glow-in-the-dark nail polish should I apply for the best results?
For the best results, apply three to four coats of glow-in-the-dark nail polish. Make sure to let each coat dry completely before adding the next one.
How can I maintain the glow in my glow-in-the-dark nails?
To maintain the glow in your glow-in-the-dark nails, avoid activities that limit light exposure and periodically recharge the glow by exposing your nails to a light source for a few seconds. Keep them glowing!
What can I do if my glow-in-the-dark nails won't charge?
To help your glow-in-the-dark nails charge up, expose them to direct and intense light, such as a UV lamp or direct sunlight.