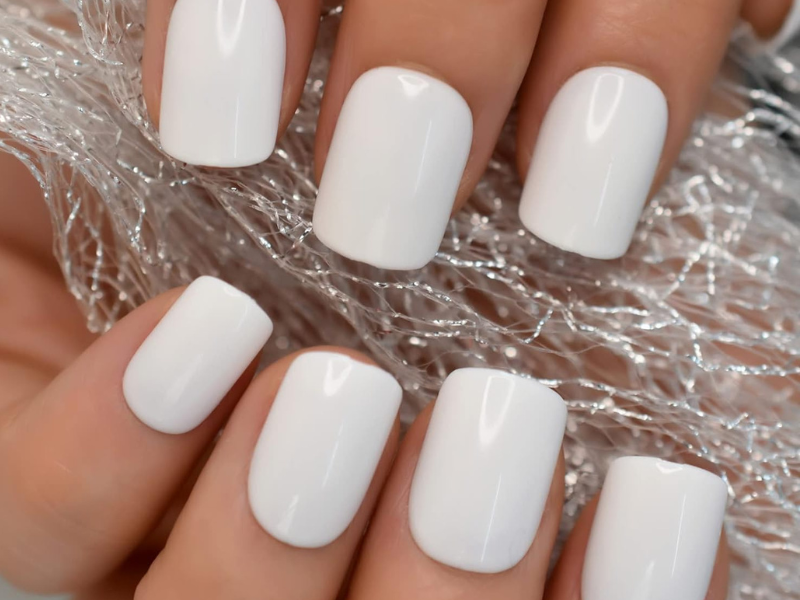
Keeping white press-on nails looking spotless can be challenging. In this guide, we’ll reveal how to clean and maintain white press-on nails efficiently, making sure they stay as pristine and striking as the day you applied them. Discover the best household remedies and easy-to-follow techniques to help you tackle stains and discoloration, ensuring your press-on manicure remains flawless.
Key Takeaways
- White press-on nails offer a mix of style, practicality, and safety. They provide a salon-quality manicure with easy at-home application that avoids damage caused by buffing or soaking.
- Regular maintenance of white press-on nails is essential, involving proper cleaning with common household items and protecting them from staining by using gloves and high-quality top coats.
- For extended wear, routinely check for and reapply loose press-on nails with high-quality glue and follow a correct application process to avoid lifting, detaching, or staining.
Understanding White Press-On Nails
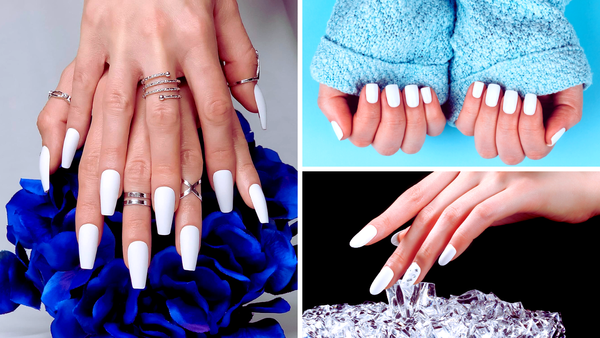
White press-on nails are not just about their striking color; they’re a fusion of practicality, affordability, and style. They come with pre-applied adhesive or separate nail glue, allowing easy application without professional assistance. These nails are designed to mimic a natural nail shape, so they are virtually indistinguishable from professional salon manicures, enhancing their overall aesthetic.
The appeal of white press-on nails goes beyond their aesthetic value. They offer a safer alternative for your natural nails, as their application doesn’t require excessive buffing or soaking, hence avoiding damage to the nail bed. They are an excellent option for those who:
- love to experiment with different nail styles without committing to long-term
- want to avoid the hassle of salon visits
- have weak or brittle nails that can’t handle the weight of acrylic or gel extensions
White press-on nails, also known as fake nails, enable you to flaunt a well-groomed appearance on any occasion, blending effortlessly with casual and formal outfits. Best of all, they offer a professional-looking manicure at a fraction of the nail salon cost, providing a cost-effective alternative to maintaining your nails.
What Makes Them Unique
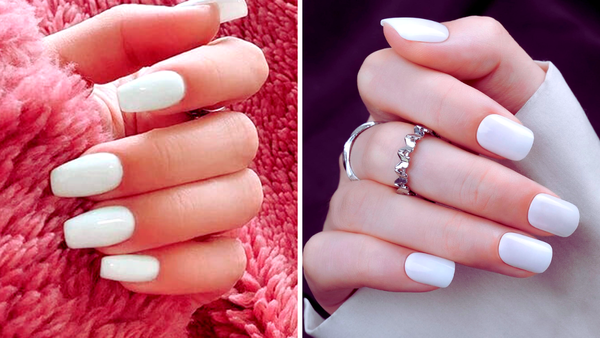
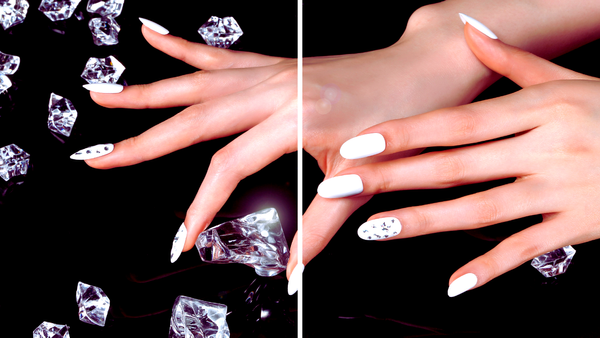
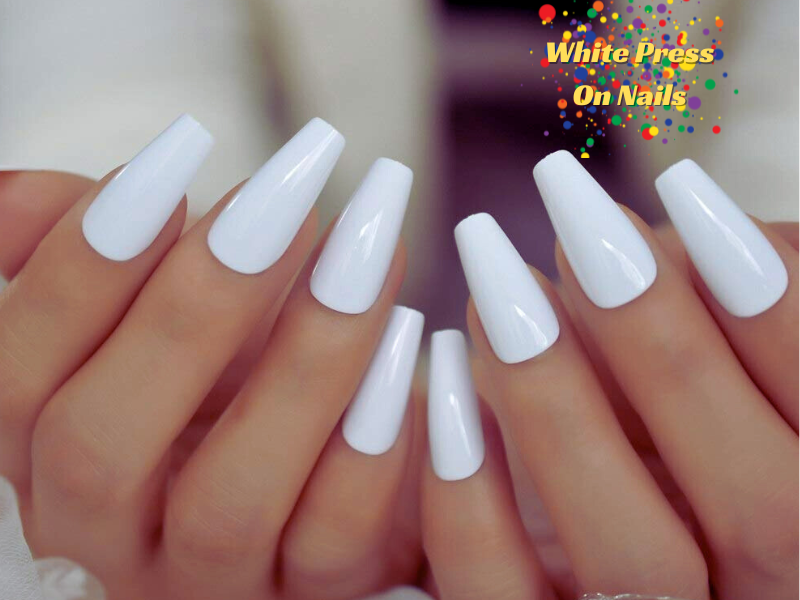
White press-on nails are a canvas for creativity. The crisp and bold color makes them stand out, suitable for many styles and occasions. Not a fan of the glossy finish? No problem! Customers can choose between a matte or glossy finish, catering to different aesthetic preferences and styles.
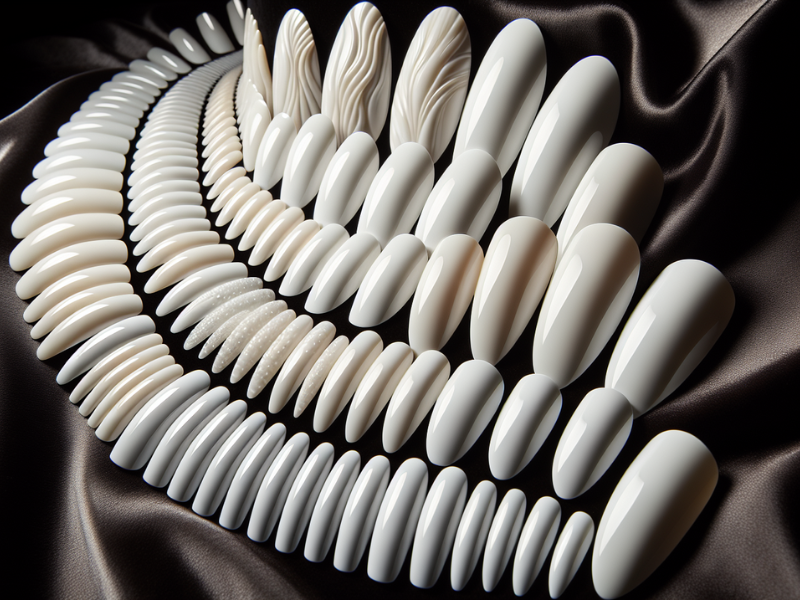
The allure of white press-on nails stems from their versatility. Whether you prefer simple, monochromatic styles or intricate, decorated sets, there’s something for everyone. Plus, they’re available in various sizes that adapt to different nail bed dimensions, ensuring a proper fit that may not have been as accessible.
Benefits of White Press-On Nails
One of the main benefits of white press-on nails is their safety. The application doesn’t require excessive buffing or soaking, hence avoiding damage to the nail bed. Plus, with various styles available and the ease of application, they’re an excellent option for those who love experimenting with different nail styles without a long-term commitment.
Moreover, they’re versatile! White press-on nails can be sported for an elegant appearance at any function, integrating smoothly with casual or formal wear. And let’s not forget about their cost-effectiveness. They offer a professional-looking manicure at a fraction of the salon's cost, making them a great alternative for those looking to save some bucks.
How to Apply White Press-On Nails
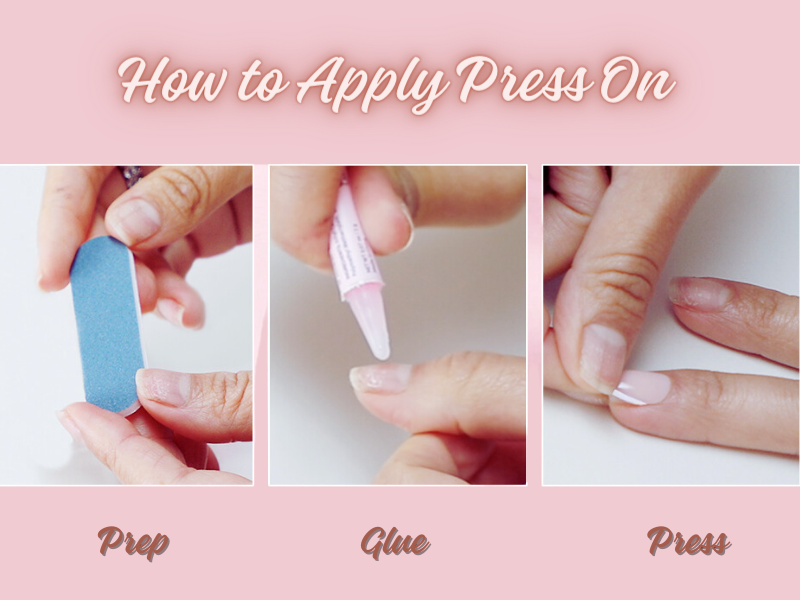
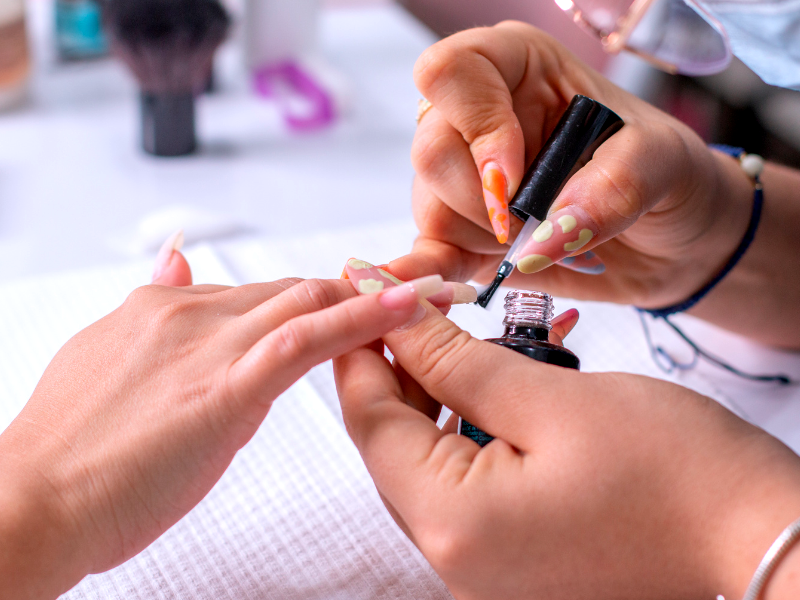
The application of white press-on nails is simpler than you may anticipate. They can be applied and removed with ease, without the need for professional assistance, offering significant time and cost savings. The first step is to cover the entire surface of the natural nail with glue. Once the glue is applied, it’s time to align the press-on nail with the natural nail bed before pressing it down.
After alignment, it’s important to apply firm pressure on the press-on nail for at least 20 seconds to guarantee a solid bond. A firm press can distinguish between a press-on nail that stays put and one that falls off. So, don’t rush this step!
Preparing Your Natural Nails
Before you start pressing on your new nails, preparing your natural nails is essential. Clean the nail beds with acetone polish remover to remove excess oil and residue. This step helps prevent the press-on nails from popping off.
Next, clip your natural nails short and ensure they are clean using soap and water. This creates a proper foundation for the press-on nails. After cleaning and clipping your nails, gently push back your cuticles after softening them. This prevents them from interfering with the nail glue application.
To apply press-on nails, follow these steps:
- Start by cleaning your natural nails and removing any old polish.
- Buff the natural nails gently to create a texture for the nail adhesive or glue to adhere to.
- Apply a high-quality base coat to protect your natural nails. This not only helps extend the wear of the press-ons but also prevents staining.
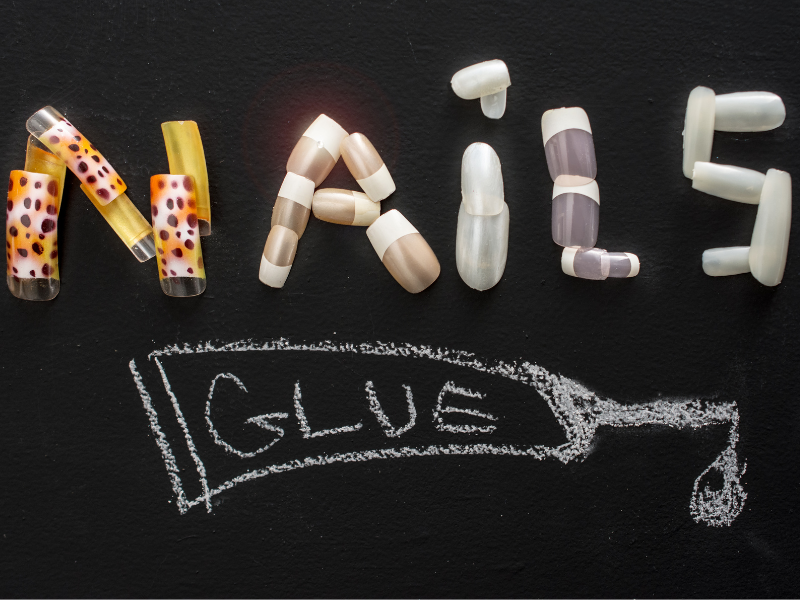
Applying the Nail Glue
Applying the nail glue correctly is crucial for a strong bond between the press-on and natural nails. Put a drop or two of nail glue in the middle of your natural nails, then apply a thin layer to the inside base of the press-on nail. This creates a double bonding effect.
After applying the glue, press firmly on the nails for at least 30 seconds to a minute. This ensures a secure bonding with the natural nails. If any excess glue seeps out around the nail edges after pressing them on, use a cotton pad to clean it away.
Remember, while waiting for the glue to dry, gently pull back your finger pad to prevent the skin from getting stuck to the nail. To further ensure this, gently rub the area around the nail.
Pressing On the Nails
Pressing on the nails is more than just sticking them on your natural nails. Here’s how to properly attach press-on nails:
- Press the press-on nails onto your natural nails at a downward angle to ensure a proper fit and secure attachment.
- For a secure fit, press each nail firmly onto the nail bed for at least 10 seconds.
- Pinch the sides of the press-on nails to further secure them.
To ensure the press-on nails adhere properly, follow these steps:
- Hold the nails firmly for at least 30 seconds after pressing them onto the glue for a strong bond.
- Hold them down to your nail bed for 10-20 seconds.
- Apply the press-ons carefully, starting from the cuticle and pressing towards the nail edges.
This process eliminates air bubbles and achieves a smooth finish.
Cleaning Techniques for White Press-On Nails
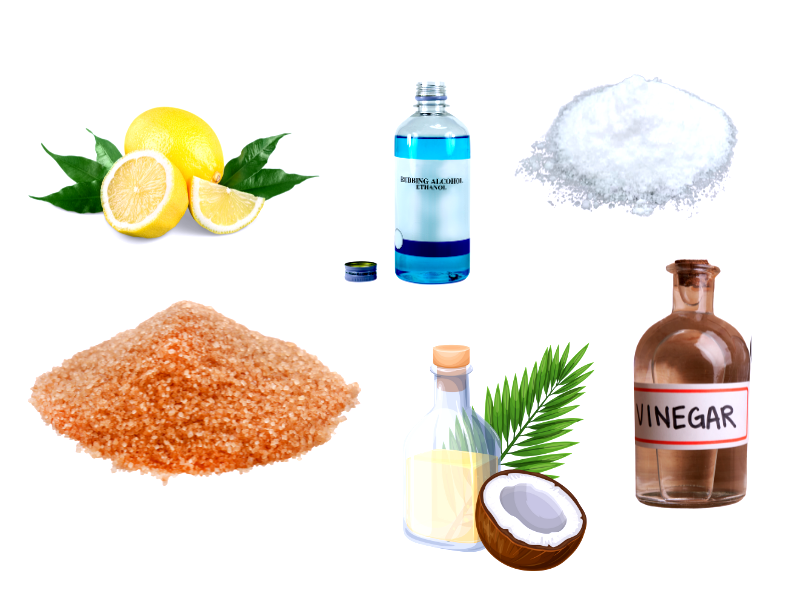
Preserving the immaculate white of your press-on nails necessitates a regular cleaning regimen. Everyday household ingredients such as:
- lemon juice
- rubbing alcohol
- salt
- vinegar
- brown sugar
- coconut oil
are effective in scrubbing and cleansing white press-on nails to eliminate stains. White toothpaste, especially containing baking soda, can be applied to stained nails with a toothbrush or cloth. Combined with lemon juice, it enhances the whitening effect.
If you’re encountering more stubborn stains, don’t worry! The whitening toothpaste or lemon juice treatment can be repeated over several days until your desired whiteness is achieved. After each stain removal treatment, rinse the nails with water to eliminate any residue from the cleaning agents.
Lemon Juice and Baking Soda Method
A blend of lemon juice and baking soda forms a potent cleaning paste capable of removing stains from your white press-on nails. To make this paste, mix one part lemon juice with three parts baking soda until they form a paste consistency.
To remove stains from your nails, follow these steps:
- Apply the paste onto the nails and let it sit for a few minutes to work on the stains.
- After the designated time has passed, rinse off the paste using soapy water.
- This will help to thoroughly clean the surface.
- You’ll be amazed at how your nails sparkle after this treatment!
Hydrogen Peroxide Soak
For tackling dark stains, a soak in hydrogen peroxide can be your solution. Hydrogen peroxide is an effective substance for removing dark stains from white press-on nails. Here’s how you can use it in a soak method:
- Fill a bowl with hydrogen peroxide.
- Soak your white press-on nails in the hydrogen peroxide for 10-15 minutes.
- After soaking, rinse your nails with water and pat them dry.
- For even better results, you can use shaving cream to aid in the cleaning of your white press-on nails.
After the hydrogen peroxide soak, it’s crucial to wash your hands with warm water and soap. Moisturize immediately and throughout the day to care for the nails and skin.
Tea Tree Oil Treatment
Tea tree oil, renowned for its myriad benefits, is a natural stain remover for white press-on nails. To prepare the tea tree oil treatment, mix it with a preferred oil and warm water before soaking the nails.
Soak your nails in the tea tree oil mixture for approximately 10 minutes to effectively lift stains. You’ll notice the difference as your nails return to their original white glow.
Tips for Prolonging the Life of White Press-On Nails
Extending the lifespan of your white press-on nails is less complex than you may envisage. High-quality press-on nails and glue are essential for a longer-lasting manicure, ensuring a stronger bond and better wear. Select press-on nails that correctly fit your natural nails for better adhesion and prolonged use.
Choosing the appropriate shape and length of press-on nails that match your lifestyle can prevent breakage and extend the manicure's life. Here are some tips to follow:
- Choose press-on nails that are the right shape and length for your lifestyle.
- Apply a top coat to press-on nails after they apply to act as a barrier against damage and create a smoother, more finished look.
- Perform routine checks for loose nails and apply glue for touch-ups to prevent unexpected detachment.
By following these tips, you can prevent unexpected detachment and maintain your press-on nails for longer.
Regular Maintenance
Consistent upkeep is vital to preserving the luster and form of your white press-on nails. By regularly applying a top coat, you can help maintain their shine and guard them against daily elements. Using a gel topcoat over regular nail polish on press-on nails can provide added strength and prolong the whiteness and appearance of the nails.
To prevent the weakening of the adhesive, here are some tips to follow after applying press-on nails:
- Avoid submerging your hands in water for extended periods.
- When engaging in water-involved activities like washing dishes, wear gloves to protect the nail glue from dissolving.
- If one nail pops off, you can easily fix it, thanks to the convenience of press-on nails!
Protecting Your Nails from Staining
Shielding your white press-on nails from discoloration is key to sustaining their spotless white hue. High-quality nail polish can prevent discoloration and staining as it is more durable and resistant to staining. Regular reapplication of a top coat can protect white press-on nails from yellowing by sealing the polish and protecting it from daily exposure to elements.
When handling colored substances, wearing gloves can help keep your white press-on nails from discoloring. Prevention is better than cure, and with these tips, your white press-on nails will stay white longer.
Reapplying Nail Glue
If your press-on nails start lifting, it’s a sign that applying nail glue is necessary to extend their wear time. When a nail pops off, immediate reapplication is required to maintain the overall manicure and avoid early removal of all nails.
Apply a small drop of nail glue and spread it evenly on the press-on nail to prevent air pockets and boost adhesion upon reattachment. After applying the glue, firmly press the nail onto the nail bed and hold it there for a few seconds to ensure a secure and lasting bond. With these tips, you can ensure your press-on nails stay on longer.
Troubleshooting Common Issues with White Press-On Nails
Similar to any fashion accessory, white press-on nails may occasionally face issues. If a white press-on nail starts to loosen or detach, carefully remove it, cleanse the area, and reapply using the correct nail glue application methods. Factors like exposure to strong substances or sunlight can cause discoloration. You can use a non-acetone nail polish remover or a mixture of baking soda and water to remove the stains.
If a press-on nail is damaged or broken, it must be carefully removed to avoid further harm to the natural nail. If the nail is salvageable, it can be filed down or reshaped. If not, it’s best to replace it entirely.
Lifting or Detaching Nails
Lifting or detaching nails can be quite a nuisance, but the good news is they can be fixed. Press-on nails should always be removed gently and carefully to prevent damage to natural nails. Soaking press-on nails in warm water can help minimize damage to natural nails and facilitate the reuse of the nails.
Use a cuticle pusher to gently detach the press-on nail from the natural nail after the adhesive softens. Avoid forcing or scraping tightly bonded residual pieces of nail coatings from the surface to prevent damage that could lead to staining. Remember, different brands of press-on nails may have varied soaking time requirements before they can be loosened and removed.
Discoloration or Staining
Discoloration or staining can be a common issue with white press-on nails. White acrylic nails can become discolored due to their porous nature, which allows them to absorb liquids and become stained by chemicals, excessive sun exposure, and the use of low-quality materials. Contact with cleaning agents, harsh chemicals, and poor-quality gel can cause white gel nail polish to turn yellow or become stained.
However, not all is lost. The quality of the white gel nail polish affects its resistance to discoloration; lower quality gel polish may yellow or stain more easily, and expired polish is likely to discolor faster and stain more readily. To help remove staining from gel nails without damaging the natural nail, you can use hydrogen peroxide.
Damaged or Broken Nails
Damaged or broken nails can be a bummer, but don’t worry! There are ways to fix them. If a press-on nail is cracked but still secure on the nail, it may be possible to repair it. Apply a small amount of nail glue to the break, then press and hold the pieces together until the glue sets.
For a slightly larger break or crack, use a nail wrap or a silk wrap to reinforce the nail after applying the glue. If a press-on nail is beyond repair, gently lift it off, starting from the edges and progressing toward the center. After removing the damaged nail, clean the natural nail bed thoroughly to prepare for a new press-on nail application.
Choose a new press-on nail of the appropriate size and apply it following the same steps used for the initial application.
Summary
In conclusion, white press-on nails are a chic, affordable, and versatile alternative to salon manicures. With a little care and attention, they can last for a while and keep looking great. Whether you’re a fan of the glossy or matte finish, there’s a white press-on nail for you. So why not give them a try? Your hands deserve to look as fabulous as you do!
Frequently Asked Questions
How do you clean the press on nails?
To clean press-on nails, soak them in warm, soapy water, then use a nail brush to scrub off any extra residue. This will also help disinfect the nails.
Can I reuse white press-on nails?
Yes, you can reuse white press-on nails by gently removing them and cleaning off the adhesive residue.
How can I prevent my white press-on nails from staining?
To prevent staining on your white press-on nails, use high-quality nail polish, regularly apply a top coat, and wear gloves when handling colored substances. This will help maintain the clean appearance of your nails.