


Key Takeaways:
- Learn the step-by-step process to fill ombre acrylic nails.
- Discover tips and tricks for a smooth and flawless ombre effect.
- Understand the importance of proper nail preparation and aftercare.
Ombre acrylic nails have taken the beauty world by storm, offering a gradient look that seamlessly blends different colors. Whether you're a nail technician or a DIY enthusiast, knowing how to fill ombre acrylic nails is essential for maintaining this popular nail art. This article will guide you through the process, from preparation to the finishing touches.
Preparing the Nail Bed
Before diving into the ombre fill, it's crucial to prepare the nail bed properly. Start by pushing back the cuticle area gently to expose the new growth. This ensures that the new acrylic adheres well and prevents lifting. Next, use a file or a drill to remove the shine from the existing acrylic nails, focusing on the regrowth area. This step creates a rough surface that allows for better adhesion of the new acrylic.
Choosing Your Colors
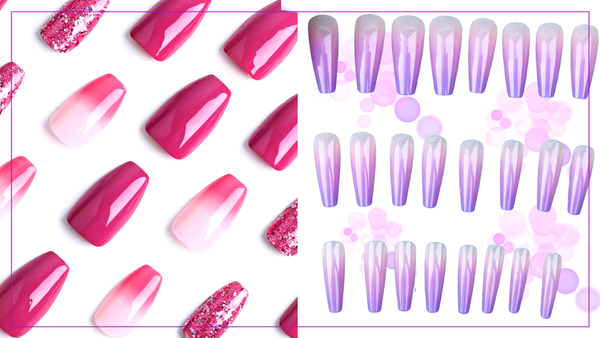
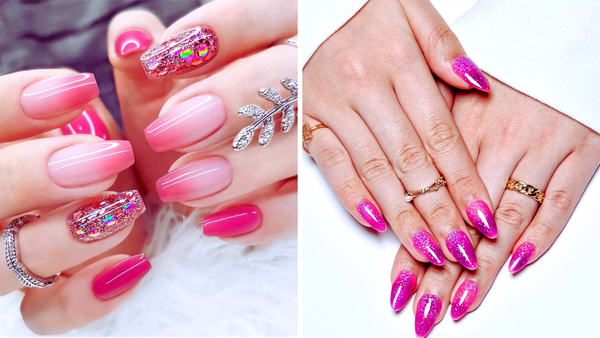
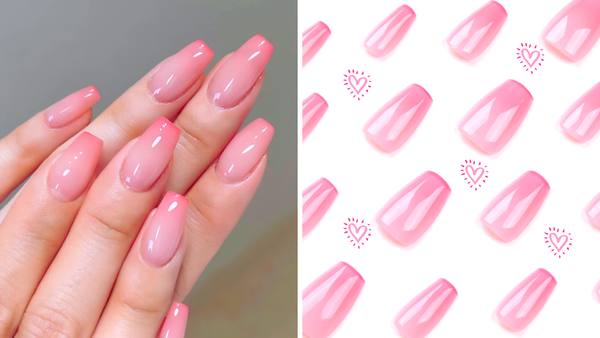
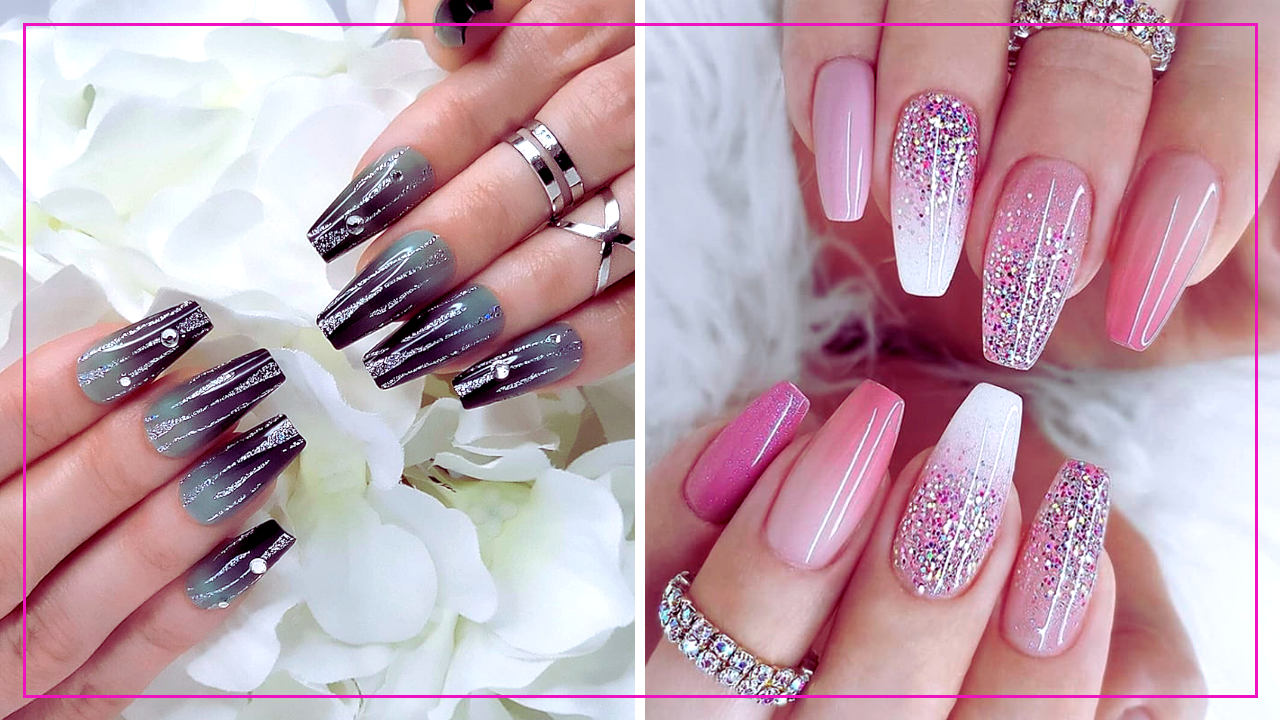
The beauty of ombre nails lies in the seamless transition between colors. When filling, you'll want to choose a different color that complements the existing ombre. If the previous design was a pink-to-white gradient, you might opt for a similar pink or a new shade that blends well. Remember, the key to a stunning ombre is the smooth transition, so choose colors that naturally flow into one another.
Applying the Acrylic
Once the nail is prepped and the colors are selected, it's time to apply the acrylic. Begin with a clear acrylic bead at the cuticle area, keeping it thin and flush with the natural nail. Then, apply the first color near the cuticle and blend it toward the middle of the nail. Next, apply the second color from the tip and blend upwards. Work quickly to blend the colors while the acrylic is still pliable.
Maintaining Your Ombre Acrylic Nails
Maintaining your ombre acrylic nails is just as important as the initial application. After all, you want your stunning gradient to last as long as possible. To keep your nails looking fresh, it's crucial to protect the cuticle area and the entire nail from potential damage. Regularly applying cuticle oil can keep the skin around your nails hydrated and prevent lifting or snagging of the acrylic. Additionally, wearing gloves while doing household chores can protect your nails from harsh chemicals and prevent chipping or fading of the gel polish.
But what happens when you notice your ombre nails starting to grow out? It's simple: book a fill-in appointment at your salon, or if you're feeling confident, you can follow an acrylic nail tutorial to do it at home. When filling in the regrowth, blend the new acrylic seamlessly with the old to maintain that smooth, flawless ombre transition. It might be a bit trickier with ombre nails since you're working with a gradient, but with a steady hand and patience, you can keep your nails looking impeccable.
The Art of Blending Colors for Ombre Nails
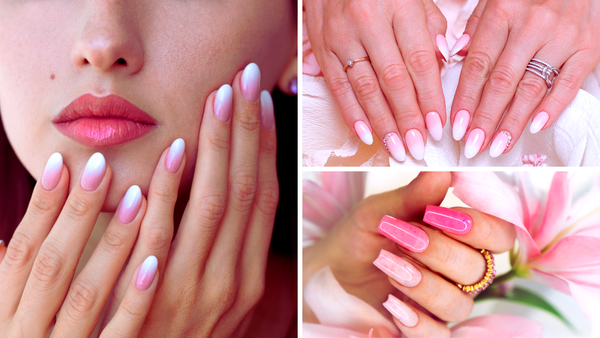
Creating the perfect ombre effect on acrylic nails is truly an art form. It's all about blending different-colored nail acrylic powders to achieve that dreamy, seamless transition. Start by choosing two colors that complement each other well. Wear a classic look with a white tip fading into a nude base, or get creative with bolder, contrasting hues. The key is to apply the colors in thin layers, gradually building up the thickness where they meet to create a gradient effect.

But how do you ensure that the colors blend smoothly without any harsh lines? The trick lies in the brush technique. Use a clean, dry brush to lightly pat and blend the line where the two colors meet. This will help the colors to merge more naturally. And don't rush the process; take your time to add more acrylic and continue blending until you achieve the desired ombre look. Remember, practice makes perfect, and with each attempt, you'll get better at creating stunning ombre nails that turn heads and spark conversations.
Creating the Ombre Effect
To achieve the perfect ombre, use a clean brush to pat and blend the point where the two colors meet. This should be done while the acrylic is wet to ensure a smooth transition. If the colors aren't blending well, add a small bead of each color and continue to blend until you achieve the desired gradient effect.
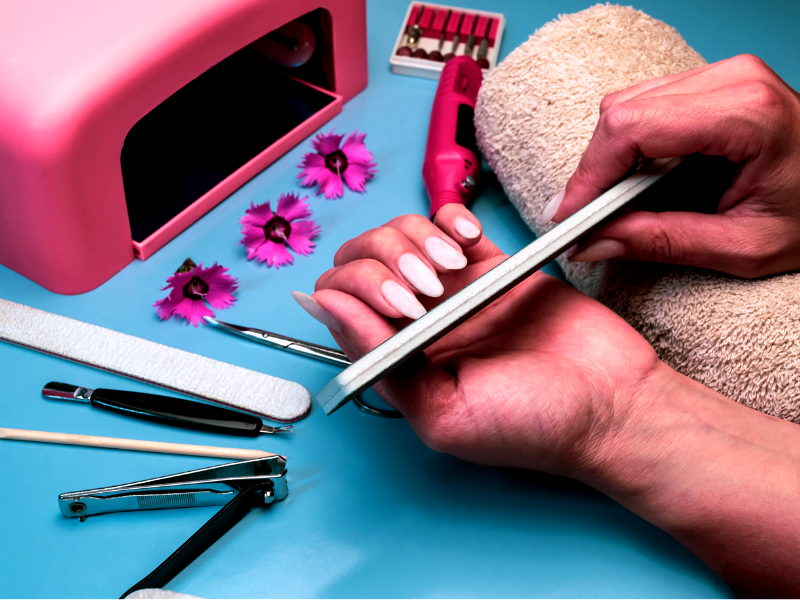
Shaping and Filing
After the acrylic has dried, it's time to shape and file the nails. Use a coarse file to define the shape and a finer grit to smooth the surface. Pay special attention to the sides and tip of the nail to ensure they are even and the thickness is consistent. The goal is to have the acrylic flush with the natural nail and the ombre transition seamless.

Finishing with Topcoat
The final step is to apply a topcoat. This not only adds shine but also protects the ombre design. Apply an even layer of gel polish topcoat and cure under a UV or LED lamp according to the manufacturer's instructions. Once cured, your ombre acrylic nails should have a high-gloss finish that's smooth to the touch.
Summary
Filling ombre acrylic nails requires precision and patience. By preparing the nail bed, choosing complementary colors, and carefully blending the acrylic, you can achieve a beautiful ombre effect. Remember to shape, file, and finish with a topcoat for a professional-looking result. With practice, filling ombre acrylic nails can be an easy and rewarding process.

FAQ Section
How long does it take for the acrylic to dry before I can file and shape the nails?
Typically, acrylic nails take 10-15 minutes to dry enough for filing and shaping. However, this can vary depending on the product and the thickness of the application.
Can I fill ombre acrylic nails at home, or should I go to a salon?
While it's possible to fill ombre acrylic nails at home, it requires skill and the right tools. If you're not experienced, it's recommended to visit a professional nail technician for the best results.
How often should I fill my ombre acrylic nails?
Ombre acrylic nails should be filled every 2-3 weeks to maintain their appearance and prevent lifting or breakage. Regular fills also help keep the nails healthy and strong.