


Key Takeaways:
- Learn the technique to create stunning swirl nails at home.
- Discover the best color combinations for your skin tone and personal style.
- Understand the importance of using the right tools and preparations for perfect swirl nail art.
Creating swirls with nail polish is a fun and creative way to add a unique touch to your manicure. Whether you're a seasoned nail artist or a beginner looking to try out a new nail art trend, swirl nails are a versatile design that can be adapted to suit any occasion. In this article, we'll walk you through the process of creating beautiful swirl nails, from selecting the right nail polish colors to applying the final top coat.
Preparing Your Nails for Swirl Art
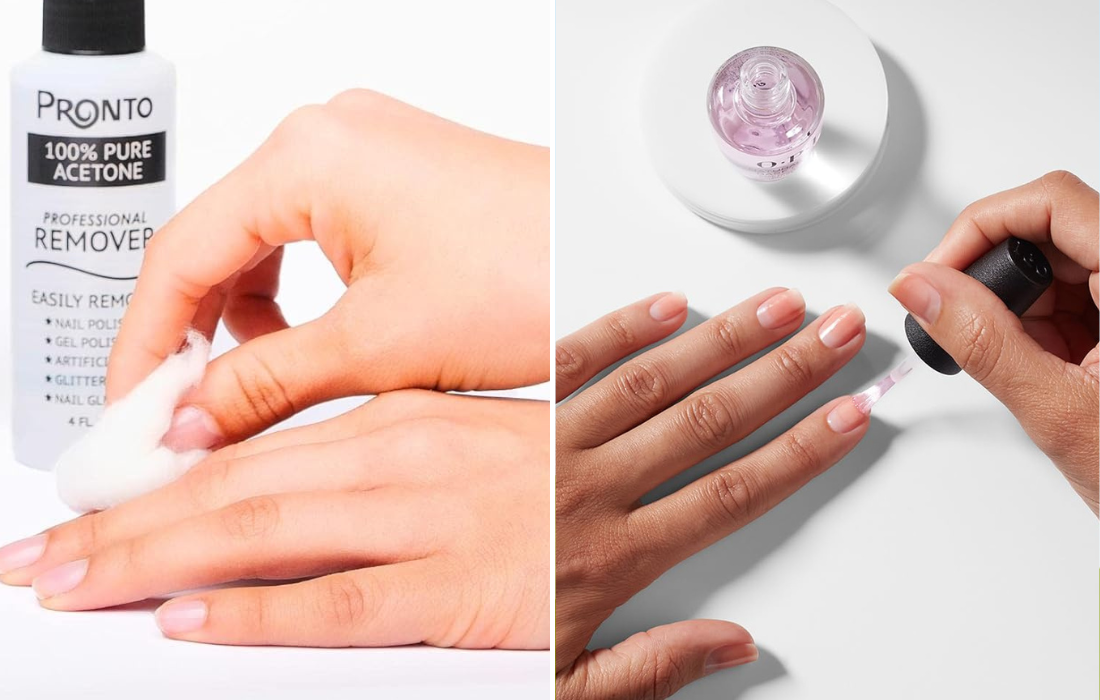
Before diving into the swirl design, it's essential to prepare your nails properly. Start by cleaning your nails with acetone to remove any oils or old polish. Next, apply a base coat to protect your nails and ensure a smooth surface for your nail paint. This step is crucial as it prevents staining and helps your nail art last longer.
Choosing the Right Colors
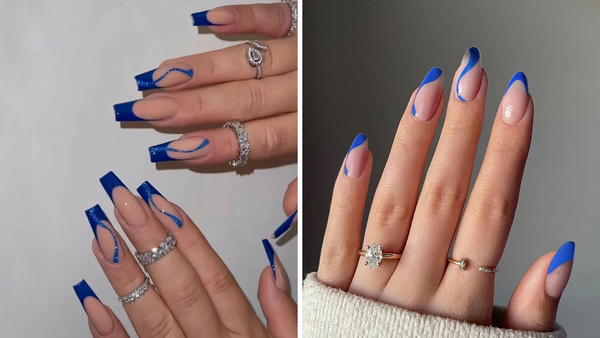
The color combination you choose for your swirl nails can make or break your design. Use the color wheel to select complementary colors that will pop against your skin tone. For a subtle look, opt for pastels or shades close to each other on the color wheel. If you're feeling bold, go for contrasting hues like blue and orange or pink and green.
The Base Color: Setting the Stage
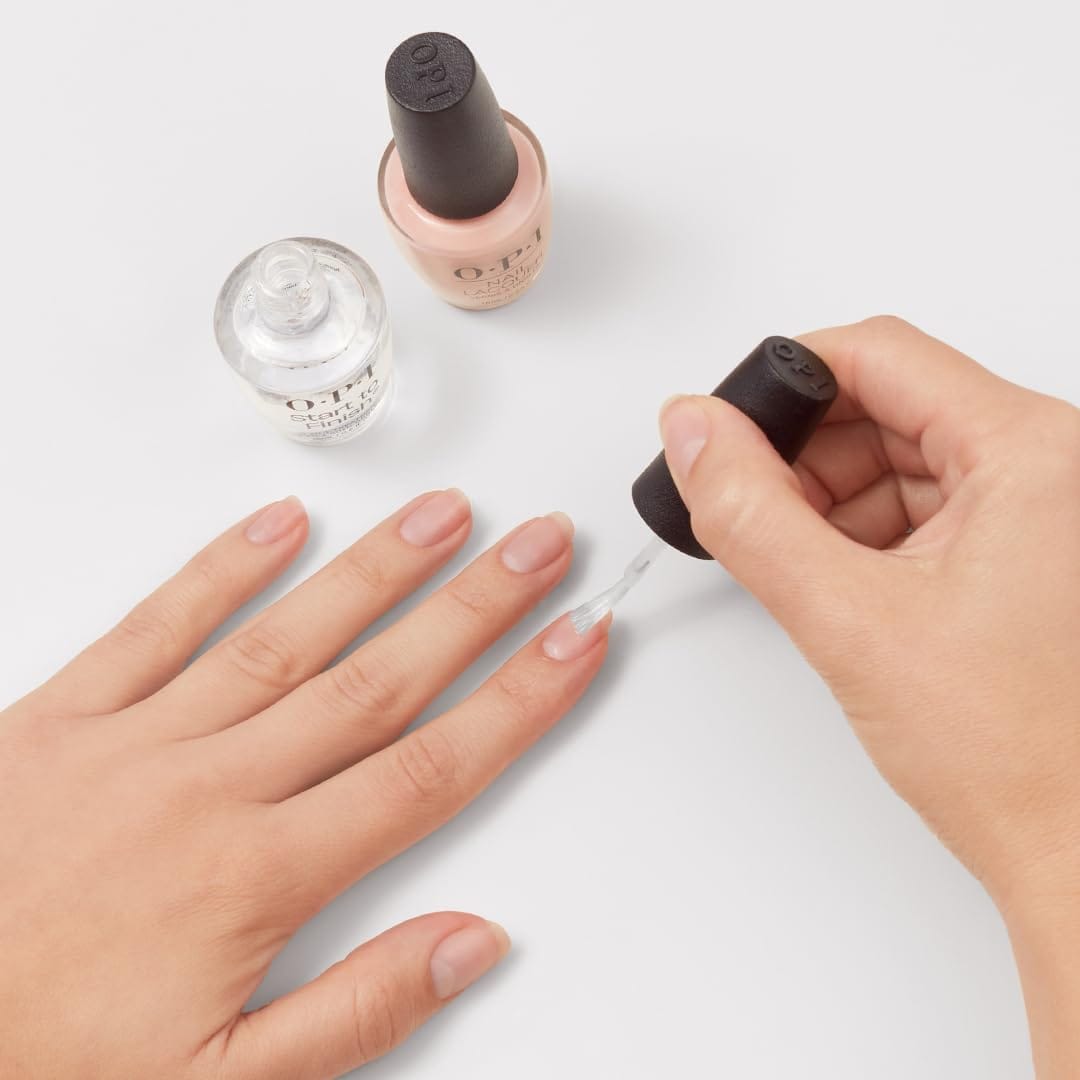
Begin your swirl nail art by applying two coats of your chosen base color. This will be the primary shade of your manicure, so make sure it's a color you love. Allow the base color to dry completely before moving on to the next step. This ensures that the colors don't smudge and the layers remain distinct.
Creating the Swirl Effect
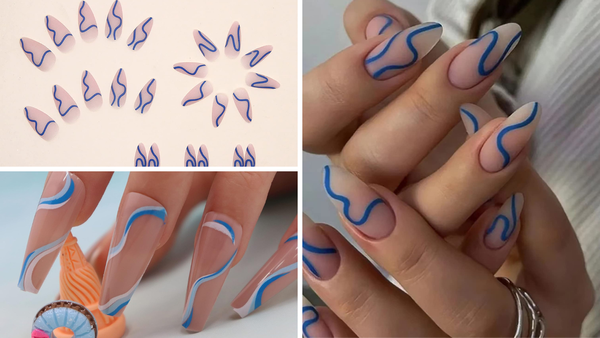
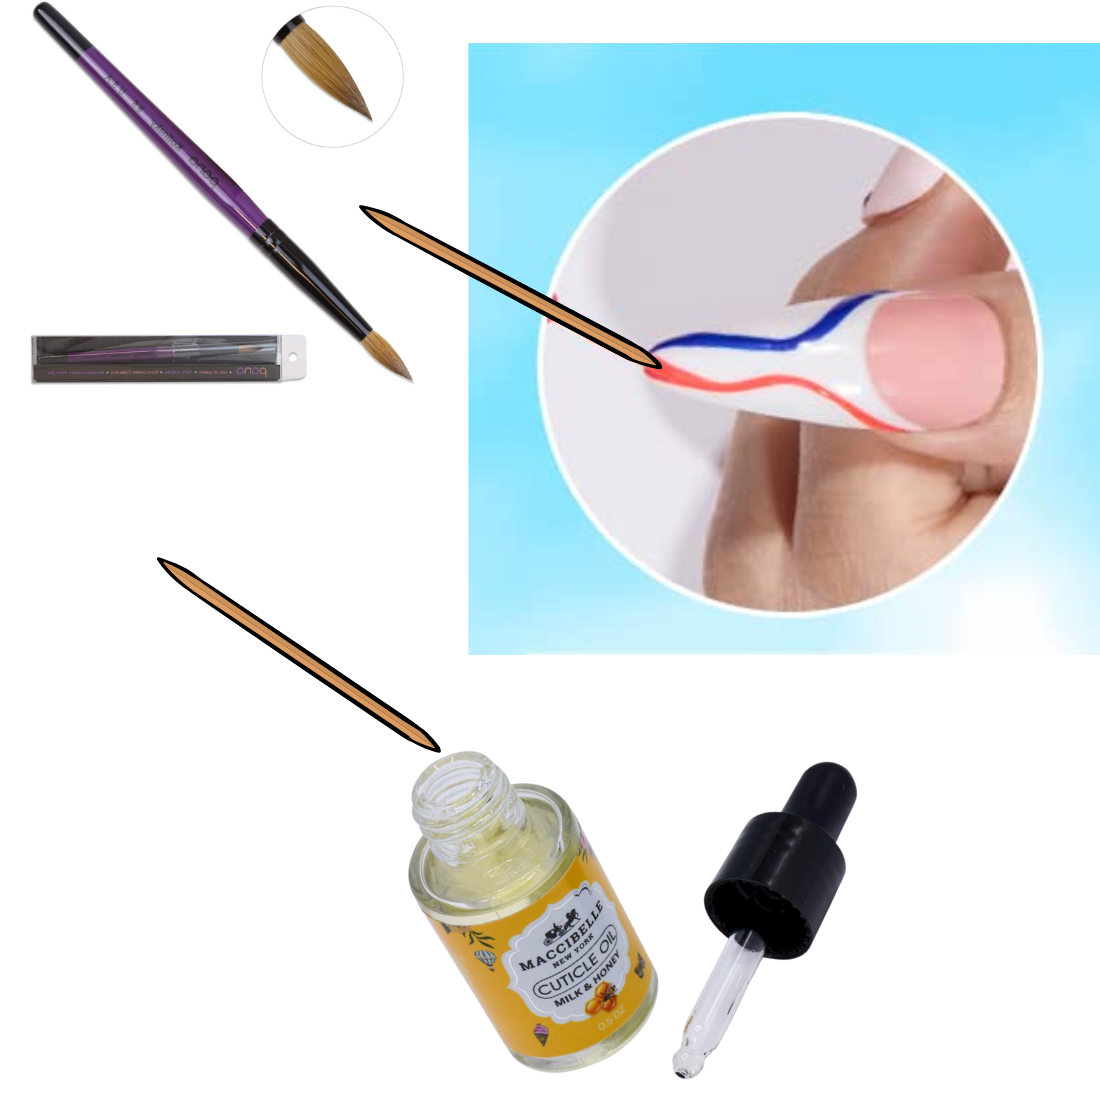
To create swirls, you'll need a thin brush or a toothpick. Dip your tool into a different nail polish color and gently drag it across the wet base coat to form abstract swirls. Work quickly but carefully, as you want to manipulate the polish while it's still tacky. Don't worry about making perfect swirls; the beauty of this art is in its abstract nature.
Adding Depth with Multiple Colors
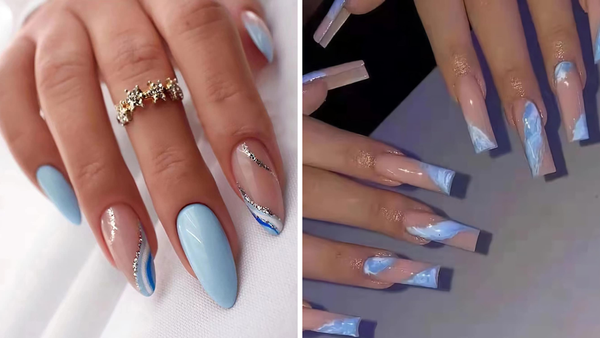
For a more intricate swirl design, introduce a third or even a fourth color into the mix. Start with the lightest color and work your way to the darkest, creating layers of swirls. This technique adds depth and dimension to your nail art, making it look like a professional salon-style manicure.
Enhancing Swirl Nail Art with Complementary Colors
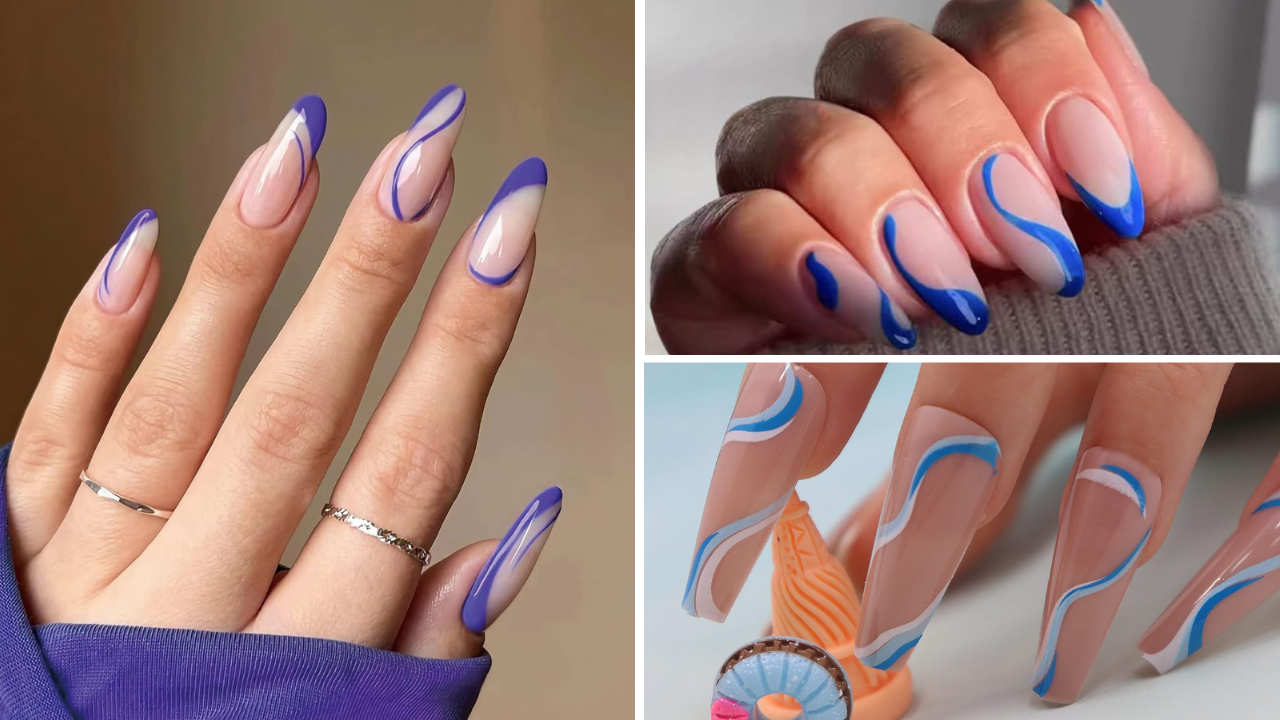
Creating swirls with nail polish isn't just about the technique; it's also about the color play. When selecting nail polish colors for your swirl nail art, consider the color wheel. Complementary colors, those opposite each other on the wheel, can make your swirls pop with contrast and vibrancy. For instance, imagine a swirl nail art where the boldness of blue meets the warmth of orange or where the coolness of green complements the energy of red. These combinations can turn a simple manicure into a statement piece.
When working with complementary colors, start with the lightest color as your base coat. This ensures that the darker, more vivid colors stand out in your swirl design. For a more subtle yet sophisticated look, try using pastel shades as your base color and add swirls with their complementary bold hues. The contrast between light and dark will add depth to your nail art, making it a perfect fit for both casual outings and special occasions. Remember, the key is to have fun with your color choices and let your creativity lead the way!
The Role of Tools in Perfecting Swirl Nail Art
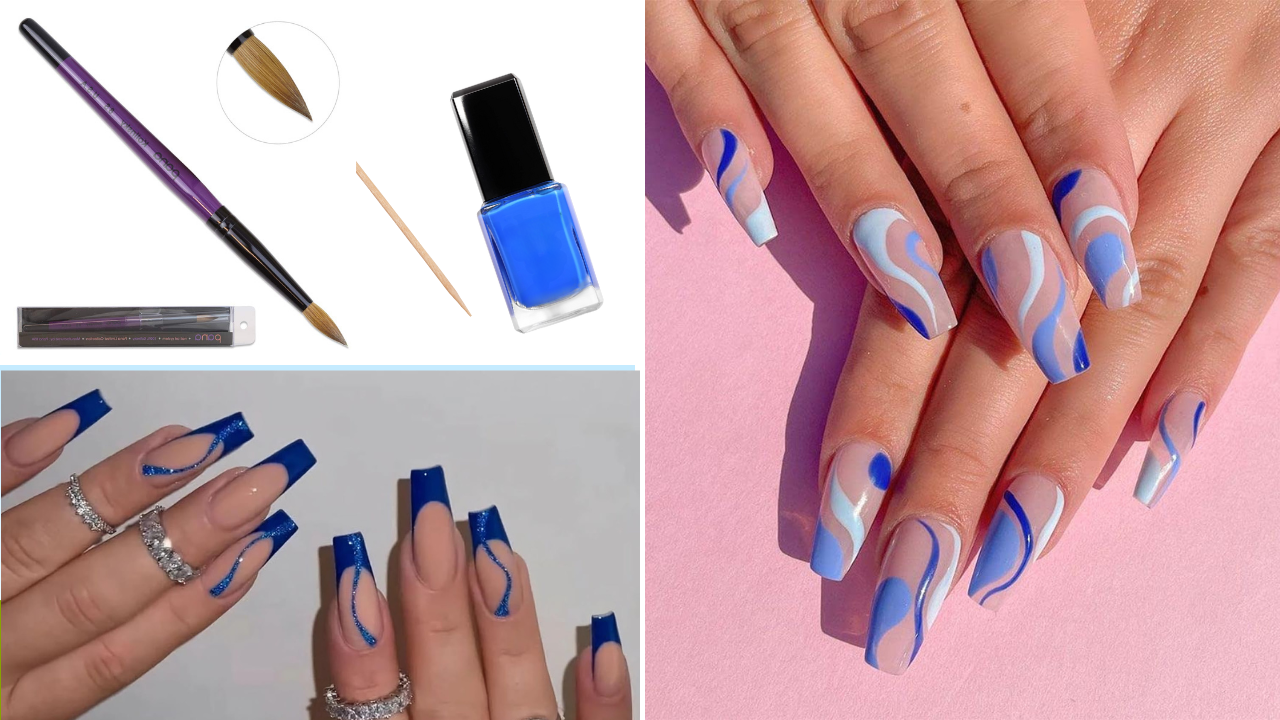
The right tools are essential in achieving the perfect swirl nail art. While some nail artists can create swirls with nail polish using just the brush that comes with the polish, others prefer tools that offer more precision. A liner brush, for instance, is a thin brush that allows you to paint detailed lines and create intricate swirls. It's perfect for adding thin, delicate swirls over a thicker, abstract swirl base. Alternatively, a toothpick or a dotting tool can drag the polish across the nail, creating a marbled effect.
Another tool that can elevate your swirl nail art is a fan brush. Dip the tips of the brush in different nail paint colors and lightly brush over the base coat to create a feathered swirl effect. This technique is great for achieving a softer, more ethereal look. Remember, the thickness of your tools will affect the outcome of your swirls – thick tools will create bold, statement swirls, while thin tools are ideal for intricate, detailed designs. Experiment with different tools to find what works best for your style and the particular swirl nail art you're envisioning.
Sealing the Design with a Top Coat
Once satisfied with your swirl nails, wait for the design to dry slightly before applying a top coat. This seals in the design and gives your nails a glossy finish. Be gentle when applying the top coat to avoid dragging the swirls and ruining your hard work.
Tips for Perfect Swirls Every Time
- Use a liner brush for more control over your swirls.
- If you're using a toothpick, dip it in cuticle oil first to prevent the polish from sticking.
- Practice your swirl technique on paper before attempting it on your nails.
Troubleshooting Common Swirl Nail Art Issues
Sometimes, creating swirls can lead to a few hiccups. If your polish starts to thicken, add a drop of nail polish thinner to keep it workable. If you accidentally smudge a swirl, use a clean brush dipped in acetone to gently correct the mistake.
Nail Care Post Swirl Art

After you've completed your swirl nail art, take care of your cuticles by applying cuticle oil. This keeps your nails healthy and hydrated and helps your manicure last longer. Remember to reapply the top coat every few days to maintain the shine and protect your nail art.
Finding Inspiration for Your Swirl Designs
Find inspiration in nature, fashion, or abstract art to create unique swirl designs. For fresh ideas, browse social media pages dedicated to nail art. Don't be afraid to experiment with different color combinations and patterns.
Summary
Swirl nails are a fun and trendy way to express your style through nail art. Following the steps outlined in this article, you can achieve salon-quality swirl designs at home. Remember to prepare your nails, choose the right colors, and use the proper tools to create your swirls. With a little practice and patience, you can create stunning swirl nail art that will turn heads.
FAQ Section
How long should I wait for the base color to dry before creating swirls?
It's best to wait until the base color is completely dry to the touch before adding swirls. This usually takes about 10-15 minutes, depending on the nail polish and the thickness of the application.
Can I use regular nail polish for water marble nails?
Yes, you can, but make sure the polish is fluid and not too thick. Some polishes are better suited for this technique, so it may take some experimentation to find the right ones.
How do I prevent my swirl nail art from chipping?
To prevent chipping, apply a base coat before your color layers and seal your design with a high-quality top coat. Also, avoid using your nails as tools, wear gloves when doing household chores, and reapply the top coat every few days to maintain the manicure.