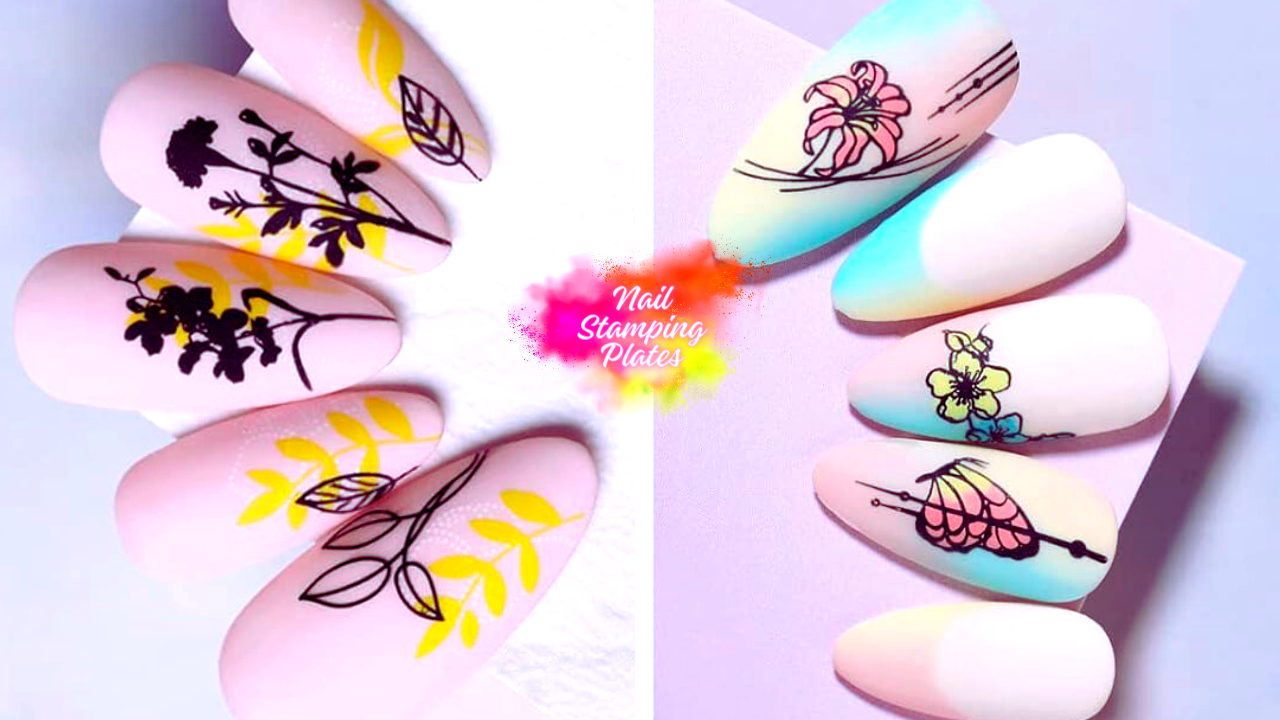


Nail stamping is a creative and fun way to add intricate designs and patterns to your nails. Whether you're a seasoned nail artist or a beginner looking to spice up your everyday look, mastering the art of nail stamping can elevate your manicure game. In this comprehensive guide, we'll walk you through the steps and tips to nail stamping plates like a pro.
Key Takeaways:
- Learn the three basic tools needed for nail stamping: stamping plates, a nail stamper, and stamping polish.
- Understand the technique of transferring designs from stamping plates to your nails with the right tools and motions.
- Discover how to maintain your nail stamping equipment for long-lasting and cost-effective nail art.
The Essentials of Nail Stamping
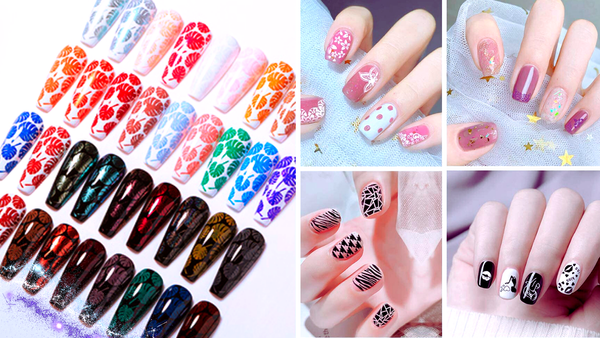
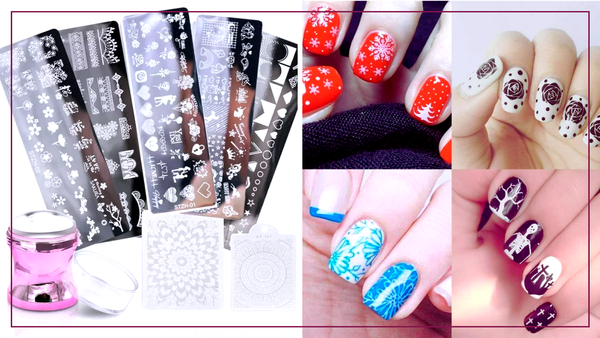
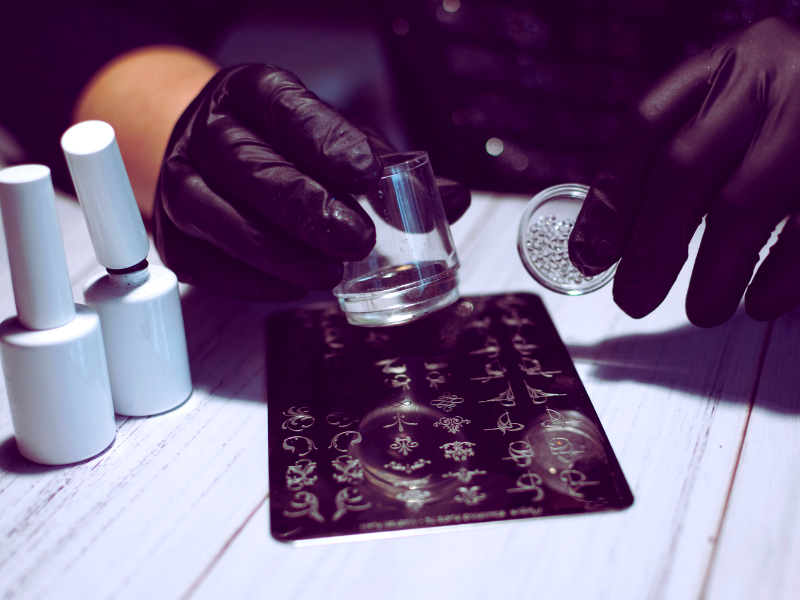
Before you start stamping, it's crucial to have the right tools at your disposal. The three basic tools for nail stamping are nail stamping plates, a nail stamper, and stamping polishes. Stamping plates are typically made of metal and feature several images engraved into a thin steel base. A nail stamper is a tool with a rubber or silicone head used to pick up and transfer the designs. Stamping polishes are specially formulated to be thicker and more pigmented, ensuring the designs are opaque and crisp.
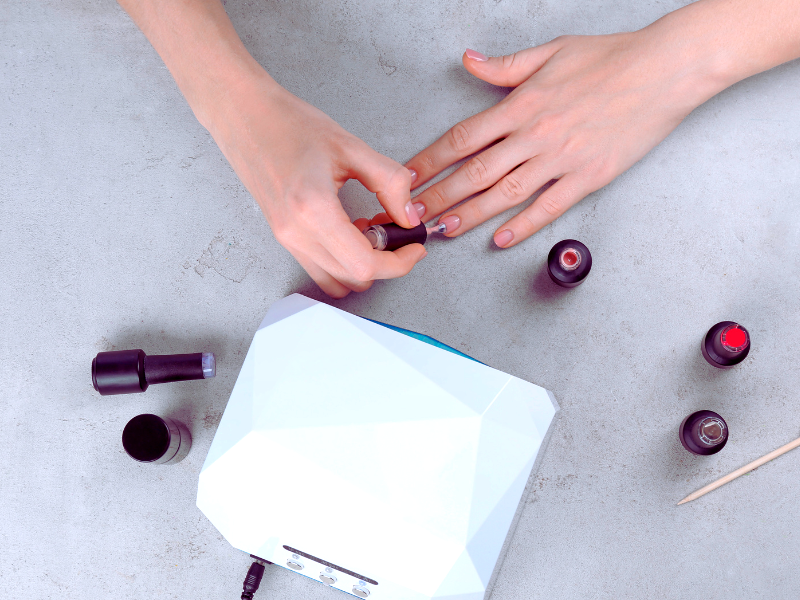
Preparing Your Nails
To ensure that your nail stamping is successful, start with clean, dry nails. Apply a base coat to protect your nails and provide a smooth surface for the polish to adhere to. Allow the base coat to dry completely before applying your chosen base color. For best results, apply two coats of polish and let them dry thoroughly. A well-prepped nail ensures the stamped design will adhere properly and last longer.
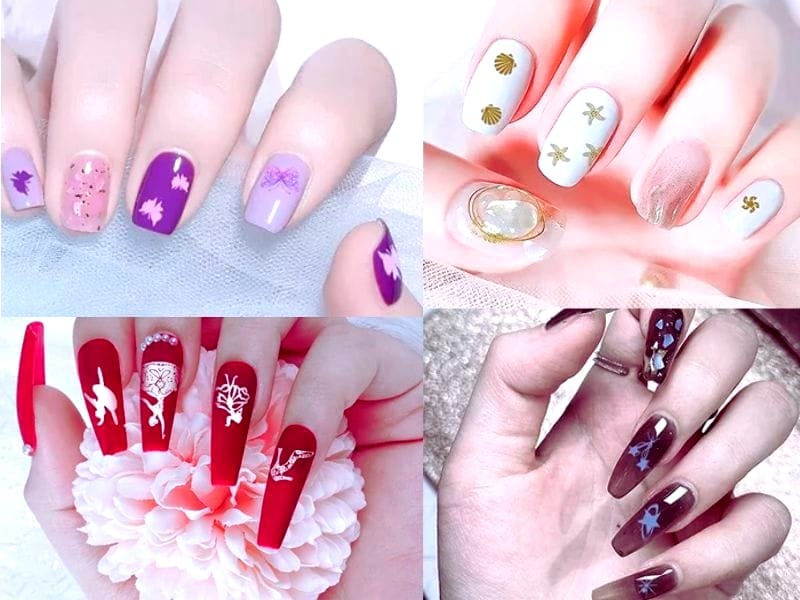
Choosing Your Design
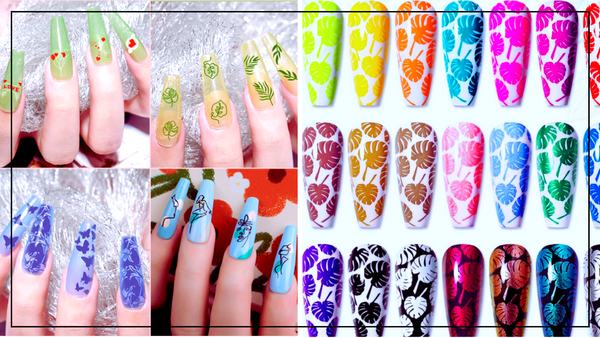
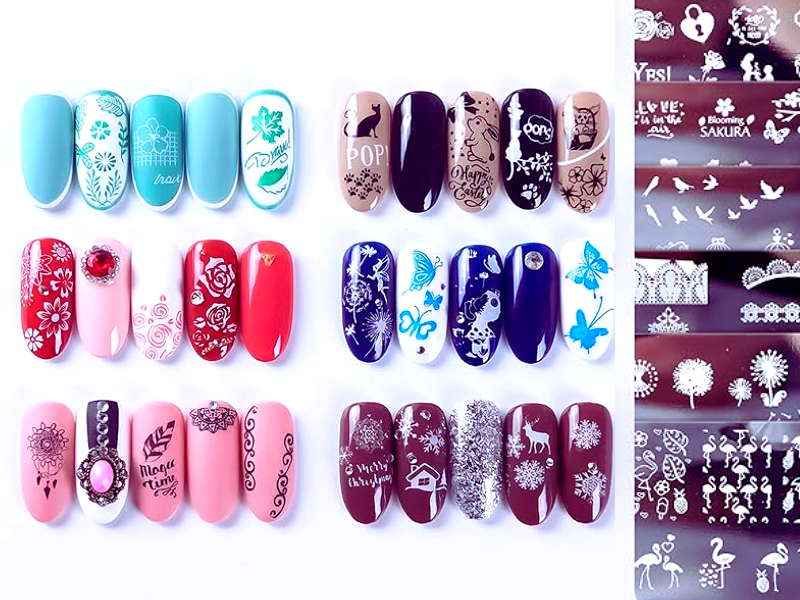
Stamping plates come with various designs, ranging from simple shapes to intricate patterns. Select a design that complements your base color and fits the entire nail or the specific area you want to decorate. For a more subtle look, choose smaller designs or patterns that can act as an accent. For a bold statement, opt for larger images that cover the entire nail.
Applying Stamping Polish
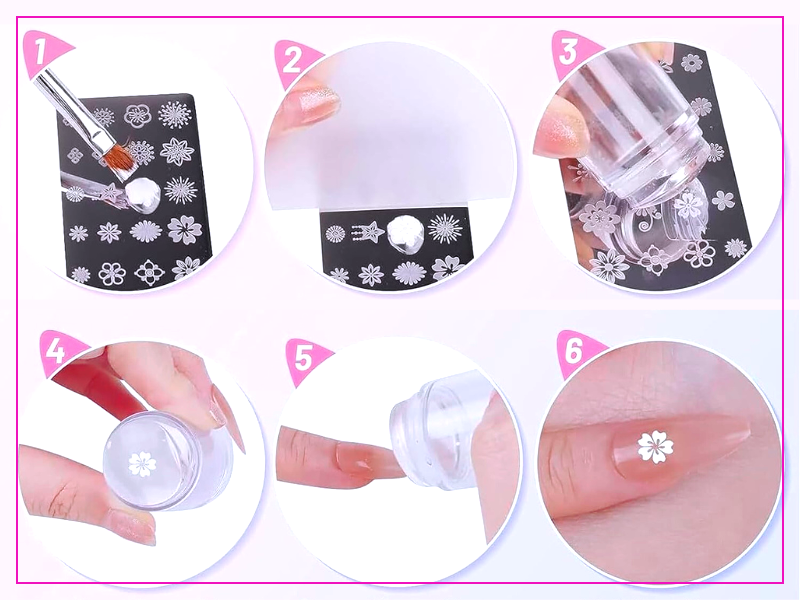
Once you've chosen your design, apply a generous amount of stamping polish over the design on the plate. Work quickly, as stamping polishes dry faster than regular nail polishes. Ensure that the polish fills the design. Any excess polish can be removed with a scraper, using a firm movement at a 45-degree angle to the plate.
Transferring the Design
After scraping off the excess polish, immediately roll the stamper over the design with a light touch and in one smooth motion. Check the stamper head to ensure the design has been picked up correctly. Then, align the stamper over your nail and roll it firmly across the nail to transfer the design. It's important to do this quickly before the polish dries on the stamper.
Embracing the Art of Multi-Color Stamping
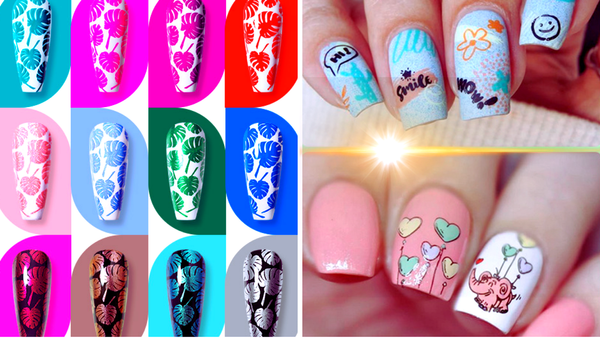
Have you ever seen nail art that flaunts more than one color in a single design and wondered how it's done? Multi-color stamping is a technique that can elevate your nail art to a whole new level. To start, you'll need several stamping polishes that contrast well with each other. Apply the different colors directly onto the stamping plate, filling in the areas of the design you want to feature each color. It's like painting by numbers, but on a much tinier scale!
Once your design is color-filled, gently scrape across the plate to remove excess polish. Here's where precision meets artistry: roll the stamper across the design with a firm movement to pick up the entire multi-colored image. The key is to work quickly, as wet polish is essential for a crisp transfer. With a light touch and a rolling motion, press the stamper onto your nail, aligned properly to ensure the design covers the entire nail. This technique might require a bit of practice, but the result is a stunning, professional-looking manicure that stands out.
The Magic of Layered Stamping
Layered stamping is a creative twist that adds depth and complexity to your nail art. Imagine creating a scene or adding shadows and highlights to your nails; that's what layered stamping can achieve. Begin with a base coat of polish and let it dry completely. Then, using a lighter stamping polish, stamp the first layer of your design onto the nail. This could be a subtle pattern or the outline of a more intricate image.
After the first layer dries, it's time to add dimension. Choose a darker or contrasting stamping polish for the second layer. Carefully align the stamping plate so the second design sits perfectly over the first. This might take some practice to master the alignment, but the effect is worth it. Once you stamp the second layer, you'll see how the designs range from simple to sophisticated. Finish with a top coat to seal your multi-dimensional masterpiece. Layered stamping is perfect for those who love to add an artistic flair to their everyday look or for special occasions where you want your nails to make a statement.
Sealing the Deal
Once the design is stamped onto your nail, wait for it to dry completely before applying a top coat. Use a light touch to avoid smearing the design. The top coat not only seals in the design but also adds a glossy finish and extends the life of your manicure.
Cleanup and Maintenance
After stamping, you may notice excess polish around your nails. Use a lint-free pad soaked in nail polish remover to clean up the edges. For the stamping plate, wipe it down with a paper towel and polish remover. To clean the stamper head, gently roll it on a lint roller or use tape to remove dried polish remains.
Troubleshooting Common Issues
If you're having trouble with stamping, consider these tips: ensure your polish is wet enough when you roll the stamper, use a rolling motion rather than pressing down, and make sure your base polish is completely dry before stamping. If the design isn't transferring, try using a different polish or stamper, as some combinations work better than others.
Advanced Techniques
Once you've mastered the basics, experiment with advanced techniques like layering different colors or designs for a multidimensional look. You can also try reverse stamping, filling in the design on the stamper before transferring it to your nails.
Nail Stamping for Different Occasions
Nail stamping is versatile and can be tailored to any occasion. Choose elegant patterns for formal events, or go for fun and quirky designs for casual outings. With the vast array of stamping plates available, the possibilities are endless.
Cost-Effective Nail Art
Nail stamping is a cost-effective way to achieve salon-quality nail art at home. With the initial investment in the basic tools, you can create countless looks without the recurring expense of professional manicures.
Summary
Nail stamping is an accessible and creative way to enhance your manicure with personalized designs. By following the steps outlined in this guide and practicing your technique, you'll be able to achieve professional-looking nail art at home. Remember to choose the right tools, prepare your nails properly, work quickly with wet polish, and seal your design with a top coat for the best results.
FAQ Section
Can I use regular nail polish for stamping?
While you can use regular nail polish for stamping, stamping polishes are recommended because they are thicker and more pigmented, which helps to achieve clearer and more defined designs.
How do I prevent the stamped design from smearing when I apply a top coat?
To prevent smearing, wait for the stamped design to dry completely before applying the top coat. Use a light touch and apply the top coat in one smooth motion.
What should I do if the design isn't transferring to the stamper properly?
If the design isn't transferring, ensure the polish is still wet when you roll the stamper over it. Also, check if the stamper head is clean and free of oils or residue. Experiment with different stampers or polishes to find the best tool combination.