


Key Takeaways:
- Preparation is Key: Properly prepping your natural nails ensures a long-lasting acrylic application.
- Follow Step-by-Step Instructions: Adhering to each step in the process will help you achieve salon-quality results.
- Practice Makes Perfect: The more you practice, the better your acrylic nail application will become.
Introduction
Acrylic nails have become a popular choice for those looking to enhance the beauty of their hands. Whether you're a seasoned nail artist or a beginner, using an acrylic nail kit at home can be a rewarding experience. This guide will walk you through the process, providing detailed instructions and practical tips to help you achieve stunning results.
What You Need in Your Acrylic Nail Kit
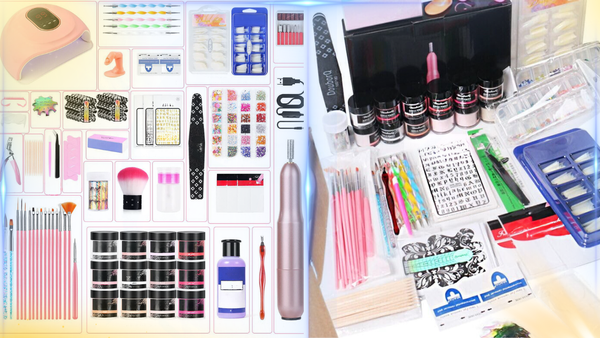
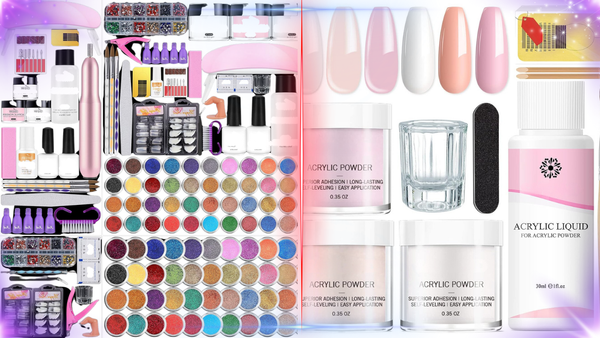
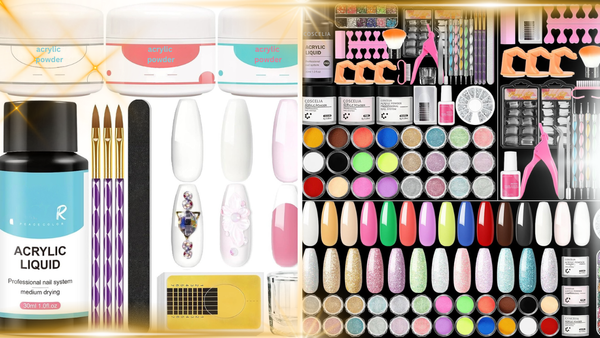
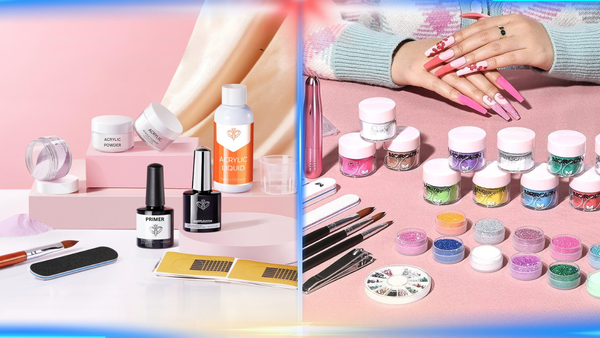
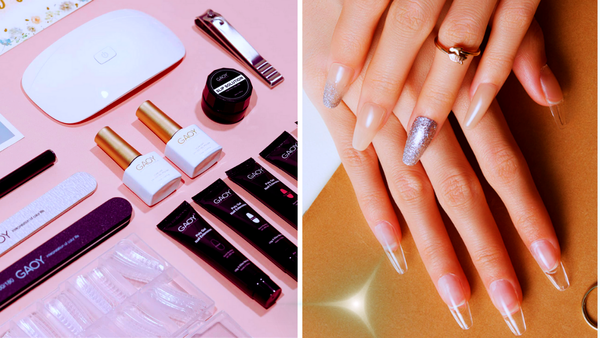
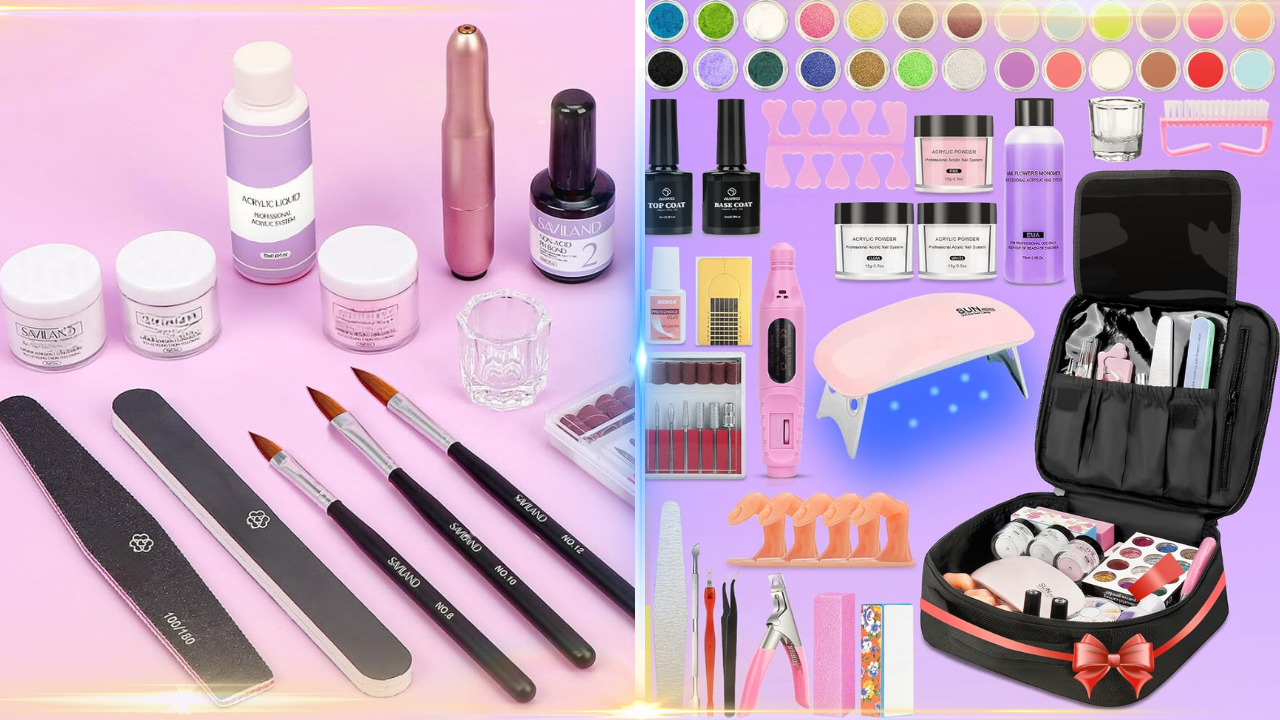
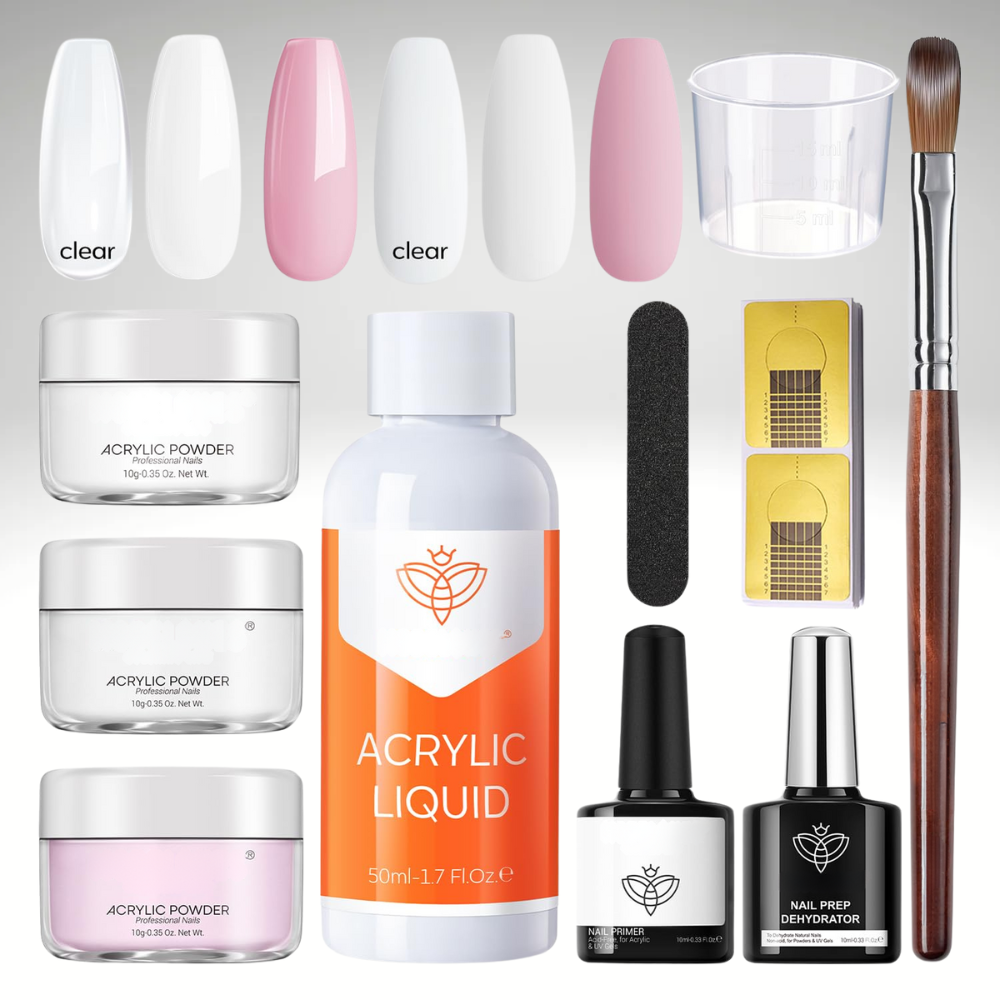
Before diving into the application process, it’s essential to understand what tools and materials you’ll need. A typical acrylic nail kit includes acrylic powder, acrylic liquid, nail tips, nail glue, an acrylic brush, a nail file, and a buffer. Some kits may also come with a nail primer, cuticle pusher, and nail forms.
Having all these items at your disposal will make the process smoother. You can find these kits at any beauty supply store or online. Make sure to choose a kit that suits your needs and skill level. The Kiss acrylic nail kit is a popular option for creating salon-quality acrylic nails at home, and it includes all the necessary items for a convenient DIY application.
Preparing Your Natural Nails
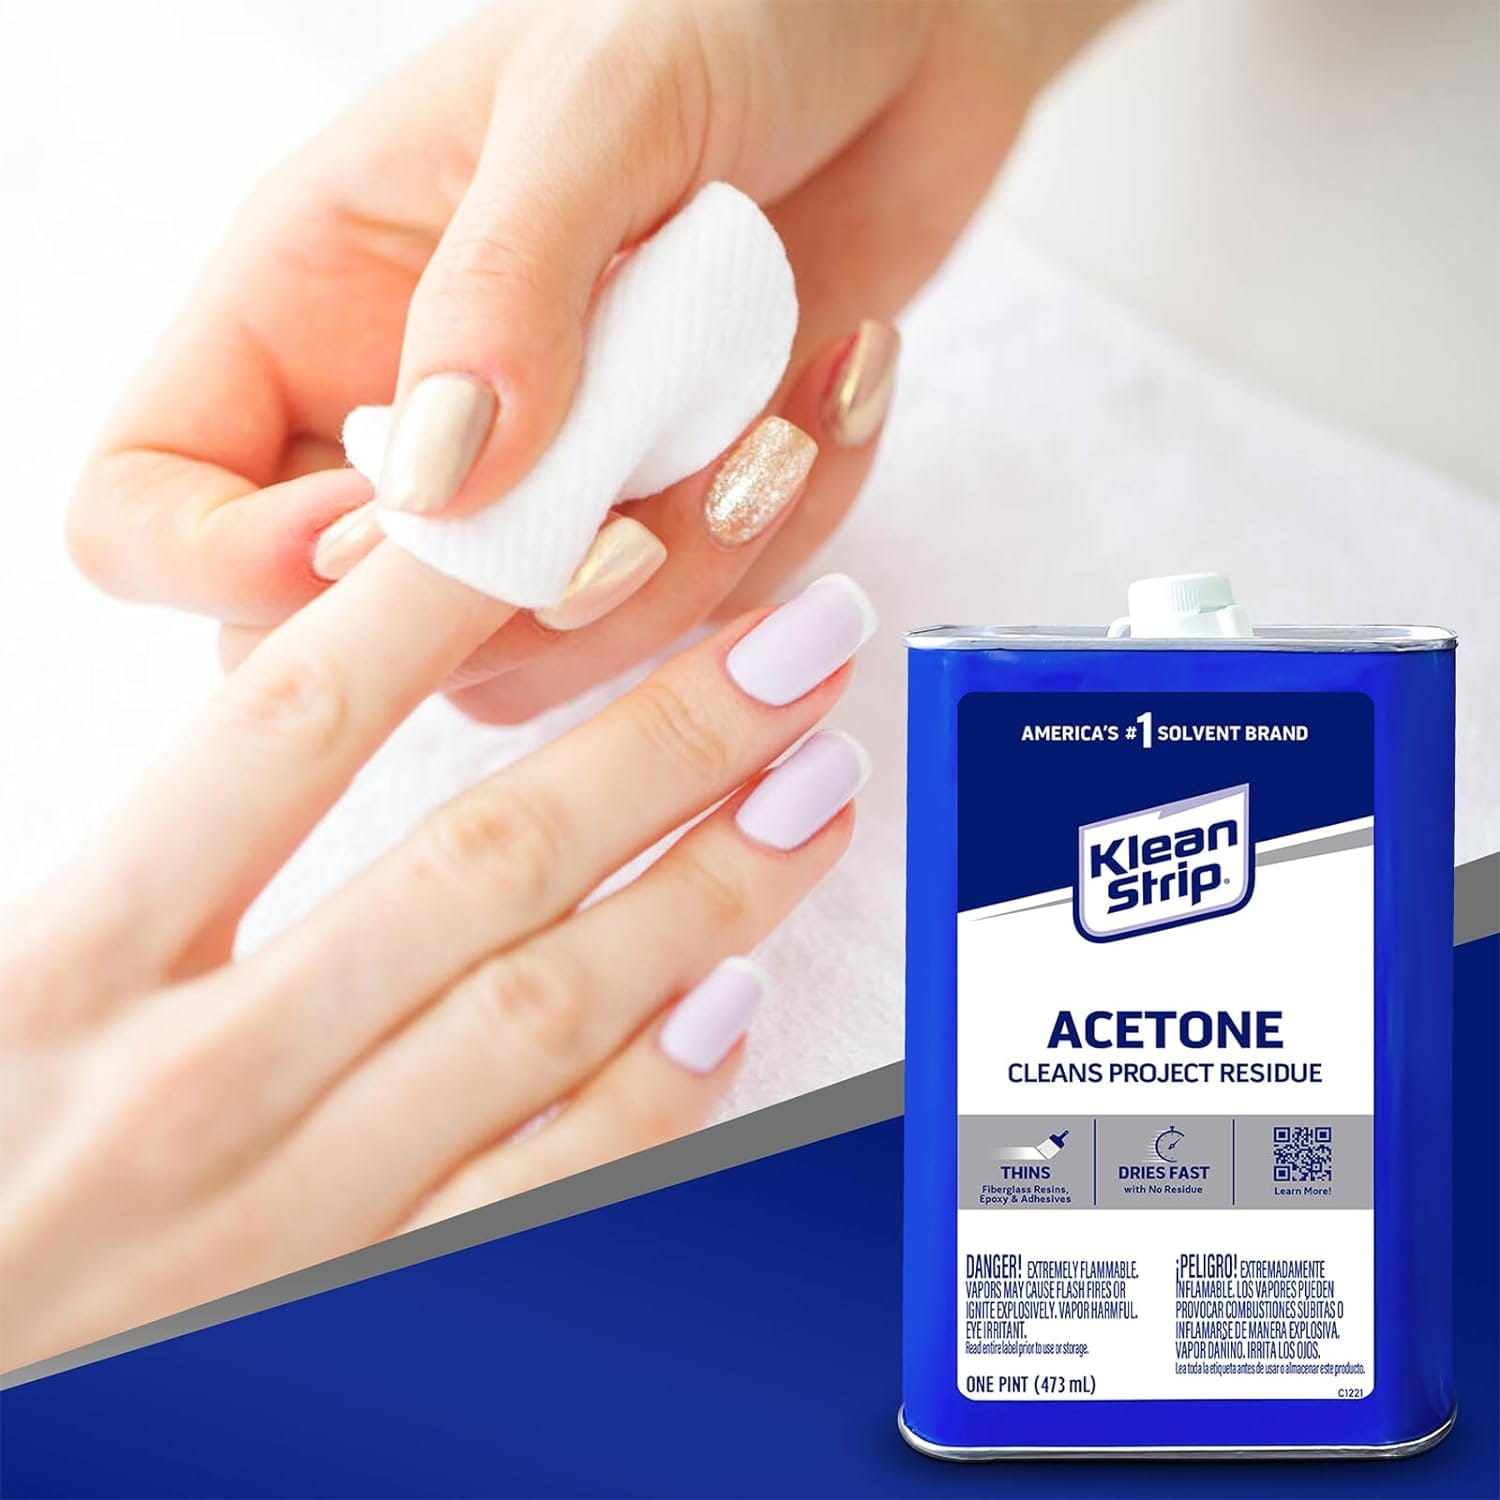
Preparation is the foundation of a successful acrylic nail application. Start by removing any old nail polish with pure acetone. Use a nail clipper to trim your nails to the desired length, and gently push back your cuticles with a cuticle pusher. Tending to your nails can be both satisfying and beneficial, giving you control over the health and appearance of your nails.
Next, shape your nails using a coarse nail file and gently buff the surface to remove any shine. This step ensures that the acrylic adheres properly to your natural nail bed. Clean your nails with a paper towel to remove any dust or debris.
Applying Nail Tips
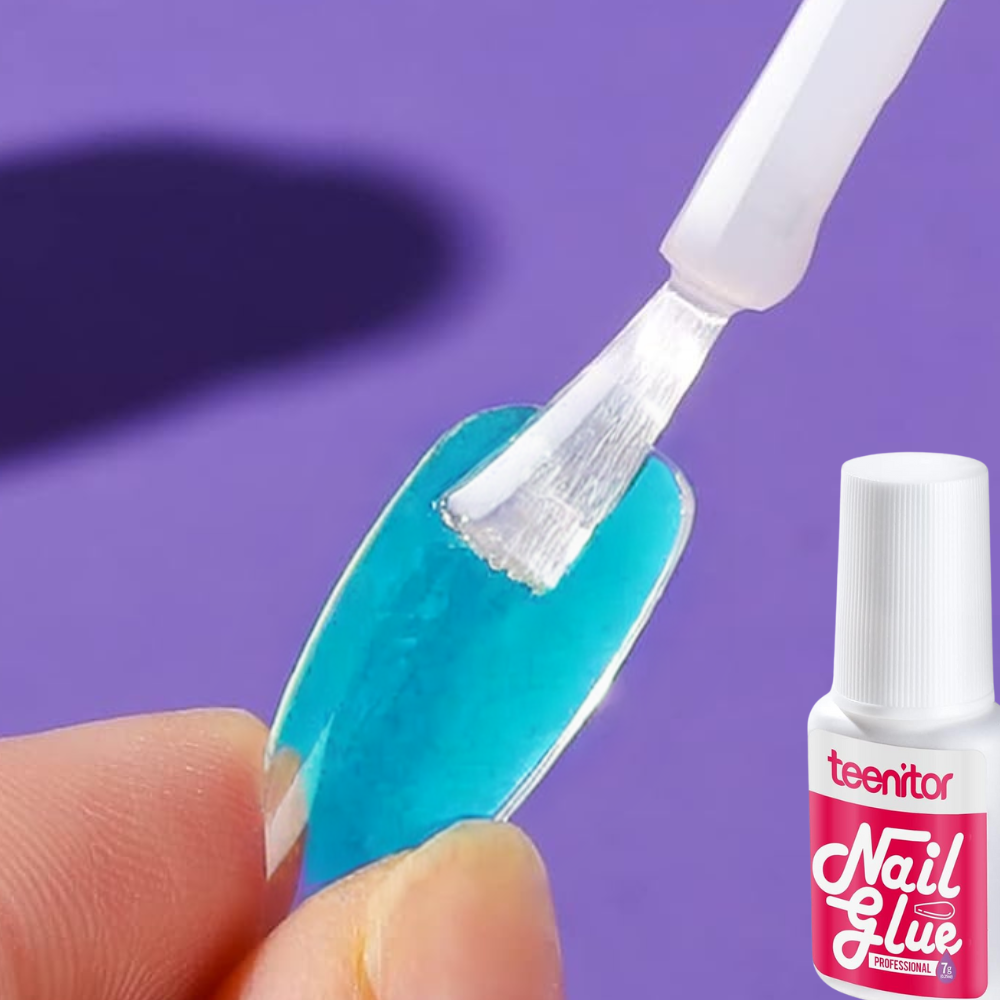
Select the right-sized nail tips for each nail. The tip should fit perfectly from side to side without overlapping your natural nail. Apply a small amount of nail glue to the bottom edge of the nail tip and press it onto your natural nail. Hold it in place for a few seconds to ensure it sticks. Doing your own acrylic nails at home involves checking for specific ingredients like EMA (Ethyl Methacrylate) and avoiding MMA (Methyl methacrylate) in the products.
Once all the tips are applied, use a nail file to blend the seam where the natural nail meets the acrylic tip. This will create a smooth transition and prevent any lifting.
Mixing Acrylic Powder and Liquid
Pour a small amount of acrylic liquid into a separate dish. Dip your acrylic brush into the liquid and then into the acrylic powder to create a small bead. The consistency should be like a soft dough, not too wet or too dry.
Practice this step a few times to get the hang of it. The right mixture is crucial for a smooth application. If the bead is too wet, it will run; if it's too dry, it won't be easy to spread.
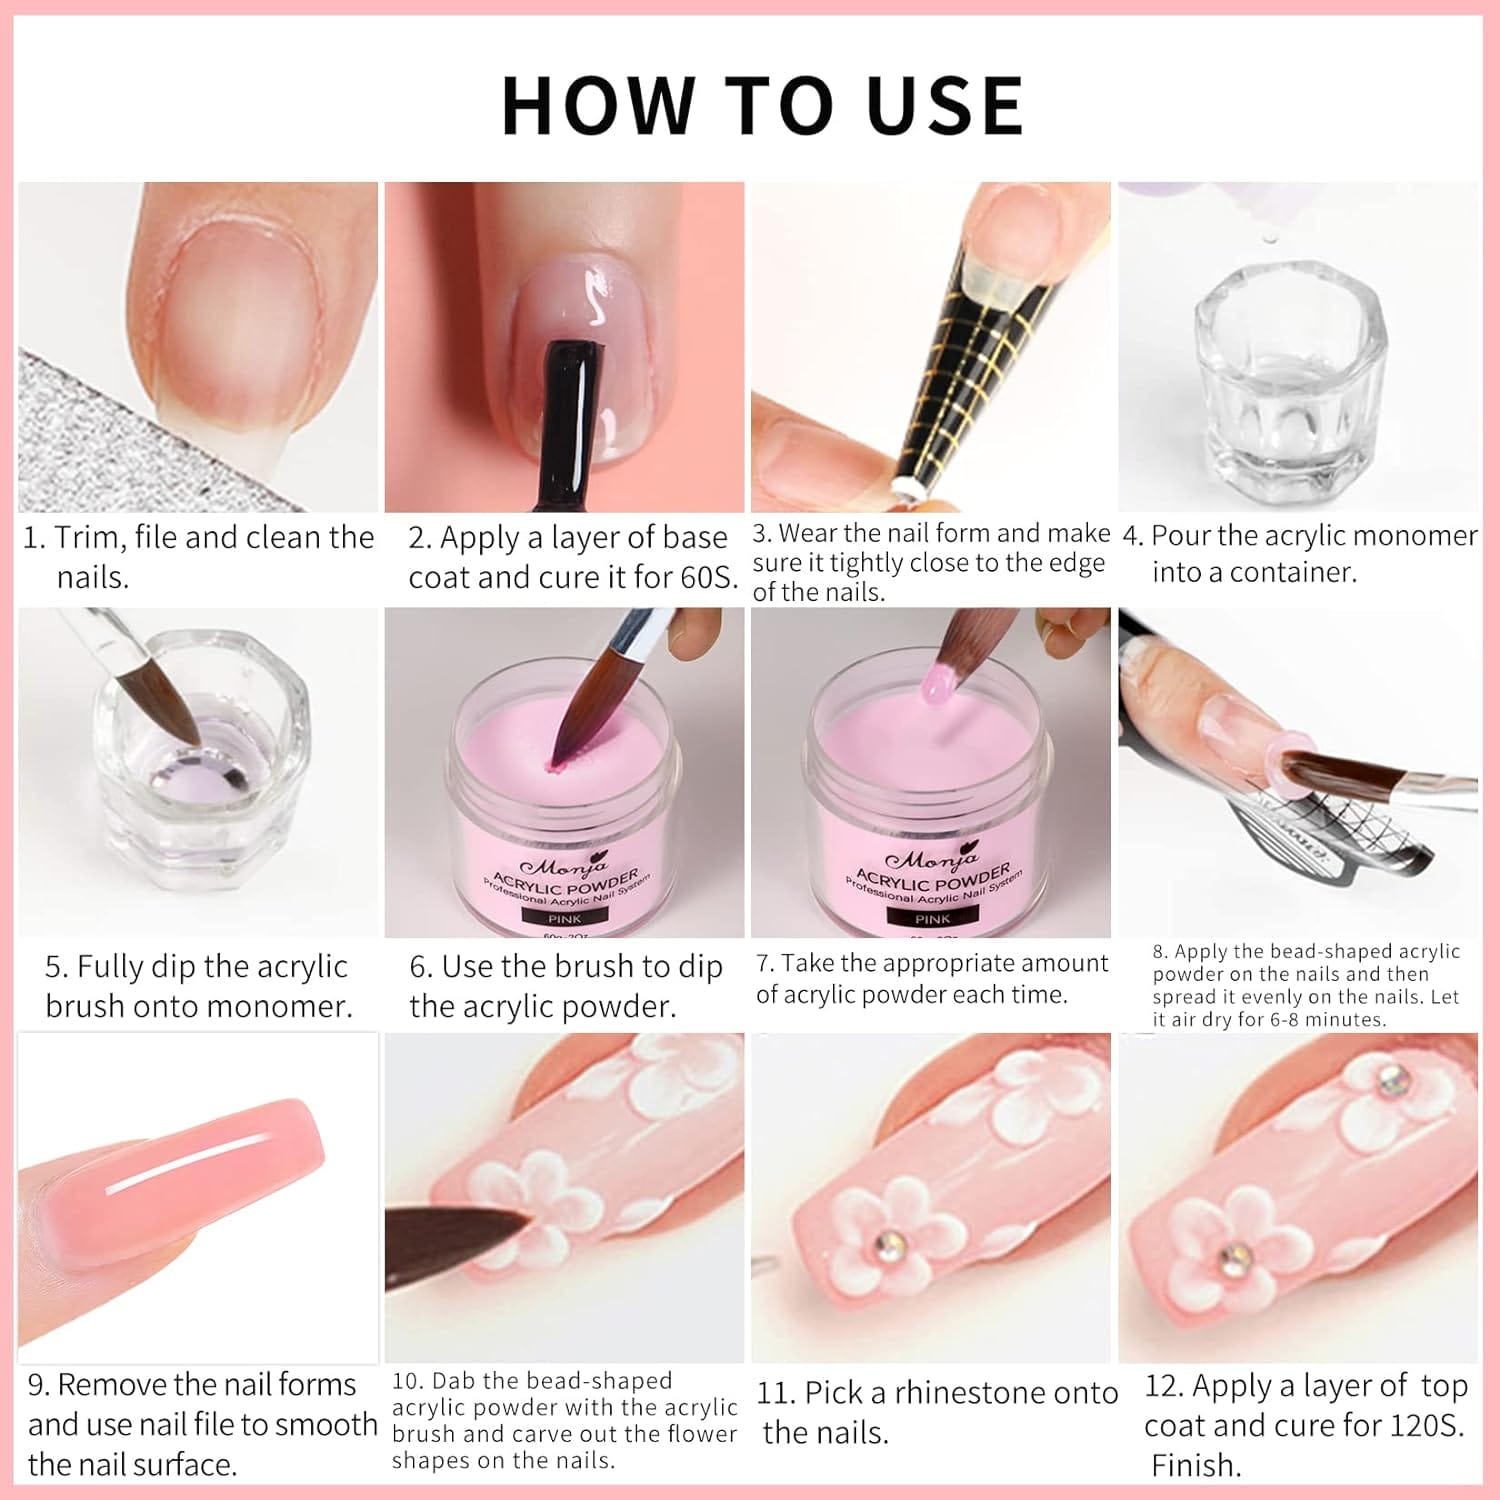
Applying the Acrylic Mixture
Start by applying the acrylic mixture to the center of your nail, near the cuticle. This is a crucial step in the process to apply acrylic nails. Use the brush to spread the mixture evenly across the entire nail, working your way to the free edge. Make sure to cover the nail tip and blend it with your natural nail.
Apply a thin layer first and let it dry completely. You can use a UV or LED lamp to speed up the drying process. Once dry, apply another layer if needed to achieve the desired thickness.
Shaping and Buffing
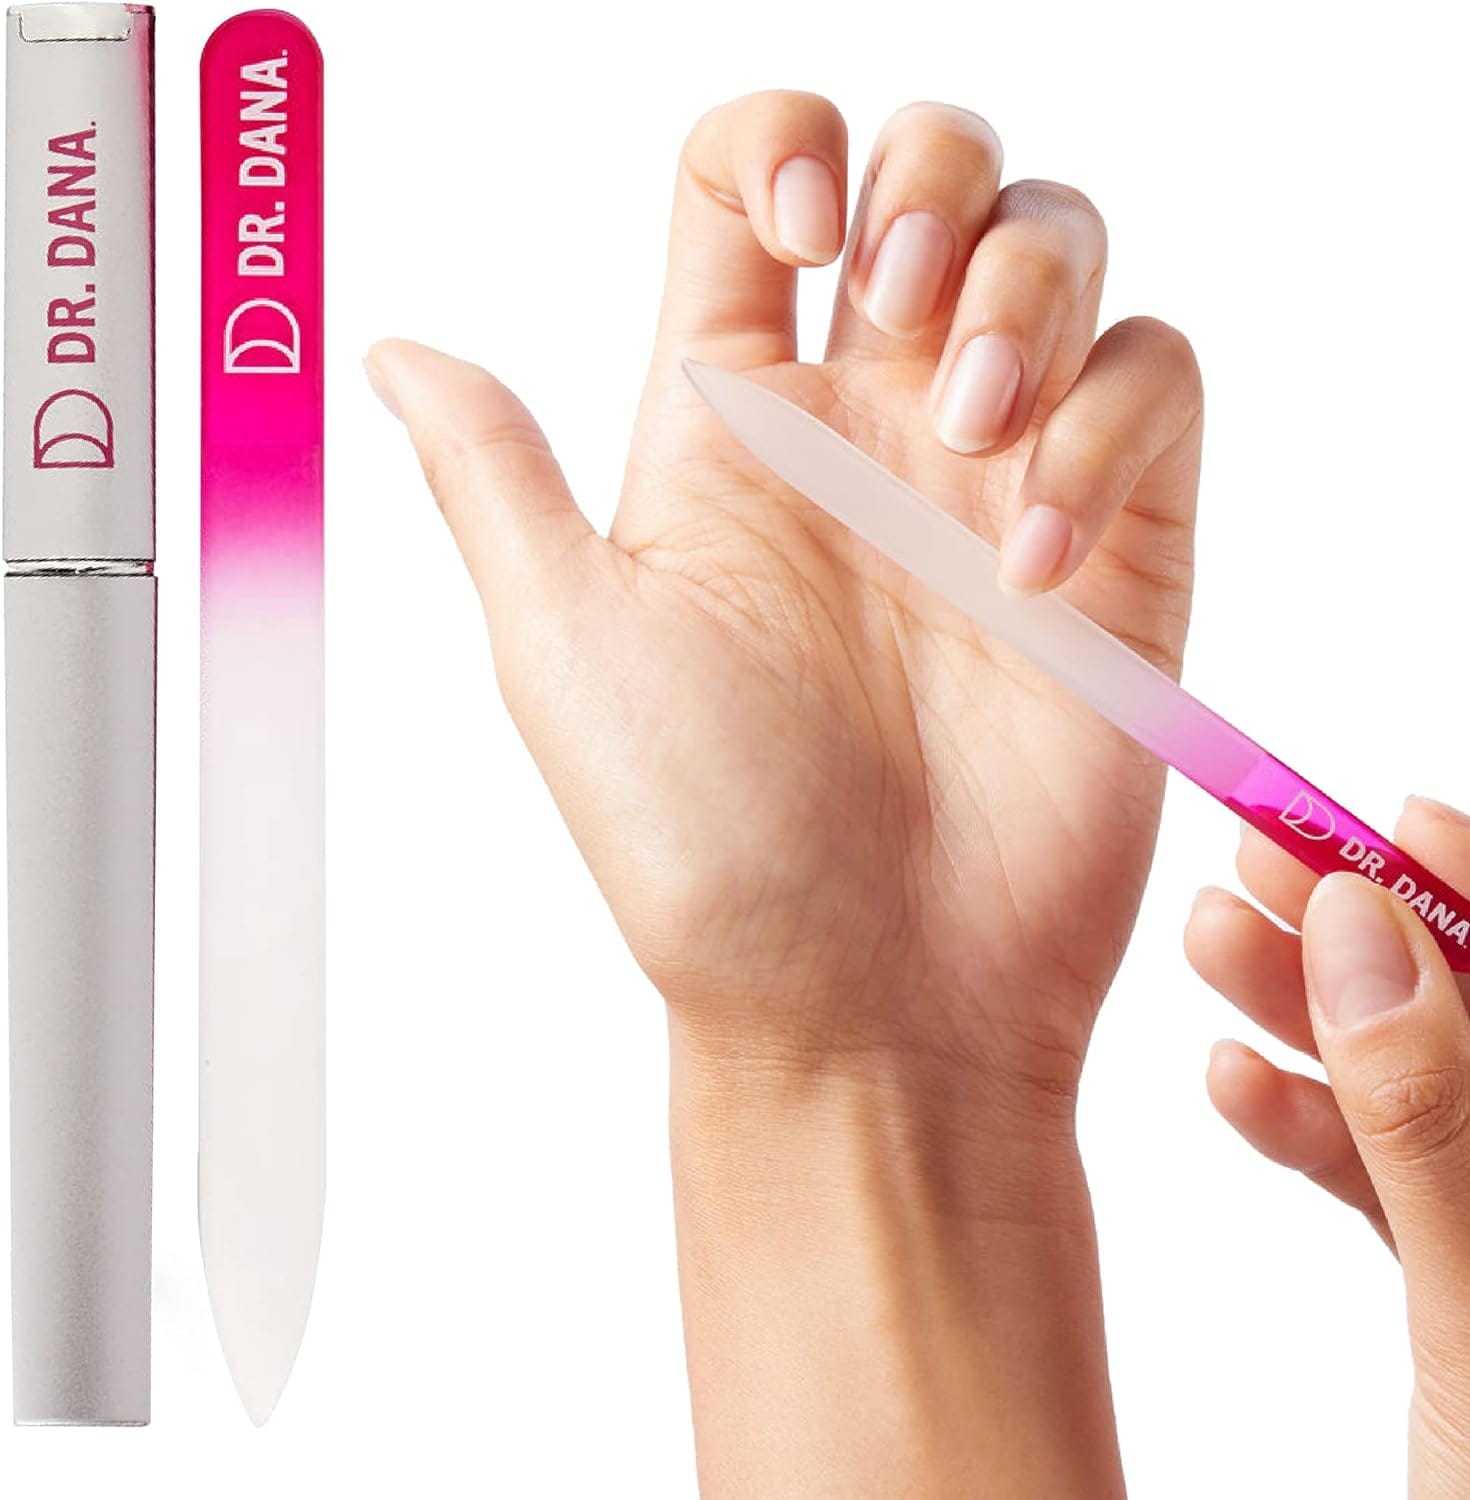
After the acrylic has dried, use a nail file to shape your nails to your desired shape. Whether you prefer square, oval, or stiletto, make sure to file gently to avoid damaging the acrylic.
Next, use a buffing block to smooth out any rough edges and create a polished finish. This step is essential for achieving a professional look.
Applying Nail Polish
Once your nails are shaped and buffed, you can apply nail polish. Start with a base coat to protect your natural nails. Then, apply two coats of your chosen nail polish color, allowing each coat to dry completely before applying the next.
Finish with a top coat to seal the color and add shine. This will also help your new acrylic nails last longer.
Maintaining Your Acrylic Nails
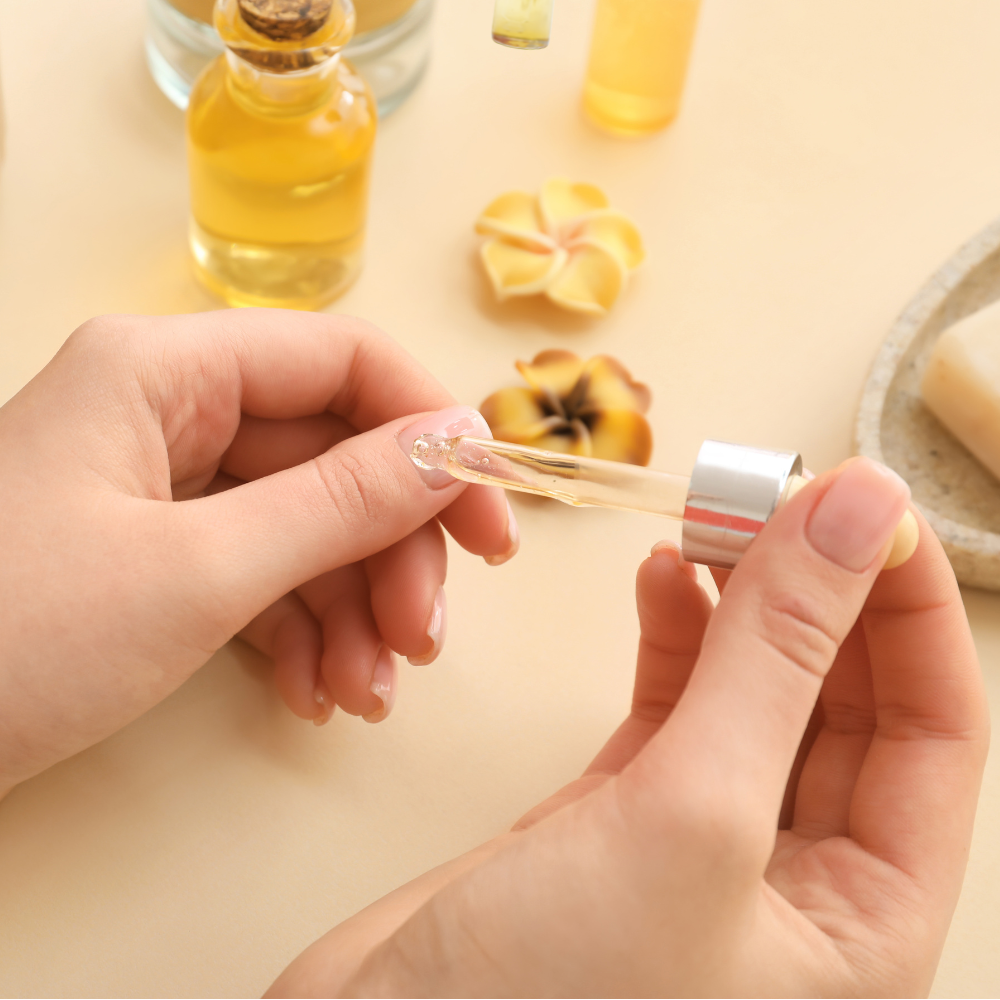
To keep your acrylic nails fresh, apply cuticle oil daily to hydrate your cuticles. Avoid using your nails as tools to prevent lifting or breaking.
If you notice any lifting or damage, it's best to address it immediately to prevent further issues. You can gently buff the area and apply a small amount of nail glue to secure it.
Removing Acrylic Nails
When it's time to remove your acrylic nails, soak them in pure acetone for about 20-30 minutes; use a paper towel to wipe away the softened acrylic gently, and if needed, use a nail file to remove any remaining bits.
Avoid peeling or prying off the acrylic, as this can damage your natural nails. Patience is key to a safe removal process.
Common Mistakes to Avoid
One common mistake is applying too much acrylic at once. This can lead to a bulky appearance and longer drying times. It's better to apply thin layers and build up the thickness gradually.
Another mistake is not prepping the natural nails properly. Skipping steps like buffing and cleaning can result in poor adhesion and lifting.
Tips for Beginners
If you're new to using an acrylic nail kit at home, start with a simple design. Practice makes perfect, and as you become more comfortable with the process, you can experiment with more intricate nail art.
Watching tutorial videos can also be helpful. Seeing the process in action can provide valuable insights and tips.
Advanced Techniques
For those who are more experienced, you can try advanced techniques like creating a smile line or using nail forms for sculpting. These techniques require more skill and practice but can result in stunning, professional-looking nails.
Experimenting with different acrylic colors and nail art designs can also add a unique touch to your nails.
Choosing the Right Acrylic Nail Kit

When selecting an acrylic nail kit, consider your skill level and the quality of the materials. Kits that include detailed instructions and high-quality products will make the process easier and more enjoyable.
Reading reviews and seeking recommendations can also help you find the best kit for your needs.
Safety Precautions
Working with acrylic materials requires some safety precautions. Ensure you are in a well-ventilated area to avoid inhaling fumes. Wearing a mask can also provide additional protection.
Keep all materials out of reach of children and pets. Proper storage and handling will ensure a safe and pleasant experience.
Troubleshooting Common Issues
If you encounter issues like lifting or bubbles in the acrylic, it may be due to improper application or mixing. Revisit the steps and ensure you are following them correctly.
If the acrylic is not drying properly, check the consistency of your mixture and the drying environment. Sometimes, humidity can affect the drying process.
Benefits of Acrylic Nails
Acrylic nails offer several benefits, including durability and versatility. They can be shaped and styled in various ways, allowing you to express your creativity.
They also provide a protective layer for your natural nails, helping them grow without breaking.
Comparing Acrylic Nails to Other Options
Acrylic nails are just one option among many. Gel nails, dip powder nails, and natural nail enhancements each have their pros and cons.
Acrylic nails are known for their strength and longevity, making them a popular choice for those seeking long-lasting results.
Nail Art Ideas for Acrylic Nails
When you’ve mastered the basics of how to use an acrylic nail kit at home, it’s time to get creative with nail art. Acrylic nails provide a perfect canvas for intricate designs. Start by applying a thin layer of nail polish as your base color. Once it’s dry, use a fine nail brush to paint delicate patterns or shapes. You can also use nail stickers or stamps for more detailed designs. Don’t forget to seal your artwork with a top coat to ensure it lasts.
For those who prefer a bit of sparkle, glitter and rhinestones can add a touch of glamour to your acrylic nails. Apply a small bead of nail glue to the desired area and gently press the rhinestones into place. For glitter, you can either mix it with clear acrylic powder or sprinkle it over wet nail polish. Use a UV lamp to dry completely and finish with a top coat. This will give your nails a dazzling finish that’s sure to turn heads.
Summary
Using an acrylic nail kit at home can be a fun and rewarding experience. You can achieve beautiful, salon-quality nails by following the steps outlined in this guide. Remember, practice makes perfect, and with time, you'll become more skilled and confident in your acrylic nail application.
FAQ Section
How long do acrylic nails last?
With proper care, acrylic nails can last 2 to 3 weeks. Regular maintenance and touch-ups can extend their lifespan.
Can I remove acrylic nails at home?
Yes, you can remove acrylic nails at home by soaking them in pure acetone and gently buffing away the softened acrylic.
Are acrylic nails safe for my natural nails?
When applied and removed correctly, acrylic nails are safe for your natural nails. Proper care and maintenance are essential to prevent damage.