


Rhinestone nails have become a dazzling trend in nail art, offering a touch of glamour and sophistication to any look. Whether you're preparing for a special occasion or want to add some sparkle to your everyday style, learning how to apply rhinestone nails can elevate your nail game to the next level.
Key Takeaways:
- Learn the step-by-step process of applying rhinestones to nails using various methods.
- Discover essential tips for ensuring long-lasting adhesion and shine of rhinestone nails.
- Understand how to care for and safely remove rhinestone nails without damaging your natural nails.
Prepping Your Nails for Rhinestones
Before you start bedazzling your nails with rhinestones, proper nail prep is crucial. Begin cleaning your nails with a lint-free wipe soaked in nail prep solution. This will remove any oils and debris, ensuring a clean surface. Next, lightly buff the surface of your natural nails to create a slightly rough texture for better adhesion. Remember, the key to long-lasting rhinestone nails starts with a well-prepped base.
Choosing the Right Adhesive
When attaching rhinestones, the adhesive you choose can make all the difference. Nail glue, gem gel, and gel adhesive are popular options, each with benefits. Nail glue offers a quick set, while gem gel provides a thicker consistency ideal for larger stones. Gel adhesive, on the other hand, requires curing under a nail lamp but can offer a more secure hold, especially for extra-large gems.
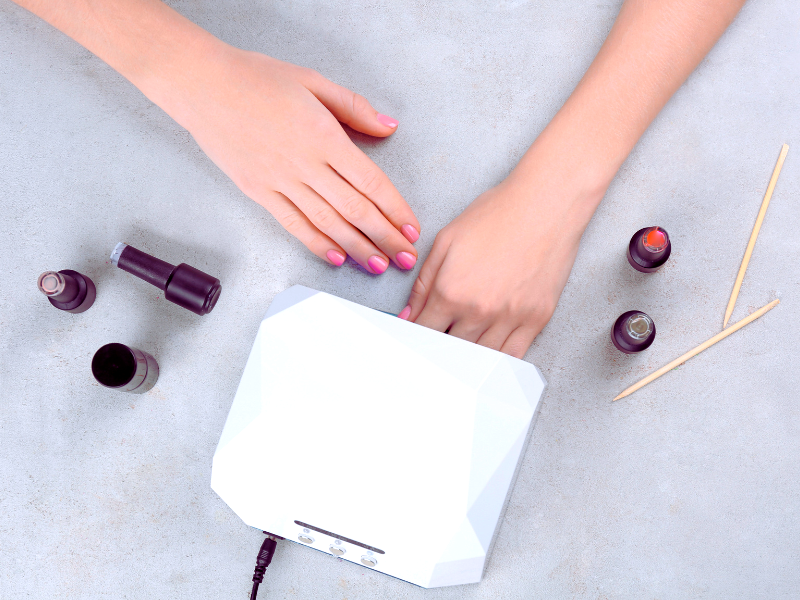
Applying the Base Coat
A solid foundation is essential for any nail art. Apply a base coat to your nails and let them dry completely. This not only protects your natural nails from staining but also provides a smooth canvas for your rhinestone design. For gel nails, cure the base coat under an LED lamp according to the manufacturer's instructions.
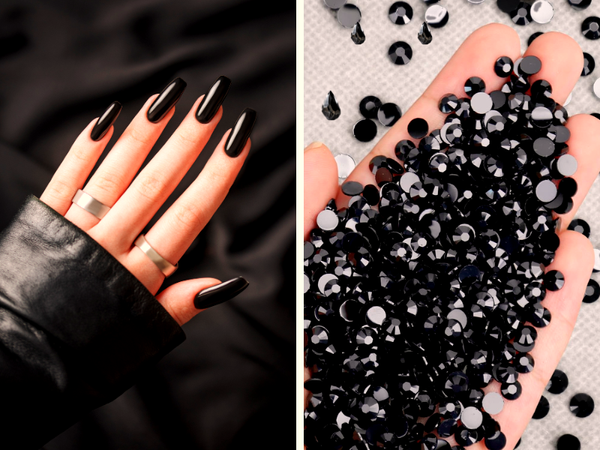
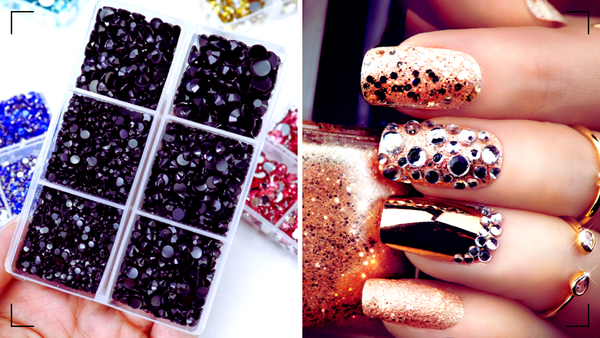
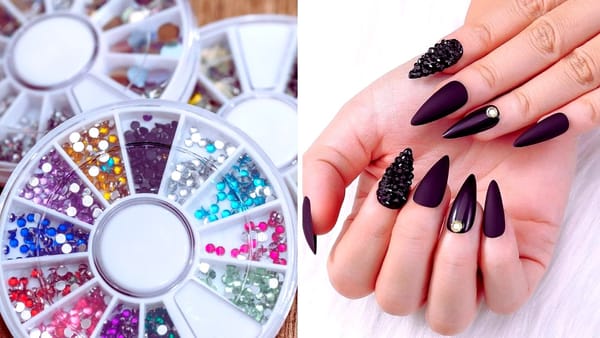
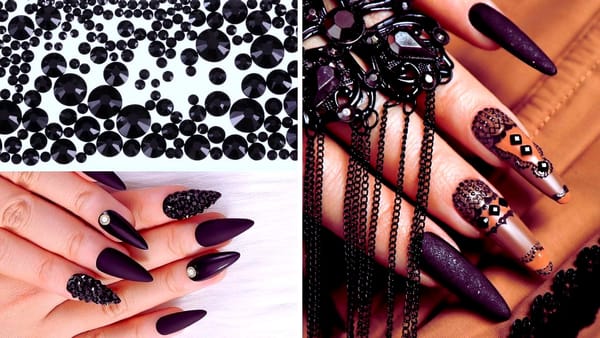
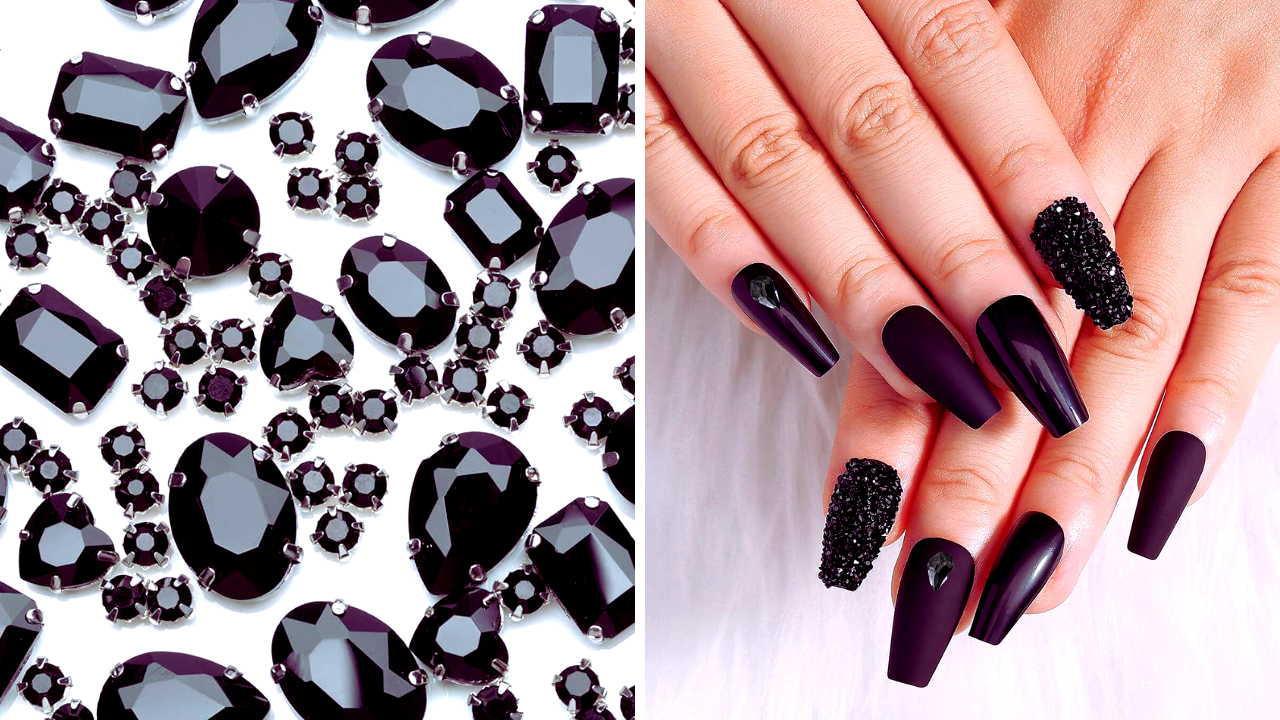
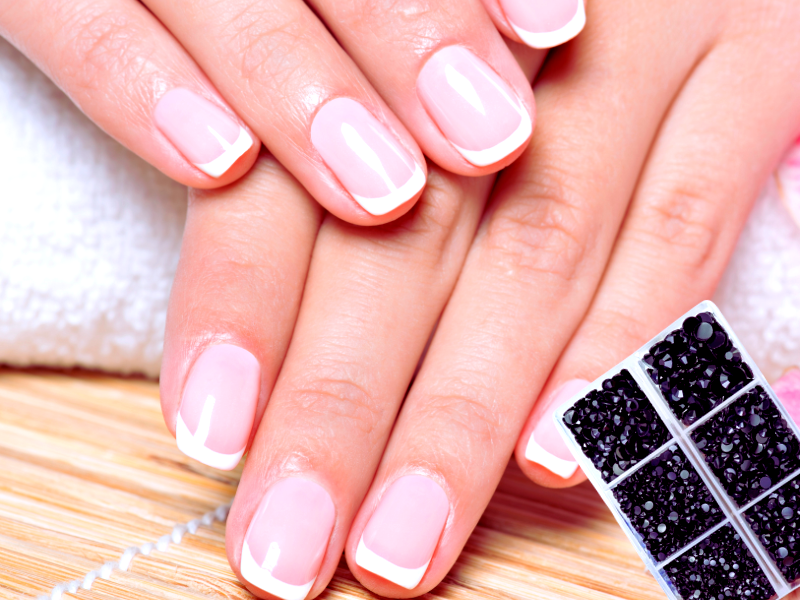
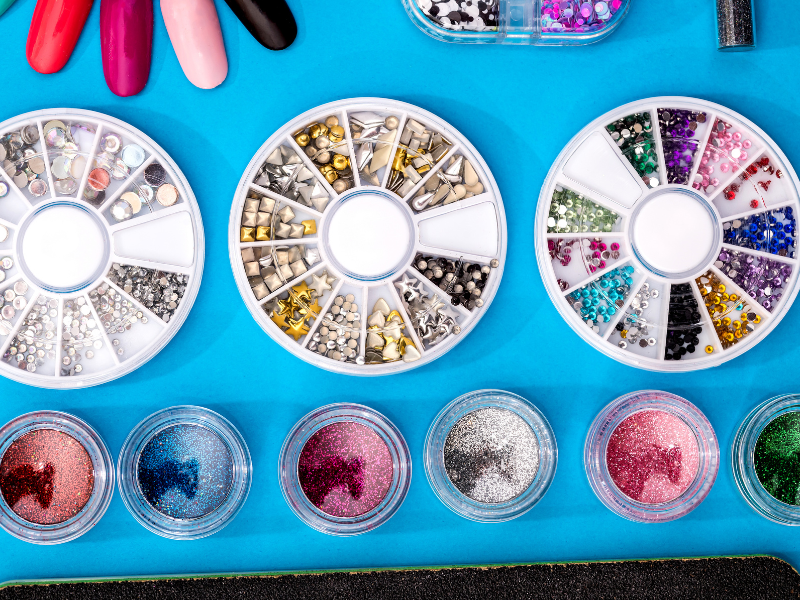
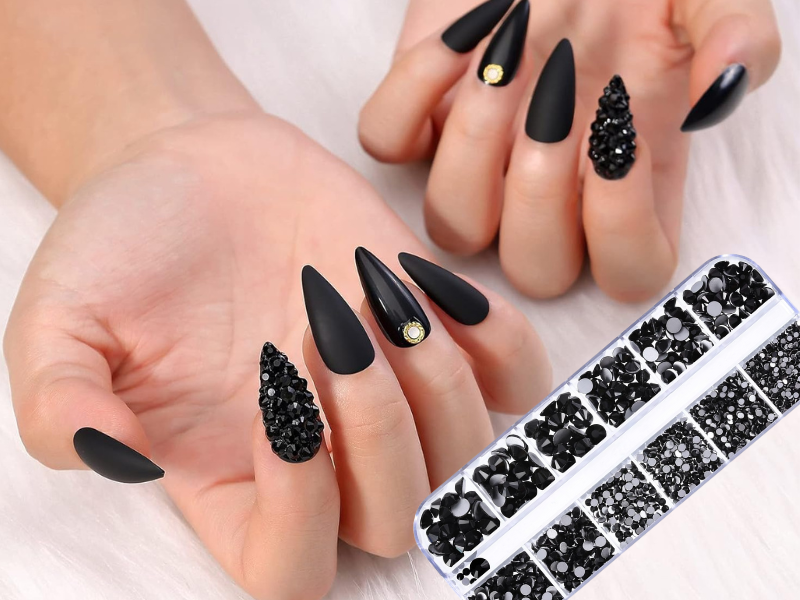
Selecting Your Rhinestones
Rhinestones come in various sizes, shapes, and colors, allowing for endless creativity. Choose rhinestones that complement your nail polish or gel color. Consider the size of your nails and the design you want to achieve. Smaller stones work well for intricate patterns, while larger stones make a bold statement.
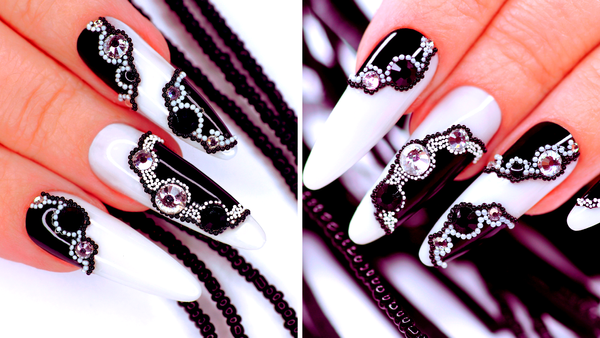
The Art of Placement
Using a wax-tipped picking pen or tweezers, carefully pick up your chosen rhinestones. Apply a small amount of adhesive to where you want to place the stone. Press the rhinestone onto the adhesive, ensuring it's straight and centered. The right placement is crucial for achieving a professional and symmetrical look.
Securing Rhinestones with Top Coat
Once your rhinestones are in place, it's time to seal them with a top coat. Apply a non-wipe top coat around and over the rhinestones, careful not to disturb their placement. For gel nails, apply two coats of top coat for extra durability and cure under a nail lamp. This step not only secures the rhinestones but also adds an extra layer of shine.
Enhancing Rhinestone Nails with Gel Polish
Have you ever wondered how to elevate the shine and endurance of your rhinestone nails? Gel polish is your answer! When you apply rhinestones over a gel polish base, the color pops, and the gel adhesive creates a stronger bond. Start by applying two coats of your chosen gel polish, curing each layer under a nail lamp. This creates a tacky layer that rhinestones can adhere to more effectively. Plus, the gel's slight curve on the nails provides a perfect surface for the stones to nestle into, ensuring they stay put through all your daily activities.
But the fun doesn't stop there! After placing your rhinestones using a wax-tipped picking pen, seal them with a non-wipe top coat for that extra sparkle and protection. This method prevents edges from catching and keeps your gems looking sparkly longer. Remember to cure the top coat under an LED lamp to set everything in place. With gel polish as your base, your rhinestone nails will not only dazzle with light-reflecting brilliance but will also withstand the test of time.
Maximizing Longevity: Ensuring Your Rhinestone Nails Last
When considering how to use rhinestone nails to their fullest potential, longevity is key. To ensure your rhinestone nails stay dazzling for as long as possible, start with a solid foundation. Nail prep is crucial; begin by lightly buffing your natural nails to create a surface to which nail glue or gel adhesive can cling. Use a lint-free wipe soaked in alcohol to clean the surface of any oils or debris. This step helps attach rhinestones securely, preventing premature fall-offs.
After prepping, apply a base coat and let it coat dry completely. If you're using gel polish, cure it under a nail lamp until it's set. A tacky layer left after curing can help rhinestones adhere better. For acrylic nails, ensure the acrylic gems are firmly in place before applying a non-wipe top coat. This seals the rhinestones against the nail, providing better adhesion and protecting the sparkle and shine of your nail art.
Curing the Final Design
If you're using gel polish or adhesive, curing is a vital step. Place your nails under a nail lamp and cure for the recommended time. This will ensure that the gel stick polish, adhesive, and top coat are all set properly, locking in the rhinestones and giving your nails a glossy finish.
Mixing Rhinestones with Glittery Polish
For an even more glittery effect, consider applying a coat of glittery polish before adding rhinestones. This creates a light-reflecting backdrop that enhances the sparkle of the rhinestones. Allow the glittery polish to dry or cure before proceeding with the rhinestone application.
Daily Care for Rhinestone Nails
To keep your rhinestone nails looking their best, avoid using your nails as tools and wear gloves when doing household chores. Be mindful of activities that can cause the rhinestones to catch and lift, such as pulling on tight clothing or running your hands through your hair.
Removing Rhinestone Nails Safely
When removing your rhinestone nails, do so gently to avoid damaging your natural nails. Use a lint-free wipe soaked in an acetone-based remover to dissolve the adhesive or gel. If the rhinestones are stubborn, gently lift them with tweezers after softening the adhesive.
Troubleshooting Common Issues
If a rhinestone falls off, clean the area with a lint-free wipe and reapply using the same method. For rhinestones that lose their shine, a quick top-up with a clear top coat can restore their sparkle. If the rhinestones irritate the cuticles or skin, remove them immediately and consult a professional.
Creative Rhinestone Nail Ideas
Experiment with different patterns and color combinations to create unique rhinestone nail art. Try a gradient effect with stones of varying sizes, or create a statement nail by applying rhinestones to only one finger. The possibilities are endless, and with practice, you'll find your signature style.

Summary
Rhinestone nails are a fun and glamorous way to express your style. By following the proper steps for preparation, application, and care, you can achieve stunning, lasting rhinestone nails. Remember to choose the right adhesive, place the stones carefully, and secure them with a top coat for a dazzling finish. With these tips, you can create rhinestone nail art that shines as brightly as you do.
FAQ Section
Can I apply rhinestones to natural nails?
Yes, you can. Ensure you prep your nails properly and use an appropriate adhesive, such as nail glue or clear polish.
How long do rhinestone nails last?
Rhinestone nails can last anywhere from a few days to a couple of weeks, depending on the application method, the type of adhesive used, and how well you care for them.
Can I reuse rhinestones after removing them from my nails?
Yes, if the rhinestones are still in good condition after removal, you can clean them and reuse them for future nail art designs.