


Nail art has transformed from a salon-exclusive luxury to an at-home creative outlet for many. Among the many tools available to achieve intricate designs, the dotting tool stands out for its simplicity and versatility. Whether you're a seasoned nail artist or a beginner looking to add flair to your manicure, understanding how to use the dotting tool can elevate your nail art game.
Key Takeaways:
- Learn the basics of using a dotting tool for nail art, including preparation and technique.
- Discover creative designs and patterns you can achieve with dotting tools.
- Gain tips on maintaining your dotting tools for long-lasting use.
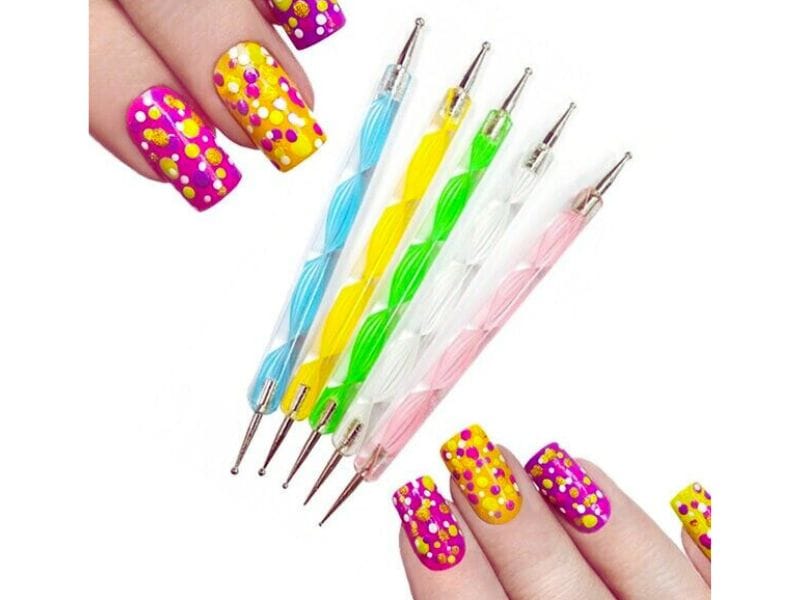
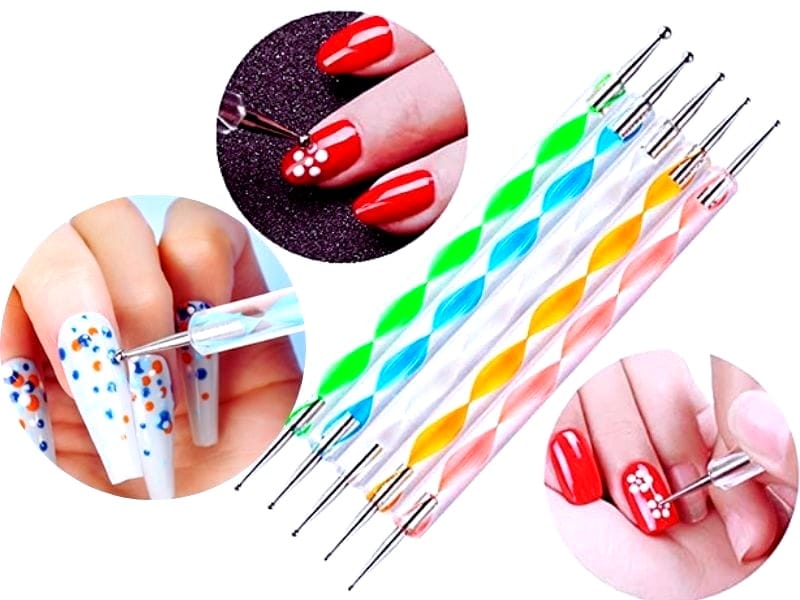
What is a Dotting Tool?
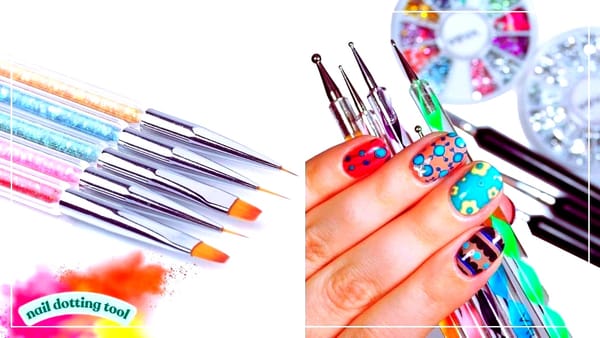
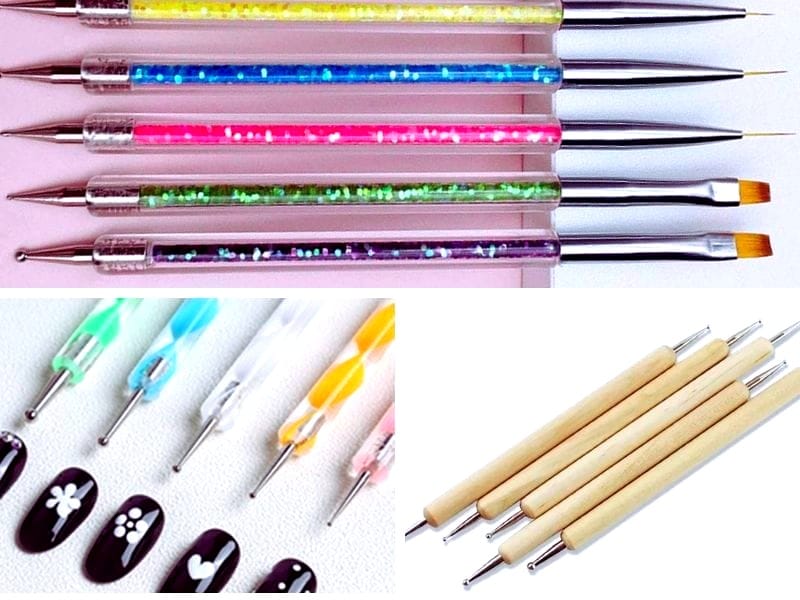
A dotting tool is a small, pen-like instrument with a rounded tip to create dots and other patterns on nails. It's an essential tool for anyone interested in nail art, as it allows for precision and control when applying small details. These tools come in various shapes and sizes, offering different effects for nail art designs.
Preparing Your Nails for Dotting
Before you dive into using your dotting tool, it's crucial to prepare your nails. Start by applying a base coat to protect your nails and ensure a smooth surface. Once your base coat is dry, apply your chosen nail polish color. Let the polish dry completely before using the dotting tool, as working on wet polish can lead to smudging and uneven dots.
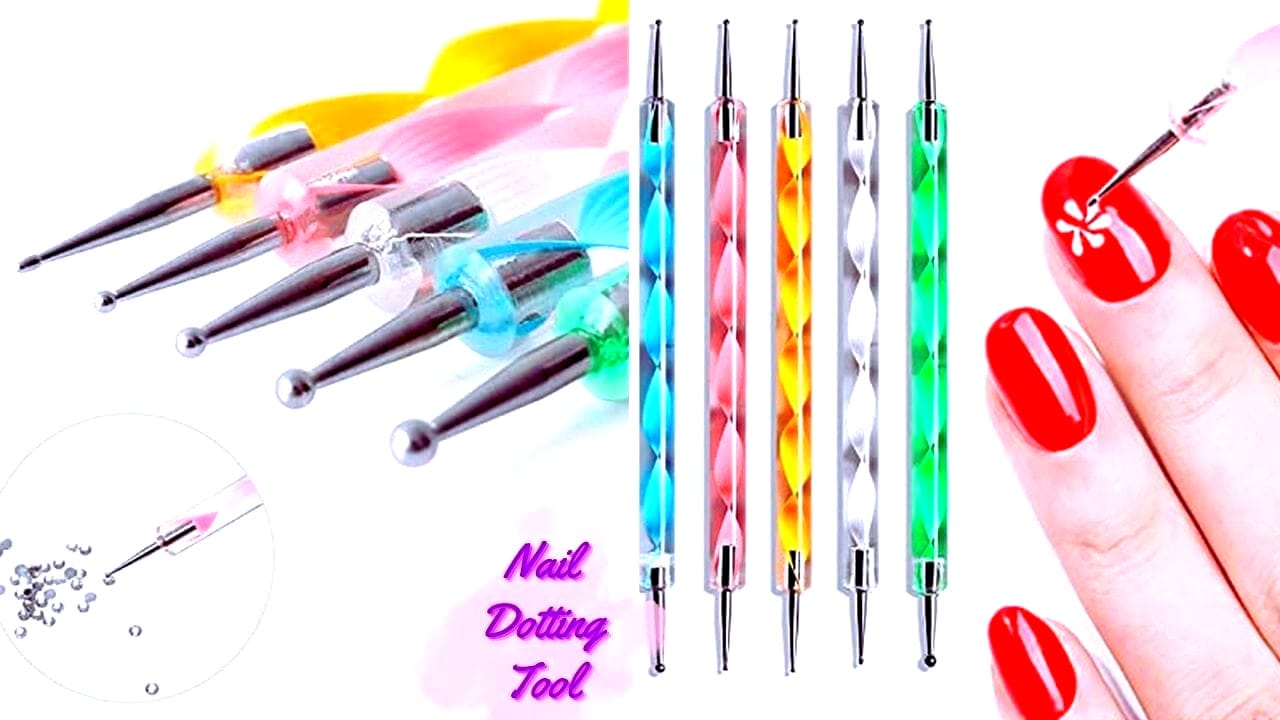
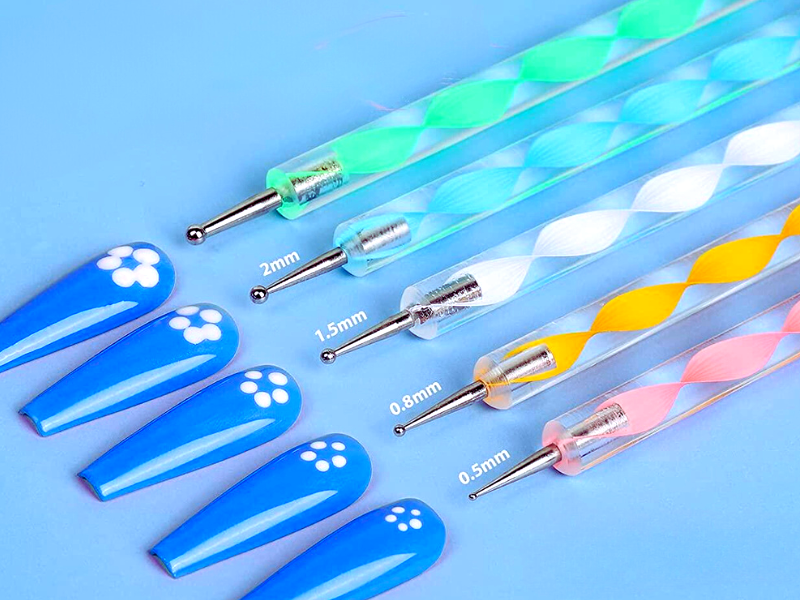
Choosing the Right Dotting Tool
Dotting tools come in sets with varying tip sizes, from tiny points for small dots to larger balls for bigger dots or circles. For beginners, it's best to start with a medium-sized tip to practice your technique. As you gain confidence, experiment with different sizes to create various designs.
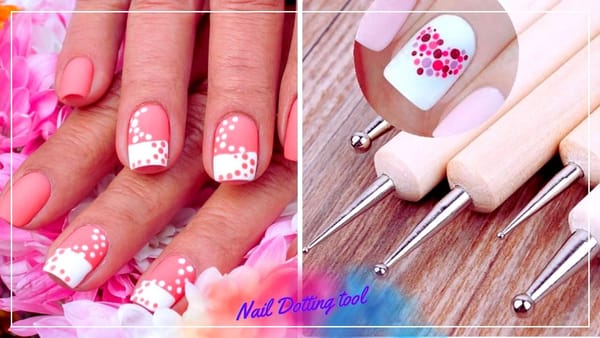
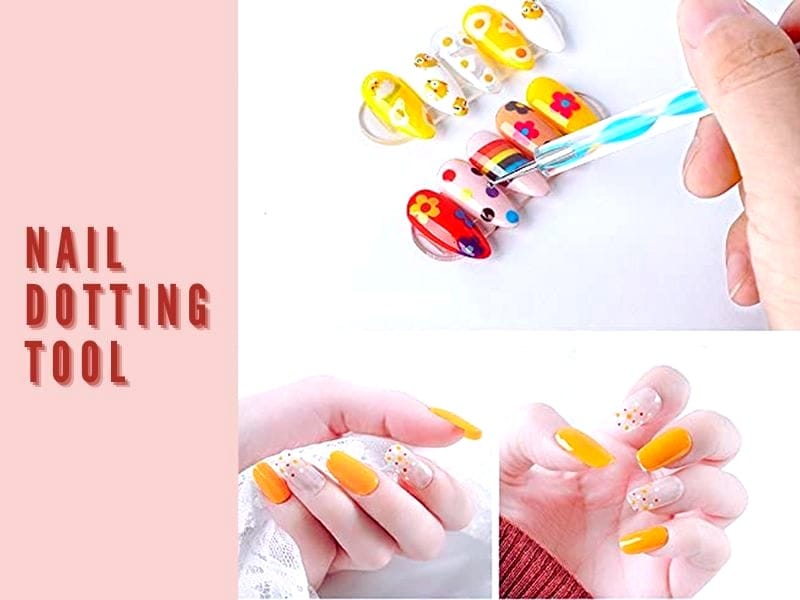
Creating Basic Dots
To create basic dots, dip the tip of your dotting tool into nail polish. Ensure you have enough polish on the tool to form a dot but not so much that it drips. Press the tool onto your nail where you want the dot to be, then lift it straight up to leave a perfect circle. If you aim for uniformity, dip the tool into the polish the same amount each time.
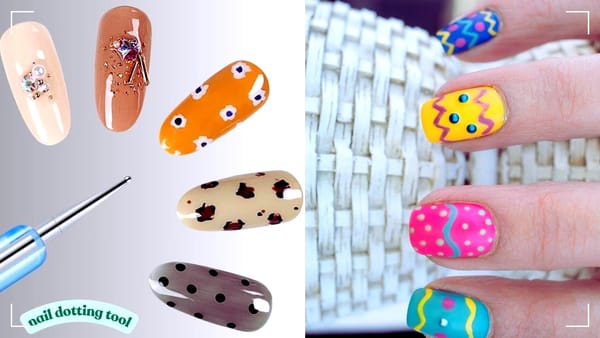
Designing with Dots
Once you're comfortable making single dots, you can start creating patterns. Polka dots are a classic design and easy to achieve. Simply place dots in a regular pattern across the nail. For a fun twist, vary the sizes of the dots or use multiple colors. With practice, you can move on to more complex designs like flowers or animal prints.
Advanced Techniques: Creating Shapes
Beyond dots, your dotting tool can be used to create various shapes. For instance, dragging the tool across the nail can create hearts or petals. Experiment with different angles and pressures to see what shapes you can make. Remember, nail art is about creativity, so don't be afraid to try new ideas.
Dotting Tool Techniques for Various Shapes
Have you ever wondered how to go beyond simple dots and create various shapes with your dotting tool? It's all about the angle and pressure you apply. For instance, to create a perfect circle, you gently press the dotting tool onto the nail surface and give it a slight twist before lifting. If you're aiming for small dots, just dip the tip of your dotting tool into the nail polish and lightly touch the nail where you want the dot to be. Experiment with different angles and pressures to master shapes like hearts, stars, or cute little flowers. Remember, practice is key, and don't be afraid to wipe off with nail polish remover and try again!
Creating various shapes can be tricky initially, but with a few tips, you'll design like a pro. For stripes, use the side of the dotting tool to drag the polish across the nail. If you're going for polka dots, keep the dots uniform by dipping the tool back into the polish after each dot. For more intricate designs, such as white dots within larger colored dots, let the first dot dry before adding the second layer. And for those who prefer precision, a thin needle or bobby pin might be your go-to for the tiniest details. Don't hesitate to search for tutorials on YouTube for visual guidance and fun ideas to try out.
Ensuring Perfect Dots Every Time
For those perfect dots, make sure your tool is clean and free of old polish. Wipe it down with nail polish remover after each use. Also, practice your technique on paper or a nail wheel before applying it to your nails. This will help you get a feel for how much pressure to apply.
Dotting Tool Alternatives
If you don't have a dotting tool, household items like a bobby pin, pencil tip, or toothpick can be makeshift dotting tools. While these may not offer the same precision, they're great for practicing or if you're in a pinch. Just be sure to clean them thoroughly before using them on your nails.
Maintenance and Care for Your Dotting Tools
To keep your dotting tools in top condition, clean them with nail polish remover after each use. Store them with their tips protected to prevent bending or damage. With proper care, your dotting tools can last for years, making them a worthwhile investment for any nail art enthusiast.
Nail Art Inspiration and Resources
Looking for inspiration? Social media platforms like Instagram and YouTube have nail art tutorials and photos. Search for dotting tool techniques or specific designs you're interested in. Many nail artists share their work and may even offer step-by-step guides for creating stunning nail art.
Practice Makes Perfect
Like any skill, mastering the dotting tool takes practice. Start with simple designs and gradually move to more intricate patterns. Don't be discouraged by mistakes; they're part of the learning process. Keep experimenting, and you'll soon create nail art that rivals professional salon designs.
Summary
The dotting tool is an essential instrument for any nail art enthusiast. From creating simple dots to intricate designs, this tool opens up a world of possibilities for personalizing your manicure. By choosing the right tool, preparing your nails properly, and practicing your technique, you can achieve professional-looking nail art at home. Remember to maintain your tools and seek inspiration to keep your designs fresh and exciting.
FAQ Section
Can I use a dotting tool on both regular nail polish and gel polish?
Yes, you can use a dotting tool on both types of polish. Just ensure that if you're using it on gel polish, you cure the dots under a UV or LED lamp before applying a top coat.
How do I prevent my dots from smudging?
To prevent smudging, ensure the base polish is completely dry before using the dotting tool. Also, apply the dots gently and avoid dragging the tool across the nail.
What's the best way to clean my dotting tool?
The best way to clean your dotting tool is to wipe it with a cloth or cotton pad soaked in nail polish remover. This will remove residual polish and keep the tool clean for your next use.