


Key Takeaways:
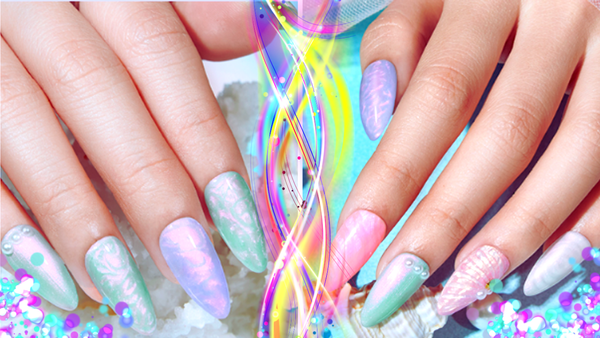
Have you ever marveled at those dazzling iridescent nails on Instagram and wondered, "How do they get that dramatic rainbow effect?" Iridescent nail polish has become quite the trend, and it’s not just for special occasions. In this article, we’ll dive into the fascinating world of iridescent nail polish, exploring how it works, the different types available, and how you can achieve those stunning, holographic nails right at home.
- Iridescent nail polish creates a stunning, multi-colored effect by using tiny particles that reflect light in various ways.
- The application process involves several steps, including a base coat, the iridescent polish, and a top coat to seal the look.
- Understanding the science behind iridescent nail polish can help you achieve the best results and maintain your nails' health.
The Science Behind Iridescent Nail Polish

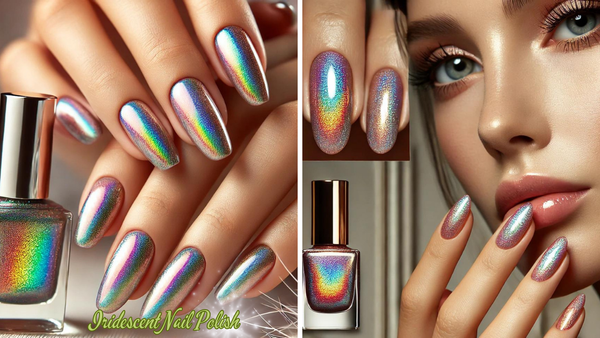
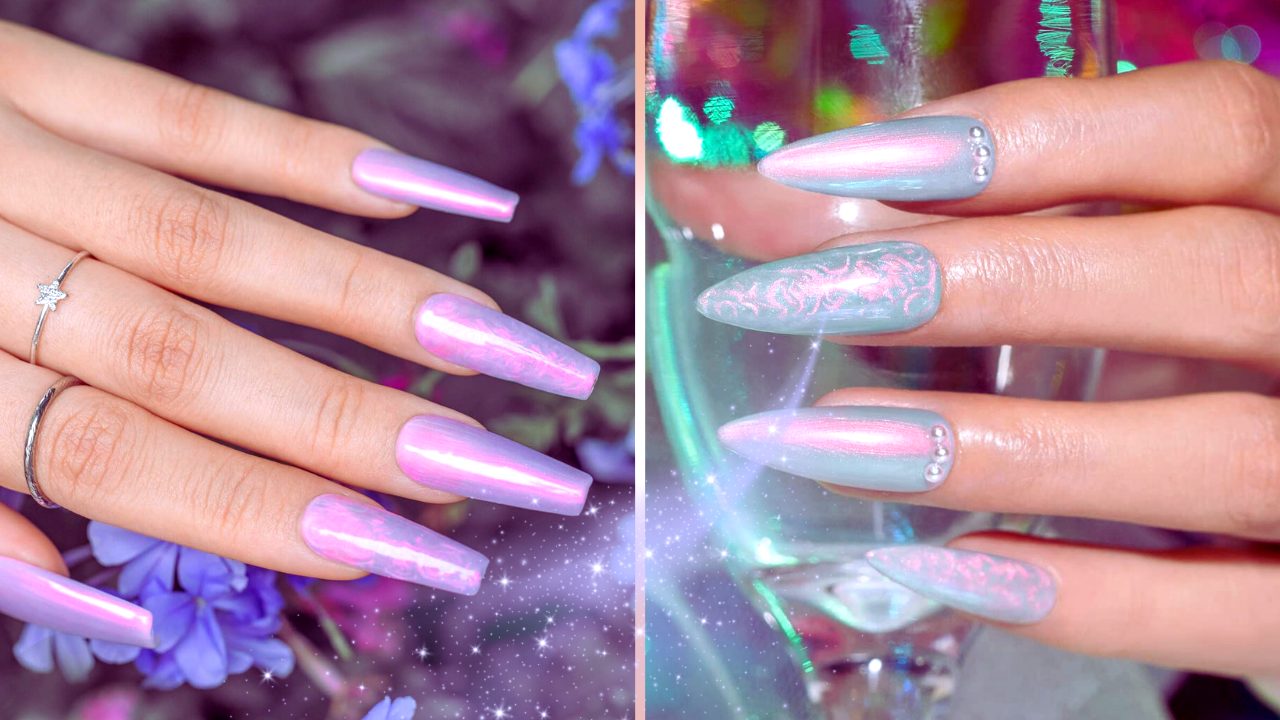
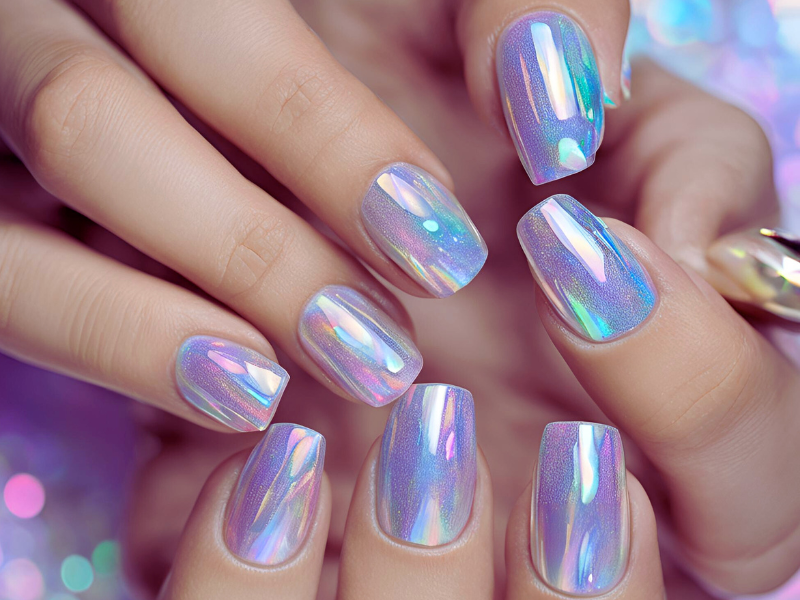
Iridescent nail polish is a marvel of modern beauty technology. Unlike regular nail polish, which provides a single, solid color, iridescent nail polish creates a dramatic rainbow effect that changes with the angle of the light. This effect is achieved through the use of tiny particles that reflect light in various ways, creating a multi-colored appearance.
These tiny particles, often referred to as iridescent pigments, are the secret sauce behind the mesmerizing look of iridescent nails. When light hits these particles, it is refracted and reflected in different directions, producing a spectrum of colors. This is similar to how a soap bubble or a butterfly wing appears to change color when viewed from different angles. The result is a stunning, ever-changing display of color that can make your nails the center of attention.
What Makes Iridescent Nail Polish Special?
Iridescent nail polish is known for its unique ability to shift colors depending on the angle of light. Unlike regular nail polish, which has a single color, iridescent polishes contain tiny particles that magically reflect light. This creates a rainbow of colors on your nails, which can look different in various lighting conditions.
The Application Process
Applying iridescent nail polish involves several steps to ensure the best results. First, you need to start with a clean, dry nail. This means removing any old polish with nail polish remover and washing your hands thoroughly. Next, apply a base coat to protect your natural nails and provide a smooth surface for the polish to adhere to.
Once the base coat is dry, it's time to apply the iridescent nail polish. This is where the magic happens. Depending on the brand and type of polish, you may need to apply several coats to achieve the desired effect. Be sure to let each coat dry completely before applying the next one. Finally, seal the look with a top coat to protect the polish and add extra shine. This will help your iridescent nails last longer and keep them looking their best.
Choosing the Right Iridescent Nail Polish
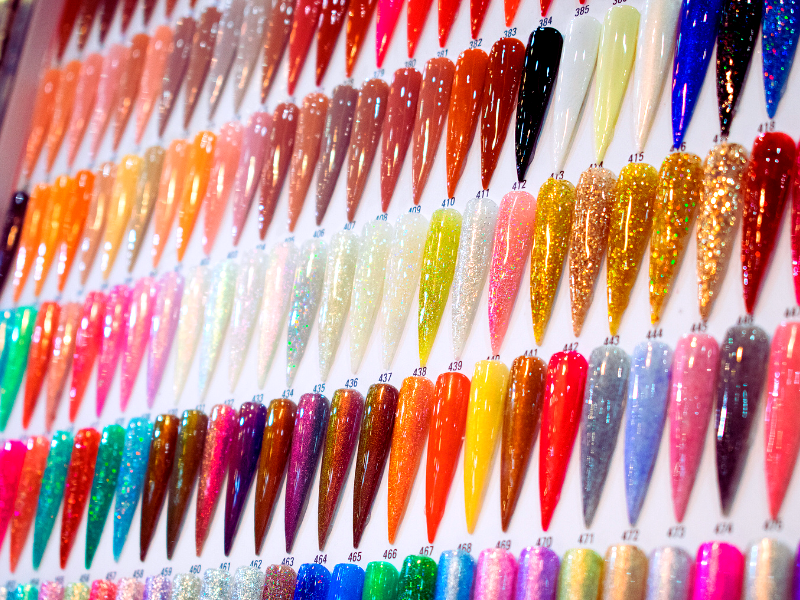
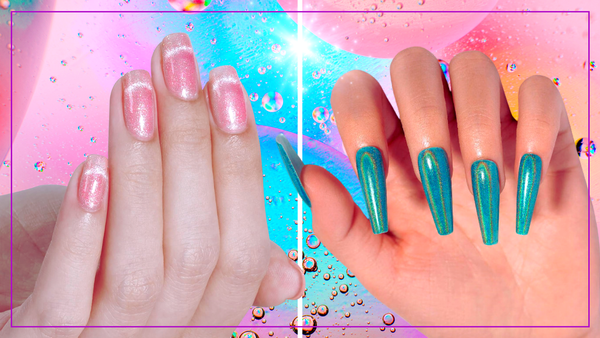
Not all iridescent nail polishes are created equal. There are many different brands and types to choose from, each with its unique formula and effect. Some popular options include holographic polishes, which contain tiny particles that create a holographic effect, and gel polishes, which are cured under UV light for a longer-lasting finish.
When choosing an iridescent nail polish, it's important to consider the look you want to achieve. Some polishes create a subtle, shimmering effect, while others produce a more dramatic rainbow shine. You should also consider the base color of the polish, as this can affect the final look. For example, a clear base will allow the iridescent pigments to shine through, while a colored base can add depth and dimension to the effect.
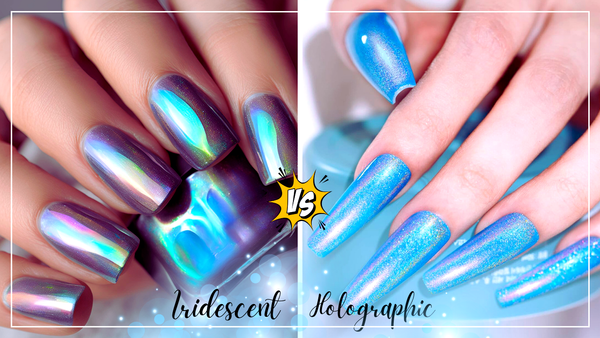
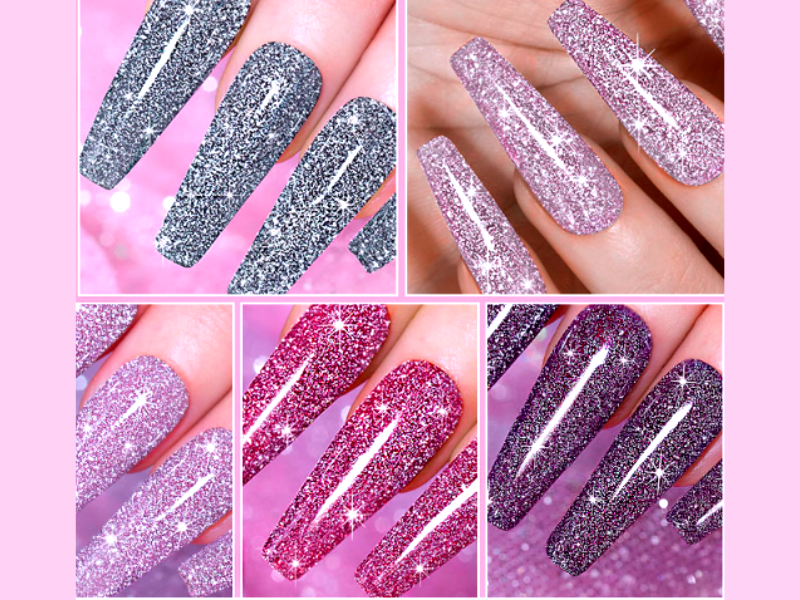
Iridescent vs. Holographic Nail Polishes
While both iridescent and holographic nail polishes are known for their shimmering effects, they are not the same. Holographic polishes contain tiny particles that create a full rainbow effect in direct light. Iridescent polishes, on the other hand, offer a more subtle shine with a shift in colors that can appear in various shades depending on the angle and light.
The Importance of Base and Top Coat
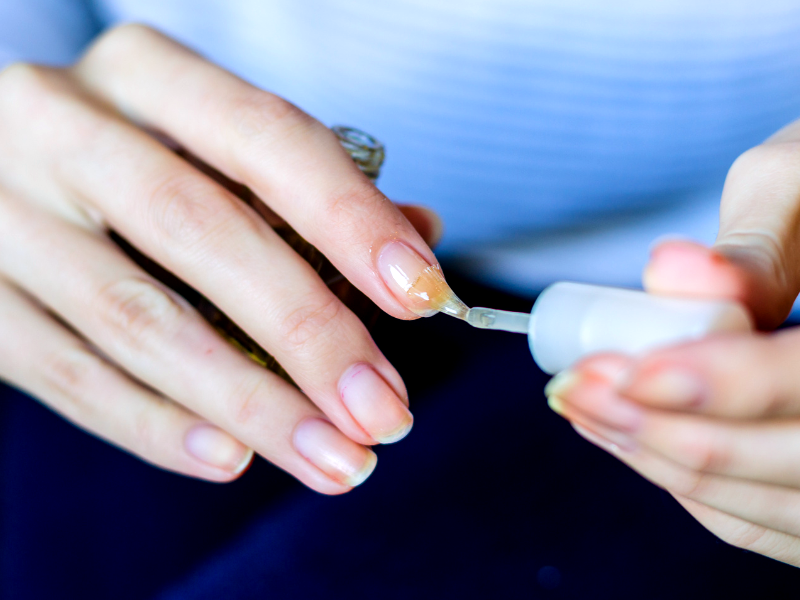
To get the best results from your iridescent polish, start with a good base coat. A base coat not only helps the polish adhere better but also ensures a smooth application. After applying your iridescent polish, seal it with a top coat. This helps to lock in the shine and keep your nails looking fresh and vibrant. A top coat also protects your iridescent nails from chipping and peeling.
Using Iridescent Nail Polish with Gel Polishes
If you love gel nail polish, you can still enjoy iridescent effects. Apply a base coat, followed by your gel polish, and then layer your iridescent polish over it. The gel polish provides a long-lasting finish, and the iridescent polish adds that extra sparkle. Remember to cure your nails under a UV light to set the gel polish properly.
Tips for Achieving the Best Results
Achieving the best results with iridescent nail polish requires a bit of practice and patience. Here are some tips to help you get the most out of your polish:
- Use a light tent or desk lamp: Proper lighting is essential for seeing the full effect of the iridescent pigments. A light tent or desk lamp can help you see the colors more clearly and ensure even application.
- Apply thin, even coats: Applying too many layers of polish can result in a thick, uneven finish. Instead, apply thin, even coats and let each one dry completely before applying the next.
- Experiment with different base colors: The base color of your polish can have a big impact on the final look. Try experimenting with different base colors to see how they affect the iridescent effect.
Maintaining Your Iridescent Nails
Once you've achieved the perfect iridescent look, it's important to take care of your nails to keep them looking their best. This means avoiding activities that can chip or damage the polish, such as washing dishes without gloves or using your nails as tools.
Regularly applying a top coat can also help protect the polish and keep it looking shiny. If you notice any chips or wear, you can touch up the polish with a small brush and a bit of the original color. Finally, when it's time to remove the polish, be sure to use a gentle nail polish remover to avoid damaging your natural nails.
The Role of Nail Artists
Nail artists are the unsung heroes behind the stunning iridescent nails you see on social media. These professionals have mastered the art of applying iridescent nail polish to create a dramatic rainbow effect that catches the eye. Using tools like a desk lamp and a light tent, they ensure that the tiny particles in the polish reflect light perfectly, giving your nails a holographic effect. Nail artists often experiment with various colors and techniques, including the use of flat silver glitter and holographic polishes, to achieve unique and mesmerizing designs.
Moreover, nail artists are adept at using different types of polishes, from gel nail polish to regular nail polish, to cater to their clients' preferences. They understand the importance of a smooth topcoat and a good base coat to ensure the longevity of the manicure. Whether it's using a UV light to cure gel polishes or applying a base color that complements the iridescent pigments, these professionals know how to make your nails shine in direct sunlight and under studio lighting. If you're looking to achieve the full effect of iridescent nails, consulting a skilled nail artist is a good resource.
The Future of Iridescent Nail Polish
The future of iridescent nail polish looks incredibly bright, thanks to ongoing innovations in the beauty industry. Indie brands and major companies alike are constantly developing new formulas that offer even more vibrant and long-lasting holographic effects. Recently upgraded iridescent pigments and advanced nail powders are making it easier than ever to achieve a stunning look without too many layers. Brands like China Glaze are leading the charge with their high-end base colors and smooth topcoats that enhance the iridescent shine.
Additionally, the rise of Instagram nail artists has significantly influenced the popularity and evolution of iridescent nail polish. These influencers showcase their nail art to millions of followers, inspiring new trends and techniques. With the help of a good studio setup, including direct light and a light tent, these artists can capture the full spectrum of colors that iridescent polishes offer. As technology and creativity continue to advance, we can expect even more exciting developments in the world of iridescent nails, making it easier for everyone to achieve that perfect, eye-catching manicure.
Exploring Holographic Nail Polishes
Holographic nail polishes are a dazzling addition to the nail art world, offering a dramatic rainbow effect that changes with the light. These polishes contain tiny particles that reflect light in various colors, creating a holographic effect. Unlike regular nail polish, holographic polishes require a smooth base coat to achieve their full effect. Applying a flat silver glitter base color can enhance the holographic shine, making your nails look like a prism under direct sunlight. The flat silver glitter look is a clean and understated design that provides a sophisticated sparkle without overwhelming your nails, offering a chic and polished finish.
When using holographic nail polishes, it's essential to apply thin layers to avoid a thick, uneven finish. Too many layers can dull the holographic effect, so aim for two to three coats. For best results, use a UV light to cure each layer if you're working with gel nail polish. This ensures a long-lasting, chip-resistant finish that will keep your holographic nails looking stunning for weeks.
How to Achieve the Best Shine
For the best shine, make sure to use a light tent or a desk lamp to get the perfect lighting. Direct light or sunlight can help you see the full effect of your iridescent nails. If you’re using a light tent, you’ll be able to capture the dramatic rainbow effect in your photos, just like those Instagram nail artists.
Common Mistakes to Avoid
One major exception to achieving the perfect iridescent nails is applying too many layers of polish. This can cause your nails to look thick and uneven. Instead, focus on applying thin, even coats of polish and allowing each layer to dry properly before adding another.
Removing Iridescent Polish

When it’s time to remove your iridescent nail polish, use a nail polish remover that contains ethyl acetate. This will help dissolve the polish without leaving any residue. Be gentle when removing polish to avoid damaging your natural nails.
Summary
Iridescent nail polish is a fun and trendy way to add a touch of magic to your nails. By understanding how iridescent pigments work, using the right base and top coat, and applying your polish with care, you can achieve those stunning, color-shifting nails that catch everyone's eye. Whether you prefer gel polishes or regular polish, there’s an iridescent option for you. Don’t forget to explore indie brands for unique colors and effects! Stay connected by subscribing to our newsletter today for more tips, updates, and exclusive nail art content!
FAQs
What makes iridescent nail polish different from regular nail polish?
Iridescent nail polish contains tiny particles that reflect light in various ways, creating a multi-colored effect that changes with the angle of the light. Regular nail polish, on the other hand, provides a single, solid color.
How can I achieve the best results with iridescent nail polish?
To achieve the best results, start with a clean, dry nail and apply a base coat. Apply thin, even coats of the iridescent polish, letting each one dry completely before applying the next. Finish with a top coat to protect the polish and add extra shine.
Are there any special tools or equipment needed for applying iridescent nail polish?
While you don't need any special tools, proper lighting can help you see the full effect of the iridescent pigments. A light tent or desk lamp can be useful for ensuring even application and achieving the best results.