


Key Takeaways:
- Understanding the drying time for a gel top coat is crucial for a perfect gel manicure.
- The type of lamp (UV or LED) significantly affects the curing process.
- Proper application techniques can enhance the drying process and nail health.
Gel manicures have revolutionized the world of nail art, offering long-lasting shine and durability that traditional nail polish can't match. A critical step in achieving that perfect gel manicure is understanding how long the gel top coat takes to dry. This comprehensive guide will delve into the specifics of the drying process, the role of UV and LED lamps, and practical tips to ensure your gel nails look fabulous.
What Determines the Drying Time of Gel Top Coat?
The drying time for the gel top coat is not a one-size-fits-all answer. Several factors come into play, including the type of lamp used, the thickness of the application, and the specific formula of the gel polish. UV lamps have been the traditional choice for curing gel polish, but LED lamps are gaining popularity due to their faster curing times. The manufacturer's instructions are also a key factor, as each brand's formula may require different exposure times to UV or LED light.
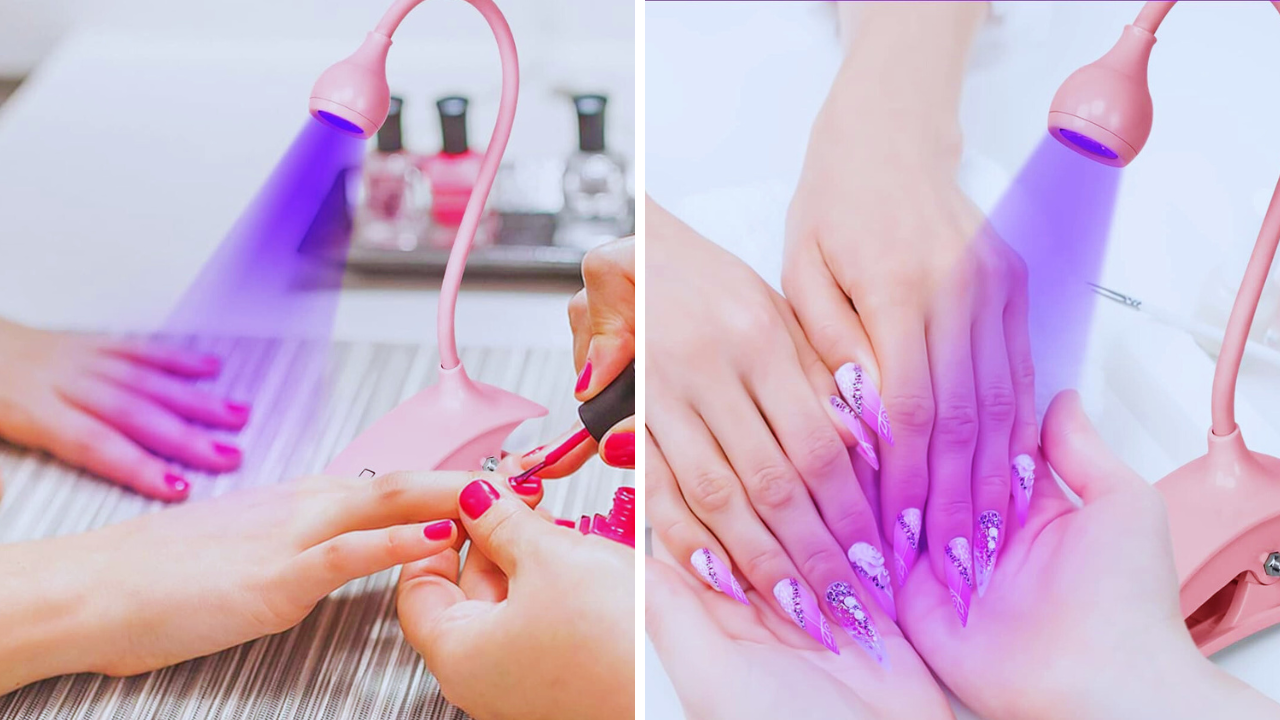
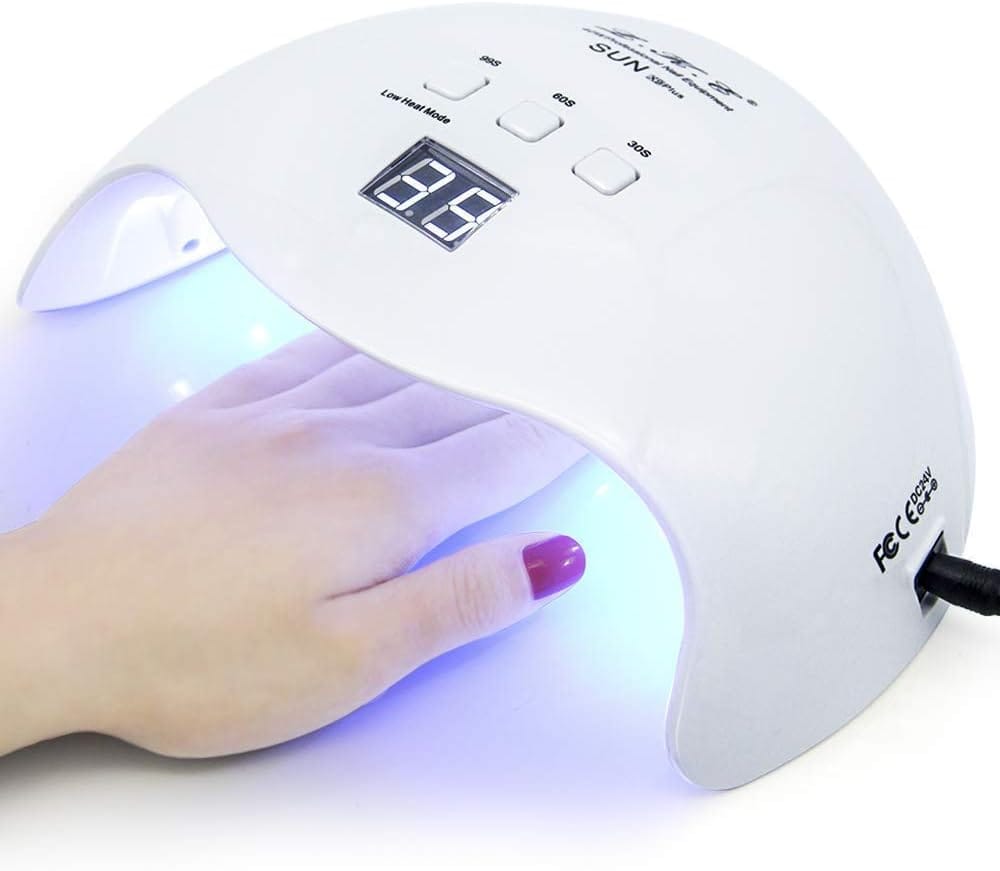
UV vs. LED Lamps: A Comparison
When it comes to curing gel nail polish, the debate between UV and LED lamps is ongoing. UV lamps emit a broader spectrum of UV rays and generally take about 2 minutes to cure each layer of gel polish. On the other hand, LED lamps are more efficient, targeting the specific wavelengths needed to cure gel polish, often completing the process in 30 seconds to a minute per layer. It's essential to use the type of lamp recommended by the Polish manufacturer for optimal results.
The Application Process: Thin is In
The secret to a quick and even drying process lies in the application. Applying thin coats of gel polish is crucial. Thick layers not only take longer to dry but may also lead to an uneven cure, resulting in a tacky residue. The base coat should be applied in a thin layer, followed by the colored polish, and finally, the gel top coat. Each layer must be cured under a UV or LED lamp before applying the next.
Curing Gel Nail Polish: Step by Step
The curing process begins with preparing the natural nail. The nail plate should be clean and free of oils. Apply a thin base coat and cure it under the lamp. Next, apply the colored polish in thin layers, curing each layer before adding the next. Once the color is set, apply the gel top coat in a thin coat and cure. This systematic approach ensures that each layer is properly dried, creating a durable and glossy finish.
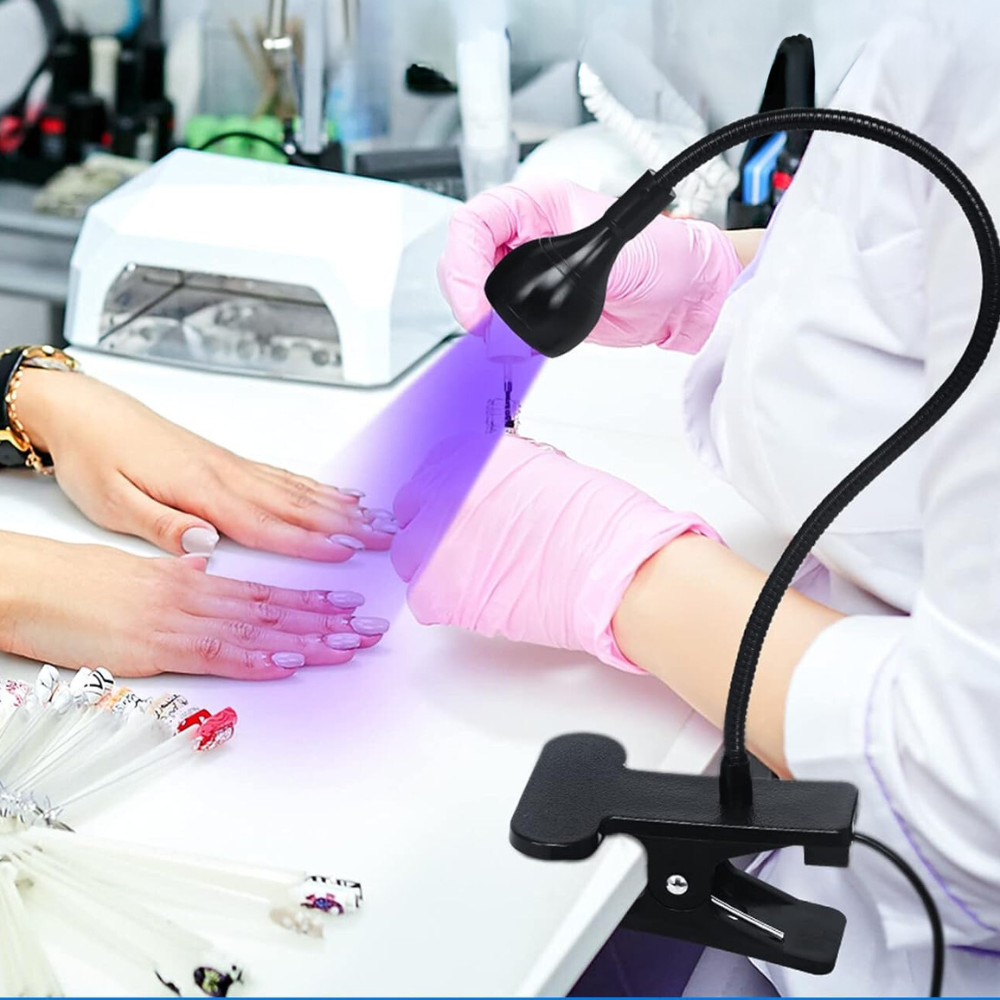
Protecting Your Skin During the Curing Process
Exposure to UV light can be a concern for some. To protect your skin, consider wearing UV-absorbent gloves with the fingertips cut off, allowing only your nails to be exposed to the light. Alternatively, apply a broad-spectrum sunscreen to your hands before starting the manicure. These precautions can help minimize the risk of skin damage during the curing process.
Aftercare: Maintaining Your Gel Manicure
Once your gel top coat is cured, there may be a sticky top layer, often referred to as the tacky residue. An alcohol wipe or a cotton pad soaked in non-acetone remover can be used to remove this layer, revealing the shiny finish beneath. To maintain nail health, regularly apply cuticle oil to keep the skin around your nails moisturized.
Troubleshooting Common Issues
Sometimes, despite following all the steps, you might encounter issues like a tacky surface or an incomplete cure. This could be due to outdated bulbs in your UV lamp or an incorrect curing time. Always ensure that your lamp is in good working condition and that you're following the Polish manufacturer's recommended curing times.
Maximizing Efficiency: How Long Does Gel Top Coat Take to Dry?
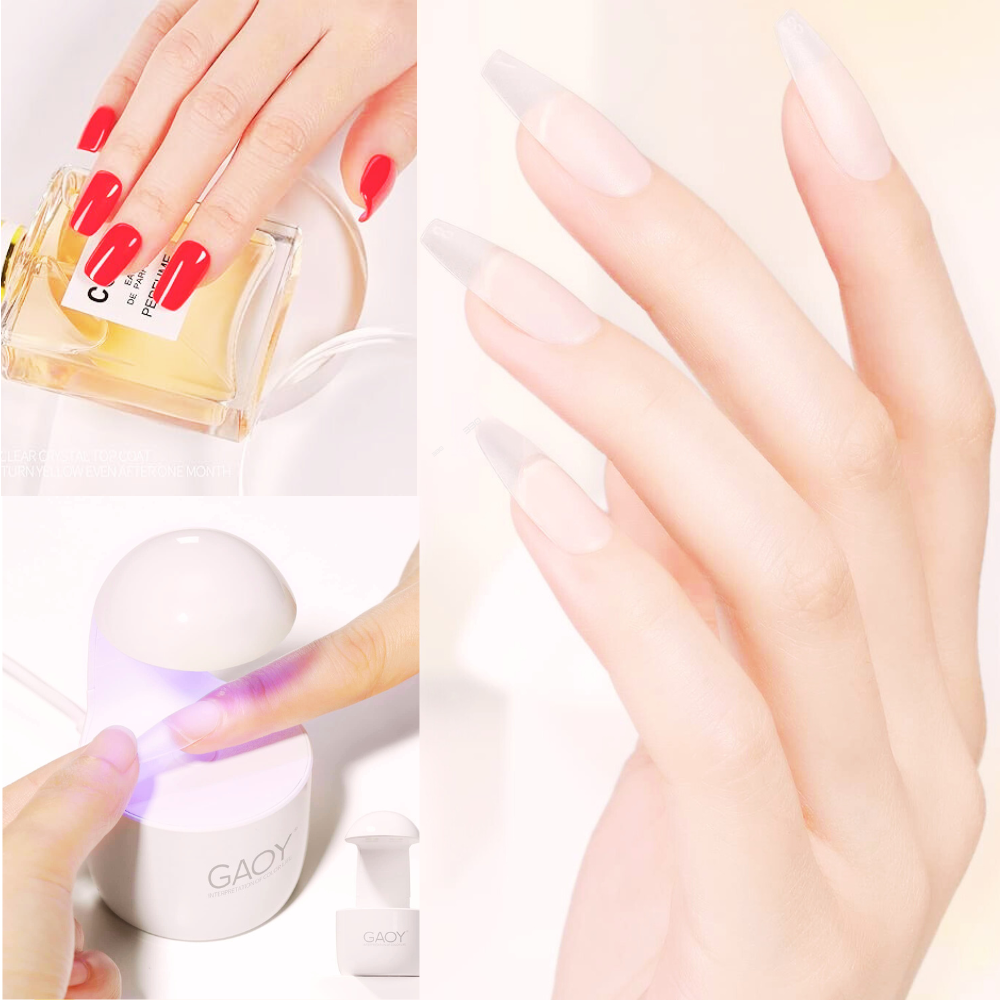
When it comes to gel nails, one of the most common questions is, "How long does gel top coat take to dry?" The answer isn't as straightforward as with regular nail polish. The gel top coat requires a curing process under a UV or LED lamp to set properly. Typically, this can take anywhere from 30 seconds to 2 minutes per layer under an LED lamp and up to 2 minutes under a UV lamp. The exact time can vary depending on the polish manufacturer's instructions and the wattage of the nail lamp used. It's crucial to adhere to the recommended timings to ensure a hard, glossy finish without a tacky residue.
For those who are time-conscious, LED lamps are a game-changer. They cure gel nail polish significantly faster than traditional UV lamps, saving precious minutes during the manicure process. When applying polish, remember that thin coats are key. A thin coat of gel topcoat will not only dry—or rather cure—more quickly but also prevent issues like bubbling or peeling. For the best results, apply polish to your dominant hand first, and cure your thumbnails separately to ensure even exposure to the light.
Experimenting with Gel Top Coats on Acrylic Nails
Acrylic nails offer a robust canvas for gel top coats, but how does this combination affect drying times? When applying gel polish over acrylic nails, the process remains similar to that on natural nails. However, the added thickness of acrylic may require a bit more patience. The key is to apply thin layers of gel polish, as thick applications can lead to uneven curing and a tacky residue. It's essential to cure each layer under a UV or LED lamp, ensuring the base coat, color, and top coat gel are all given the appropriate time to set properly.
For those sporting acrylic nails, the gel top coat can provide an extra level of shine and durability. When using UV lamps, the curing process might take a bit longer compared to LED lamps due to the difference in light intensity. It's crucial to follow the Polish manufacturer's recommended cure times to achieve the best results. Remember, the goal is to achieve a hard, glossy finish without compromising the integrity of the acrylic underneath. By adhering to these guidelines, your gel top coat on acrylic nails will not only look stunning but also last longer.
The Science Behind UV and LED Nail Lamps
Understanding the science behind UV and LED nail lamps can enhance your gel manicure experience. UV lamps emit a broad spectrum of UV light, which includes UV-A rays that are responsible for curing gel nail polish. The UV bulb works by initiating a chemical reaction in the gel that leads to hardening. On the other hand, LED lamps produce a narrower spectrum of light, which targets specific photoinitiators in the gel polish, leading to a faster curing process. This means that LED lamps can cure gel polish in almost half the time it takes a UV lamp.
However, it's not just about how long the gel top coat takes to dry; it's also about nail health. Prolonged exposure to UV rays can be harmful, which is why many prefer LED lamps. They not only save time but also reduce the risk of skin damage. For those using UV lamps, wearing UV absorbent gloves or applying broad-spectrum sunscreen to the skin around the nails can provide an extra layer of protection. Regardless of the type of lamp you choose, ensuring that it is in good working condition—free of any dust or gel residue on the bulbs or LED lights—is crucial for an even and efficient curing process.
Nail Art and Gel Topcoat: A Creative Duo
Nail art enthusiasts often wonder if the intricate designs affect the drying time of the gel top coat. The good news is that with proper technique, adding nail art doesn't have to extend your manicure session by much. After creating your nail art with gel polish, a thin layer of top coat over the design will seal it. Just like colored polish, cure this layer under a UV or LED light following the same time guidelines. It's important to ensure that the light reaches all areas of the nail, especially when dealing with raised or textured designs.
For those who love to express their creativity through their nails, gel polish offers a durable canvas. Whether it's glitter, stickers, or hand-painted details, make sure each element is fully cured before moving on to the next. This will prevent the design from smudging and maintain the integrity of your artwork. Remember to clean up any excess polish from the skin and cuticle area before curing, as this could otherwise lead to lifting or premature wear. With patience and precision, your nail art can enjoy the same longevity and shine as a standard gel manicure.
Enhancing the Drying Process
To speed up the drying process, make sure your lamp is positioned correctly, with the bulbs evenly spaced over the nails. For LED lamps, ensure the power cord is securely plugged in, and the light turns on fully. Curing your thumbnails separately can also be beneficial, as they may not receive even exposure if cured with the side nails.
DIY Gel Top Coat Drying at Home
For those who prefer to apply polish at home, investing in a quality nail lamp is essential. Follow the same steps as a professional salon: prepare your nails, apply thin layers, and cure each layer under the lamp. With practice, you can achieve salon-quality results on your own nails.
The Role of Nail Health in the Drying Process
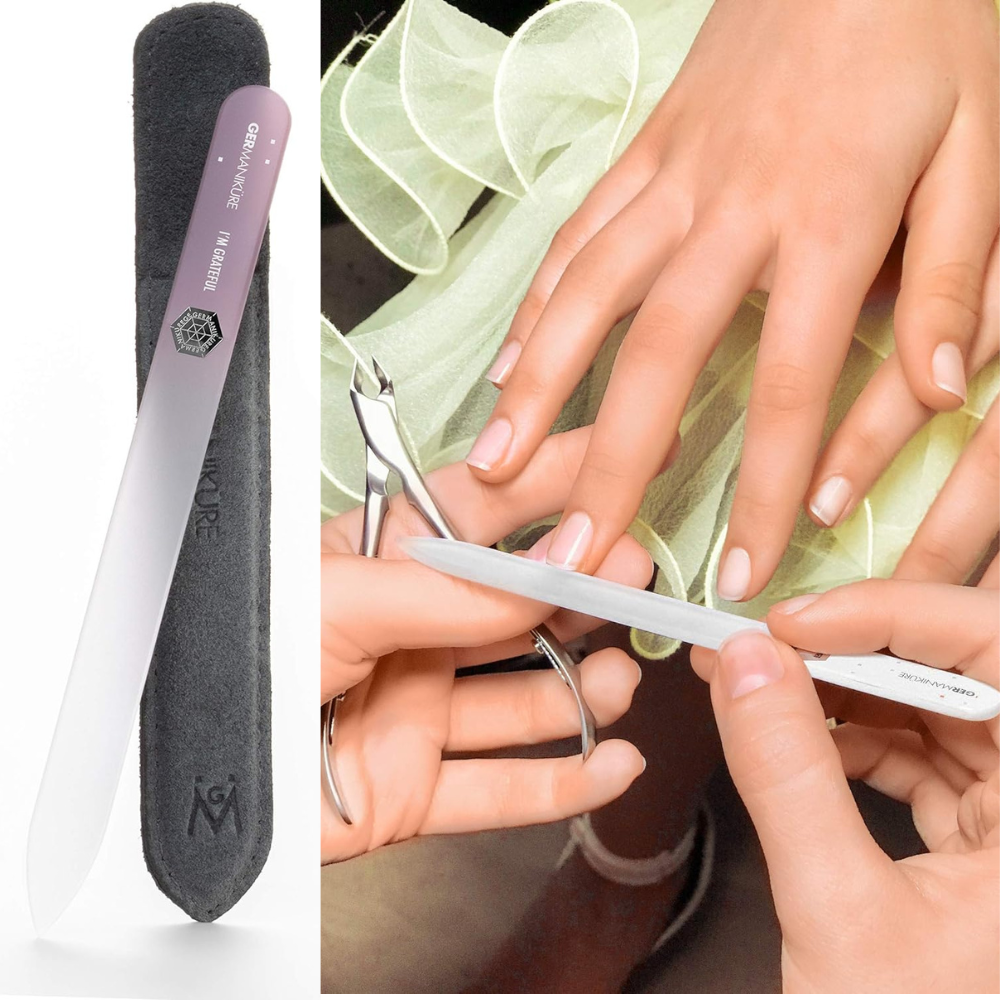
Healthy nails are the foundation of a great manicure. Before applying gel polish, ensure that your nails are in good condition. Use a nail file to shape them and avoid any rough edges that could cause the polish to lift. Keeping your nails strong and hydrated will contribute to a better application and drying process.
Saving Time with LED Nail Lamps
LED nail lamps are a game-changer for those looking to save time. Their faster curing process means you can complete a gel manicure more quickly than with traditional UV lamps. If time is of the essence, consider switching to an LED lamp for your gel top coat drying needs.
The Final Step: Sealing the Free Edge
To avoid smudging and chipping, don't forget to seal the free edge of your nails with each coat of polish. This technique involves running the brush along the tip of the nail, creating a protective barrier. It's a simple yet effective way to extend the life of your manicure.
The Power of Patience: Avoiding Premature Smudging
Patience is key when it comes to drying gel top coat. Rushing the process or not allowing enough time for each layer to cure can lead to smudging or peeling. Stick to the recommended curing times, and resist the urge to touch or test your nails until they're fully set.
The Convenience of Gel Cosmetic Products
Gel cosmetic products offer the convenience of a long-lasting manicure without frequent touch-ups. By understanding the drying process and following the correct techniques, you can enjoy the benefits of gel polish with minimal hassle.
The Importance of Following Manufacturer Instructions
Each Polish manufacturer may have specific instructions for their products. To achieve the best results, always read and follow the guidelines provided by the brand. This ensures that you're using the correct curing times and lamp settings for the gel top coat you've chosen.
Summary
Drying gel top coat is a precise process that requires attention to detail and patience. By using the correct lamp, applying thin layers, and following the manufacturer's instructions, you can achieve a beautifully cured gel manicure. Remember to protect your skin, maintain your nail health, and invest in quality tools for the best results. With these tips, you'll master the art of drying gel top coat, ensuring your nails look stunning for weeks to come.
FAQ Section
How long does a gel top coat take to dry under a UV or LED lamp?
Under a UV lamp, it typically takes about 2 minutes to cure each layer of gel polish. With an LED lamp, the curing time is reduced to 30 seconds to a minute per layer. Always follow the specific instructions provided by the polish manufacturer.
Can I air-dry the gel top coat without a UV or LED lamp?
No, the gel top coat requires curing under a UV or LED lamp to dry properly. Air drying will not set the gel polish, and it will remain tacky and smudge easily.
How can I protect my skin from UV exposure during the curing process?
You can wear UV-absorbent gloves with the fingertips cut off or apply broad-spectrum sunscreen to your hands before starting the manicure. These methods can help reduce the risk of skin damage from UV rays.