


If you’re curious about “how long does glow-in-the-dark nail polish last?” Expect a typical glow of a few hours, depending on specific factors like pigment selection and application process. This guide dives into the essentials behind maximizing your manicure’s glow duration so you know just how to keep your nails shining bright.
Key Takeaways
- The duration of glow-in-the-dark nail polish is influenced by pigment choice, prep work, and application methods. Strontium Aluminate offers a more prolonged glow than Zinc Sulfide.
- Priming the nails, using a proper base coat, and sealing with a top coat can enhance the brightness and longevity of the glow. Multiple layers intensify the glow and prolong its effect.
- Proper storage of the polish is essential for a persistent glow. Keep it cool, dark, and airtight to maintain quality and prevent drying out.
The Lifespan of Glow in the Dark Nail Polish
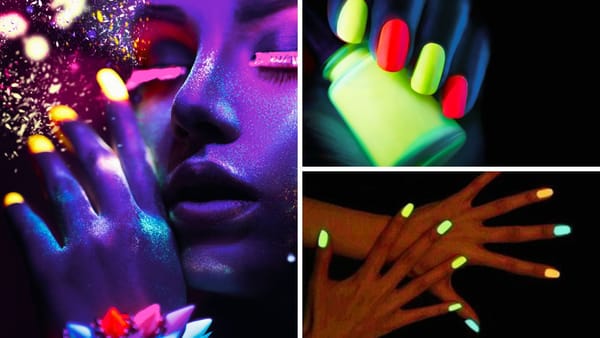
Ever wondered what lends the glow-in-the-dark nail polish its captivating luminosity and how long this enchanting glow lasts? The answer lies in a blend of science and art. Various factors like pigment type, nail preparation, and application techniques influence the lifespan of this fluorescent nail polish. These elements combine to create that magical glow that lights up your fingertips!
Pigment Power: Strontium Aluminate vs. Zinc Sulfide
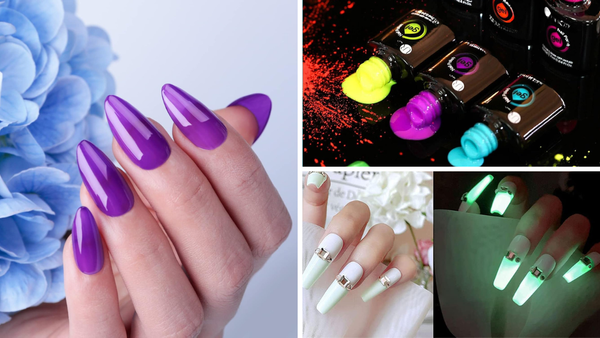
Pigments are the heart and soul of the glow in nail polishes. These microscopic particles absorb light and then emit it slowly, causing the polish to glow. Regarding glow pigments, two substances reign supreme - Strontium Aluminate and Zinc Sulfide.
Strontium Aluminate, a newer entrant, takes the crown for being more efficient, offering a longer and brighter glow. This glow powder is often doped with rare earth elements like europium and dysprosium to enhance its glow further. In contrast, Zinc Sulfide, the first generation of glow powders, offers a quicker charge but a shorter glow. So, when choosing your glow-in-the-dark polish, the type of pigment can make all the difference!
Prepping for Longevity: Base Coat and Nail Prep
However, it’s not just about the pigment. The longevity and brightness of the glow also depend on how well you prep your nails. A well-applied base coat can enhance the glow’s longevity and protect your nails. Opting for a white or neutral base coat can make the glow more pronounced and facilitate easier polish removal.
Moreover, the ratio of glow-in-the-dark powder to medium can influence the glow’s brightness and duration. A higher ratio can result in a brighter glow and potentially longer duration. As for the natural nail bed, a nail dehydrator and primer can boost the adhesion and longevity of glow-in-the-dark acrylic or dip powder nails. Filing the nails to remove the natural shine and applying a nail dehydrator and primer can help enhance the durability of glow-in-the-dark polishes.
So, next time you plan to apply your glow-in-the-dark polish, remember that a little prep goes a long way, and applying a few coats will ensure the best results!
Application Techniques for Maximum Glow
Once your nails are prepped, it’s time for the star of the show - the glow-in-the-dark polish. Now, how you apply it can have a significant impact on the glow’s intensity. Using a white or light-colored base coat can significantly amplify the luminosity and visibility of the glow-in-the-dark nail polish.
For customized effects, you can use a premade glow-in-the-dark polish or mix glow powder into a regular polish. Applying additional layers of the glow-in-the-dark polish can intensify the glow, with the recommendation of finishing with a top coat to extend the duration of the glow effect. But remember, the glow powder should be mixed with a clear medium at a ratio between 15% and 33% to achieve a bright and lasting glow.
When mixing glow powder with clear nail polish, a ratio of 1:4 is recommended, and applying multiple layers can improve the consistency and intensity of the nail polish’s glow.
Maintaining the Glow: Tips and Tricks
Now that your nails are glowing, how do you keep them that way? That’s where maintenance tips come in handy. To maintain the brightness and longevity of glow-in-the-dark polish, it is crucial to store it in conditions that preserve its glow capabilities. But that’s not all; you must occasionally recharge your nails’ glow and use a top coat to preserve the effect.
Recharging Your Nails' Glow
Just like a glow stick, your glow-in-the-dark nail polish needs exposure to light to activate its glowing effect. But unlike a glow stick, this polish can be recharged by exposing it to light after the initial glow fades. So, if you feel your glow is fading, just step under a bright light source like sunlight, lamps, or even your phone light, and voila—your nails are glowing again!
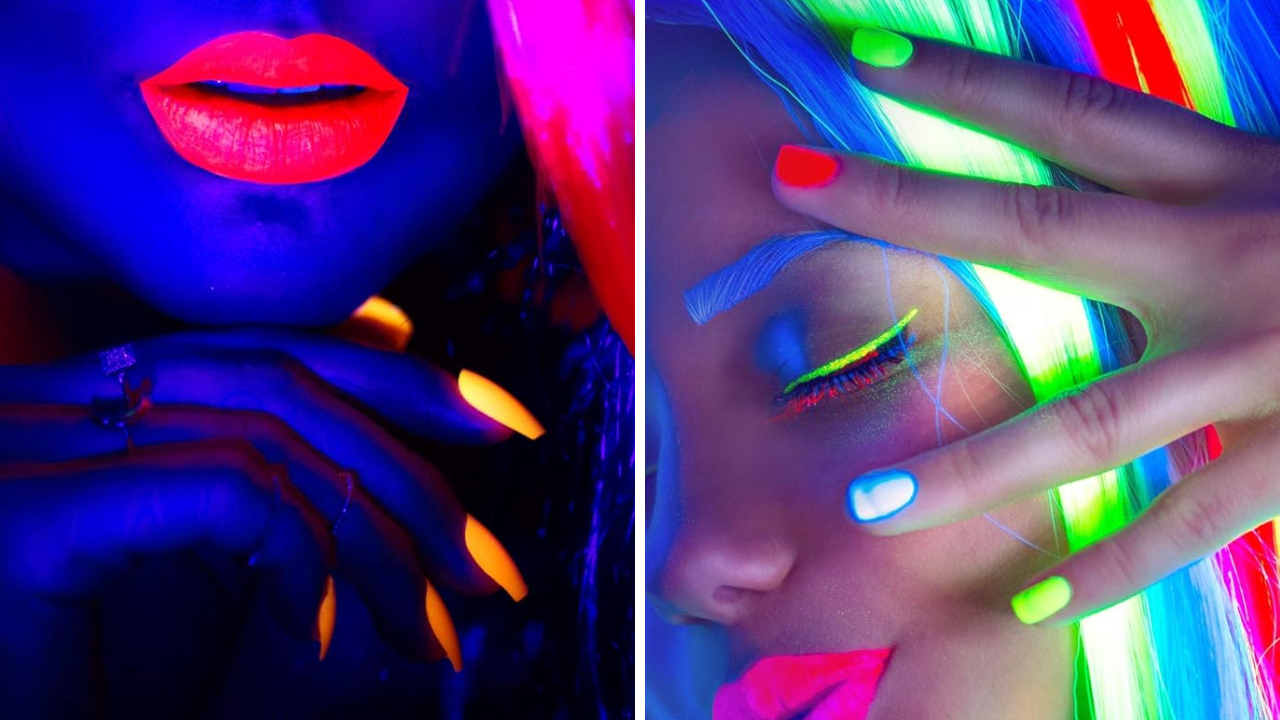
The longer the nails are exposed to light, the more intense and long-lasting the glow effect. And if you’re at a disco party with UV light, using a black light can enhance the glowing effect.
The Role of Top Coats in Preserving the Glow
While recharging helps restore the glow, a top coat can help preserve it longer. It amplifies shine, making the glow of dark nail polish more pronounced in darkness. Moreover, sealing glow-in-the-dark nail polish with a top coat extends the life of the glow effect. So, never skip the topcoat; it’s your glow’s best friend!
Storage Solutions for Glow in the Dark Polishes
After you’ve applied your polish and sealed it with a top coat, it’s crucial to store the remaining polish correctly. Glow-in-the-dark nail polishes should be stored away from light and moisture to prevent degradation of the glow pigment and maintain polish quality. But there’s more to it than just keeping it in a cool, dark place.
Keeping It Cool and Dark
While ‘cool and dark’ may sound like the tagline of a mystery novel, it’s actually the ideal storage environment for your glow-in-the-dark polish. Storing it in such an environment helps prevent the degradation of the glowing pigment, ensuring longer-lasting luminosity.
Frequent exposure to intense light sources or UV radiation can degrade the phosphor material in glow-in-the-dark nail polish over time, potentially weakening its glow. So, your nail polish drawer or box should ideally be in a cool, dark corner.
Airtight Is Right: Preventing Polish Dry Out
Apart from the right environment, the right container is also key in preserving your glow-in-the-dark nail polish. An airtight container is ideal for storing nail polish, as it prevents the product from drying out and losing its glowing properties. Remember, to maintain the quality and ease of application of nail polish, it is crucial to store the bottles airtightly.
So, tighten that twist cap volume and keep your polish airtight!
Glow in the Dark Polish Wear Time
All that effort and the glow only lasts a few minutes, right? Wrong! After applying glow-in-the-dark polish, the glowing effect on nails usually lasts a couple of hours. However, just like any other product, the wear time can vary; in some cases, it might last just a few seconds.
Let’s explore the average glowing hours and how to extend the wear time.
Average Glowing Hours Post-Application
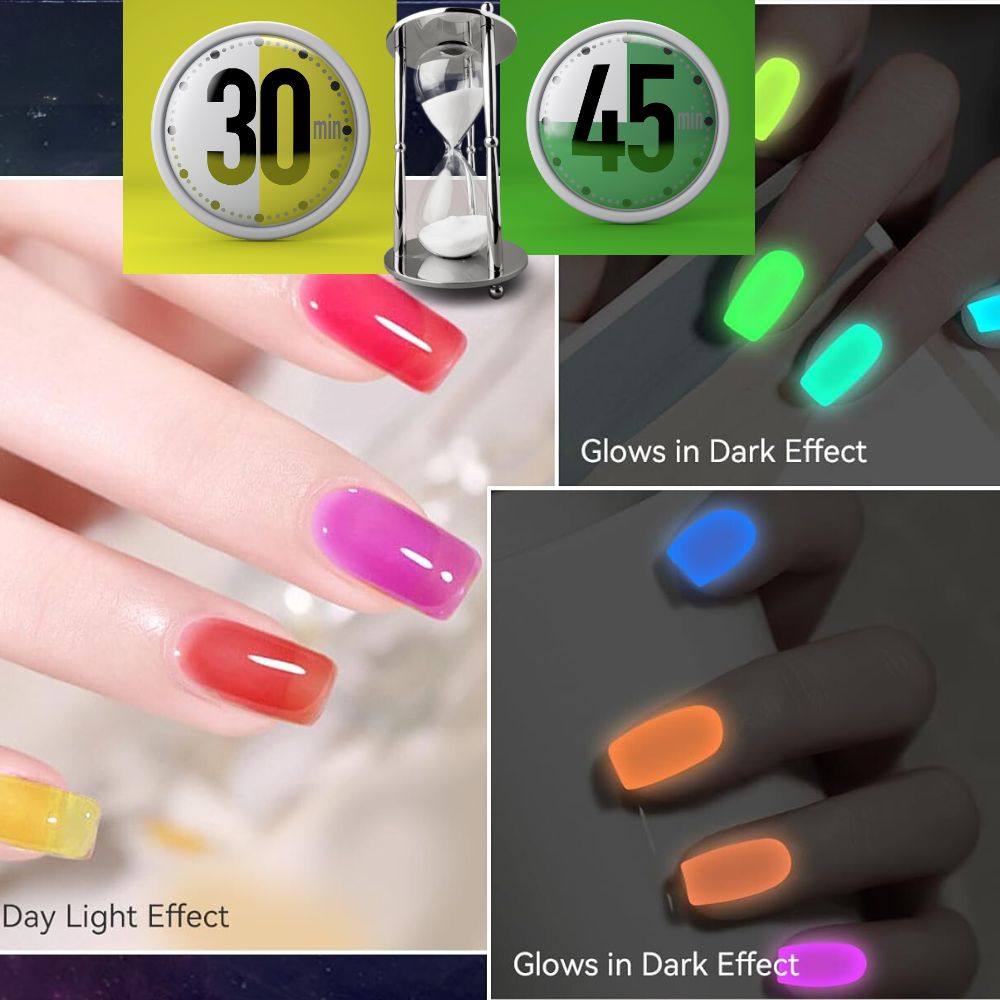
So, how long can you expect your nails to glow after you’ve applied the polish? The expected range of glowing time post-application is typically 30 to 45 minutes. But don’t worry! The glow can be reactivated by exposing the nails to light again for a few seconds after it fades. So, even if your glow fades, it’s only a light source away!
Extending Wear Time with Multiple Coats
While 30 to 45 minutes of glow might seem short, there are ways to extend this time. One of the most effective ways is to apply multiple coats of glow-in-the-dark nail polish. This can enhance the brightness and potentially extend the duration of the glow. For a stronger glow, multiple coats of glow-in-the-dark nail polish may be required, with each layer requiring adequate drying time.
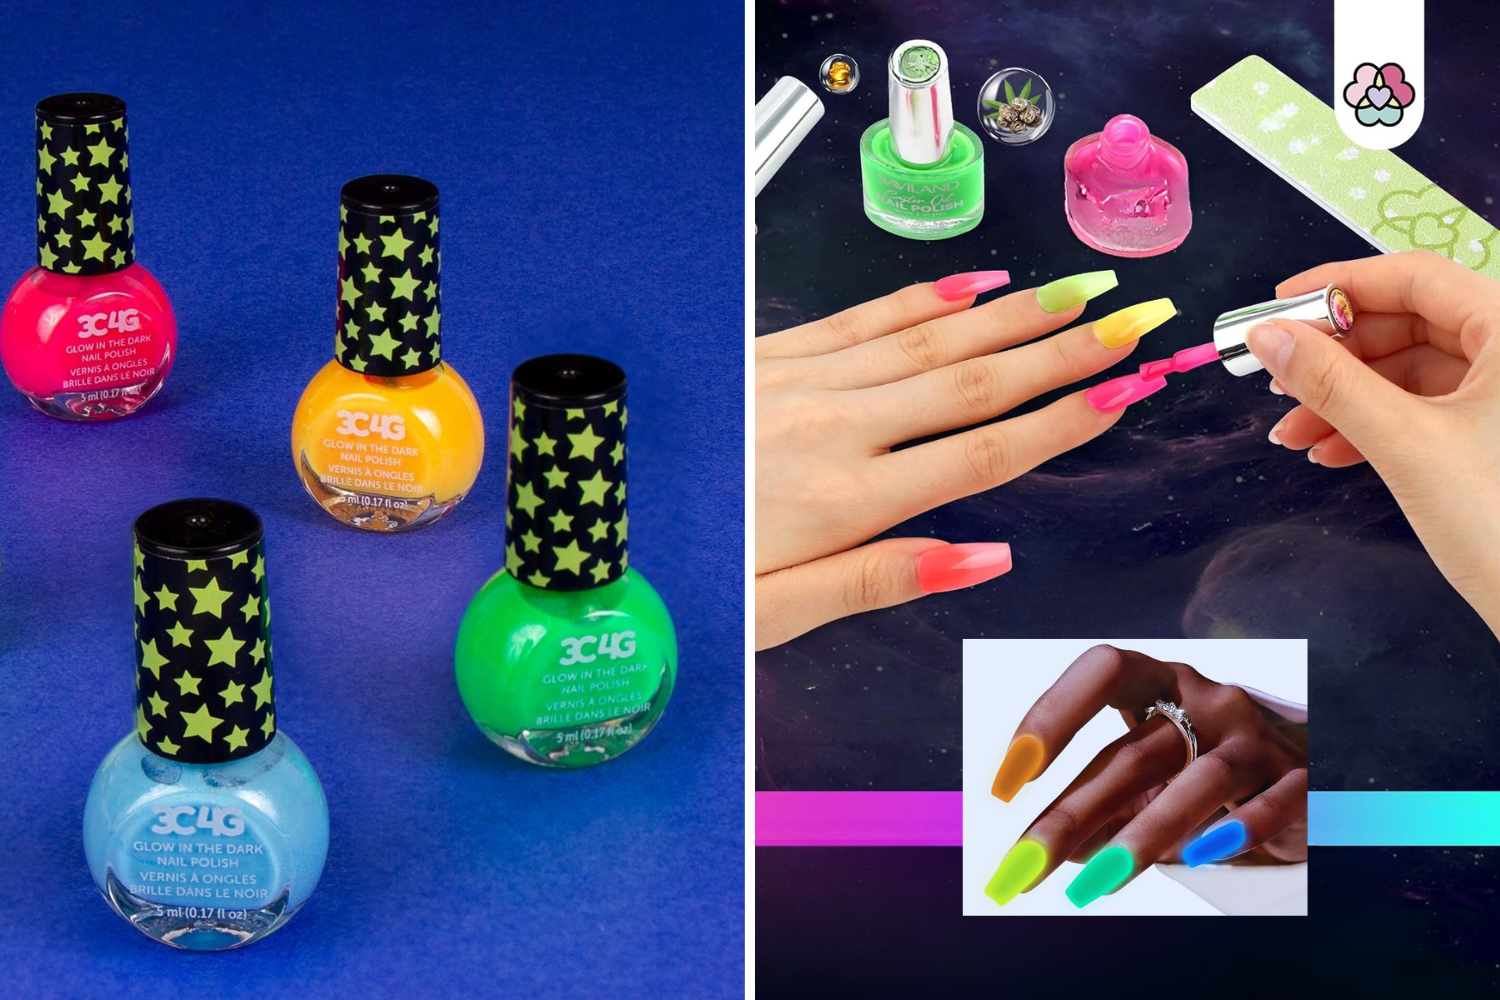
Enhancing Your Glow: Product Recommendations
Now that you’re equipped with all the know-how about glow-in-the-dark nail polishes, you might wonder which ones to try. So, we’ve lined up some of the best products to help you achieve that perfect glow. From Galaxy Glow Polish to Vegan Glow, there’s something for everyone!
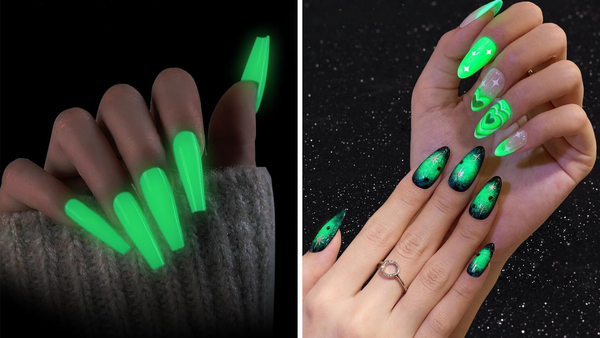
Galaxy Glow Polish: A Cosmic Experience
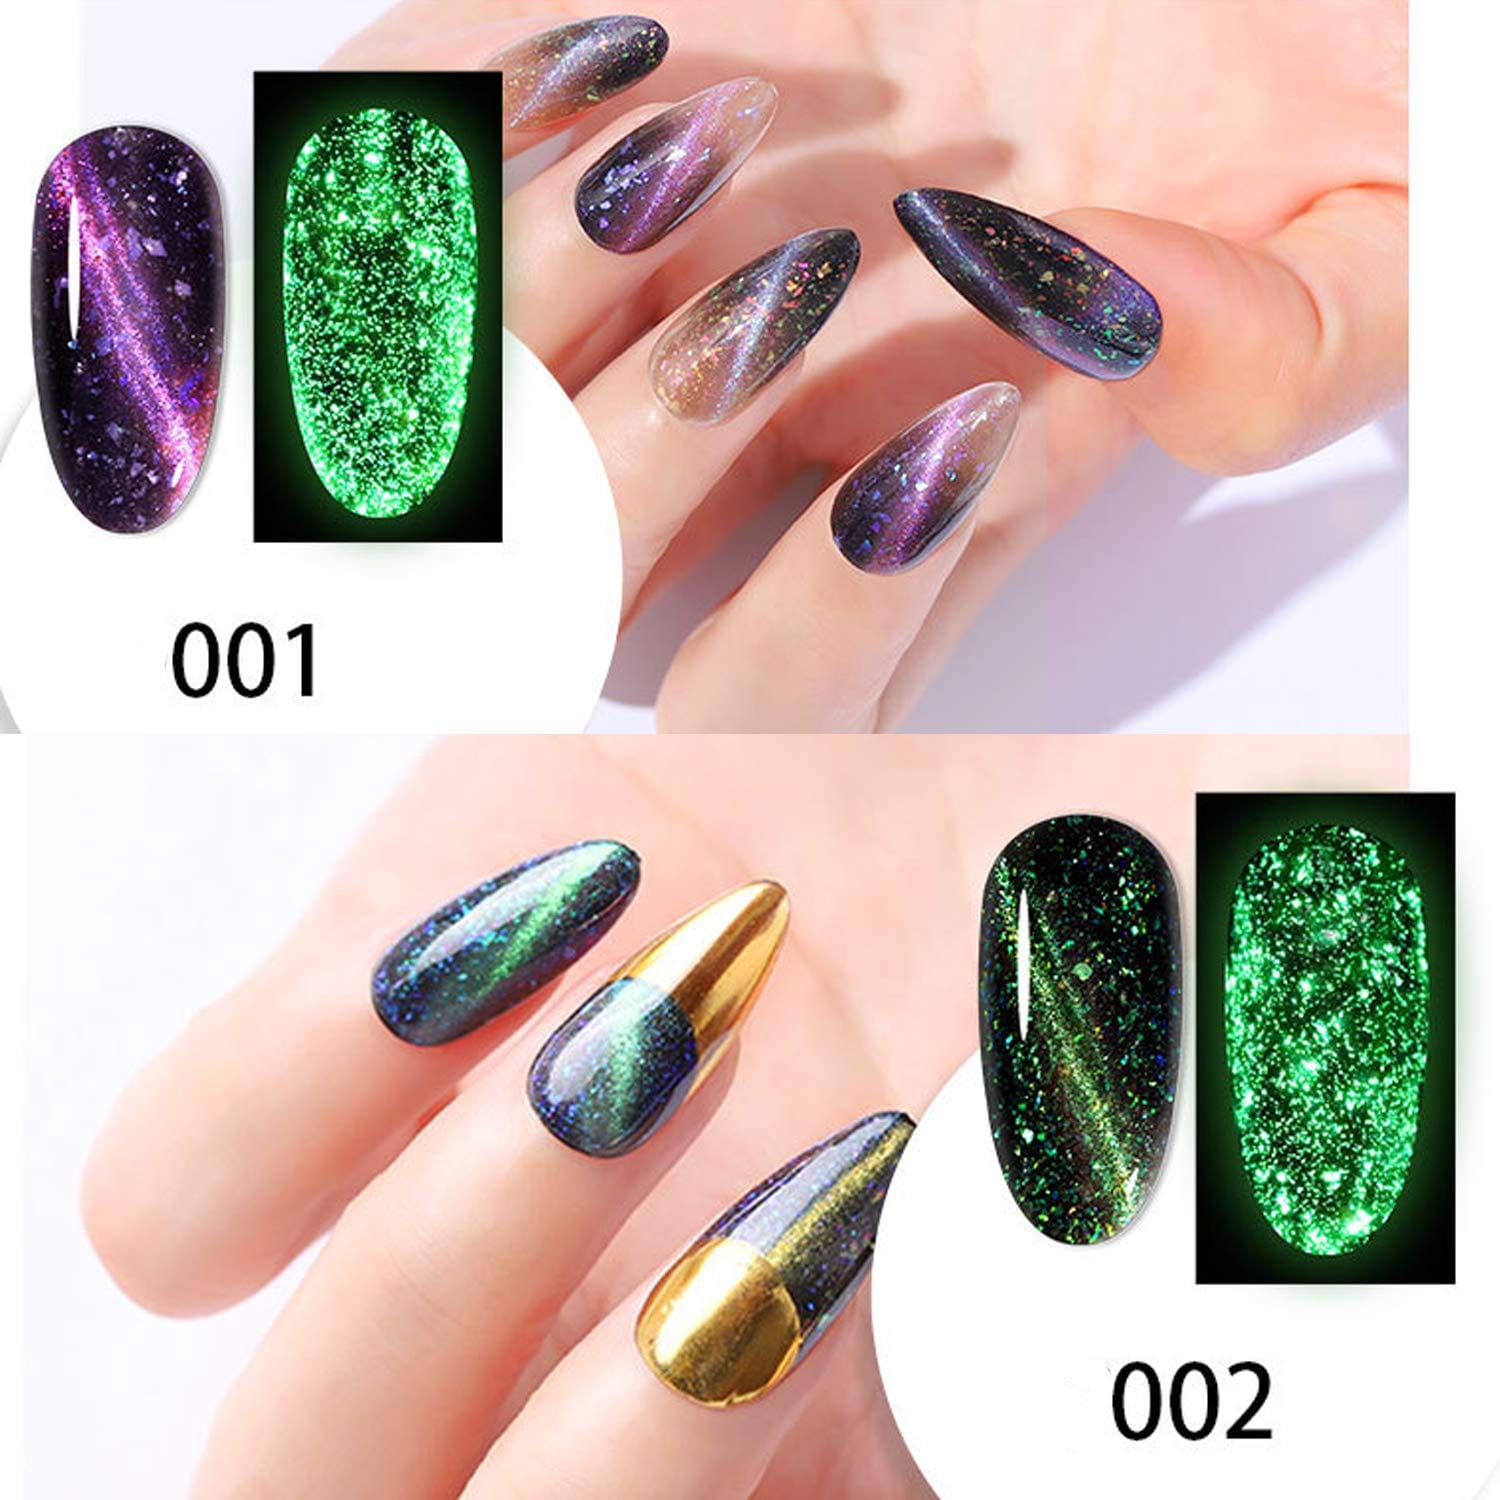
First on the list is the Galaxy Glow Polish, known for its strong glow-in-the-dark effect and unique dark gel formula. What sets it apart is a distinctive cool speckled detail that gives it a cosmic look, true to its name. With a range of otherworldly colors, this gel polish product caters to various styles and preferences.
So, if you’re looking for a polish that can give you a cosmic experience, Galaxy Glow is your go-to!
Vegan Glow: Non-Toxic and Bright
If you’re an ethical beauty lover, Vegan Glow Nail Polish has you covered. Offering a vegan and cruelty-free alternative, this dry nail polish product excludes harmful chemicals such as toluene, formaldehyde, and dibutyl phthalate, classifying it as non-toxic. Plus, it’s water-based, making it a healthier option for both you and the environment.
Despite being non-toxic and vegan, the polish still offers a vibrant glow comparable to traditional glow-in-the-dark nail polishes. And the best part? The glow provided by Vegan Glow Nail Polish is long-lasting, maintaining its luminosity over an extended period, even in a dark vegan shade.
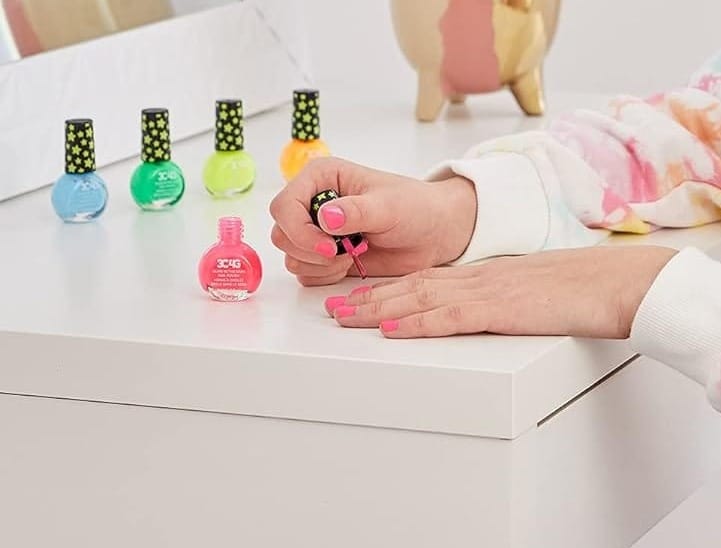
At-Home Manicure Tips for Glowing Success
Want to achieve glowing success with your at-home manicure? Look no further! We’ve got you covered with some fail-proof tips, including proper nail preparation, applying glow-in-the-dark polish, and recharging the glow with light exposure.
From Buff to Shine: Preparing Your Nails Step by Step
Before you start painting, there’s some groundwork to do - nail preparation. Proper nail preparation is crucial for the best adhesion of gel glow-in-the-dark polish and to ensure a long-lasting glow effect. Here’s what you need to do:
- Trim your nails to your desired length.
- Shape your nails using a nail file.
- Buff the surface of your nails to remove any ridges or roughness. This helps the glow-in-the-dark polish adhere properly.
After shaping and buffing, don’t forget to:
- Remove the natural shine from your nails. Use a nail drill or hand file for this.
- Dehydrate and prime your nails to ensure good polish adhesion.
- Remove any dead tissue from the cuticles.
- Consider applying nail tips for an enhanced look.
The Perfect Polish Step: Applying Your Glow-in-the-Dark Nail Polish
With your nails prepped and ready to go, it’s time for the fun part—applying the glow-in-the-dark polish. But before you do, mix approximately 25% glow powder with clear nail polish or acrylic powder. Then, apply two coats of the polish, allowing the first coat to dry thoroughly before applying the second. This helps achieve a more pronounced glow.
When using specialty powders like acrylic or dip powders, apply the mixture using the appropriate technique. For instance, brush it on for acrylics or dip it at an angle for dip powder. If you’re using a gel option, make sure to cure it under UV light to secure the glow effect.
Creative Ideas for Glow in the Dark Nails
Now that you’ve got the basics down, why not get creative with your glow-in-the-dark nails? From themed patterns to Halloween highlights, the possibilities for adding a glowing twist to your manicures are endless. Let’s explore ways to reinvent classic styles and experiment with new ones.
Holding Hands Under the Stars: Themed Designs
Want your nails to reflect the mystery and allure of the night sky? Try galaxy patterns or constellations. These themes are perfect for enhancing the glowing effect of your polish. You can even opt for glow-in-the-dark nail wraps with constellation designs for a luminous pattern that lasts up to 14 days without needing heat or tools.
Or, you can experiment with neon-colored x-shaped designs that stand out under dark lighting, making for a perfect stars-themed glow-in-the-dark manicure.
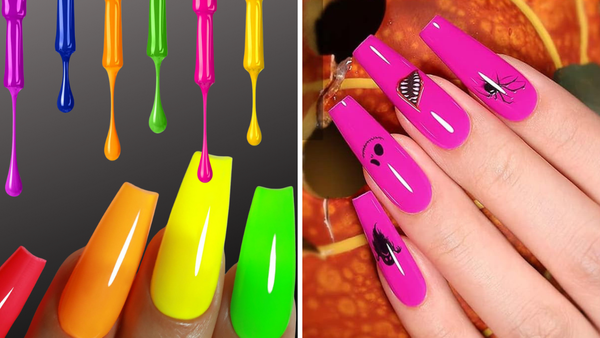
Halloween Highlights: Spooky Glow-in-the-Dark Nails
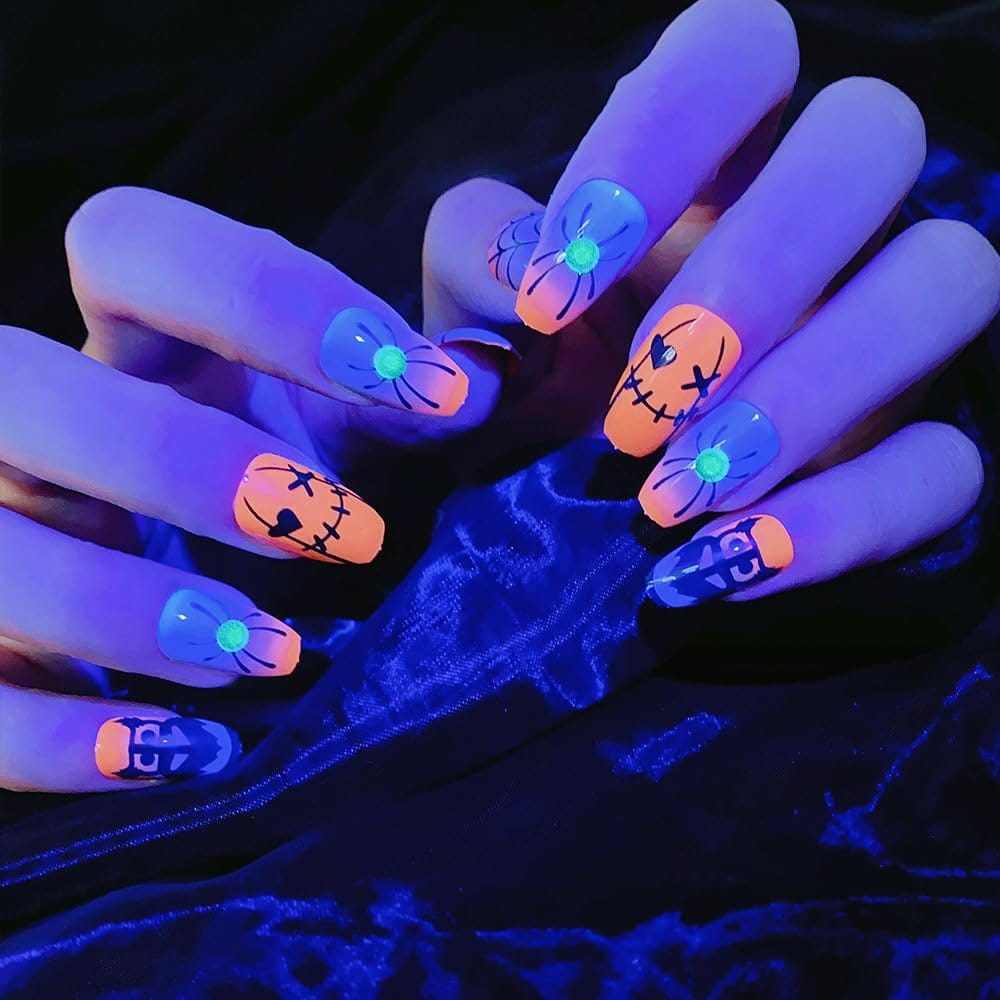
With Halloween around the corner, spooky glow-in-the-dark nails can add an extra eeriness to your look. Try abstract shapes overlapping with glow-in-the-dark nail polish to enhance the spookiness of your Halloween-themed designs.
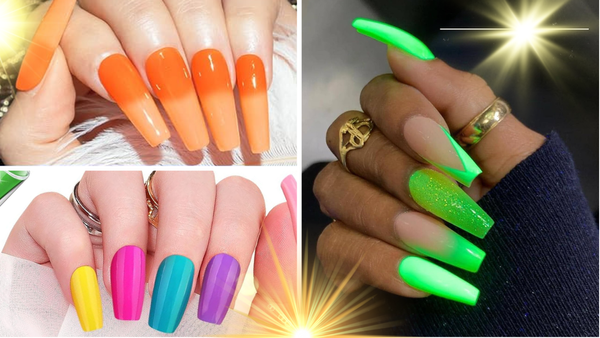
Or, opt for neon green stiletto nails that can glow in the dark for a striking and frightful addition to your Halloween outfit.
Summary
Throughout this exploration, we’ve delved into the world of glow-in-the-dark nail polish, uncovering the science behind its captivating glow and the techniques to enhance and maintain it. From pigments and nail preparation to application and storage, every element plays a role in achieving that perfect glow. So, the next time you paint your nails with glow-in-the-dark polish, remember these tips and tricks. After all, why should stars be the only ones to light up the night?
Frequently Asked Questions
How long does glow-in-the-dark nail polish last?
Glow-in-the-dark nail polish typically lasts a couple of hours before recharging. Remember that for your next night out!
How can I recharge my glow-in-the-dark nail polish?
To recharge your glow-in-the-dark nail polish, expose it to light after the initial glow fades. Easy, right?
How can I extend the glow wear time?
Applying multiple coats of glow-in-the-dark nail polish can extend the wear time of the glow, enhancing its brightness and potentially making it last longer.
How should I store my glow-in-the-dark nail polish?
Store your glow-in-the-dark nail polish in airtight containers away from light and moisture to prevent the glow pigment from degrading and maintain the polish's quality.
Can I create themed designs with glow-in-the-dark nail polish?
Yes, with glow-in-the-dark nail polish, you can create themed designs, such as galaxy patterns, constellations, and Halloween-themed designs. Have fun experimenting!