


Key Takeaways:
- Installation Time: Installing a nail polish rack wall typically takes 1 to 2 hours, depending on the complexity and size of the rack.
- Preparation and Tools: Proper preparation and having the right tools can significantly reduce installation time.
- Step-by-Step Process: A structured step-by-step process ensures a smooth and efficient installation.
Introduction

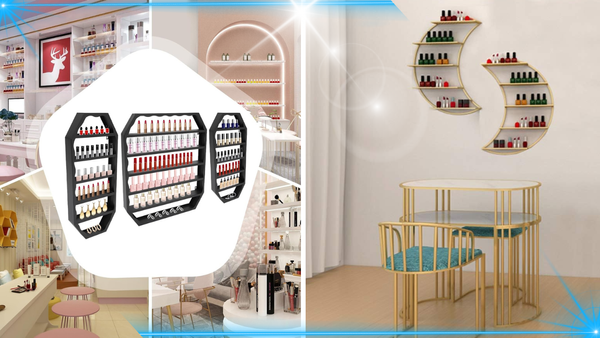
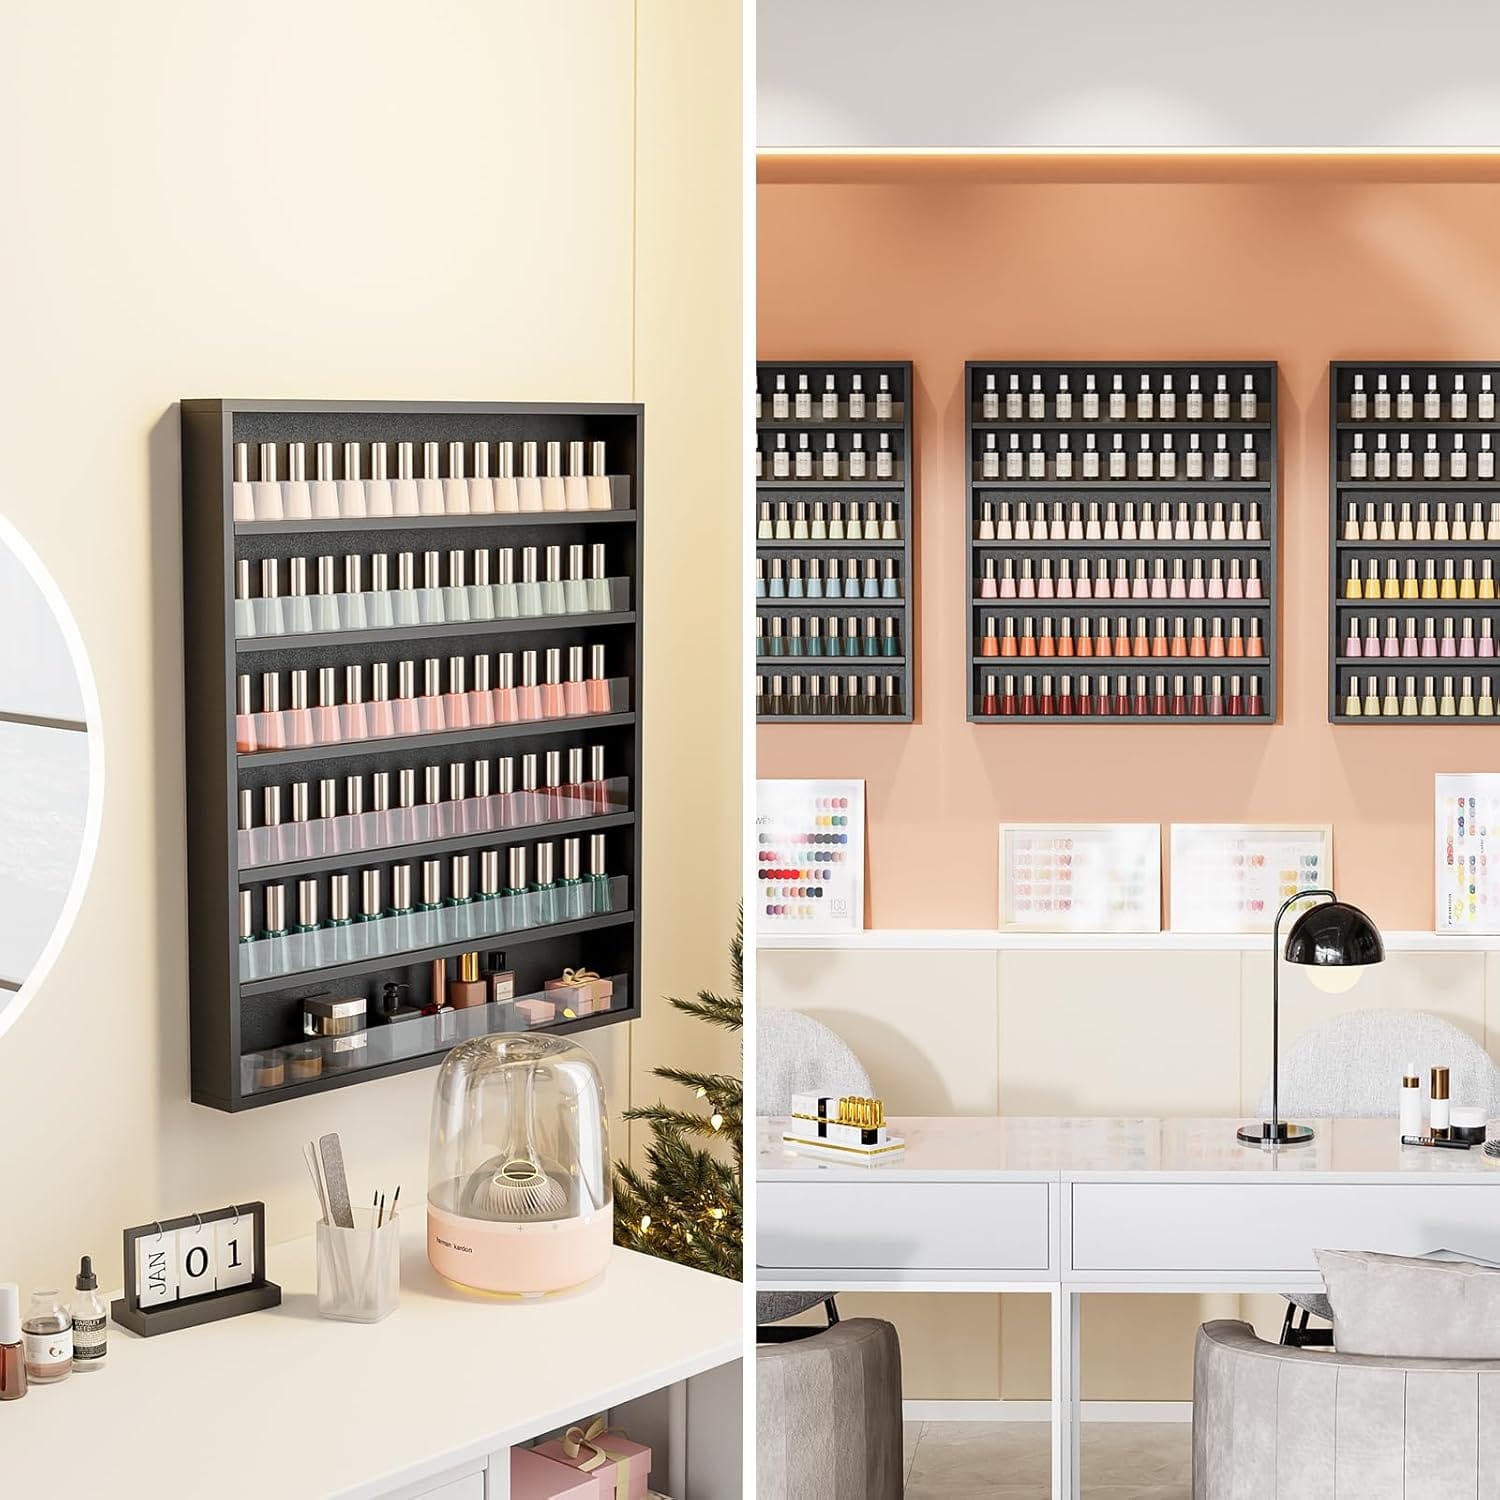
If you’re a nail salon owner or a nail polish enthusiast, you know the importance of having a well-organized nail polish rack wall. Not only does it keep your nail polishes neatly arranged, but it also adds a touch of professionalism to your space. But how long does it take to install a nail polish rack wall? This article will walk you through the process, providing practical tips and insights to make the installation as smooth as possible. The installation process is super easy.
Preparation and Planning
Before installing your nail polish rack wall, it’s essential to prepare and plan the process to ensure a smooth and successful installation. Here are some steps to follow:
- Choose the Right Location: Decide where you want to install the nail polish rack wall, taking into account the space available and the type of wall you have (drywall, plaster, concrete, etc.). Make sure the location is easily accessible and visible, as this will make it easier to grab your favorite nail polish bottles and showcase your collection.
- Check for Water Pipes and Electrical Cables: Before drilling into the wall, check for any water pipes or electrical cables that may be hidden behind it. This will prevent accidents or damage to the wall and ensure a safe installation process.
- Measure the Wall: Measure the width and height of the wall where you plan to install the rack to ensure it fits perfectly. Take note of any obstacles, such as electrical outlets or windows, that might interfere with the installation.
- Plan the Layout: Plan the layout of your nail polish rack wall, considering the number of shelves you need and the space between them. Leave at least a 4-inch gap between shelves to allow easy access to the bottles. This will help you create a functional and aesthetically pleasing display.
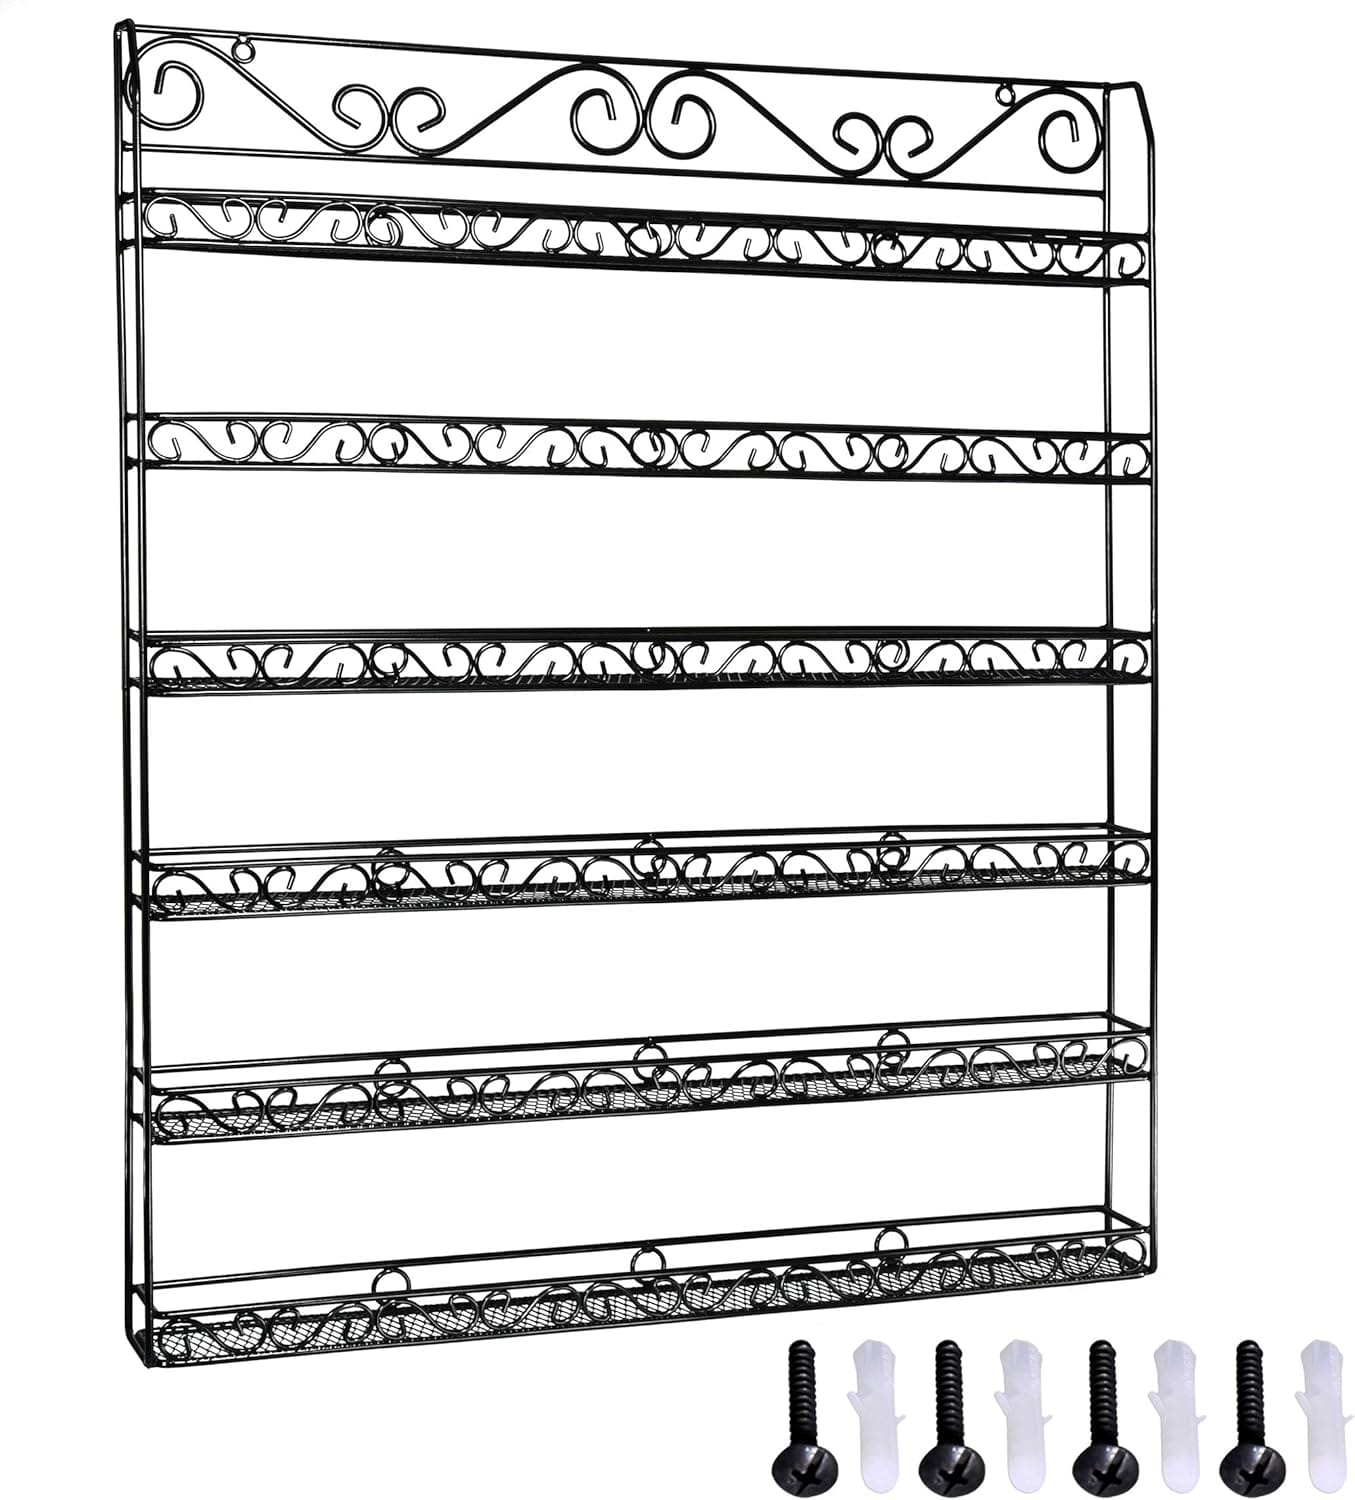
- Gather Necessary Tools and Materials: Make sure you have all the necessary tools and materials, including a drill, drill bits, screws, wall anchors, and a pencil. Having everything ready will save you time and ensure a smooth installation process.
By following these preparation and planning steps, you’ll set yourself up for a successful and efficient installation of your nail polish rack wall.
Understanding the Basics
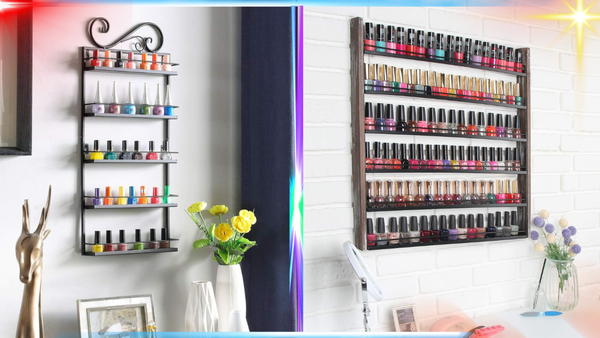
Before diving into the installation process, it’s crucial to understand the basics. A nail polish rack wall is designed to hold and display your nail polish bottles, gel nail polish, and other related items like essential oils. The time it takes to install one can vary based on several factors, including the size of the rack, the type of wall, and your level of experience with DIY projects.

Just like organizing paint bottles behind a door for easy access, a nail polish rack offers a convenient and efficient storage solution for your nail polish collection.
For instance, a small rack that holds 20-30 nail polish bottles might take less time to install compared to a larger rack designed to hold 100+ bottles. Additionally, if you’re installing the rack on a drywall versus a concrete wall, the tools and techniques required will differ, impacting the overall installation time.
Gathering Your Tools and Materials
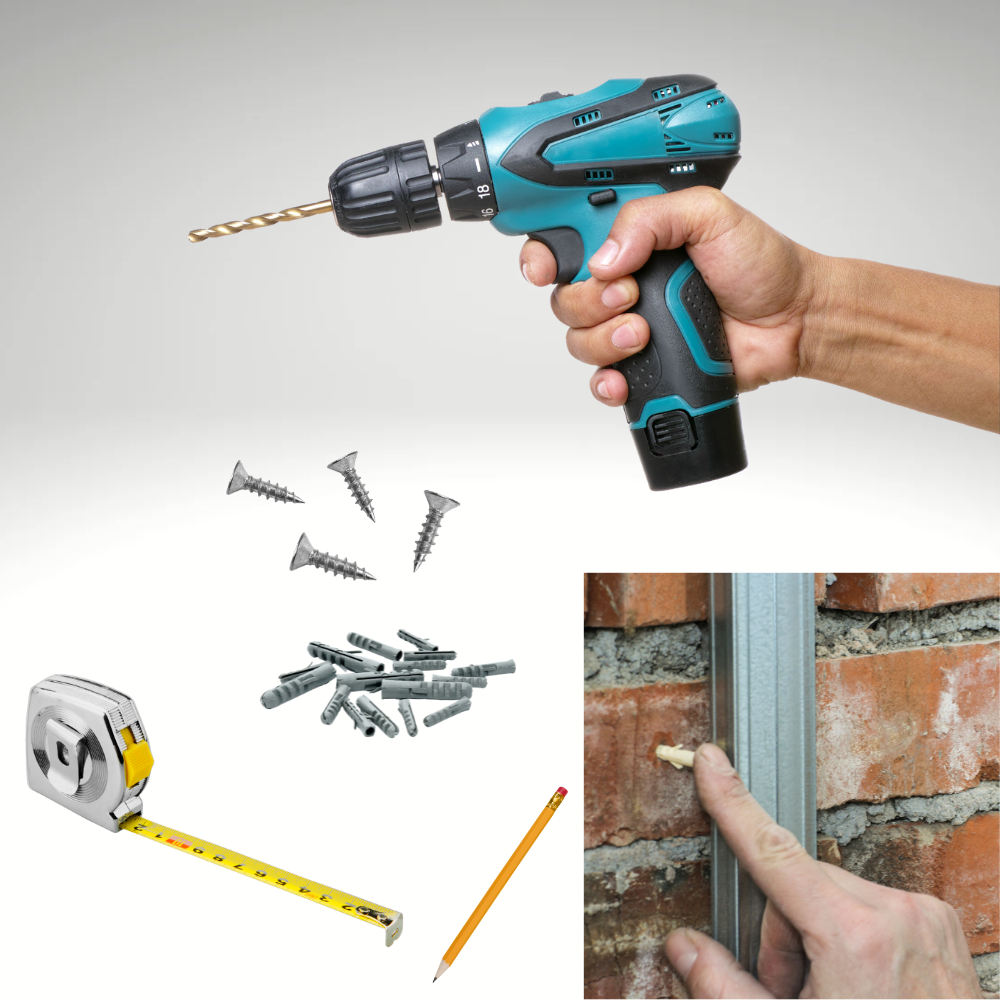
To ensure a smooth installation, gather all the necessary tools and materials beforehand. You’ll need a drill, screws, wall anchors, a level, a measuring tape, and a pencil. Having these items ready will save you time and prevent unnecessary interruptions during the installation process.
It’s also a good idea to read the instructions that come with your nail polish rack. Some racks come with specific mounting hardware or recommendations that can affect the installation time. For example, a high-quality metal rack might require different screws than a wooden one. Understanding these details upfront can help you plan accordingly.
Measuring and Marking the Wall
The first step in the installation process is to measure and mark the wall where you want to hang the nail polish rack. Use a measuring tape to determine the exact dimensions of the rack and mark the spots where the screws will go. This step is crucial for ensuring that the rack is level and securely attached to the wall.
Once you’ve marked the spots, use a level to double-check that everything is straight. This might seem like a small detail, but it can make a big difference in the final look of your nail polish wall. A crooked rack not only looks unprofessional but can also be less stable, increasing the risk of it falling and damaging your nail polishes.
Drilling and Installing Wall Anchors
With your measurements and markings in place, it’s time to start drilling. Use a drill bit that matches the size of your wall anchors and carefully drill holes at the marked spots. If you’re drilling into drywall, make sure to use wall anchors to provide extra support for the screws. This is especially important if you have a large collection of nail polishes, as the weight can add up quickly.
After drilling the holes, insert the wall anchors and tap them gently with a hammer to ensure they’re flush with the wall. This step is crucial for creating a sturdy base for your nail polish rack. Once the anchors are in place, you can proceed to attach the rack to the wall using screws.
Attaching the Nail Polish Rack
Now that the wall anchors are securely in place, it’s time to attach the nail polish rack. Align the rack with the drilled holes and use screws to fix it to the wall. Make sure to tighten the screws evenly to ensure that the rack is level and stable. This step might require an extra pair of hands, especially if you’re dealing with a larger rack.
Once the rack is securely attached, give it a gentle tug to make sure it’s firmly in place. This is a good time to double-check that everything is level and make any necessary adjustments. A well-installed nail polish rack should be able to hold the weight of your nail polishes without any issues.
Customizing the Rack for Gel Nail Polish
If you’re planning to use your nail polish rack wall for gel nail polish, you may want to consider customizing it to meet your specific needs. Here are some tips:
- Choose the Right Shelf Size: Select shelves that are specifically designed for gel nail polish bottles, which are typically smaller than regular nail polish bottles. This will ensure that your gel polishes fit perfectly and are easy to access.
- Increase the Number of Shelves: Consider adding more shelves to accommodate your gel nail polish collection. This will help keep your workspace organized and clutter-free, making it easier to find the gel polish you need.
- Use a High-Quality Metal Rack: Invest in a high-quality metal rack that is sturdy and durable. This will ensure that your gel nail polish bottles are securely stored and protected, reducing the risk of accidents or damage.
- Add a Glossy Finish: Consider adding a glossy finish to your nail polish rack wall to give it a professional and sleek look. This will also make it easier to clean and maintain, ensuring your rack stays looking great over time.
- Label the Shelves: Label each shelf with the corresponding gel nail polish color or brand to make it easy to find the one you need. This will help you stay organized and efficient in your nail business, saving you time and effort.
By following these tips, you can create a customized nail polish rack wall that meets your specific needs and helps you stay organized and efficient in your nail business.
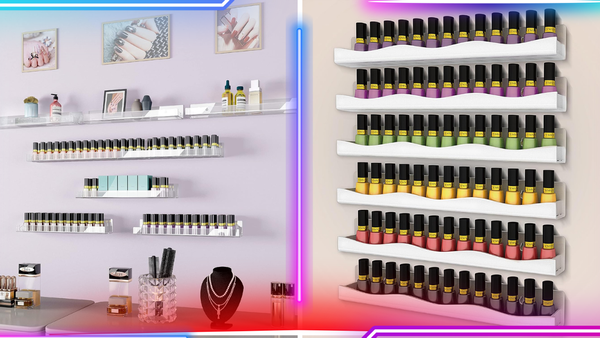
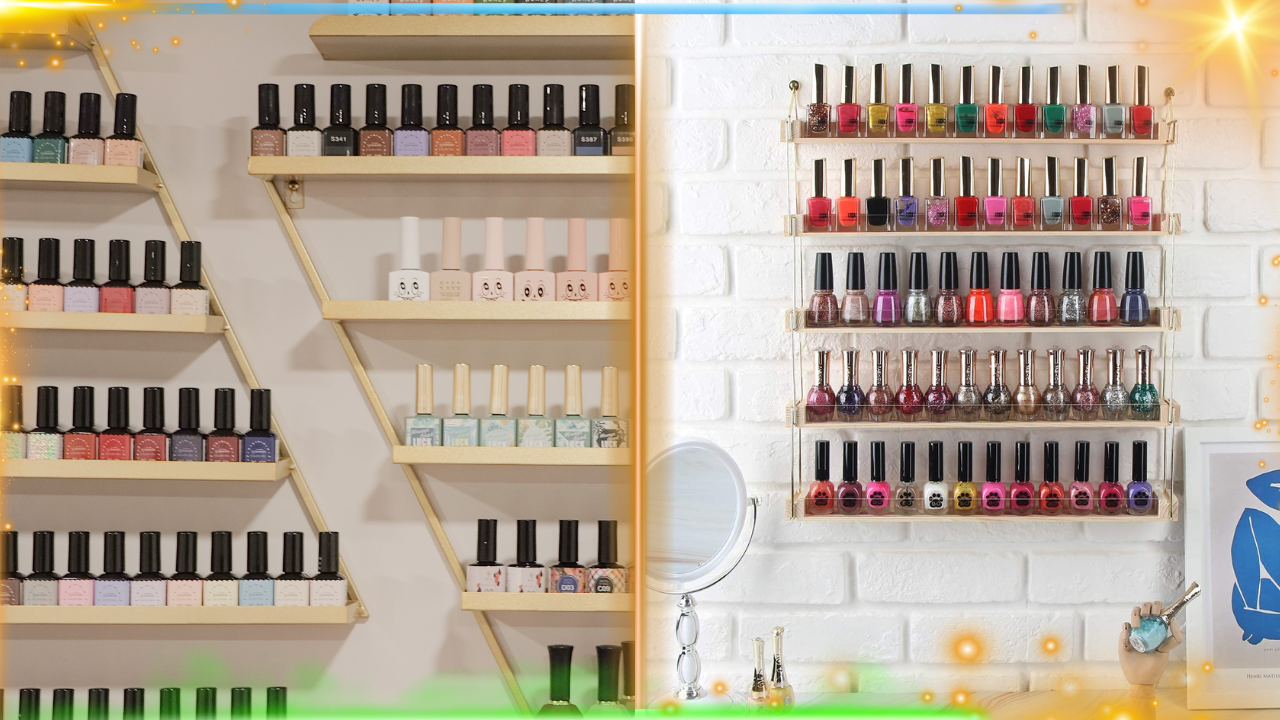
Organizing Your Nail Polishes
With the rack securely installed, the fun part begins: organizing your nail polishes. Start by sorting your nail polishes by color, brand, or type. This not only makes it easier to find the polish you’re looking for but also creates a visually appealing display. For example, you might want to group all your OPI nail polishes together or create a gradient effect with your gel polishes.
As you place the nail polishes on the rack, make sure to leave enough space between the bottles to easily grab them without knocking over others. This is especially important if you have a large collection, as overcrowding the rack can make it difficult to access your polishes and increase the risk of accidents.
Tips for a Professional Finish
To achieve a professional finish, consider adding some final touches to your nail polish rack wall. For example, you might want to add a small shelf underneath the rack to store additional items like nail files, clippers, or essential oils. This not only maximizes your storage space but also keeps everything you need within easy reach.

Another tip is to use labels or tags to identify different sections of your nail polish collection. This can be especially helpful if you have a large number of polishes and want to keep everything organized. For example, you might label one section for gel polishes and another for regular nail polishes. This not only makes it easier to find what you’re looking for but also adds a touch of professionalism to your nail polish wall.
Common Challenges and Solutions
While installing a nail polish rack wall is generally a straightforward process, you might encounter some challenges along the way. One common issue is dealing with uneven walls, which can make it difficult to get the rack level. In this case, using shims or spacers can help create a more even surface for the rack.
Another challenge is finding the right type of wall anchors for your specific wall material. If you’re unsure which type to use, consult the instructions that come with your rack or seek advice from a hardware store. Using the wrong type of anchors can result in a less stable installation, increasing the risk of the rack falling and damaging your nail polishes.
Maintaining Your Nail Polish Rack

Once your nail polish rack is installed and organized, it’s important to maintain it to ensure it stays in good condition. Regularly dust the rack and the nail polishes to keep them looking clean and shiny. This is especially important if you have a large collection, as dust can accumulate quickly and affect the appearance of your nail polish wall.
Additionally, periodically check the screws and wall anchors to make sure they’re still secure. Over time, the weight of the nail polishes can cause the screws to loosen, so it’s a good idea to tighten them as needed. This will help ensure that your nail polish rack remains stable and safe for use.
Summary
Installing a nail polish rack wall is a rewarding project that can enhance the organization and appearance of your nail salon or personal collection. By following a structured step-by-step process and taking the time to properly prepare, you can complete the installation in about 1 to 2 hours. With the right tools and a bit of patience, you’ll have a beautiful and functional nail polish wall that showcases your collection in style.
FAQ Section
How many nail polish bottles can a typical rack hold?
The capacity of a nail polish rack depends on its size and design. Smaller racks might hold 20-30 bottles, while larger ones can accommodate 100 or more. Always check the product specifications to ensure it meets your needs.
Can I install a nail polish rack on a concrete wall?
Yes, you can install a nail polish rack on a concrete wall, but you’ll need special tools and anchors designed for concrete. A hammer drill and concrete screws are typically required for this type of installation.
What should I do if my nail polish rack is not level?
If your nail polish rack is not level, you can use shims or spacers to adjust it. Loosen the screws slightly, insert the shims where needed, and then retighten the screws. This should help create a more even and stable installation.