


Key Takeaways:
- Optimal Application: The ideal number of gel base coat applications is typically one thin coat.
- Technique Matters: Proper application technique is crucial for a lasting gel manicure.
- Nail Health: Using the correct amount of gel base coat protects the natural nail and ensures better adhesion of the gel polish.
Gel manicures have revolutionized the world of nail care, offering a long-lasting and glossy finish that traditional nail polish can't match. But as with any beauty regimen, the devil is in the details. One question often arises: "How many coats of gel base coat should I use?" This comprehensive guide will walk you through the steps and considerations for the perfect gel manicure.
Understanding the Gel Base Coat that lasts
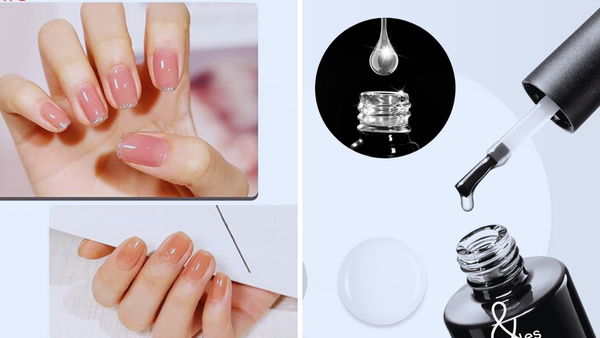
The gel base coat is the foundation of your gel manicure. It's designed to adhere properly to the natural nail plate, creating a bond that secures the gel polish in place. A good base coat ensures that your manicure will last without peeling or chipping. But how much is just right?
The Single Coat Rule
When it comes to applying a gel base coat, less is more. A single thin coat is all you need. This thin layer acts as a double-sided tape: one side sticks to the natural nail, and the other provides a surface for the colored polish to adhere to. Applying more than one coat can lead to a thick, uneven application prone to lifting and peeling.
The Importance of Thin Layers
Thin coats are the secret to a successful gel manicure. They cure more evenly under a UV or LED lamp, reducing the risk of a tacky residue. Thin layers also prevent the gel from running into the cuticles or the free edge of the nail, which can cause lifting. Remember, a thin coat of base, color, and top gel ensures a smoother, more professional finish.
Nail Preparation: The First Step
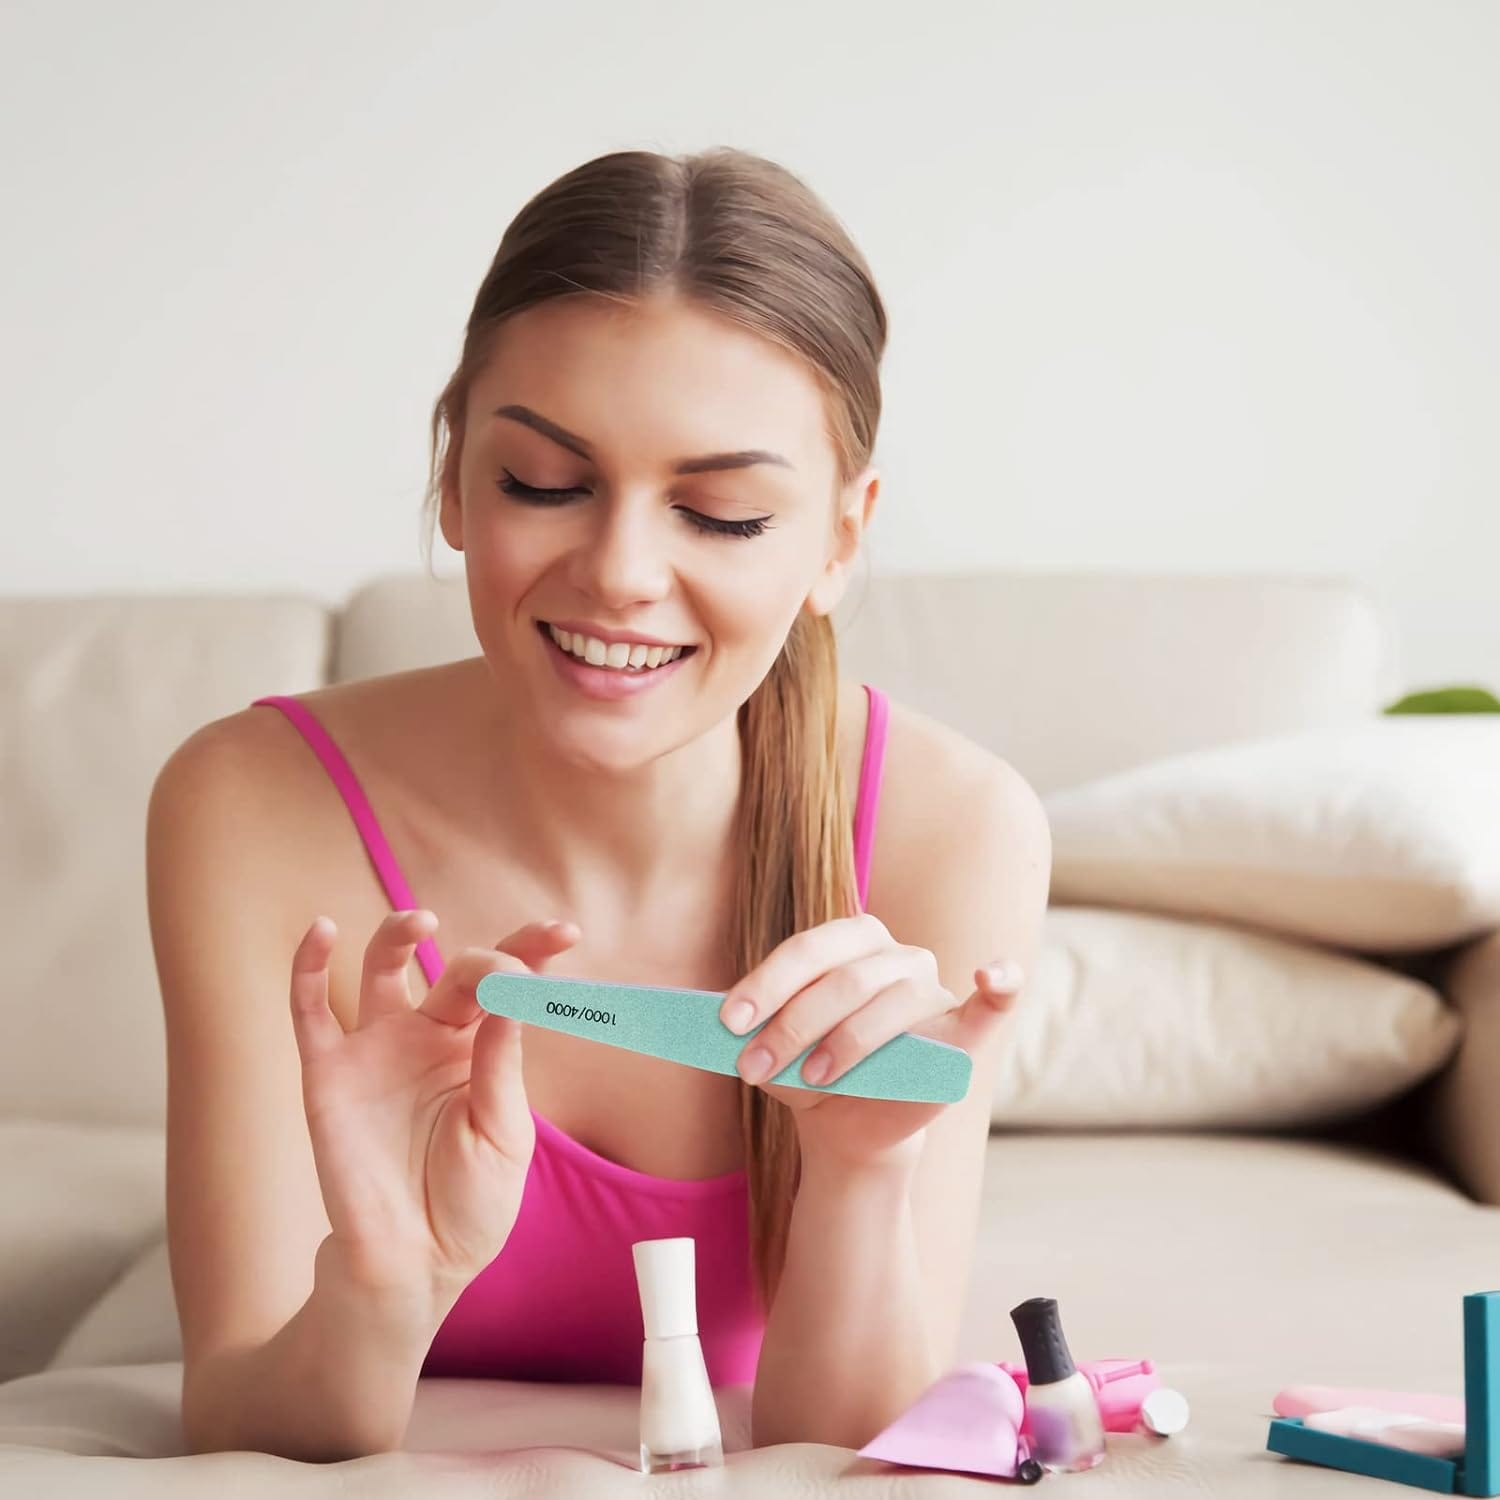
Before you even open your gel base coat, nail preparation is key. Ensure your nails are clean, dry, and free of any oils. Use a nail file to shape your nails and a buffer to remove the shine from the natural nail. This step helps the gel base coat to adhere properly and last longer.
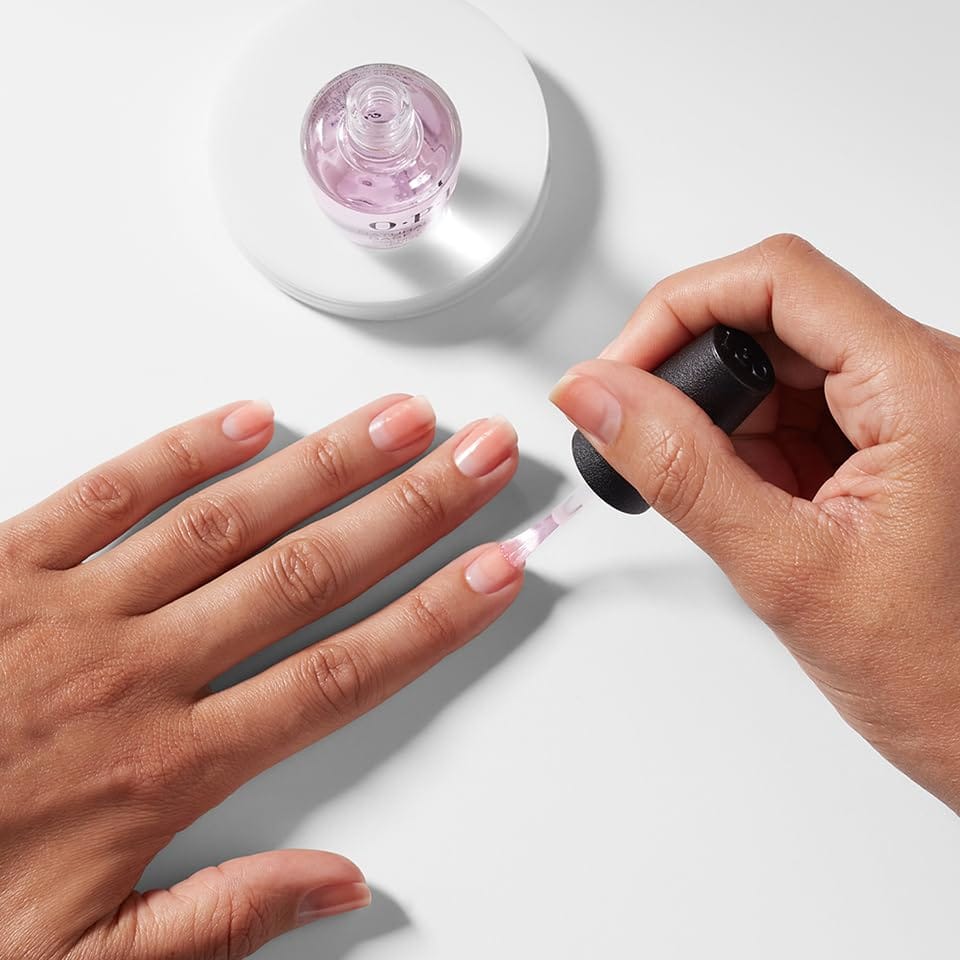
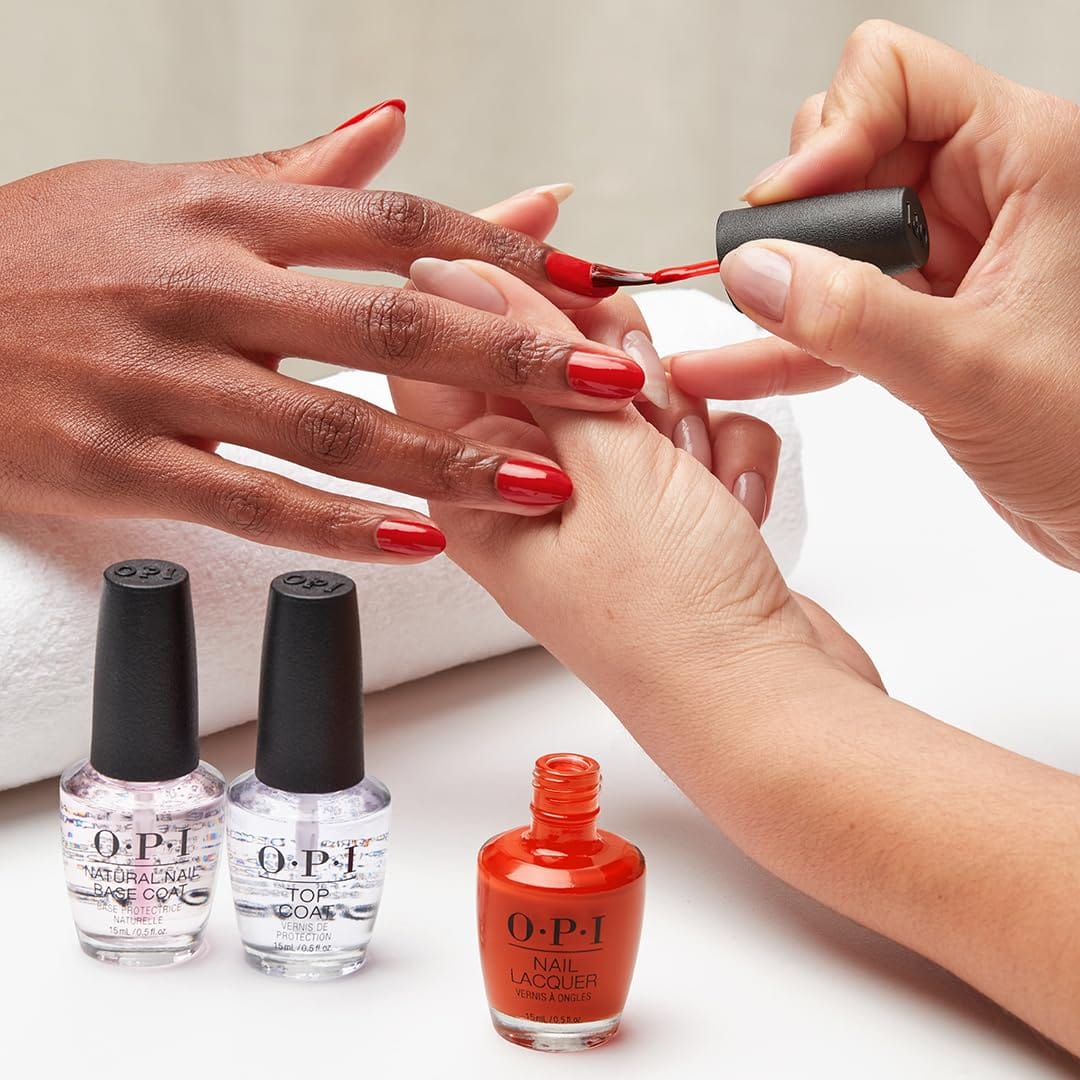
Applying the Gel Base Coat
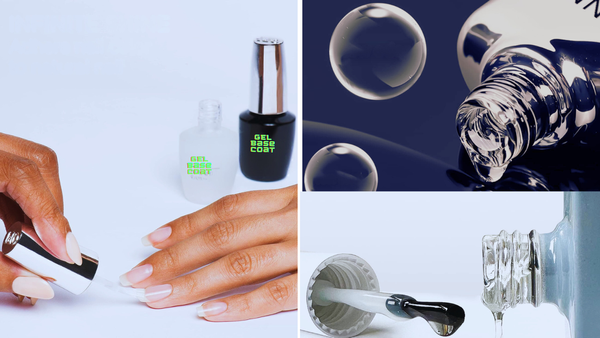
Now, let's get to the fun part: applying the gel base coat. After prepping your nails, apply a thin layer of the base coat to each nail, capping the free edge to seal in the coat. Avoid the skin and cuticle to prevent lifting and potential skin irritation.
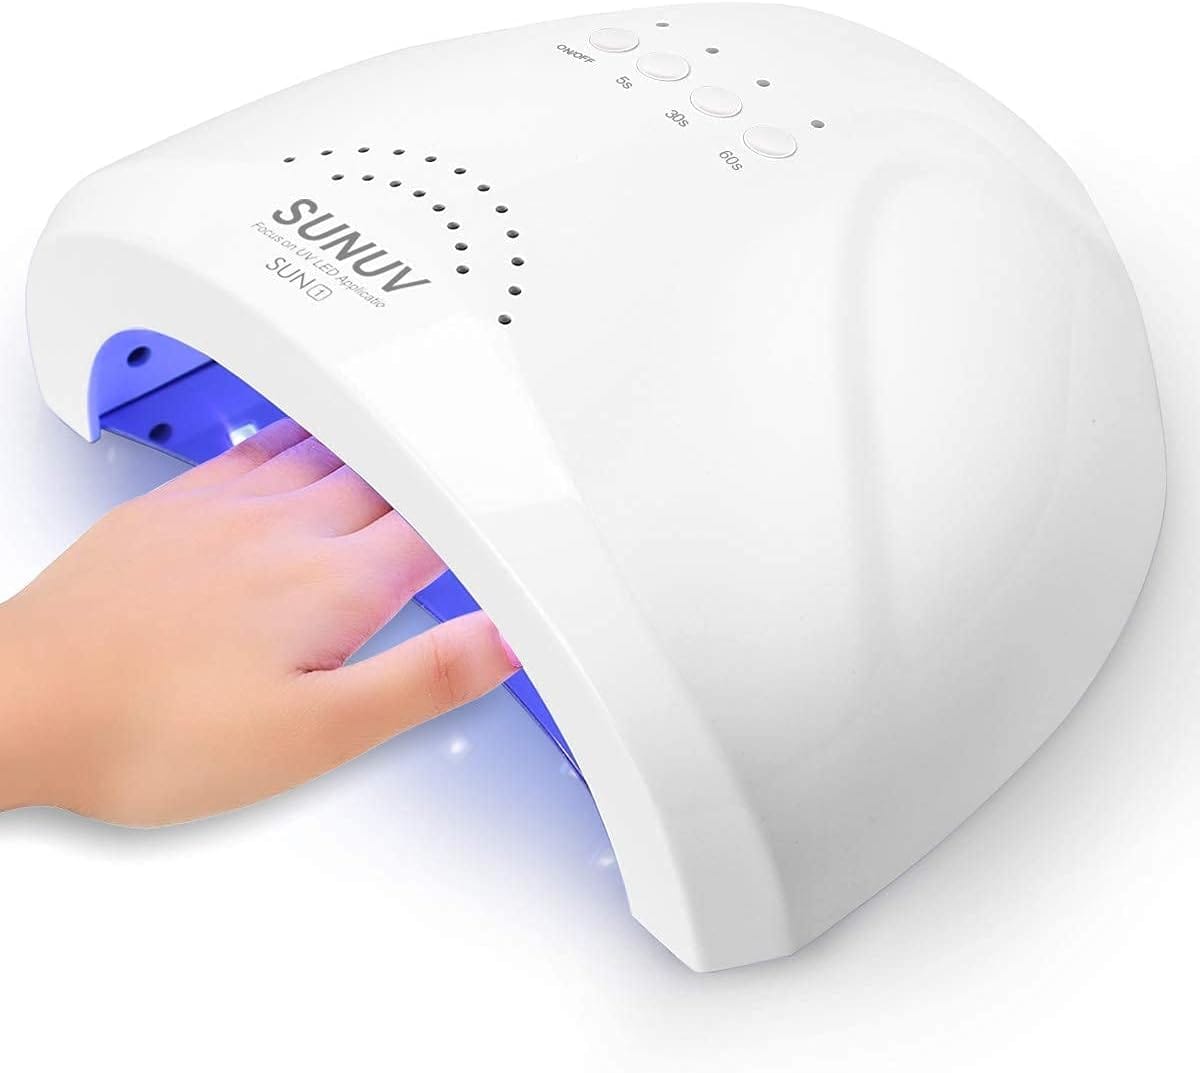
Curing the Base Coat
Once the gel base coat is applied, it's time to cure it under a UV or LED lamp. This step is extremely important; if the base coat isn't cured properly, the rest of your manicure won't adhere. Follow the manufacturer's instructions for the correct curing time.
Step-by-Step Guide to a Perfect Gel Manicure
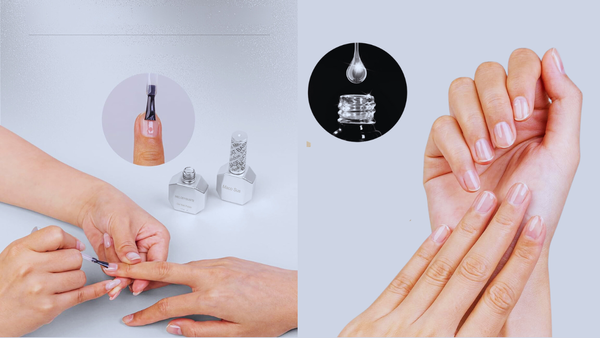
When pondering the question, "how many coats of gel base coat should I use?" it's helpful to have a step by step guide. The process begins with ensuring your natural nails are clean, dry, and oil-free. Start by pushing back the cuticles and using a nail file to shape the nails to your desired style. Remember, the nail plate must be buffed gently to remove the shine, which allows the gel base coat to adhere properly. This preparation is crucial for a flawless gel manicure that lasts without peeling or chipping.
Next, apply a thin gel base coat to the entire nail, making sure to cap the free edge. This helps prevent chipping and provides a solid foundation for the colored polish. After applying the base coat, cure it under a UV or LED lamp according to the manufacturer's instructions. The base coat must be cured properly to avoid a tacky residue that could compromise the rest of your manicure. Once the base is set, you're ready for the fun part—applying your chosen gel polish color.
Maximizing Durability: How Many Coats Are Ideal?
When it comes to gel manicures, the question of durability is paramount. How many coats of gel base coat should I use to ensure my gel nails last without chipping or peeling? The answer lies in the balance between too few and too many. A single thin coat is often sufficient, but for those with oily nail beds or nails prone to chipping, a second thin layer might be the secret to a longer-lasting manicure. It's all about creating a solid foundation without overdoing it, as too many layers can lead to premature lifting or peeling.
The key is to apply each coat with precision and care. Start by applying a thin gel base coat to the entire nail, ensuring you cover the free edge to prevent chipping. If you decide a second coat is necessary, wait until the first layer is cured properly under a UV lamp or LED light. This curing process is crucial as it helps the gel polish adhere properly to the natural nail, creating a flawless nail look built to last. Remember, the goal is to protect your nail health while enjoying beautiful gel nails.
The Evolution of Gel Base Coats
The Journey from Regular Polish to Gel Base Coats
The transition from regular nail polish to gel base coats has been a game-changer in the world of manicures. Initially, the allure of gel nail polish was its promise of long-lasting wear without the chipping associated with regular polish. But how did this evolution affect the base coat specifically? The gel base coat is not just a barrier; it's the foundation that ensures the gel polish adheres properly to the nail plate. Unlike regular polish that air dries, gel base coats require curing under a UV or LED lamp, creating a bond that lasts for weeks.
The Science Behind Gel Base Coats
Understanding the science behind gel base coats can be fascinating. The formulation of gel base coats is designed to work with the natural nail's chemistry. When you apply gel polish, the base coat acts as a double-sided tape: one side sticks to the natural nail, while the other side provides a sticky residue that the colored polish can adhere to. This is why a thin layer of base coat is crucial; it ensures that the curing process under a UV or LED light will solidify the coat evenly, leaving no spot uncured. The result? A flawless foundation for the fun part – the colored polish.
The Significance of UV/LED Lamps in Gel Manicures
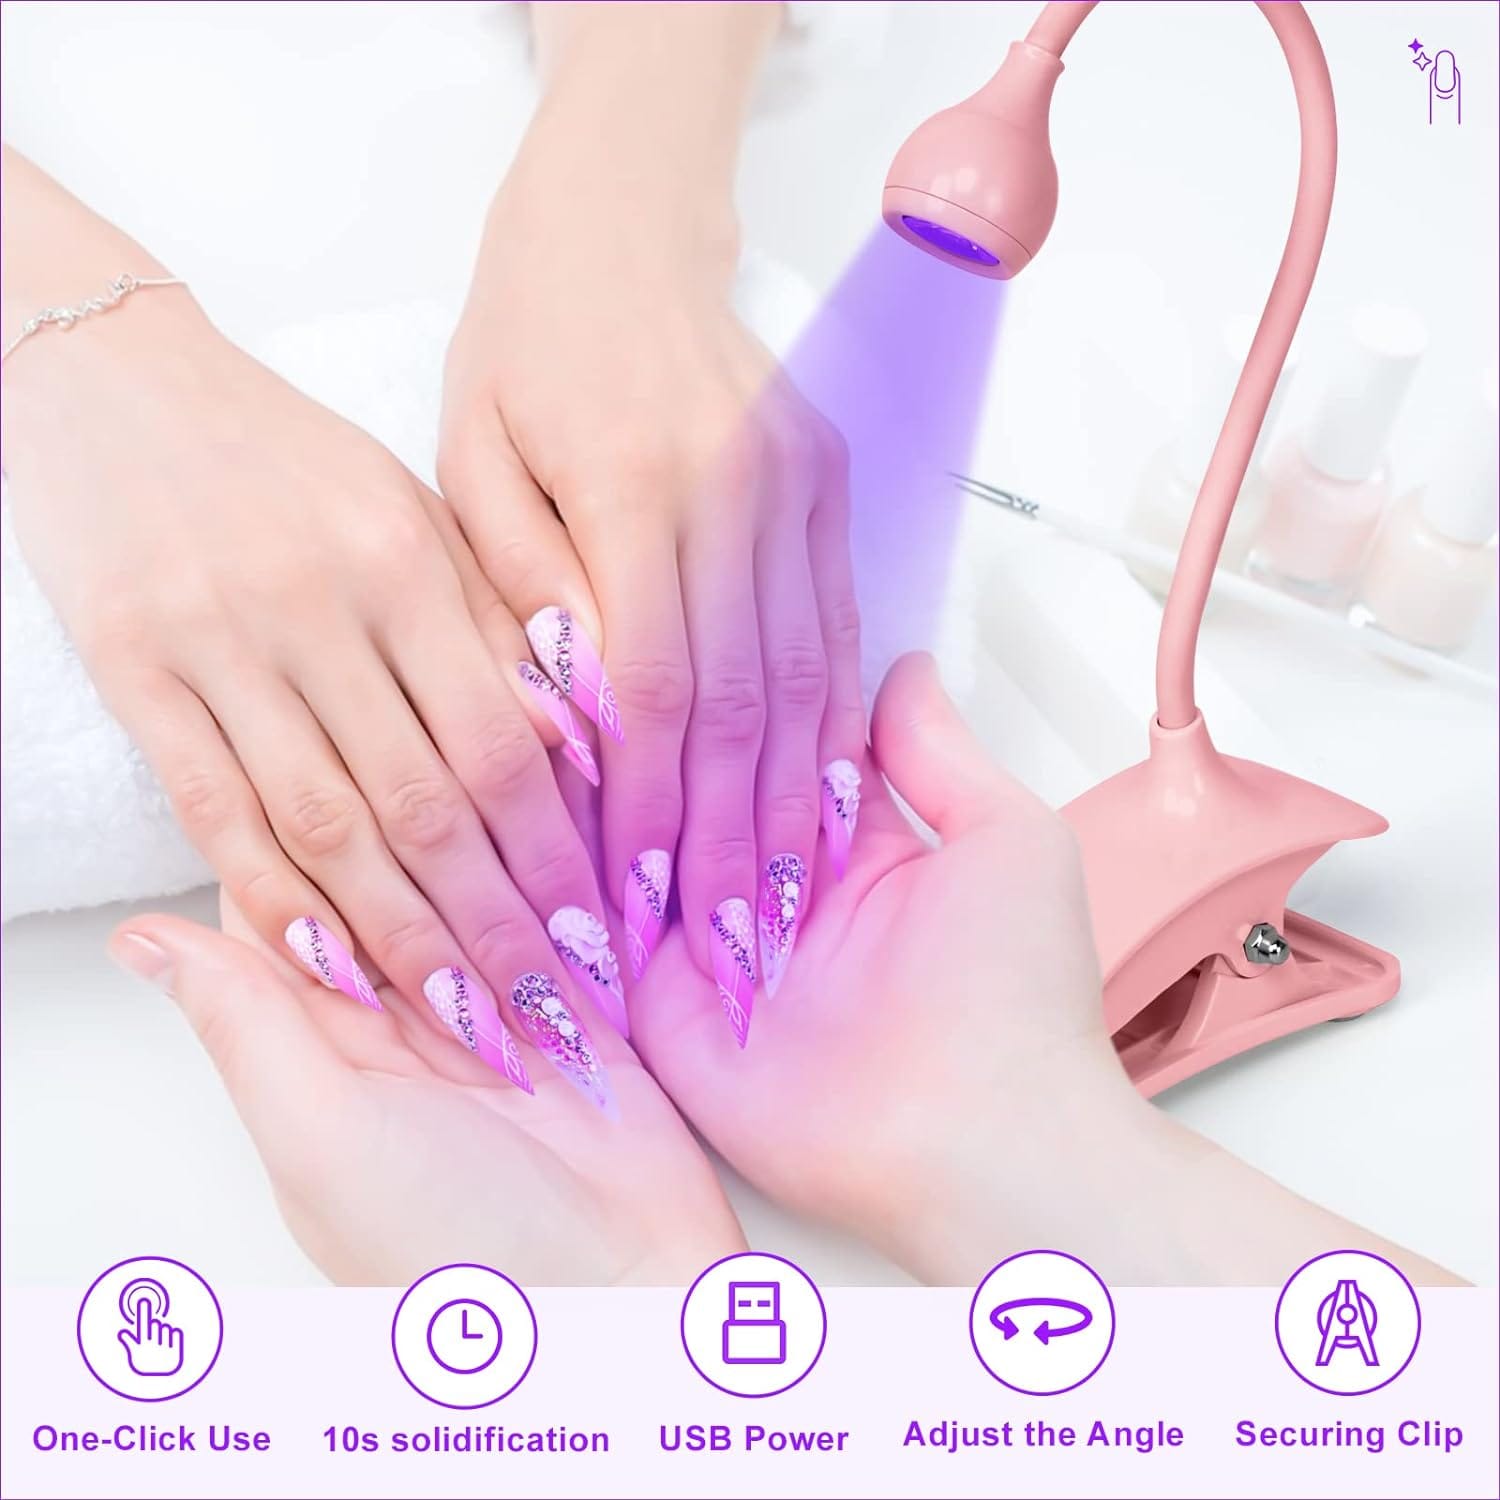
When pondering the question, "How many coats of gel base coat should I use?" it's crucial to consider the role of UV or LED lamps in the curing process. The effectiveness of your gel manicure is not solely dependent on the application but also on how well the gel base coat is cured. UV lamps have been the traditional choice for curing gel polish, but LED lamps are gaining popularity due to their faster curing times. Both types of lamps ensure that each thin layer of gel base coat adheres properly to the natural nail, setting the stage for a flawless finish.
The type of lamp you use can also affect the number of coats needed. While applying gel polish, if the base coat isn't cured properly under the UV or LED light, it can lead to a tacky residue or even peeling. This is why it's essential to follow the manufacturer's recommended curing times for each coat. A well-cured base coat creates a solid foundation for the colored polish to stick to, which can prevent chipping and extend the life of your gel manicure. Remember, the goal is to achieve a perfect gel manicure, balancing durability and nail health.
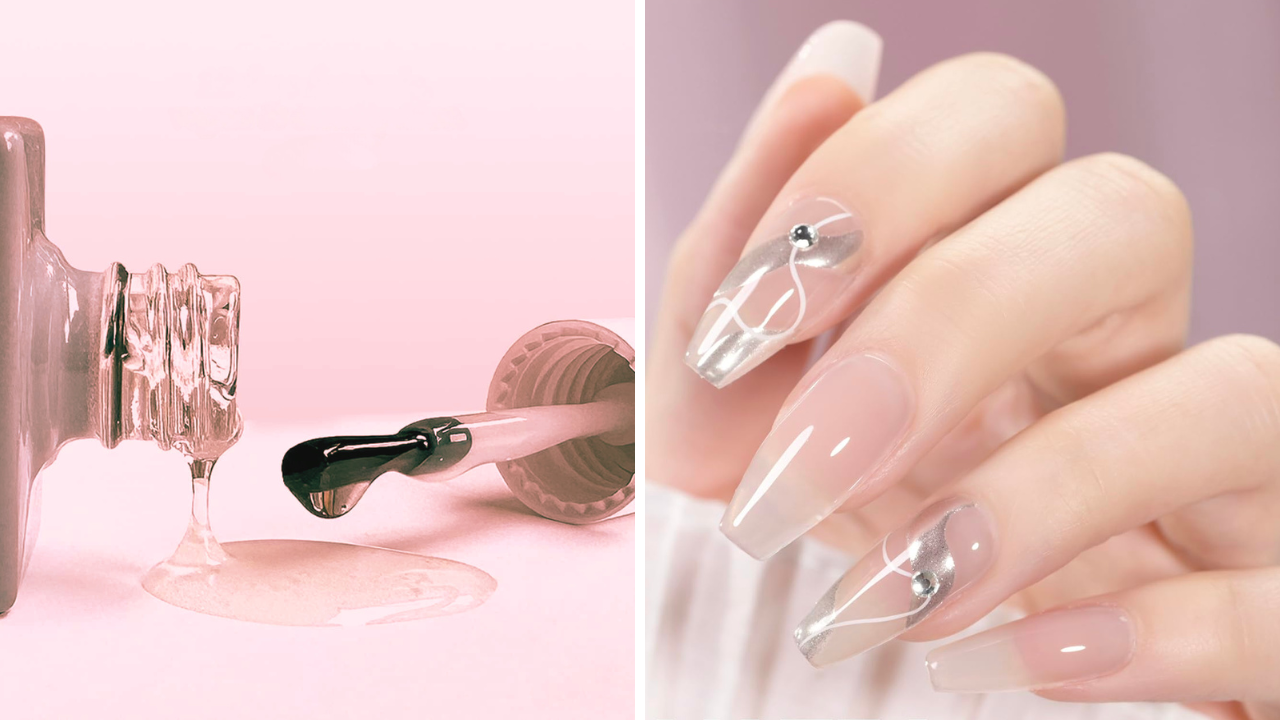
Exploring the World of Gel Nail Art
Gel nail polish isn't just about sporting a natural color with a glossy shine; it's also the fun part of exploring the creative realm of gel nail art. When applying gel polish for nail art, the base coat is the canvas upon which your creativity can flourish. Whether aiming for intricate designs or a simple yet elegant look, the base coat is your starting point. A thin coat is typically sufficient, but for some nail art techniques, a second coat may be necessary to provide a more substantial foundation for the art to adhere to.
Creating gel nail art may require additional layers of gel polish, but it's extremely important to cure each layer under a UV or LED lamp to ensure the design sets correctly. After completing the nail art, applying a gel top coat is the ultimate guide to sealing in the design and adding that extra layer of protection. The top coat not only brings out the vibrancy of the colors and adds depth to the design but also helps to prevent chipping and peeling, ensuring that your nail art remains intact and continues to turn heads for weeks to come.
Gel Manicure Maintenance and Longevity
Extending the Life of Your Gel Manicure
Maintaining the integrity of a gel manicure is extremely important for nail health and aesthetics. After the perfect gel manicure, the key to longevity is how you care for your nails post-manicure. Using cuticle oil regularly can keep the skin around your nails moisturized, preventing peeling and lifting of the gel coat. Additionally, wearing gloves while doing household chores can protect your manicure from harsh chemicals and prevent chipping. It's also essential to avoid using your nails as tools, which can lead to premature wear and tear of the gel polish.
The Role of Top Coats in Gel Manicures
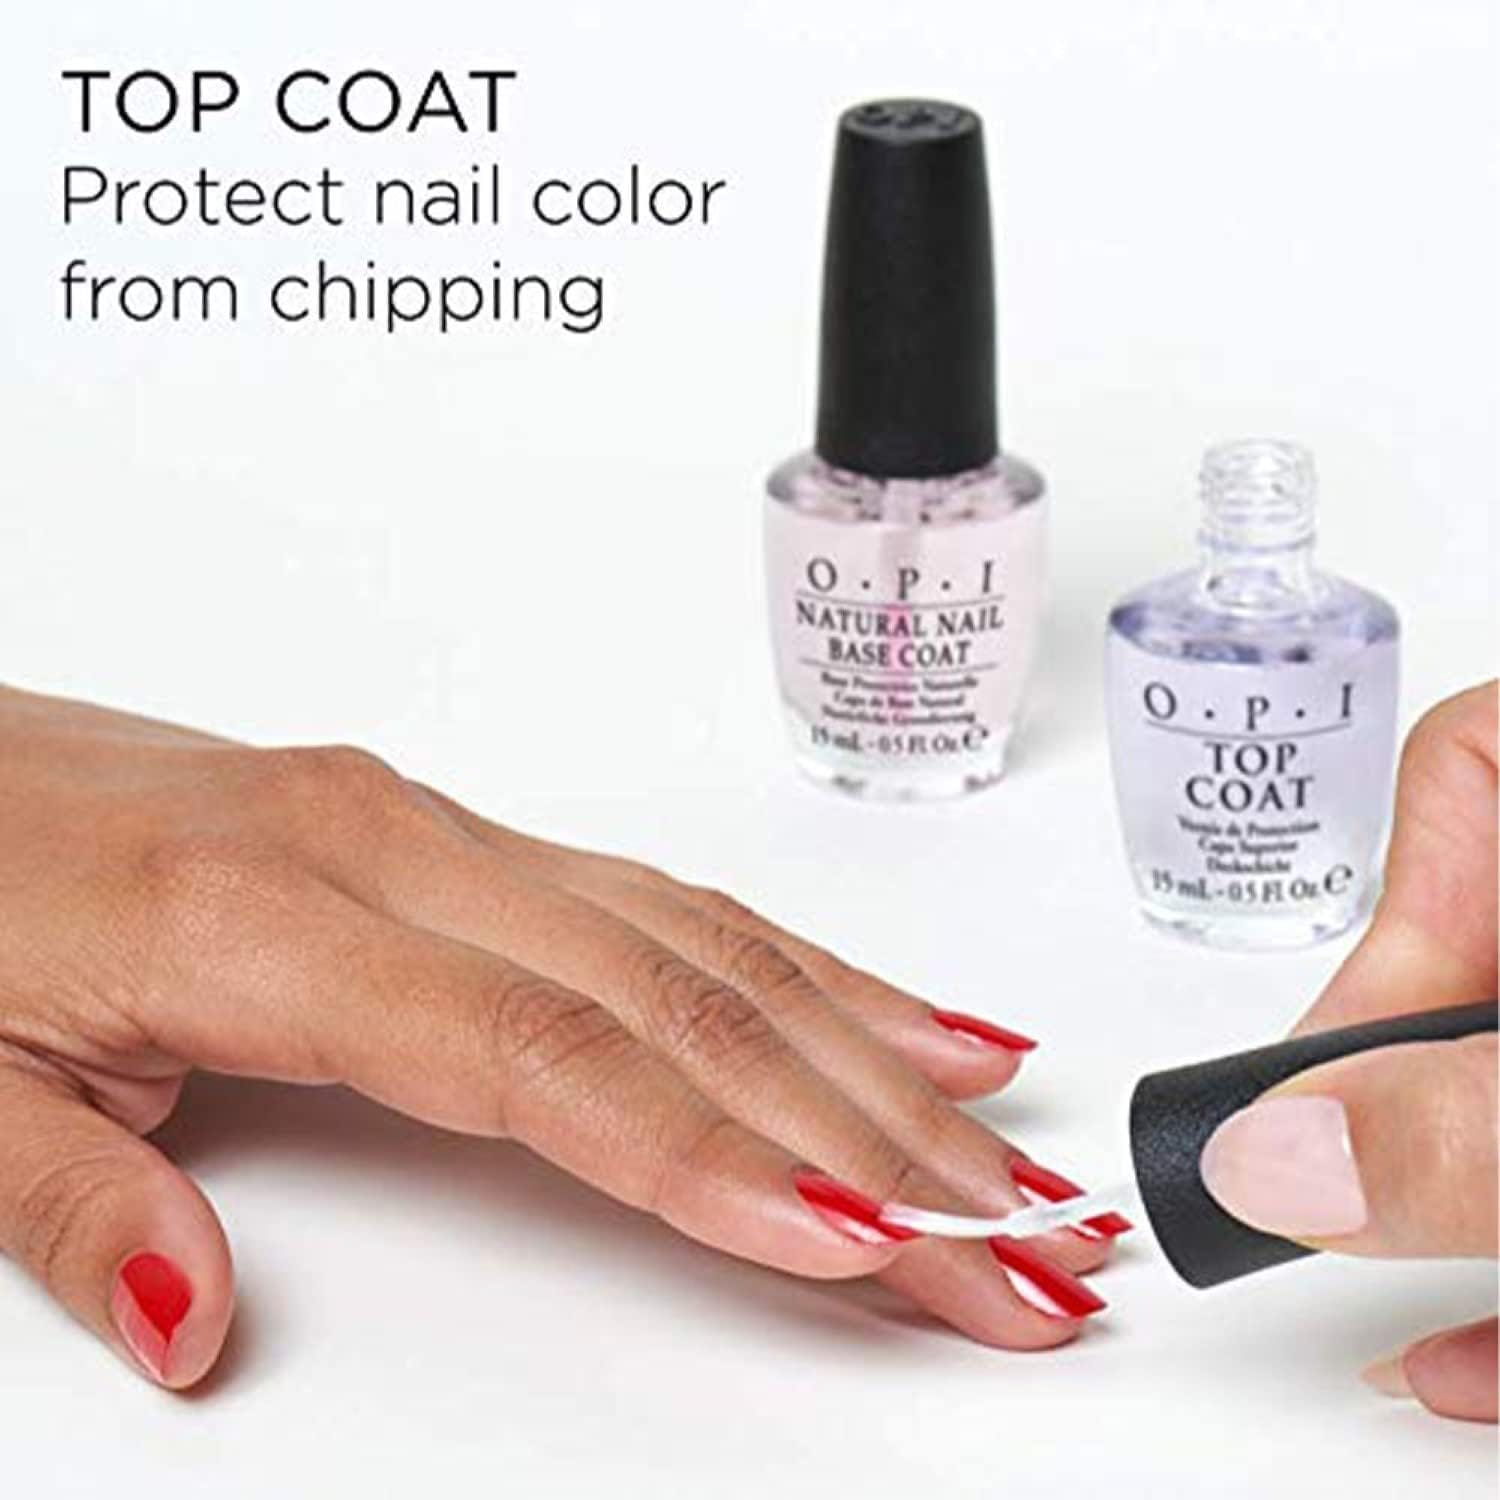
The gel top coat is the shield that provides the ultimate gloss and protection for your gel manicure. It's the final step in the curing process and is just as important as the base coat. A high-quality gel top coat will not only give your nails an incredible shine but also seal in the colored polish, preventing chipping and lifting. When applying the top coat, ensure it covers the entire nail, including the free edge, to lock in the color and prevent the tip from falling. Remember, the top coat should be cured properly under a UV or LED lamp to achieve that durable, glass-like finish that makes gel manicures so popular.
The Art of Gel Polish Application: Techniques for Perfection
Applying gel polish is an art form that requires a steady hand and an eye for detail. The fun part begins after the base coat has been applied and cured. When it's time to transition to colored polish, the same rules apply: thin coats are your friend. Start with a thin layer of gel polish, cap the free edge, and cure. This not only ensures a smooth, even application but also helps the color to stick better and last longer. The shine and depth of color that come with gel polish are best achieved through multiple thin layers rather than one thick one.
For those who love nail art, the gel polish application becomes even more exciting. Whether adding glitter, creating patterns, or embedding designs, the apply polish process remains the same. After each artistic addition, a quick cure under the nail lamp sets the design. Once you're satisfied with the color and art, it's time to seal everything with a gel top coat. This final layer not only adds an extra level of shine but also acts as a shield, protecting your nail art from the wear and tear of daily life. Remember, the curing of the top coat is just as extremely important as the base coat to ensure a perfect gel manicure.
The Ultimate Guide to Nail Health Post-Gel Manicure
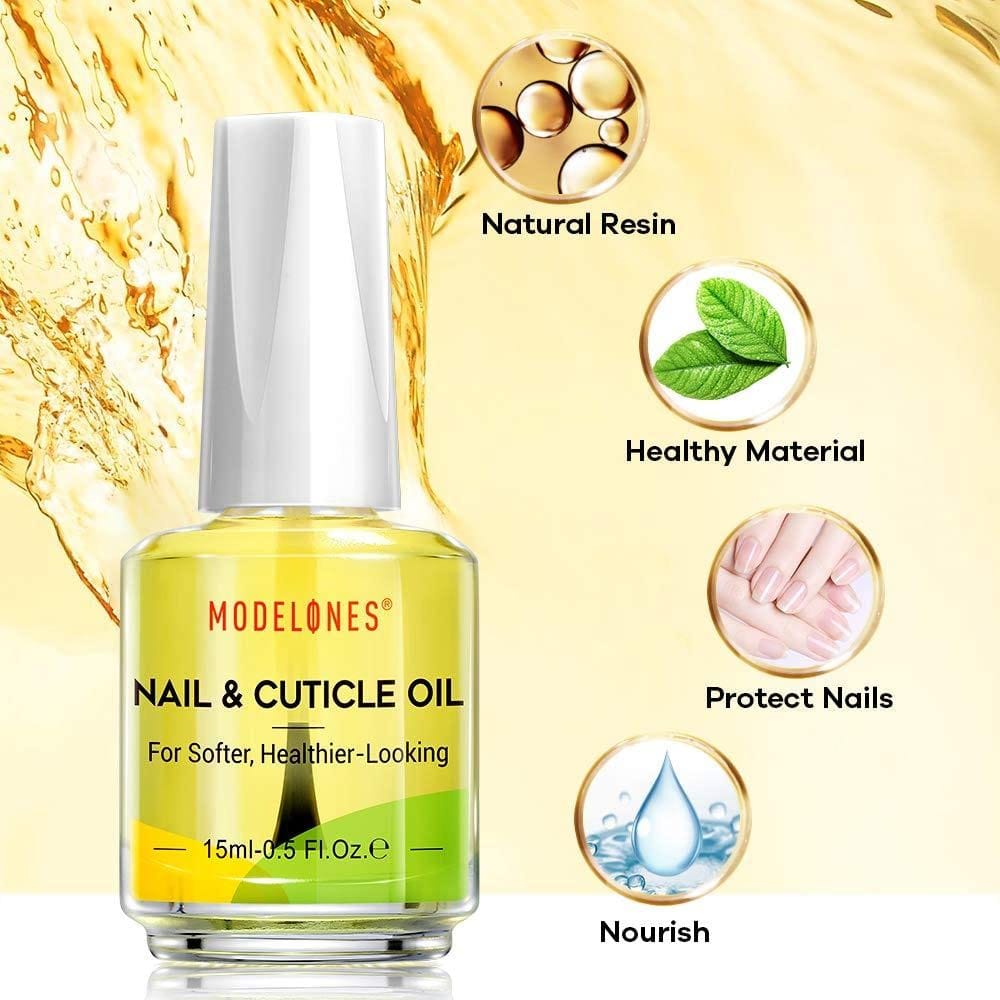
Maintaining nail health after a gel manicure is extremely important. Once you've mastered how many coats of gel base coat to use and completed your gel manicure, it's time to focus on aftercare. Regularly applying cuticle oil can keep your nails and surrounding skin hydrated and healthy. Additionally, wearing gloves while cleaning or doing dishes can protect your flawless nails from harsh chemicals that might cause lifting or chipping of the gel polish.
When it's time for gel polish removal, follow a gentle process to avoid damaging the natural nail. Soak a cotton ball in acetone, place it over the nail, and wrap it with foil. After about 10-15 minutes, the gel polish should simply peel or wipe away. If there's any residue, gently use a nail file or buffer to remove it—never force or scrape off the polish. After removal, give your nails a break before the next gel application to allow them to breathe and recover, ensuring your natural nails remain strong and healthy.
Transitioning to Color
After the base coat is cured, you can move on to the colored polish. Apply thin coats of gel polish, curing each layer before adding the next. This step-by-step guide ensures that each layer bonds and cures correctly, resulting in flawless nails.
The Role of the Gel Top Coat
The gel top coat is the protective shield of your manicure. It provides the shine and durability that gel manicures are known for. Like the base coat, one thin layer of the top coat is sufficient. Cure it under the lamp to achieve that perfect gel manicure shine.
Gel Polish Removal
When it's time to say goodbye to your gel manicure, proper gel polish removal is crucial for maintaining nail health. Soak your nails in acetone, or use a gel polish remover wrap to break down the gel. Avoid peeling or chipping it off, as this can damage the natural nail.
Nail Care Post-Manicure
After removing your gel polish, give your nails some TLC. Apply cuticle oil to hydrate the nail plate and surrounding skin. Regular nail care ensures your nails remain healthy and strong, ready for your next gel manicure adventure.
The Impact of Nail Type
Your nail type can influence how you apply gel polish. Those with oily nail beds may need an extra step in their prep process to ensure the gel base coat adheres properly. Conversely, if you have dry or brittle nails, extra hydration before and after your manicure is key.
Troubleshooting Common Issues
If you experience lifting or peeling, it may be due to improper application or curing. Ensure that each coat is thin and that you're curing the gel for the recommended time. If issues persist, consider the condition of your nails or the quality of the products you're using.
The Final Verdict
In conclusion, one thin gel base coat is typically all you need for a lasting gel manicure. It's not just about the number of coats but also the application technique and nail preparation. Follow these guidelines, and you'll be well on your way to achieving a salon-quality gel manicure at home.
Summary
The ultimate guide to applying a gel base coat boils down to one thin coat, proper nail prep, and correct curing. This ensures a durable manicure that showcases your nail art without compromising nail health. Remember, the base coat is the foundation of your gel manicure, so getting it right is crucial.
FAQ Section
Can I use two coats of gel base coat if my nails are weak?
While it might seem like a good idea, it's best to stick to one thin coat. Instead, focus on nail-strengthening treatments outside of your manicure routine.
How long should I cure the gel base coat?
The curing time varies depending on the brand and whether you use a UV or LED lamp. Typically, it ranges from 30 seconds to 2 minutes. Always follow the manufacturer's instructions.
What if the gel base coat seems too thick?
If your base coat is too thick, it may not cure properly and could lead to peeling. Ensure you're applying a thin layer, and if the product itself is thick, consider replacing it as it may be old or of poor quality.