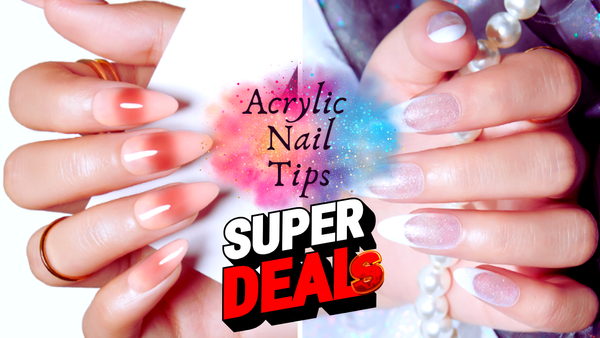
Acrylic nails have been a staple in the beauty industry for decades, offering a durable and customizable option for those looking to extend their natural nails. Whether you're a seasoned nail artist or a DIY enthusiast, applying acrylic nail tips can transform your manicure game. In this comprehensive guide, we'll walk you through the process of applying acrylic nail tips at home, ensuring your nails look salon-worthy every time.
Key Takeaways:
- Learn the step-by-step process of applying acrylic nail tips at home.
- Understand the importance of proper nail preparation for a lasting acrylic manicure.
- Discover tips and tricks for achieving a professional finish with your acrylic nails.
Preparing Your Natural Nails
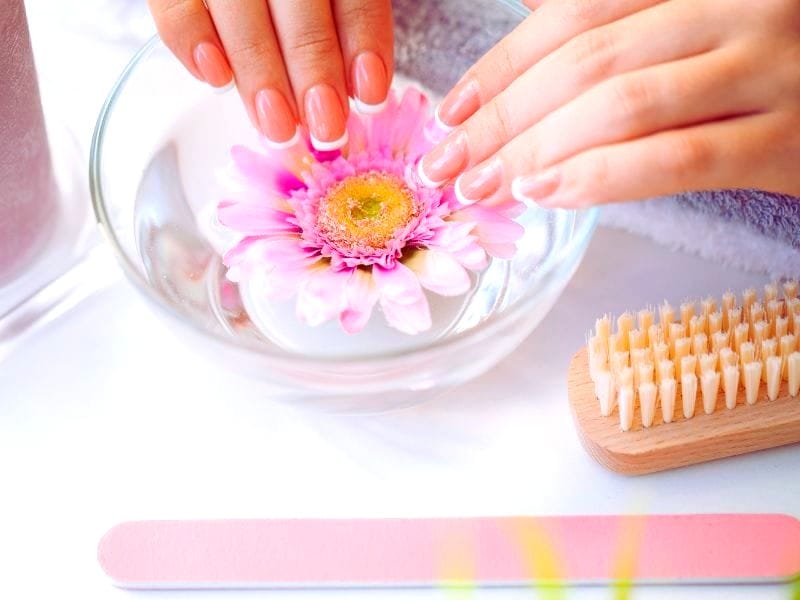
Before diving into the world of acrylics, it's crucial to prepare your natural nails. Start by removing any old polish with pure acetone and gently push back your cuticles with a cuticle pusher. This exposes the entire nail bed, ensuring the acrylic nails adhere properly. Next, use a soft file to buff the surface of your natural nails, creating a slightly rough texture that helps the acrylic bond better.
Ensure your nails are clean and free of oils or debris. Wipe them with a paper towel dampened with nail primer. This step dehydrates the nail plate, removing any excess moisture and oils that can cause the lifting of the acrylic nail tips.
Choosing the Right Nail Tips
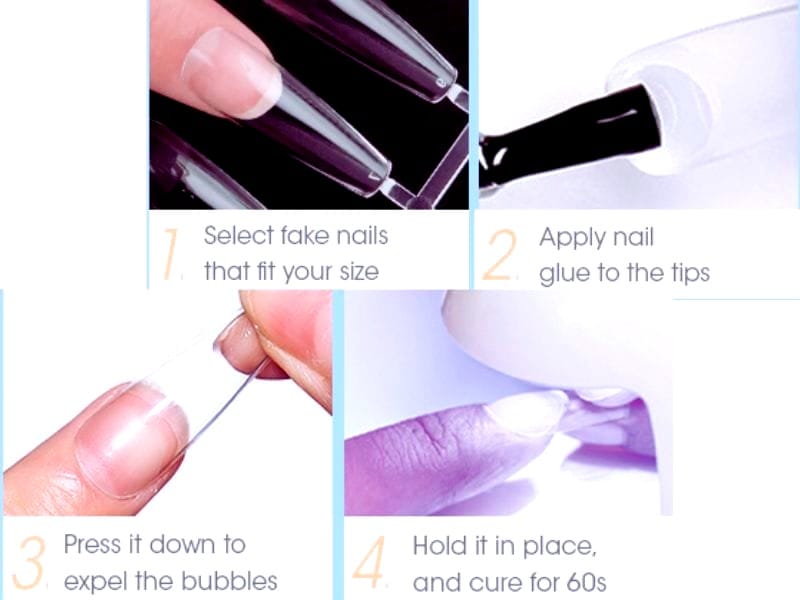
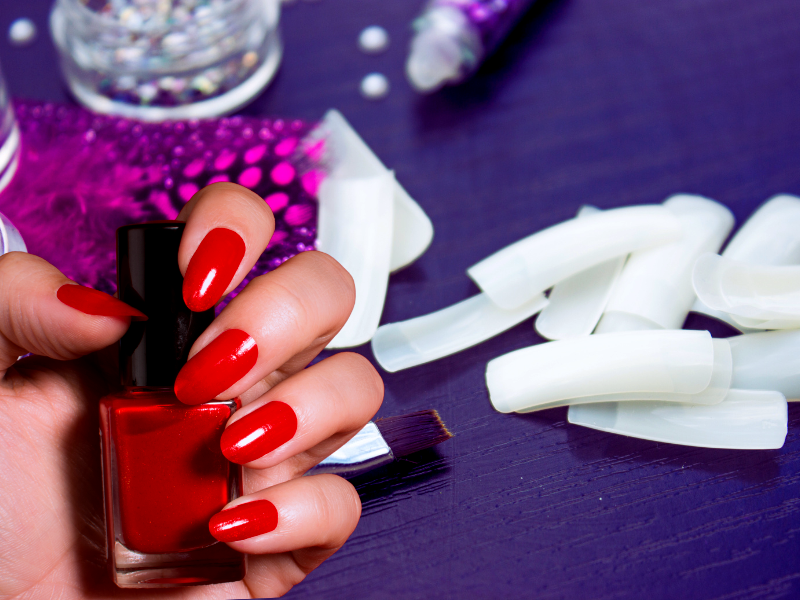
Selecting the right nail tips is essential for a natural and comfortable fit. Nail tips come in various shapes and sizes, and choosing ones that match the width and curve of your natural nail bed is important. Hold the nail tip over your nail to check the fit; the nail tip should cover the nail bed from sidewall to sidewall without any gaps.
Once you've found the perfect match, apply a thin layer of nail glue to the bottom edge of the nail tip. Gently press the nail tip onto your natural nail, holding it in place for a few seconds to ensure it's adhering properly. Avoid using too much glue, as this can cause air bubbles and weaken the bond.
Trimming and Shaping the Tips
After the nail tips are securely attached, it's time to trim them to the desired length. Use scissors or a nail tip cutter to cut the tips to your preferred length. Then, gently file the edges to smooth out any roughness and shape the nails into your desired style, whether a classic round, a sophisticated square, or a trendy coffin shape.
Be careful not to file too aggressively, as this can damage the nail tip or your natural nail. A soft file or a fine-grit nail file is ideal for refining the shape without causing harm.
Preparing the Acrylic Mixture
Acrylic nails are created by combining the acrylic powder with acrylic liquid in a separate dish. Pour a small amount of liquid acrylic into the acrylic dish, and have your acrylic powder ready. Dip your acrylic brush into the liquid, wiping off excess liquid on the side of the dish, then gently dip the brush into the acrylic powder to form a small ball of acrylic mixture.
The consistency of the acrylic bead is crucial; it should not be too wet or too dry. A well-formed bead will allow for easier application and better control over the acrylic.
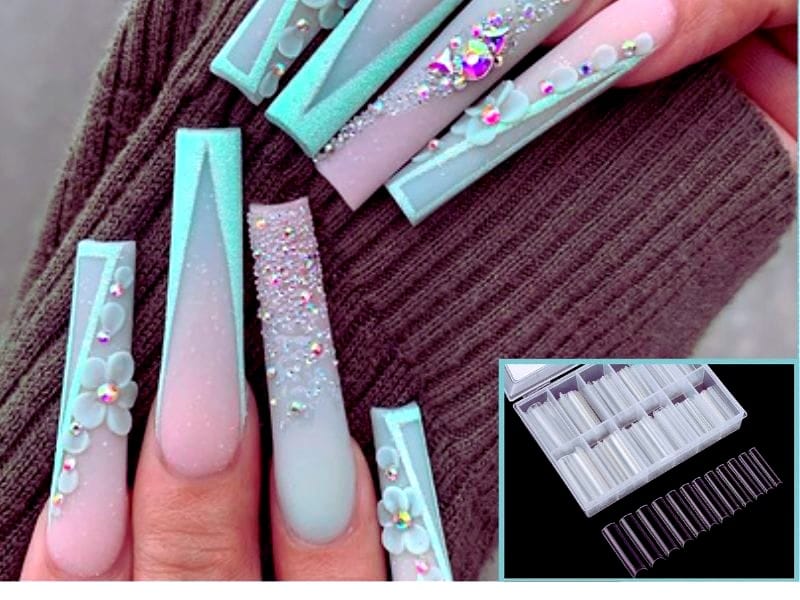
Customizing Your Acrylic Nail Tips
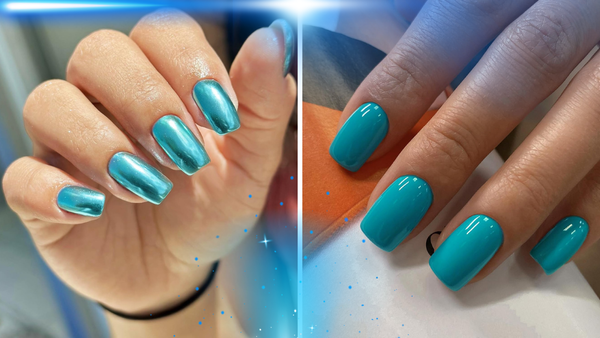
Now, let's talk style. The shape of your acrylic nail tips can drastically change the look of your manicure. From the classic round to a daring stiletto, the choice is yours. Use a nail file to gently shape the tips after adhering them to your natural nails. If you're aiming for a square look, file straight across the free edge, but if you're going for an almond or oval shape, file the sides at a slight angle. And here's a pro tip: filing in one direction helps prevent splitting. Once you've shaped your tips, you can start thinking about color and design. Will you go for a solid nail polish or perhaps a trendy nail art design? The possibilities are endless!
The Role of a Nail Primer in Acrylic Application
Why is a nail primer so important? Without it, you might find your acrylic nails lifting or popping off prematurely, and nobody wants that after spending time on a beautiful manicure. A good primer will remove any remaining oils and moisture from your nail plate, ensuring the acrylic nails adhere properly. It also helps prevent fungal infections by sealing the area between the natural nail and the acrylic tip. So, don't skip this step! Whether you're a DIY enthusiast or a seasoned nail technician, using a nail primer is the foundation for a long-lasting, professional-looking acrylic manicure.
Applying the Acrylic to the Nails
Begin by placing the small bead of acrylic onto the base of your nail near the cuticle area. Use the acrylic brush to gently push the bead towards the cuticle, ensuring you leave a small margin to avoid flooding the cuticle with acrylic. Then, guide the bead down the entire nail, spreading it evenly to cover the natural nail and tip.
Work quickly but carefully as the acrylic begins to air dry. Ensure the entire nail bed is covered with a thin layer of acrylic, paying special attention to the sides and tip of the nail. If necessary, apply a second bead to build up the nail's structure and strength.
Finishing Touches
Once the acrylic has set and is no longer tacky, use a nail file to shape the acrylic nails to your desired style. File the sides and the free edge to ensure they are even and smooth. If you've created any bumps or uneven areas during the application, now is the time to gently file them down.
Buff the surface of the acrylic nails to create a smooth finish, preparing them for nail polish or a top coat. Apply cuticle oil to the cuticle area to rehydrate the skin after the acrylic application. This not only promotes healthy nail growth but also gives your manicure a professional touch.
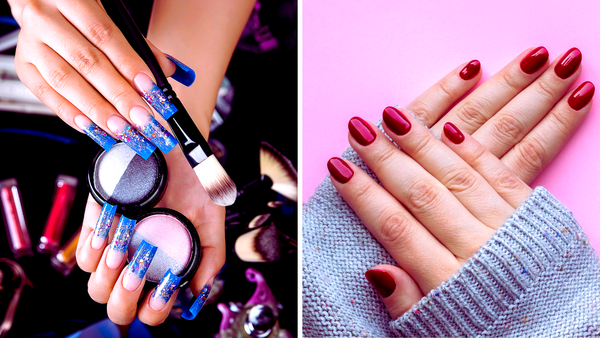
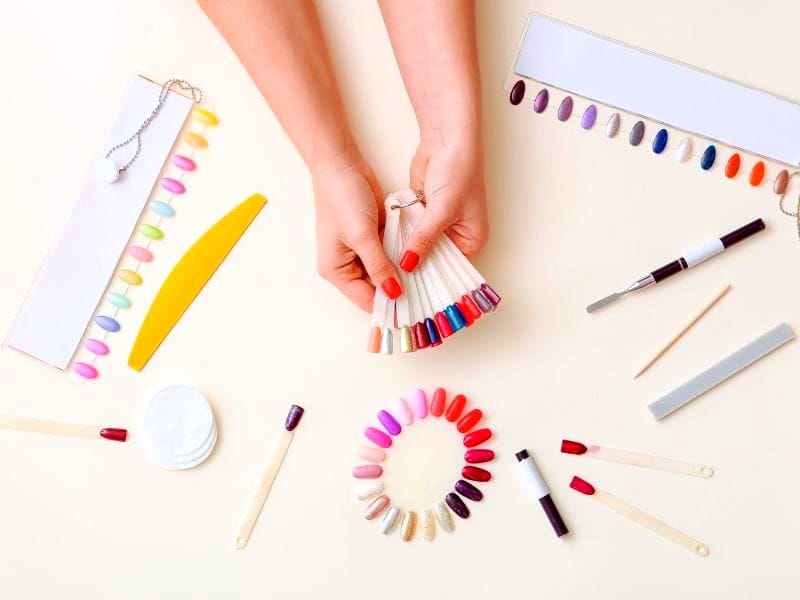
Applying Nail Polish or Top Coat
Once your acrylic nails are shaped and buffed, you can apply your favorite nail polish. Start with a base coat to protect the acrylic from staining, then apply two coats of your chosen color, allowing each coat to dry completely. Finish with a top coat to seal in the color and add a glossy shine.
If you prefer a more natural look, simply apply a clear top coat to enhance the shine of your acrylic nails. Allow the top coat to dry completely, giving your nails a durable and protective finish.
Nail Care and Maintenance
Acrylic nails require regular maintenance to keep them looking their best. As your natural nails grow, you'll notice a gap forming at the base of the acrylics. It's recommended to fill in this gap every two to three weeks to prevent lifting and to maintain the strength of the acrylic nails.
In addition to fills, practice good nail care by keeping your nails clean and moisturized. Use cuticle oil daily to nourish the cuticle area and prevent dryness. Avoid using your acrylic nails as tools, which can cause them to break or lift.
Summary
Applying acrylic nail tips at home can be a rewarding and cost-effective way to achieve a professional-looking manicure. By following these detailed instructions, you can ensure your acrylic nails are applied correctly and last for weeks. Remember to prepare your natural nails properly, choose the right nail tips, and apply the acrylic mixture carefully. With practice and patience, you can create stunning acrylic nails in the comfort of your own home.
FAQ Section
How often should I get my acrylic nails filled?
It's recommended to get your acrylic nails filled every two to three weeks to maintain their appearance and integrity. This helps prevent lifting and allows for any necessary repairs.
Can I apply acrylic nails without a UV lamp?
Yes, acrylic nails do not require a UV lamp to cure. The acrylic mixture air dries on its own, unlike gel nails, which need a UV or LED lamp to set.
How do I remove acrylic nails safely at home?
To remove acrylic nails, gently file down the top layer to break the seal and soak your nails in pure acetone for 10-15 minutes. The acrylic should become soft and easy to remove. Never force or pull the acrylic off, as this can damage your natural nails.