


Key Takeaways:
- Preparation is Key: Proper nail preparation ensures a long-lasting glitter manicure.
- Application Technique Matters: Techniques like patting or pressing the glitter can affect the final look.
- Sealing is Crucial: Always seal your glitter with a top coat to lock in the sparkle.
Glitter nails are not just a style statement; they are a testament to the meticulous art of nail design. Whether you're preparing for a special occasion or want to add a bit of sparkle to your daily life, mastering how to apply glitter powder to gel nails can elevate your nail art game significantly.
Understanding the Basics of Gel Nails and Glitter Powder
Before diving into the glittery world, it's essential to understand gel nails. Unlike regular nail polish, gel polish is cured under a UV or LED lamp, creating a durable, glossy finish. Glitter powder, on the other hand, can range from fine to chunky particles that can be embedded into gel polish to create a dazzling effect.
Tools and Materials Needed
To start, you'll need a few key items:
- UV or LED lamp
- Gel base coat and top coat
- Gel polish of your choice
- Glitter powder
- Small brush or makeup sponge
- Nail file and buffer
- Gel cleanser or nail polish remover
- Orange stick or fan brush
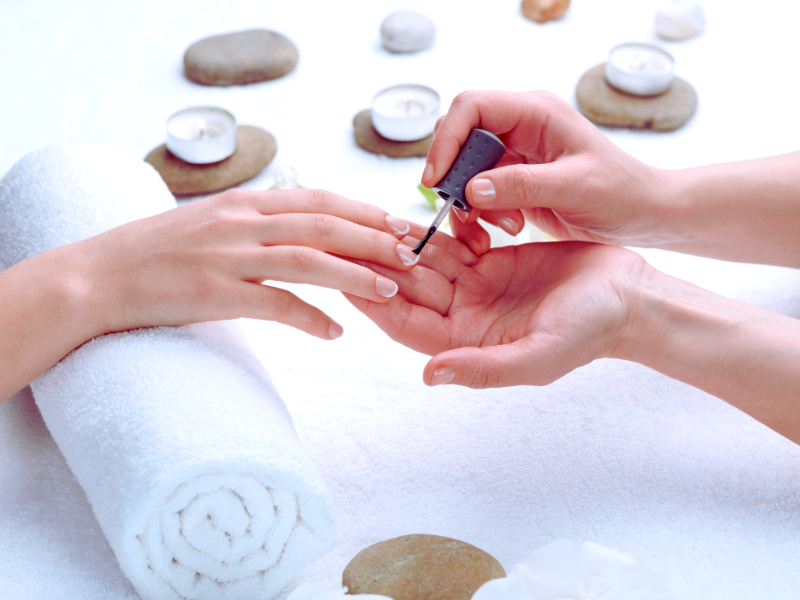
Preparing Your Nails
Proper preparation is crucial for a successful glitter gel manicure. Begin by cleaning your nails with a gel cleanser or nail polish remover to remove old polish and oils. Next, gently buff the surface of each nail to create a smooth base for the gel polish to adhere to. Push back your cuticles and shape your nails to the desired length using a nail file.
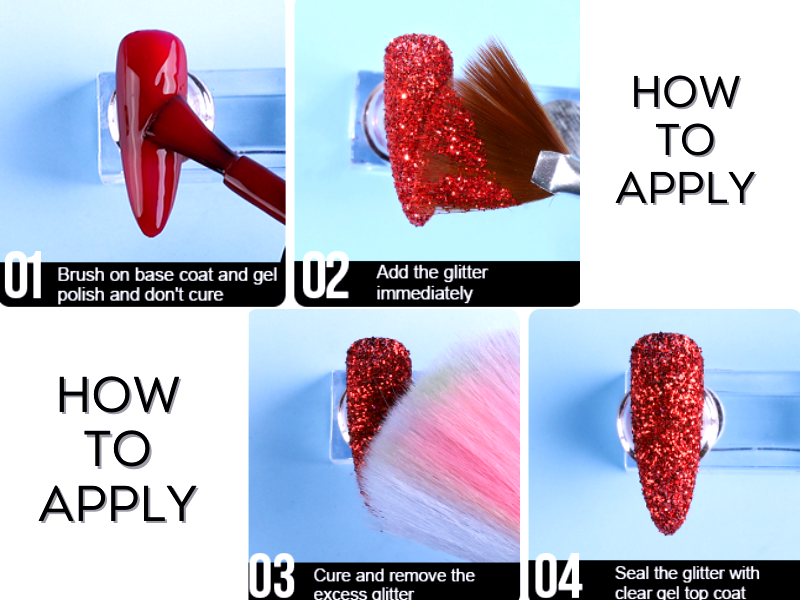
Applying the Base Coat
Apply a thin layer of gel base coat to each nail, avoiding the cuticle area. Cure under a UV or LED lamp according to the manufacturer's instructions. This base layer acts as a strong foundation for your glitter manicure.
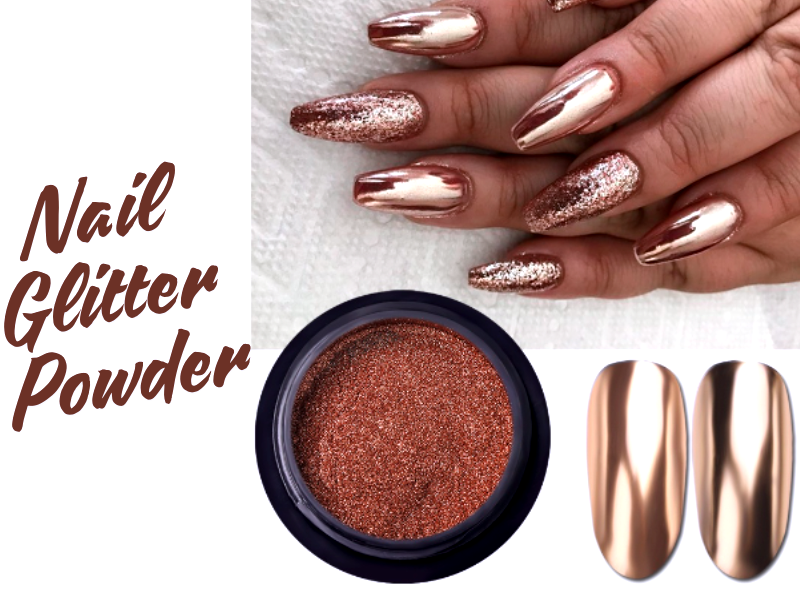
Choosing and Applying Your Glitter
When it comes to choosing your glitter, the sky's the limit. You can opt for fine glitter for a subtle shimmer or chunky glitter for a more dramatic look. To apply, dip a small brush or the edge of a makeup sponge into the glitter powder and gently press it onto the tacky layer of the base coat. This method helps in achieving an even distribution of glitter particles.
Creative Techniques for Applying Glitter to Gel Nails
When diving into glitter gel nails, the application method can make or break your sparkly endeavor. For those aiming to achieve a super sparkly finish, consider using a fan brush or a small makeup sponge. A fan brush, available at most beauty supply stores, lets you gently press and sweep glitter particles across the nail surface, creating a smooth, even layer without clumping. Alternatively, a small makeup sponge can apply a thin layer of loose glitter. Dip the edge of the sponge into the glitter, tap off the excess, and dab gently onto the tacky layer of your gel polish. This method helps control the amount of glitter and ensures an even distribution.
Another engaging technique involves creating a glitter fade or ombre effect, which adds a touch of elegance to your nails. Start by applying a thin coat of gel polish as your base. Once you've cured it under a UV or LED lamp, apply a second, slightly tacky layer of gel polish where you want to concentrate the glitter. Using a small brush or the tip of an orange stick, pick up fine glitter particles and gently pat them onto the lower half of the nail, gradually decreasing the amount as you move upwards. This gradient effect can be sealed with a clear top coat for a dazzling finish that transitions beautifully under different lights.
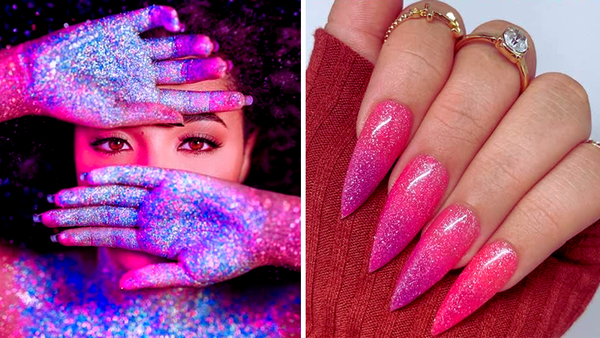
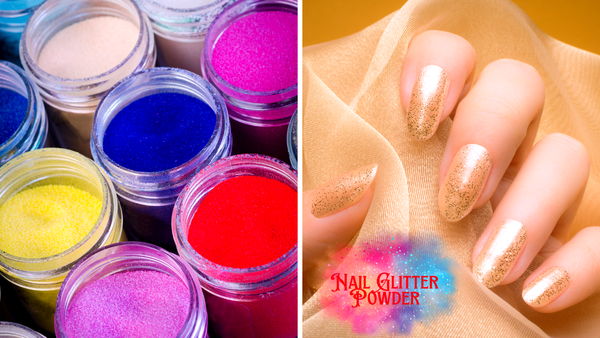
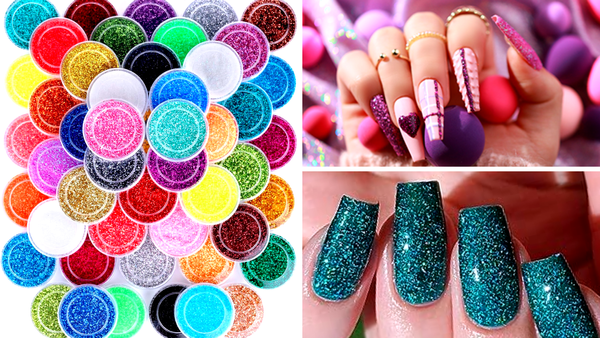
Exploring the World of Glitter Types for Gel Nails
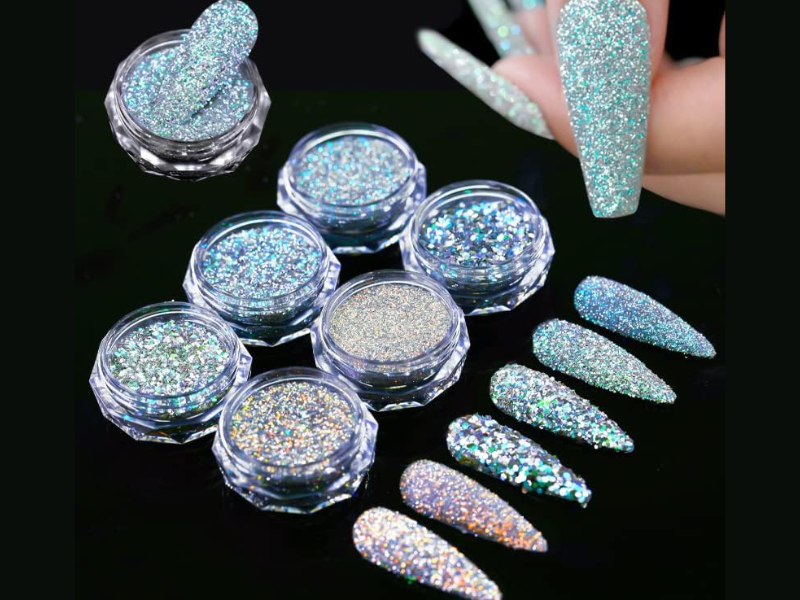
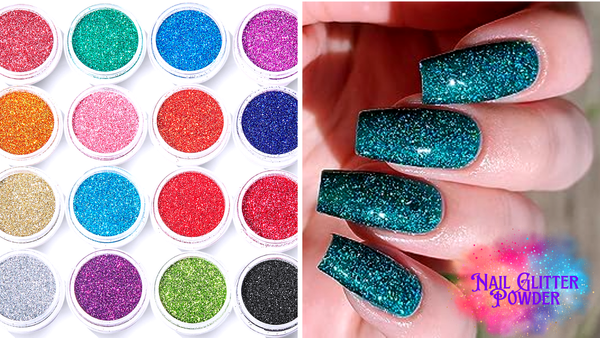
When applying glitter powder to gel nails, the variety of glitter types available can transform your nail art from simple to dazzling. Fine glitter is perfect for a subtle shimmer, while chunkier glitter particles create a more dramatic look. For those who adore a middle ground, mixed-size glitter offers a textured finish that catches the light beautifully. Each type of glitter interacts differently with gel polish, so choosing the right one can elevate your manicure to a work of art.
Experimenting with color is just as crucial as the size of the glitter. Silver and gold are classic choices that complement any outfit, but don't shy away from vibrant colors like electric blue or fiery red to make a bold statement. For a truly unique approach, holographic or iridescent glitters can add a magical twist to your nails, reflecting a spectrum of colors depending on the light. Remember, the color and type of glitter chosen can significantly affect the overall aesthetic and impact of your glitter gel manicure.
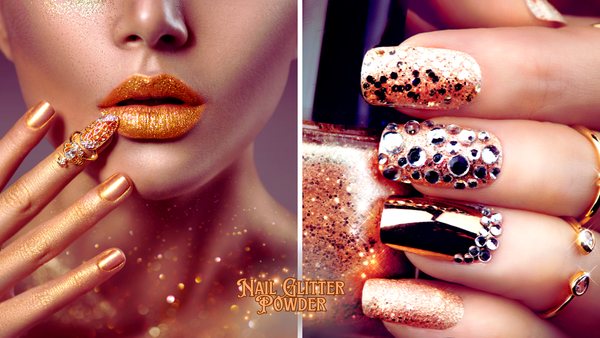
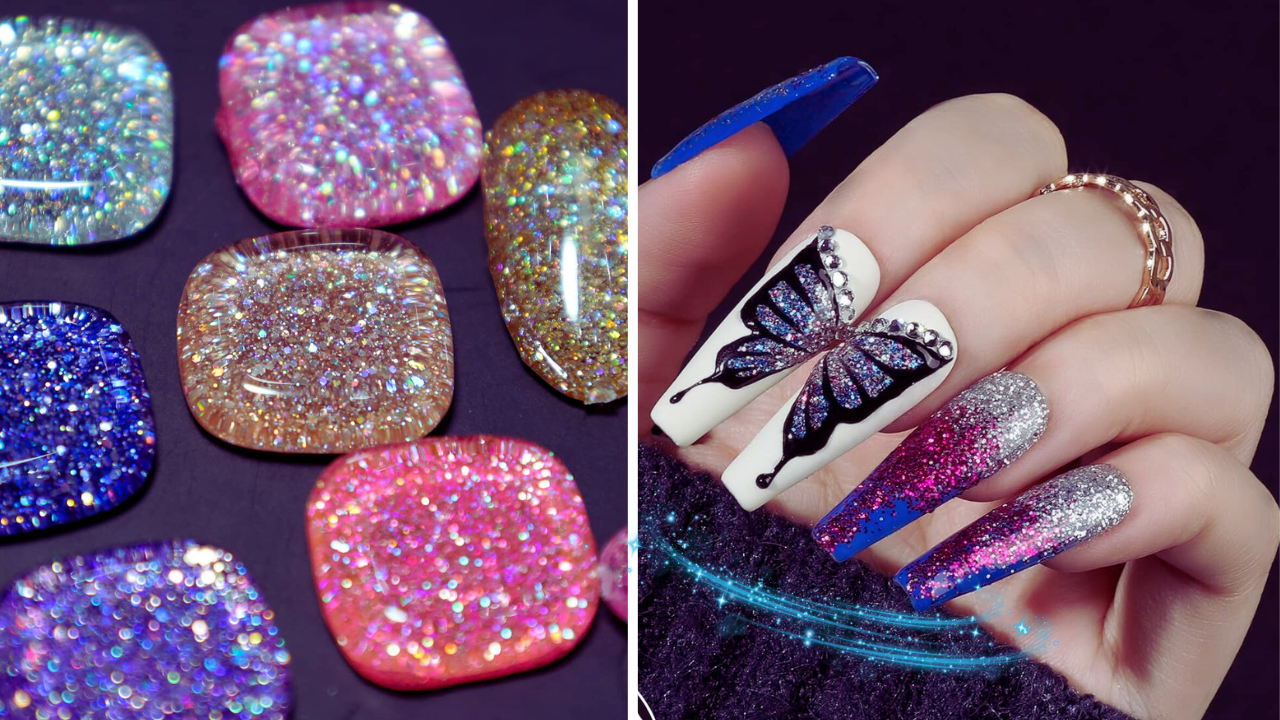
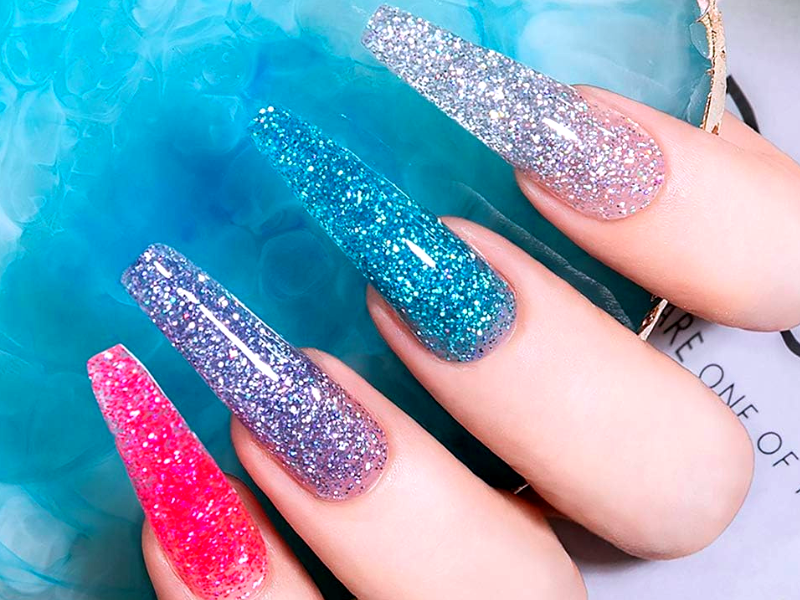
Trending Nail Art Designs Using Glitter
Glitter isn't just a sparkly addition; it's a ticket to the trendiest nail art designs. For those who love a bit of drama on their digits, mixing different sizes and colors of glitter can create a multidimensional effect that catches the eye. Start with a base coat of gel polish in a neutral color. While still tacky, use a fan brush to sprinkle fine and chunky glitter across the nail surface. This technique, often called the glitter fades, creates a celestial cascade from the cuticle to the tip, perfect for night events or to add a sparkle to your everyday look.
Another hot trend is glitter encapsulation. After applying a thin layer of clear gel polish, gently press larger glitter pieces or tiny sequins into the tacky layer using a small brush or an orange stick. Seal everything with a thick layer of clear top coat. This method not only secures the glitter but also gives the nails a smooth surface, making the glitter appear as if it's floating within the nail itself. This style is ideal for those who want their hands to make a statement without saying a word.
How to Maintain and Remove Glitter Gel Nails Safely

Maintaining glitter gel nails requires a bit more finesse than regular gel manicures. To keep the super sparkly look intact, apply a thin, clear top coat every few days. This not only prevents the glitter from chipping but also keeps the shine alive. Be mindful of the nail edges and the free edge in particular; these areas are prone to wear and tear, which can lead to the lifting and peeling of the glitter pieces. Regularly applying a top coat helps to seal these vulnerable spots, ensuring your glitter manicure stays pristine for longer.
When the time comes to bid farewell to your glittery companions, patience is key. Soak a cotton pad in nail polish remover, preferably acetone-based, for efficiency, and place it over the nail. Wrap each finger with a small piece of aluminum foil to secure the cotton pad, and let it sit for about 10-15 minutes. This method helps to break down the gel polish and glitter, making it easier to gently buff away any residue without damaging the natural nails. Remember, harsh scraping can harm your nail health, so always opt for gentle removal techniques.
Mastering the Art of Glitter Application Techniques
Applying glitter to gel nails can be akin to painting on a tiny canvas—you need the right techniques to achieve a masterpiece. One popular method is using a makeup sponge to apply loose glitter. This technique allows for dense, even coverage and helps absorb excess clear nail polish, ensuring that only glitter adheres to the nail bed. Dab the sponge lightly into the glitter, then press it onto the tacky layer of your gel manicure, gently patting it to ensure an even layer.
Another innovative approach involves using a fan brush or a small brush for more controlled and detailed glitter placement. This method is ideal for creating glitter gradients or adding glitter accents to specific nail areas. After applying a thin layer of gel base coat, dip your brush into the glitter and gently tap to remove excess before brushing it onto the nail surface. This technique is perfect for those who love intricate nail art or want to add a touch of sparkle without overwhelming the entire nail.
Maintaining the Brilliance of Glitter Gel Nails
To keep your glitter gel nails looking their best, maintenance is key. After your glitter manicure, applying a clear top coat every few days can significantly extend the life of your nails and keep the glitter from wearing off. It’s like giving your nails an extra layer of armor against the daily wear and tear. Make sure to cover the entire nail surface, including the free edge, to seal in the glitter and prevent chipping. This regular mini-upkeep can keep your nails looking salon-fresh for longer.
When the time comes to bid farewell to your glittery companions, the removal process should be as gentle as the application. Soak a cotton pad or cotton ball in nail polish remover, preferably acetone-based for effectiveness, and place it over the nail. Wrap each nail with a small piece of aluminum foil to secure the cotton, and let it sit for about 10-15 minutes. This method helps break down the gel polish and glitter, making it easier to gently buff away any residue without harsh scraping. Remember, patience during removal not only preserves the health of your natural nails but also makes your next glitter adventure much smoother.
Applying the Gel Polish
After the glitter is in place, apply a thin coat of colored gel polish over the entire surface of your nails. Be careful to cover all the glitter pieces completely. Cure under the lamp once again.
Sealing the Glitter
Once your color polish has set, it's time to seal in the glitter. Apply a thin layer of gel top coat over the nails, ensuring you cover the free edge to prevent chipping. Cure under the lamp for the final time to set everything in place.
The Finishing Touches
After curing, if there is any excess glitter around the nails, use a small brush or cotton pad dipped in nail polish remover to clean it up. This step ensures your glitter gel manicure looks neat and professional.
Maintaining Your Glitter Gel Nails
To keep your glitter nails looking their best, avoid using them as tools to prevent chipping. Regularly apply cuticle oil to nourish your nails and keep the skin around them healthy.
Removing Glitter Gel Polish
When you're ready to change your nail design, removing glitter gel polish requires patience. Soak a cotton ball in nail polish remover, place it on your nail, and wrap it with foil. After 10-15 minutes, gently remove the polish using an orange stick or a nail file.
Summary
Applying glitter powder to gel nails can transform a simple manicure into a sparkling masterpiece. By following the steps outlined—from preparation to sealing—you can achieve a professional-looking glitter manicure at home. Remember, the key to a perfect glitter gel manicure lies in careful application and patience.
FAQ
How long does a glitter gel manicure last?
With proper application and care, a glitter gel manicure can last up to three weeks.
Can I use regular glitter from craft stores for my nails?
It's best to use cosmetic-grade glitter from beauty supply stores, as it is finer and specifically meant for use on nails.
Is there a quicker way to remove glitter gel polish?
While the foil and cotton method is most effective, a professional gel polish remover can speed up the process.