


Key Takeaways:
- Learn the best practices for maintaining the quality and longevity of your nail art brushes.
- Discover the proper techniques for cleaning both synthetic and natural fiber brushes.
- Understand the Importance of regular cleaning to ensure flawless nail art designs.
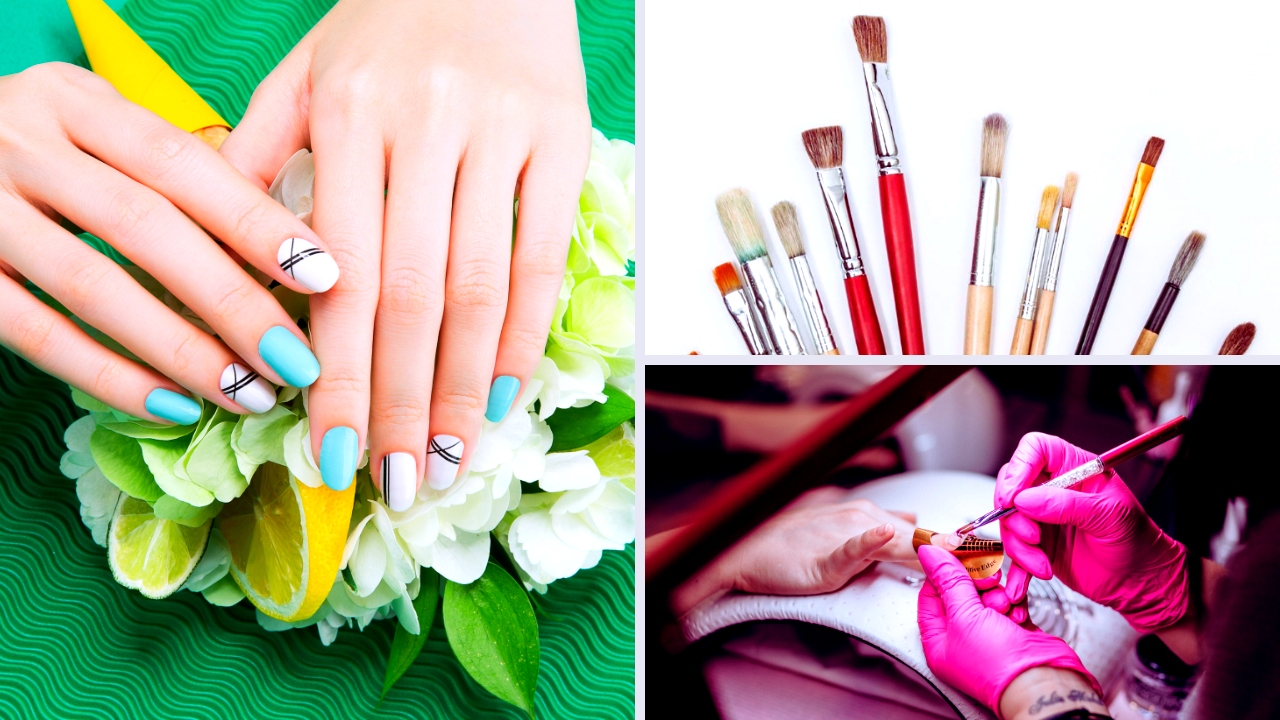
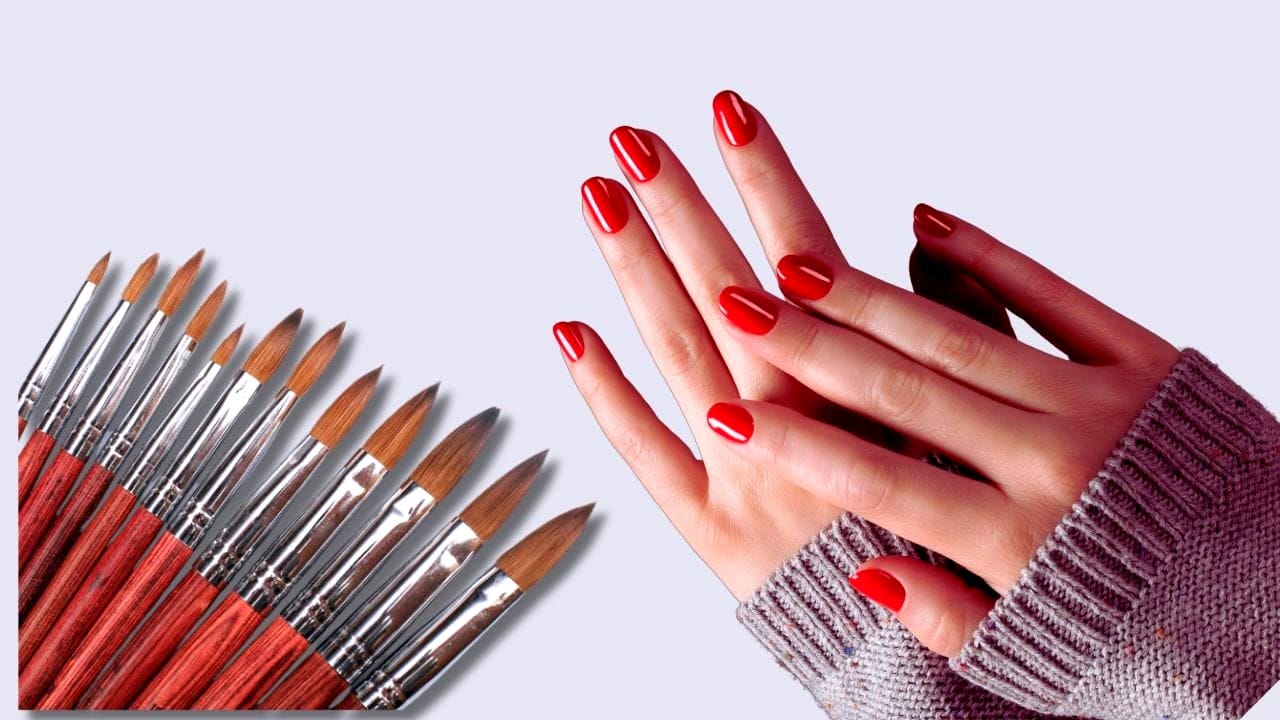
Nail art enthusiasts and professional manicurists alike know that the secret to perfect nail designs lies in the tools you use. Among these, nail art brushes are the cornerstone of any intricate design. However, maintaining these delicate tools is crucial for their performance and longevity. In this comprehensive guide, we'll explore how to clean nail art brushes effectively, ensuring that your nail art creations are always top-notch.
The Basics of Nail Brush Maintenance
Before diving into the cleaning process, it's important to understand why regular maintenance of your nail art brushes is essential. Nail polish, gel products, and acrylics can quickly build up, leaving your brushes stiff and unusable. By implementing a regular cleaning routine, you can prevent your brushes from becoming severely damaged and keep them ready for use at a moment's notice.
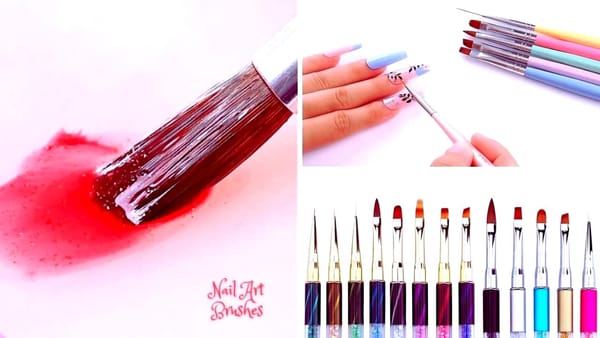
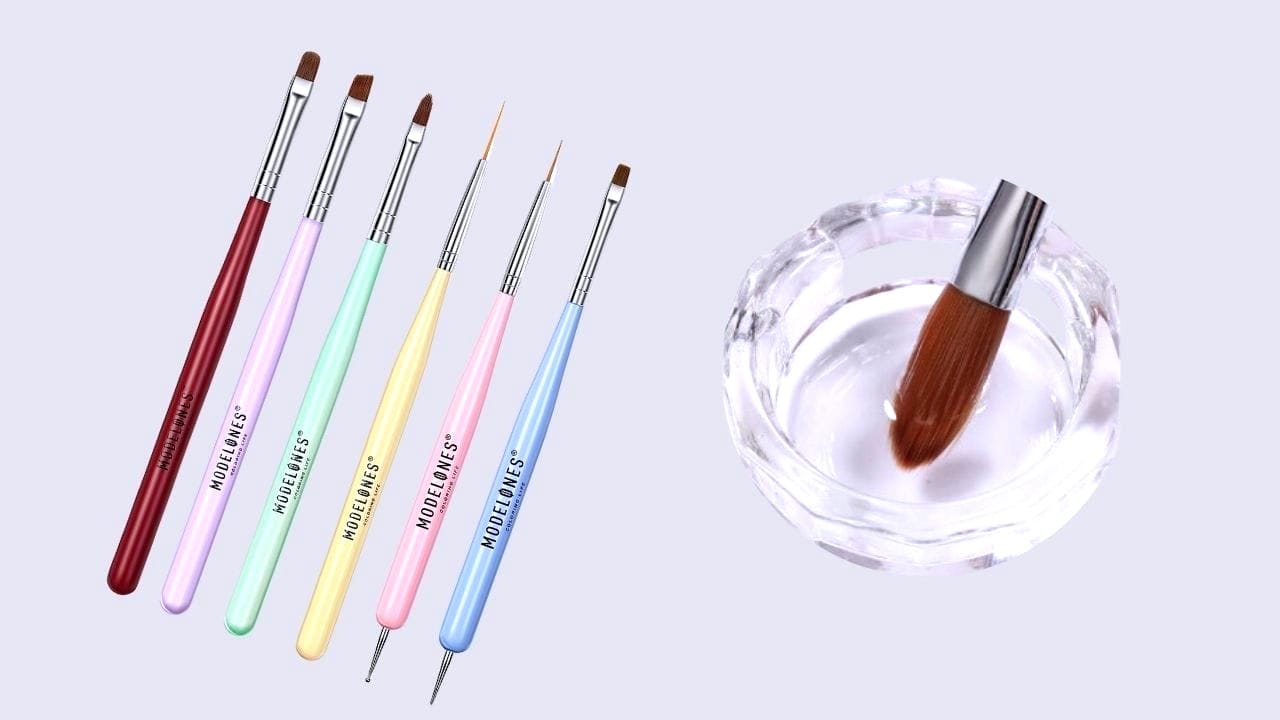
Cleaning Synthetic Nail Brushes
Synthetic nail brushes are commonly used for acrylic nails and gel nail designs. To clean these brushes, start by gently wiping away any excess product with a lint-free cloth or paper towel. For a deeper clean, dip the brush in nail polish remover or acetone and gently wipe it on a lint-free pad until no color remains.
Caring for Natural Fiber Brushes
Natural fiber brushes require a gentler approach. Instead of using harsh chemicals like acetone, opt for a mild soap and warm water. Gently rinse the bristles and reshape them before leaving them to dry naturally. This method ensures that the natural fibers retain their softness and shape.
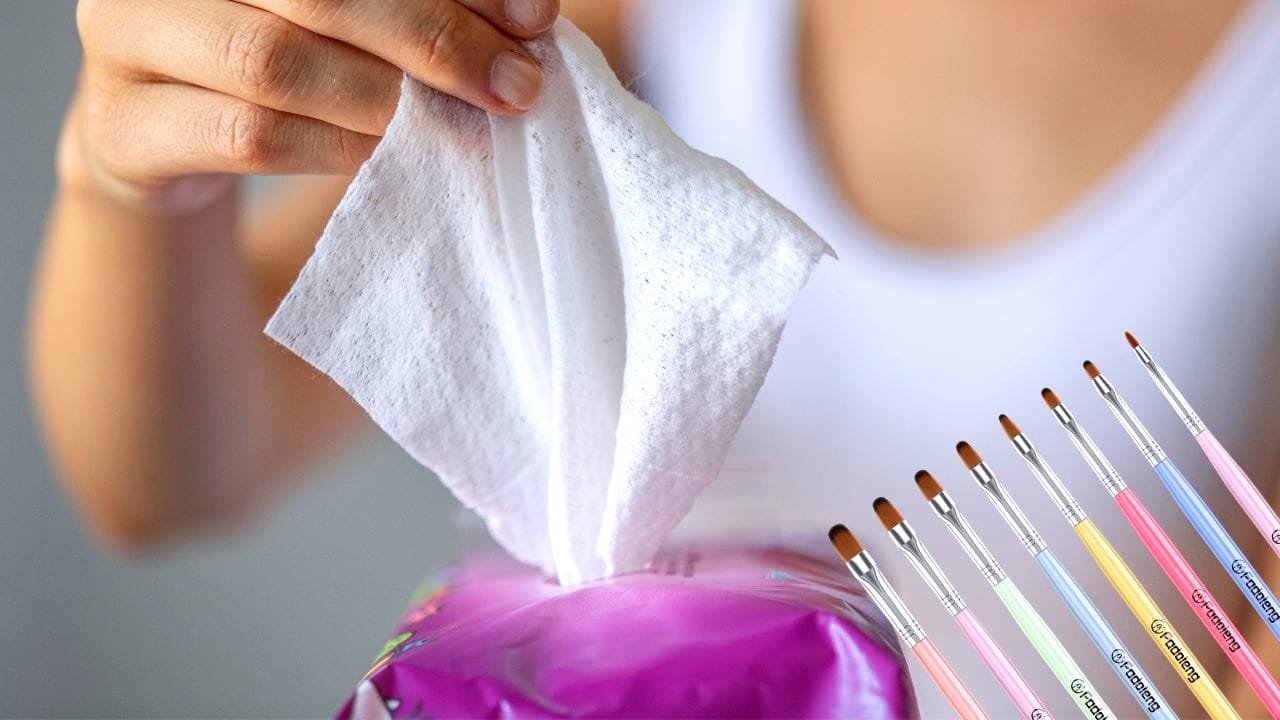
The Importance of a Lint-Free Wipe
Whether you're cleaning gel brushes or acrylic brushes, always use a lint-free wipe or cloth. Lint can stick to the bristles and transfer onto your nails during your next application, ruining your nail art. A lint-free option ensures a clean brush and flawless application.
Reviving Old Nail Art Brushes
Have you ever pulled out your favorite nail art brushes only to find them stiff and seemingly beyond salvation? Fear not, because, with a little TLC, you can bring them back to life! Start by giving your dirty nail brushes a good wipe with a lint-free cloth to remove any surface residue. If the bristles are severely damaged, you might think they're a lost cause, but there's still hope. A deep clean using a specialized brush cleaner or nail polish remover can work wonders, breaking down even the most stubborn of gel products.
Once you've tackled the surface grime, it's time to focus on the bristles. If they're synthetic, a soak in warm water with a touch of monomer nail liquid can help restore their flexibility. For natural fiber brushes, a gentle rinse with a mild soap solution can do the trick. After cleaning, reshape the bristles and allow them to dry naturally. This process might need to be repeated a few times, but patience is key. With consistent care, your brushes can be ready for action at a moment's notice.
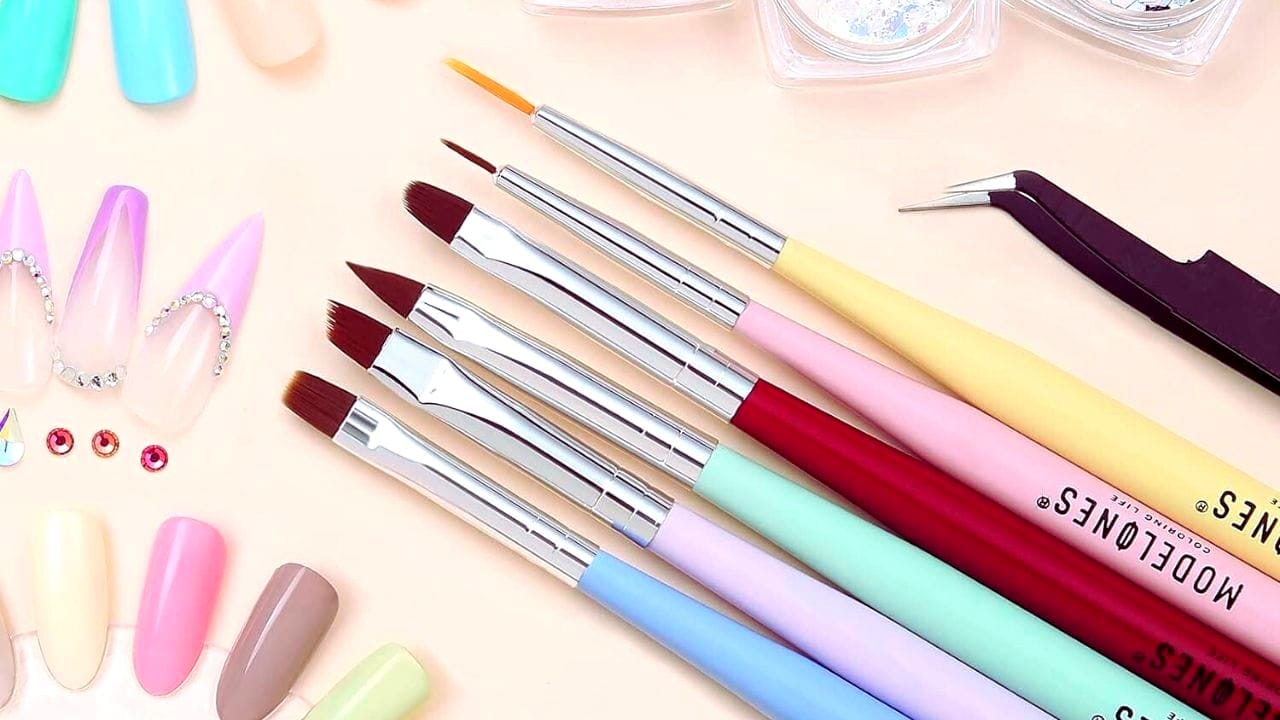
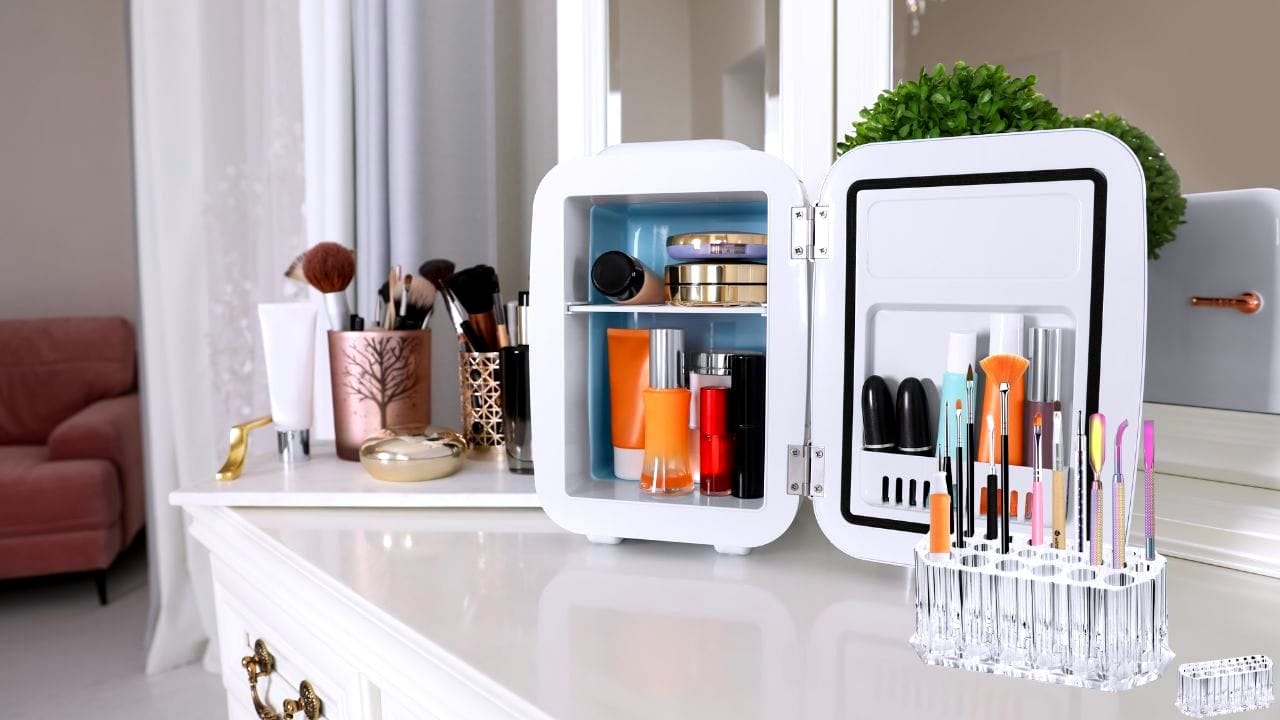
Organizing Nail Art Supplies for Efficiency
A Place for Every Brush
As an artist, knowing how to clean nail art brushes is just one part of the equation; organizing them is another. Implement a system where each brush has its matching cap and a designated spot in your box of tools. This not only protects the brushes from dust and damage but also ensures you can find the right brush at a moment's notice. For gel nail brushes and acrylic nail brushes, which may have different cleaning needs, store them in separate sections. This will prevent cross-contamination and make it easier to grab the right tool for the job.
Implementing a Brush Maintenance Routine
To avoid the heartache of dirty brush emergencies, why not implement a regular maintenance routine? After each use, take a moment to gently wipe brushes horizontally with a paper towel or lint-free wipe to remove excess nail polish. This simple step prevents buildup and extends the life of your art brushes. For acrylic nail brushes, a regular wipe with a monomer-soaked pad can prevent the hardening of the acrylic residue, ensuring your brushes are always in the best form for creating stunning nail designs.
The Soaking Method
For brushes caked with hardened products, soaking may be necessary. Place the dirty brush in a shallow dish with brush cleaner or monomer and let it sit for a few minutes. However, avoid soaking for too long, as this can damage the brush handle and ferrule.
Drying Your Brushes
After cleaning, it's important to let your brushes dry horizontally on a lint-free cloth. This prevents water from seeping into the handle, which could weaken the glue and lead to bristle loss. Allow them to air dry completely before storing them.
Storing Your Brushes
Proper storage is just as important as cleaning. Store your brushes horizontally in a dust-free container or with their matching caps to protect the bristles. This prevents dust accumulation and deformation of the brush shape.
Summary
Maintaining your nail art brushes is a simple yet crucial step in creating beautiful nail designs. By regularly cleaning and storing your brushes properly, you can extend their life and ensure they're always ready for your next project. Remember to treat synthetic and natural fiber brushes according to their specific needs, and never underestimate the power of a good wipe with the right cleaning solution.
FAQ
How often should I clean my nail art brushes?
You should clean your nail art brushes after every use to prevent product buildup and maintain their quality. A regular wipe with a lint-free cloth or paper towel can suffice for quick color changes, while a deep clean is recommended after completing your nail art session.
Can I use regular nail polish remover to clean my brushes?
Yes, you can use nail polish remover to clean synthetic brushes, but it's not recommended for natural fiber brushes as it can dry them out. For natural brushes, use a gentle soap and warm water instead.
What should I do if my brush bristles are severely damaged?
If the bristles are severely damaged, it's best to replace the brush. Continuing to use a damaged brush can negatively affect your nail art and may cause further frustration.