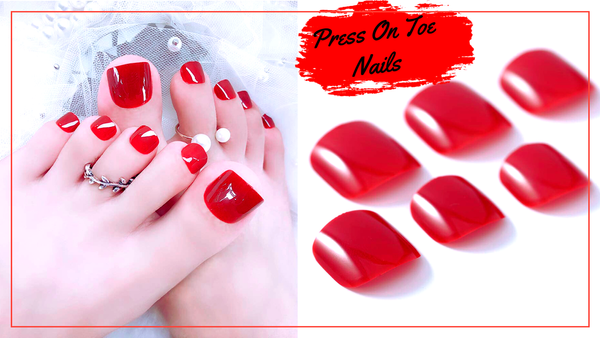


Press-on toenails are a fantastic way to achieve a professional quality pedicure at home. With the press on toenails trend on the rise, it's essential to know how to apply them correctly for a natural look that can last up to two weeks. Whether you're prepping for a special occasion or just want to pamper yourself, this guide will walk you through the process.
Key Takeaways:
- Learn the step-by-step process to apply press on toenails for a salon-like finish.
- Discover tips on how to maintain your press-on pedicure for lasting wear.
- Understand how to safely remove press-on toenails without damaging your natural nails.
Preparing Your Natural Toenails
Before you dive into your press-on pedicure, it's crucial to prepare your natural toenails. Start by removing any old nail polish with a gentle polish remover. Next, soak your feet in warm water to soften the cuticles. Use an orange stick to gently push back the cuticles, and trim any excess with cuticle clippers. This will ensure that the press-ons adhere nicely to the nail bed.
After prepping the cuticles, use a nail file to shape your natural toenails. Aim for a shape that matches the press-on sets you've chosen, whether round, square-shaped or any other style. Finish by buffing the surface of each nail to create a nice and smooth finish, which helps the press on adhesive strips or nail glue to bond more effectively.
Choosing the Right Press On the Toenail Kit
Selecting the right press on the toenail kit is essential for achieving that salon service look like on press on nails. Most press-on kits come in various sizes to fit each toenail perfectly. When choosing a kit, consider the length and shape complementing your feet and style. Also, look for kits with additional tools like a prep pad, nail file, toenail clippers, and even hydrating foot cream to enhance your pampering session.
It's also wise to consider the type of adhesive included in the kit. Some kits have press-on adhesive strips, while others require both nail glue. Adhesive strips are typically easier to remove and less damaging to your natural nails, but nail glue tends to offer a firmer hold.
Customizing Your Press-On Toenails for a More Natural Look
Have you ever wondered how to make your press-on toenails look indistinguishable from a professional pedicure? The secret lies in customization. Before applying, hold the press-on against your natural toenail and check for fit. If it's too wide or long, use a nail file to gently shape the edges for a perfect match to your nail bed. This attention to detail ensures that your press-ons complement the natural contours of your toes, giving you a more natural look that's often associated with a salon service.
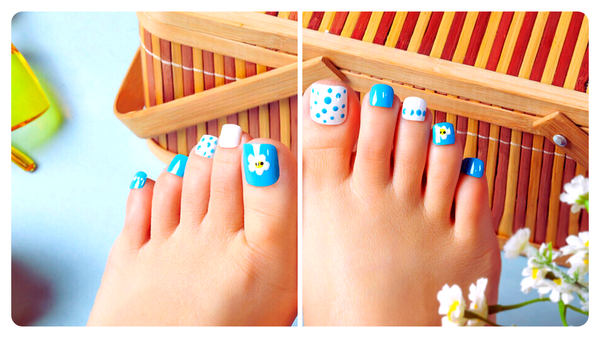
Beyond sizing, consider the finish and color of your press-on. Opt for a clear nail polish or a polish that matches your skin tone to create an illusion of extension from your natural nails. For those who love a bit of flair, nail art or a square-shaped tip can add personality to your pedicure. Remember, the goal is to achieve a seamless transition between the press-on and your natural toenail, so take your time with this step. A little patience here can make your press-on pedicure look like it was done by a pro!
Incorporating Press-On Toenails into Your Beauty Routines
Press-on toenails aren't just a one-off solution for a quick pedicure; they can become a staple in your beauty routines. To integrate them smoothly, ensure your natural toenails and feet are well-maintained. Regularly use a hydrating foot cream, and keep your toenails trimmed and your cuticles pushed back with an orange stick. This prep work means that whenever you decide to apply a new set of press-ons, your feet are already in the perfect condition to ensure a nice and smooth finish.
When it's time to switch up your look, removing your old press-ons should be as easy as the application. Soak your feet in warm water to loosen the adhesive, and use a prep pad soaked in rubbing alcohol to help dissolve any remaining nail glue. This process should be gentle to avoid damage to your natural nail beds. With proper care, you can wear press-on toenails all the time, alternating between designs and colors to match your mood or outfit, making it a smart way to keep your feet looking their best without frequent trips to the salon.
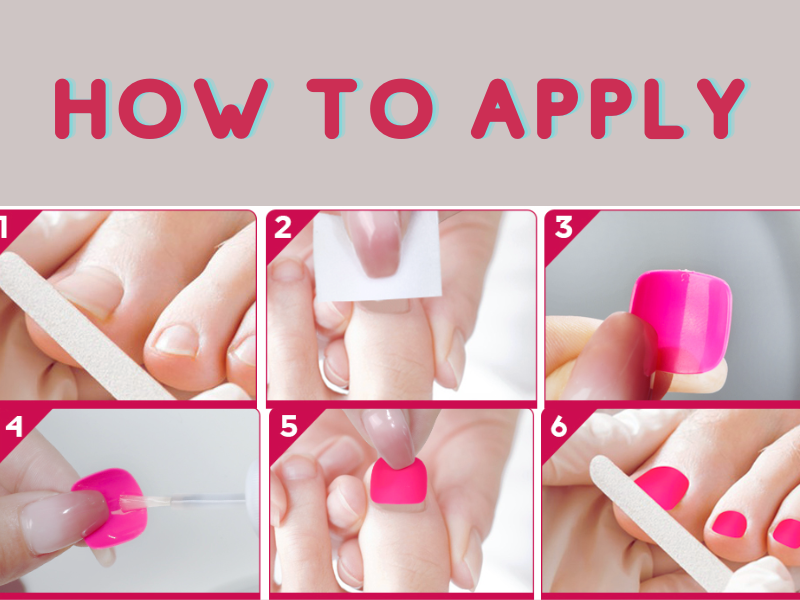
Applying the Press On Toenails
Once your natural toenails are prepped, and you've chosen your press-on toenail kit, it's time to apply them. Start by using the prep pad included in the kit or some isopropyl alcohol to clean the nail bed, ensuring there's no oil or residue left. Then, select the correct size and press on the nails for each toenail. If necessary, file the sides for a more natural fit.
Apply a thin layer of nail glue to your natural nail or the adhesive strip to the press-on toenail, depending on what your kit provides. Carefully place the press onto your natural nail, starting at the cuticle and pressing firmly towards the tip. Hold it in place and applied correctly, for a few seconds to ensure it adheres properly.
Maintaining Your Press-On Pedicure
To make your press-on pedicure last, avoid soaking your feet in water for extended periods, especially within the first few hours of application. When wearing closed-toe shoes, opt for those with a wider toe box to prevent pressure on the toenails. Apply a clear nail polish top coat every few days to maintain a smooth finish and protect the press-ons from chipping.
Additionally, keep your feet moisturized with hydrating foot cream, but avoid getting the cream on the press-on as it can loosen the adhesive. If you notice any lifting, apply a small amount of nail glue underneath the press-on to re-secure it.
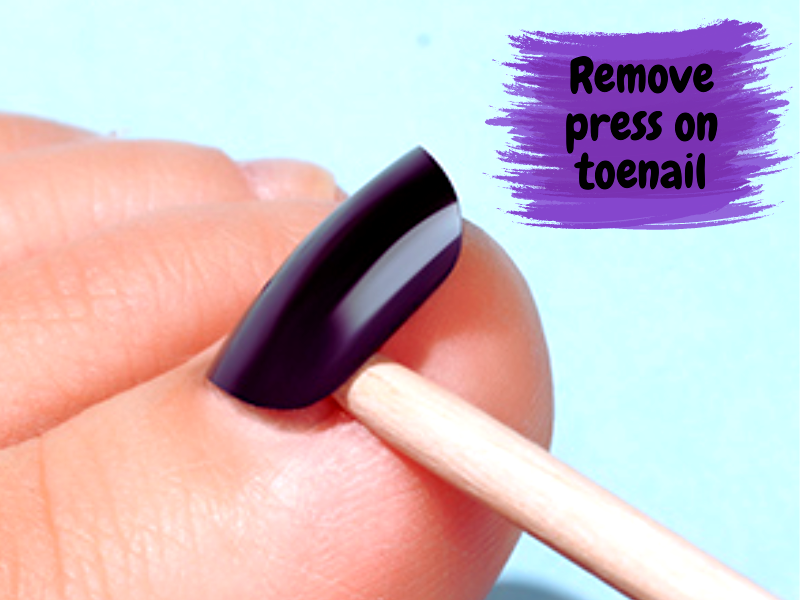
Removing Press On Toenails Safely
When removing your artificial nails, do so with care to avoid damaging your natural nails. Soak your feet in warm water for a few minutes to loosen the adhesive. Then, use an orange stick to gently lift the edges of the press. If they don't come off easily using an orange stick, apply more warm water or a drop of nail polish remover to help dissolve the glue.
Never force or pull the press-ons off, as this can rip layers off your natural nail bed. Instead, take your time and allow the adhesive to break down sufficiently before attempting to remove the press on toenails.
Summary
Press-on toenails are a smart way to get a salon-quality pedicure at home. By following the instructions listed, from preparing your natural toenails to applying and maintaining the press-on, you'll enjoy a beautiful pedicure that lasts. Remove them gently to keep your natural nails healthy and ready for your next press-on pedicure session.
FAQ Section
How long do press-on toenails typically last?
With proper care, press-on toenails can last up to two weeks. To extend their wear, avoid soaking your feet for too long, apply a clear top coat regularly, and keep your feet moisturized without getting lotion on the press-on.
Can press-on toenails damage my natural nails?
Press on toenails, when applied and removed correctly, should not damage your natural nails. Use adhesive strips for a less damaging option, and always soak your feet to remove the press-on gently.
Is it possible to reuse press on toenails?
Yes, some press-on toenails can be reused if they are removed carefully and kept in good condition. Clean them after removal and store them properly for future use.