


Key Takeaways:
- Learn the step-by-step process to achieve salon-quality silver chrome nails in the comfort of your home.
- Discover essential tips and tricks for applying chrome powder to a perfect metallic finish.
- Understand how to maintain and remove your chrome manicure safely and effectively.
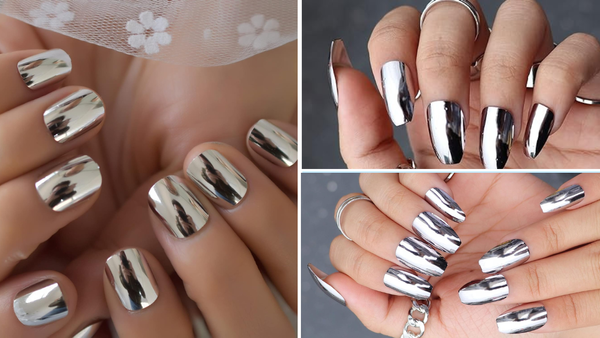
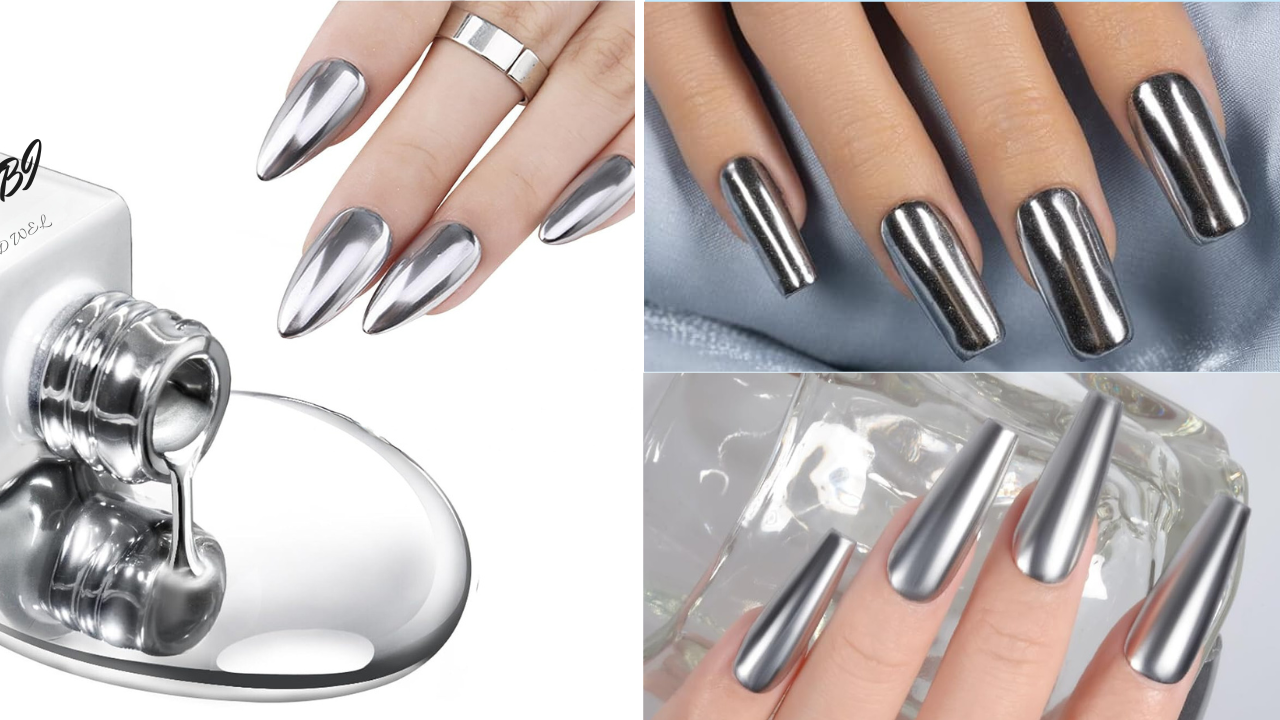
Silver chrome nails are a stunning and eye-catching look that can elevate your nail game to the next level. With their mirror-like finish and futuristic appeal, chrome nails have become a hot trend in the beauty world. But did you know you can achieve this salon-quality look right at home? In this comprehensive guide, we'll walk you through the process of creating silver chrome nails, from preparation to application to maintenance.
Preparing Your Nails for Chrome Perfection
Before using chrome powder, it's crucial to prepare your nails properly. Start by cleaning your nails with nail polish remover to remove any oil or residue. Then, gently buff the surface of your nail plate to create a smooth base for the gel polish. Remember, the smoother your base, the more flawless your chrome finish will be.
Next, push back your cuticles with a cuticle stick and apply cuticle oil to moisturize them. This step is essential for a clean and professional look. Once your nails are prepped, wash your hands with mild soap and warm water to remove nail dust and oil from the cuticle oil. Dry your hands completely before moving on to the next step.
Applying the Gel Base Coat
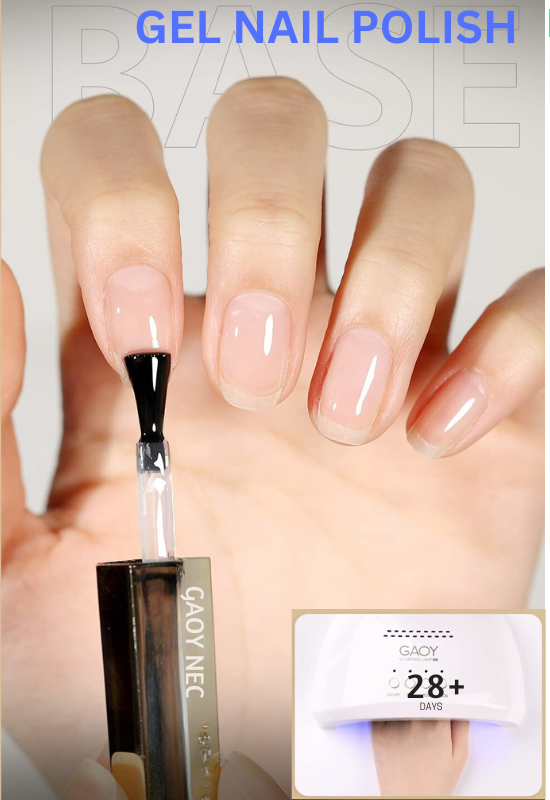
A gel base coat is the foundation of your chrome manicure. Apply a thin layer of gel base coat to each nail, covering the entire nail and the free edge. This will help prevent chipping and ensure the longevity of your chrome nails. Cure the base coat under an LED lamp according to the manufacturer's instructions, usually for 30 seconds to a minute.
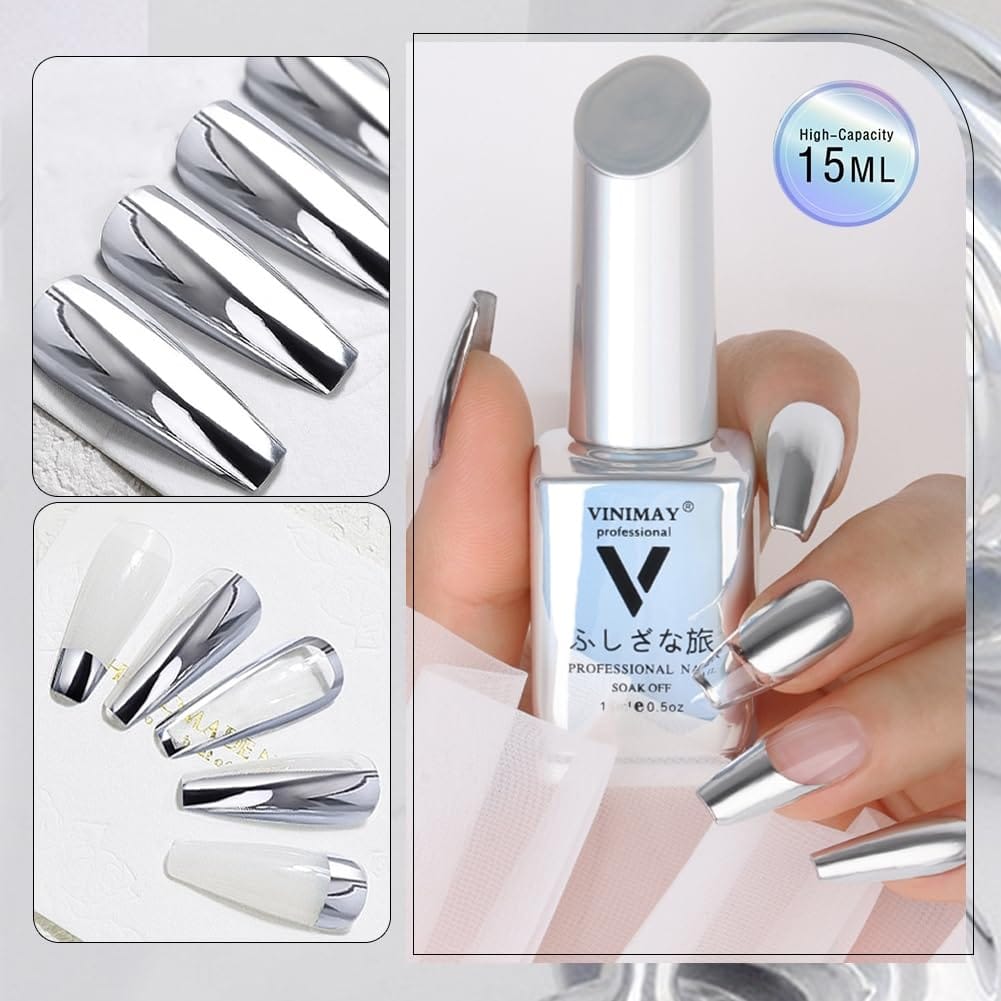
The Role of Gel Polish in Chrome Nails
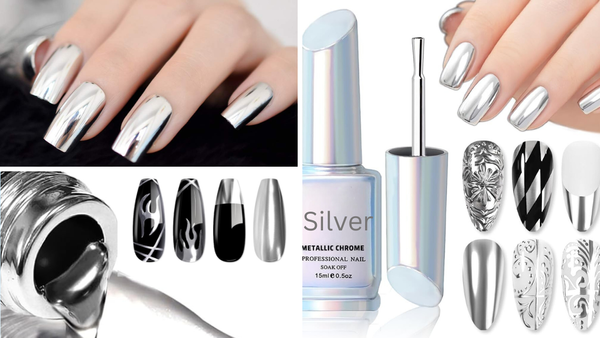
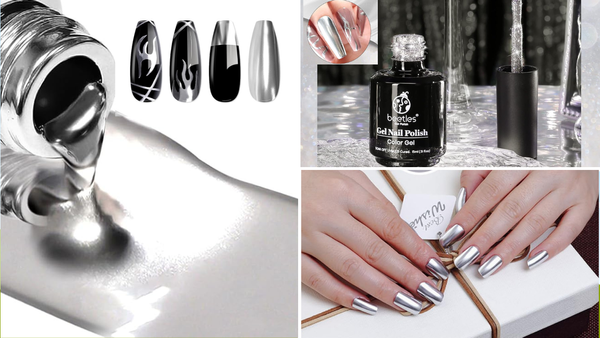
After the base coat, apply a layer of black or dark-colored gel polish. This color choice will enhance the metallic effect of the silver chrome powder. Apply the gel polish in even, thin layers to avoid lumps that could distort the chrome effect. Cure the polish under the LED lamp, and if necessary, apply a second coat and cure again. Ensure the polish is completely dry before proceeding.
Customizing Your Chrome Nails with Unique Designs
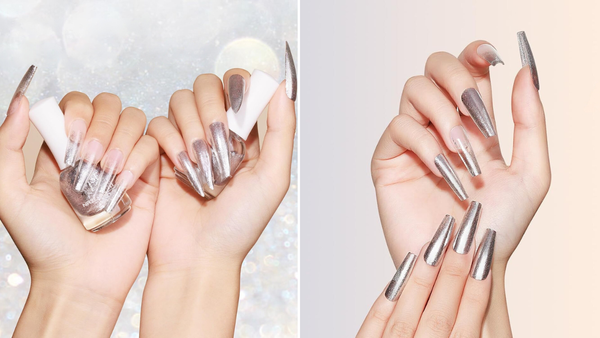
Creating chrome nails at home doesn't mean you're limited to a single shade or finish. With some creativity, you can customize your metallic nails to reflect your unique style. Start by applying your gel base coat and polish as you normally would. Once you've achieved a smooth, even layer, consider adding patterns or accents before you apply the chrome powder. Use a thin brush to paint on stripes, dots, or marbled effects with contrasting nail colors. Allow this design to cure under an LED lamp before moving on to the Chrome application.
To add an extra flair to your chrome manicure, try using stencils or nail tape to create geometric designs. After your gel polish layer is completely dry, place the stencil or tape on your nail in the desired pattern. Then, apply the chrome powder over the entire nail. When you remove the stencil or tape, you'll reveal a stunning, multi-dimensional look that will turn heads. Remember to seal everything with a gel top coat to protect your artwork and give it a lasting shine.
Customizing Chrome Tips for a Personal Touch
Have you ever wanted to add extra flair to your chrome nails at home? Customizing your chrome tips can transform your nails from shiny to stylish. Begin by applying your gel polish as a base, ensuring it's cured under an LED lamp for the recommended time. Once you've got your base ready, it's time to get creative. Use a thin brush to apply a different gel polish color to the tips of your nails. This could be a contrasting metallic shade or even a pop of neon to make your silver chrome nails stand out. Cure the tips, then proceed with the chrome powder application over the entire nail for a seamless blend of color and shine.
To achieve a more intricate design, consider using nail vinyl or stencils from your local beauty supply store. After the base coat is cured, place the stencil on the nail plate and apply a thin layer of a secondary gel polish color. Once you peel off the stencil, you'll have a crisp design ready for the chrome powder. Gently buff the excess powder with a fluffy brush to reveal your customized chrome nails. This technique allows you to create anything from geometric patterns to delicate floral designs, giving you a set of chrome nails that truly reflect your personal style.
The Secret to Long-Lasting Chrome Manicures

Maintaining the mirror-like shine of your chrome manicure requires a few insider tips. First and foremost, it's essential to apply a no-wipe gel top coat over your chrome powder. This not only seals in the chrome effect but also prevents chipping and extends the life of your manicure. Make sure to cover the free edge of your nails with the top coat, as this is where wear and tear typically begins. After curing the top coat, apply cuticle oil to keep your nails and skin hydrated, which can prevent lifting and peeling of the gel polish.
Another key to longevity is to minimize the contact your nails have with harsh chemicals. When doing household chores or using nail polish remover, consider wearing gloves to protect your chrome nails. Additionally, keep your nails at a desired shape by using a nail file gently on the free edge, avoiding the chrome surface. Applying hand cream will keep your hands soft and your nails flexible, reducing the likelihood of breakage. By following these steps, you can enjoy your dazzling chrome nails for weeks, making the most of your at-home manicure efforts.
Troubleshooting Common Chrome Nail Complications
Even with step-by-step instructions, achieving the perfect chrome nails at home can be challenging. If the chrome powder isn't adhering well to the gel polish, it could be due to a sticky layer that hasn't been properly removed. Use a lint-free wipe soaked in isopropyl alcohol to gently buff the nail's surface before applying the powder. This will help the chrome adhere more evenly and prevent patchy spots. Additionally, ensure that your base coat and gel polish are fully cured to avoid mixing or smudging.
Another common issue is chrome powder getting everywhere but on your nails. To minimize mess, use a fluffy brush or a soft brush to gently press the powder onto the nail plate rather than swiping it. This technique helps the powder to stick to the nail without scattering excess powder around your workspace. If you end up with chrome dust on your skin, wrap a piece of tape around your finger with the sticky side out and dab it over the affected areas to pick up the stray particles. Always work over a paper towel to catch any fallout and make cleanup a breeze.
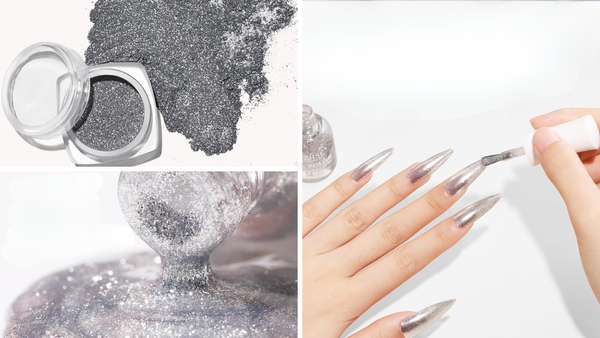
Achieving the Mirror Effect with Chrome Powder
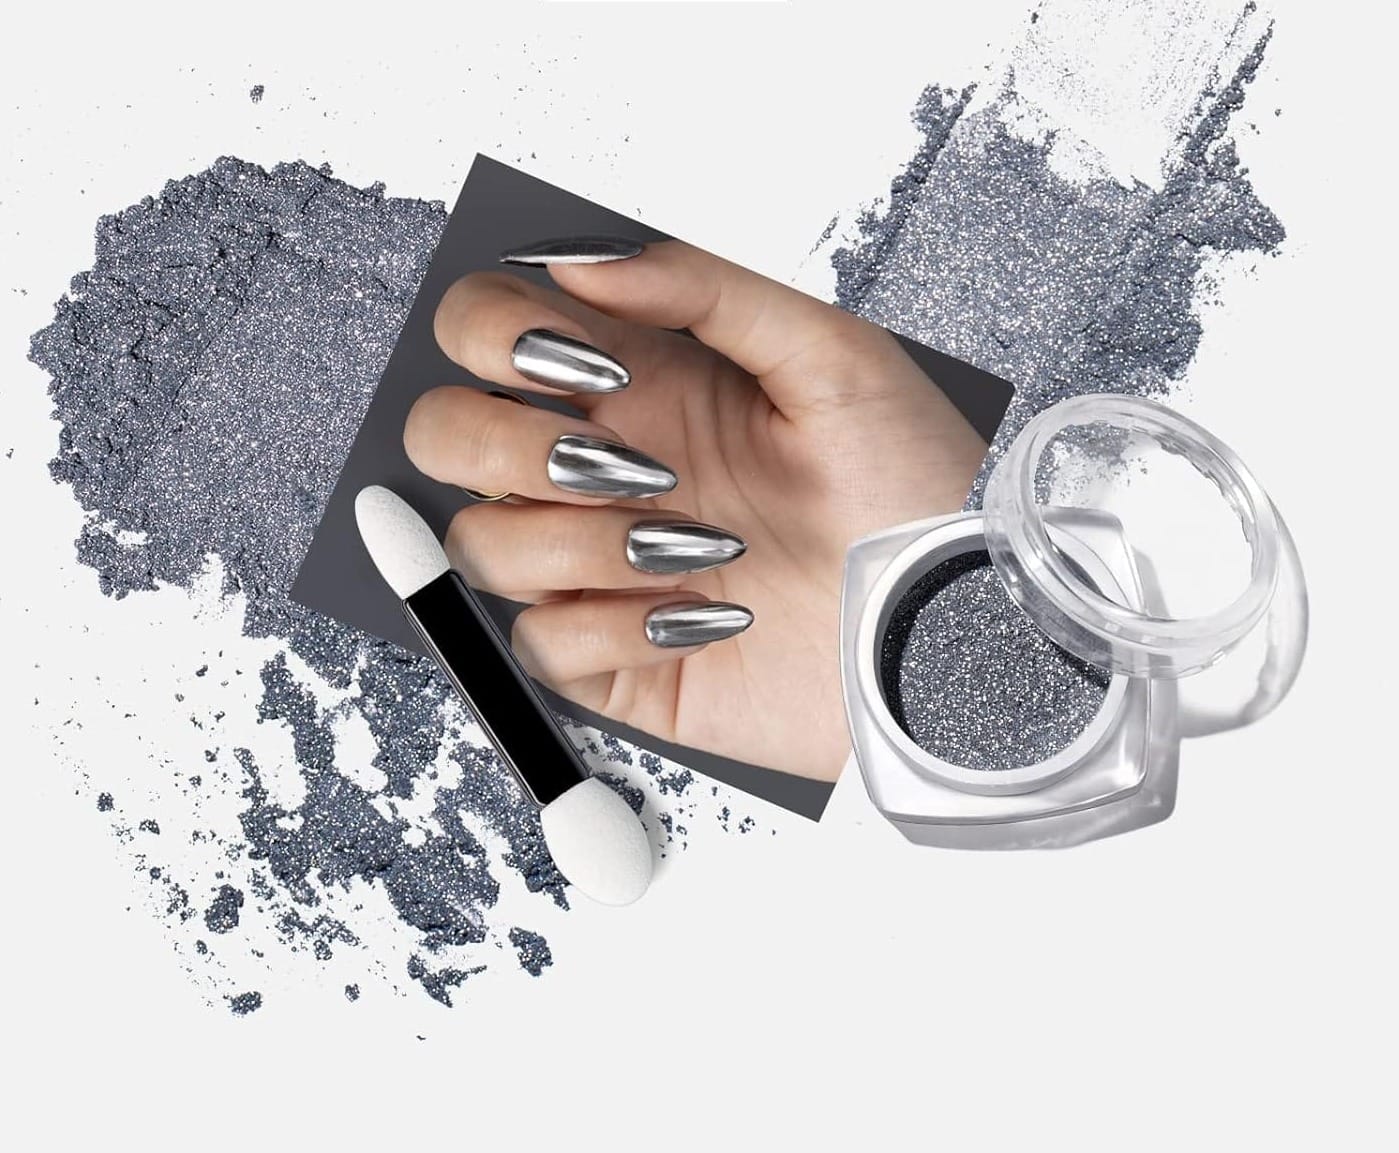
Now comes the exciting part—applying the chrome powder. You'll need a small amount of chrome powder and a soft brush or a fluffy brush. Press the powder onto the sticky layer of the cured gel polish, starting from the cuticle and moving towards the tip. Use a light hand to avoid scratching the gel polish underneath.
Once the entire nail is covered, use the brush to remove any excess powder. The key is to achieve an even layer of powder for that visible chrome effect. If you find any patchy areas, gently press on more powder until you're satisfied with the coverage.
Sealing the Deal with a Gel Top Coat

To lock in the chrome effect, apply a no-wipe gel top coat over the powder. This will seal the powder and reflect light to give you that coveted mirror-like shine. Cover the entire nail and the free edge to prevent lifting. Cure the top coat under the LED lamp, following the recommended time.
Maintaining Your Chrome Manicure
To keep your chrome nails looking their best, avoid using them as tools and wear gloves when doing household chores. Apply hand cream regularly to keep your hands and cuticles moisturized. If you notice any lifting, gently press the chrome back down and apply a thin layer of top coat to reseal it.
Removing Your Chrome Nails Safely
When you're ready to remove your chrome manicure, start by gently buffing the shiny surface to break the seal of the top coat. Soak a cotton ball in nail polish remover, place it on your nail, and wrap it with aluminum foil. After 10-15 minutes, the gel polish should lift easily. Use a cuticle stick to help remove any remaining polish.
Summary
Creating silver chrome nails at home is a fun and rewarding DIY project. By following these step-by-step instructions, you can achieve a professional-looking chrome manicure without the salon price tag. Remember to prepare your nails properly, apply gel polish in thin layers, and use chrome powder to create a metallic effect. Seal it all with a gel top coat, and maintain your nails to keep them looking fabulous. With a little practice, you'll be rocking chrome nails like a pro!
FAQ Section
Can I use regular nail polish instead of gel polish for chrome nails?
While gel polish is recommended for its durability and sticky layer that holds the chrome powder, you can use regular nail polish. However, the chrome effect might not be as pronounced, and the manicure may not last as long.
How long do chrome nails last?
With proper application and maintenance, chrome nails can last up to two weeks. To extend the life of your manicure, apply a top coat every few days.
Is chrome powder safe to use on natural nails?
Yes, chrome powder is safe for use on natural nails. Apply a base coat to protect your natural nail plate from staining or damage.