Key Takeaways:
- Essential Tools and Materials: Understand the tools and materials needed for DIY almond-shaped acrylic nails.
- Step-by-Step Guide: Follow a detailed, step-by-step process to achieve the perfect almond nail shape at home.
- Maintenance Tips: Learn how to maintain almond-shaped acrylic nails to ensure they last longer and stay beautiful.
Introduction to Almond-Shaped Acrylic Nails
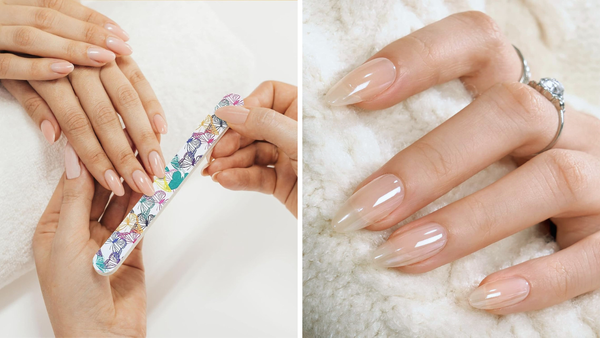
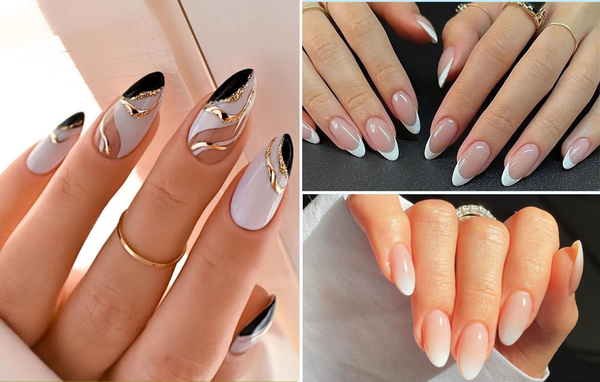
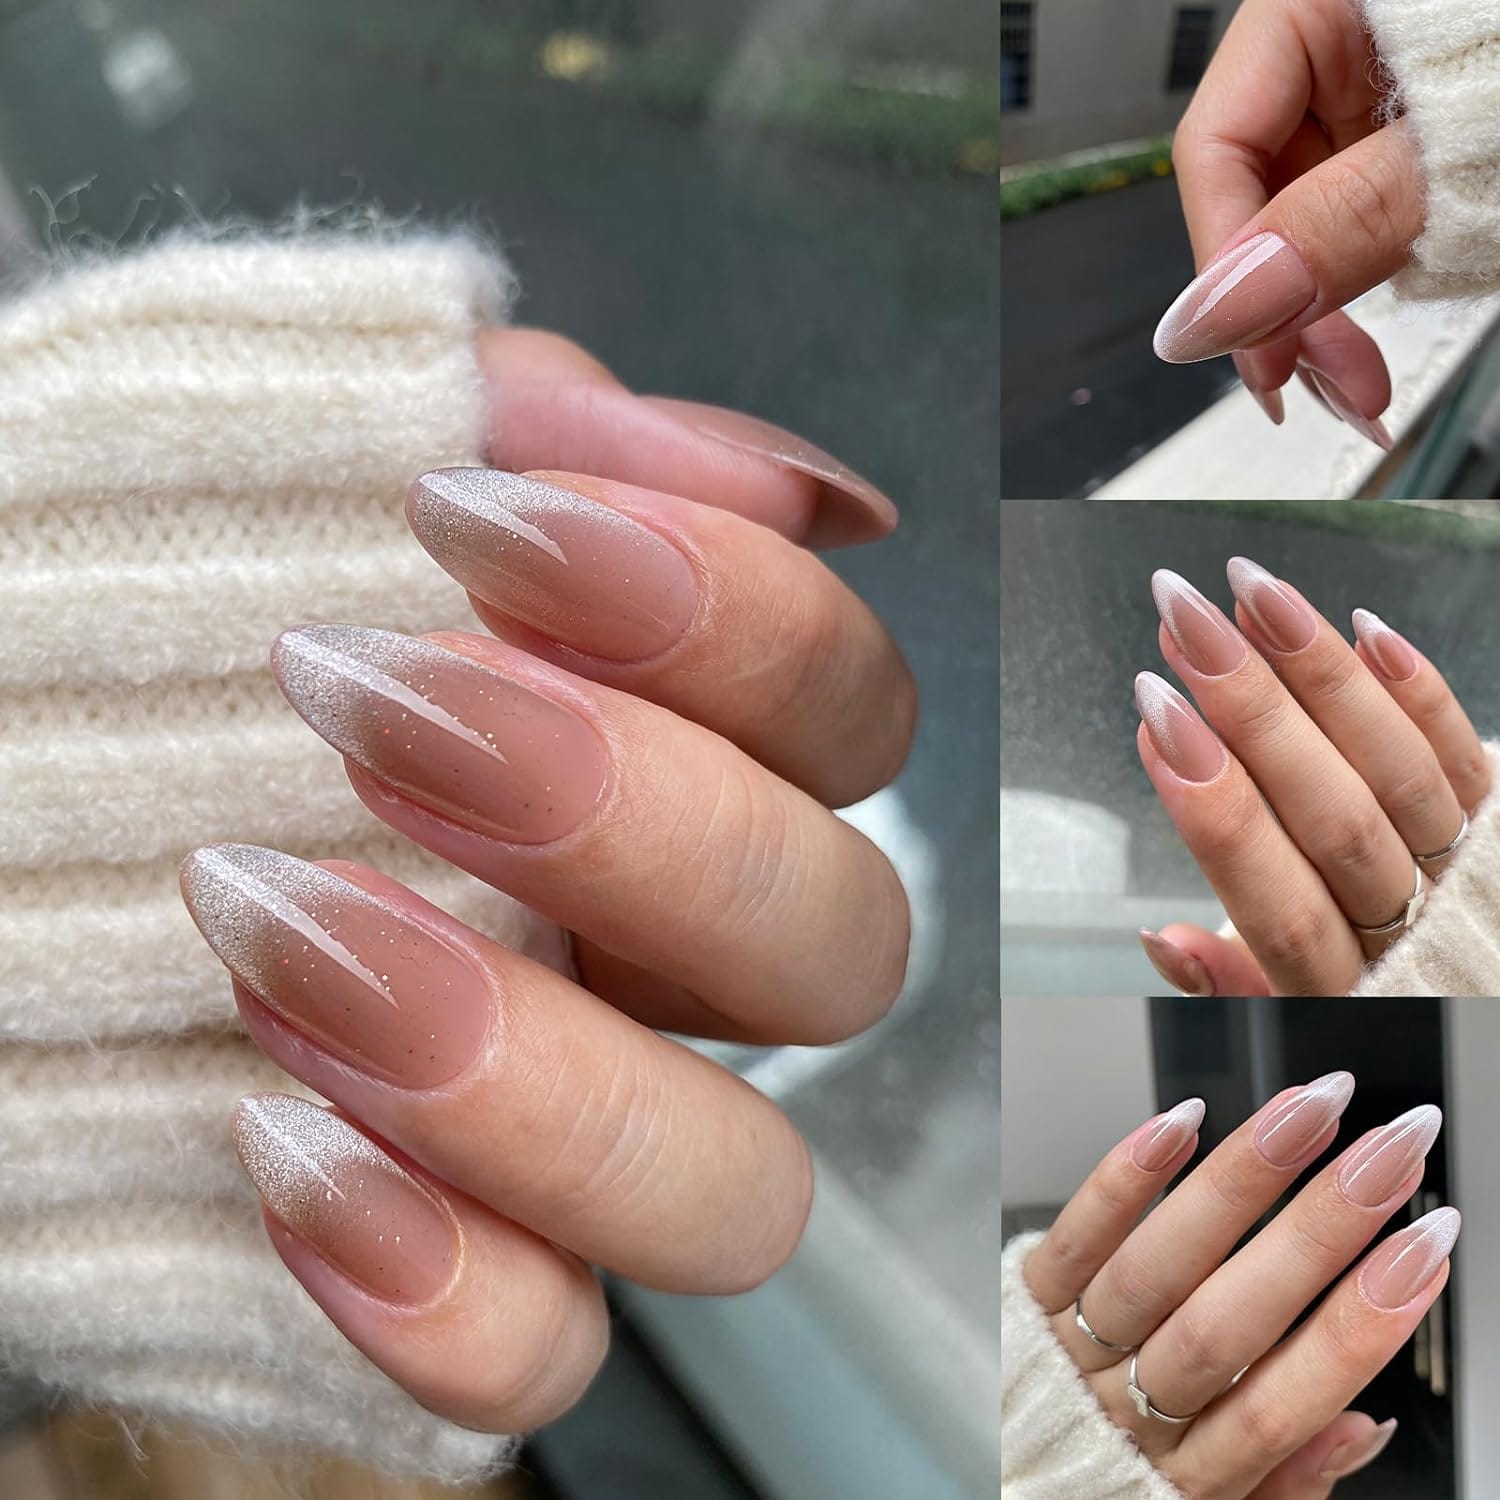
Almond-shaped nails are a popular choice for those who prefer a sleek, sophisticated look. This nail shape is characterized by a slightly pointed tip and a wider base, resembling the shape of an actual almond. Making almond-shaped acrylic nails at home can be a fun DIY project that not only saves money but also allows you to customize your nail art.
Gathering Your Supplies
Before you start, it’s crucial to gather all the necessary tools and materials. You will need:
- Acrylic nail tips
- Nail glue
- Acrylic liquid and powder
- Nail file and fine grit nail file
- Nail clippers
- Cuticle pusher and cuticle remover
- Nail polish remover
- Base coat and top coat
- Optional: gel polish or nail art supplies
Preparing Your Natural Nails
Start by preparing your natural nails to ensure the acrylic adheres properly. Use a nail polish remover to clean any old polish or residue. Push back your cuticles with a cuticle pusher, and remove any excess with a cuticle remover. This step ensures that your nail beds are clean and smooth.
Applying the Nail Tips
Choose the right size nail tips that fit the width of your natural nails. Apply a small amount of nail glue to the tips and press them onto your natural nails, starting at the cuticle and pressing forward. Ensure there are no air bubbles and the tips are securely attached.
Shaping the Tips
To create the almond shape, start filing the sides of the tips to a slight angle, tapering towards the center point of the nail tip. Use a coarse nail file for the initial shaping, then switch to a fine-grit nail file to refine and smooth the edges.
Applying the Acrylic
Mix the acrylic liquid and powder according to the product instructions. Using a brush, apply the acrylic mixture over the top of the nail tips and your natural nails. Smooth it out as you go to avoid lumps. Allow it to dry completely.
Enhancing Durability: Best Practices for Almond-Shaped Acrylic Nails
When considering how to make almond-shaped acrylic nails at home, durability is a key factor. To ensure your almond nails withstand daily activities, apply a gel base coat before the acrylic application. This layer acts as a protective barrier, enhancing the adhesion of the acrylic to your natural nails. Additionally, be meticulous during the nail prep stage; removing any oils with a nail polish remover and gently buffing the surface of the natural nail can prevent lifting and extend the lifespan of your almond-shaped nails.
Advanced Techniques for Almond Nail Shape Precision
When learning to make almond-shaped acrylic nails at home, achieving the perfect curvature and symmetry is crucial. Start by selecting the right nail file; a fine grit nail file is essential for smoothing without removing too much material. Begin at the nail bed and gently file in one direction towards the tip. This method helps maintain the integrity of the acrylic and prevents any sharp corners that could lead to breakage. The goal is to mimic the natural curve of the nail, enhancing the almond shape without altering the nail's strength.
To refine the almond shape further, focus on the tip of the nail. The tip should narrow slightly, resembling the actual almond shape. This requires a delicate balance between filing back and forth near the tip and checking the progress frequently to ensure even shaping. Use a coarse nail file for the initial shaping, then switch to a finer file for detailed work. This two-step filing process allows for greater control over the nail shape, ensuring each nail mirrors the others perfectly. This meticulous approach not only improves the appearance but also contributes to the longevity of your almond-shaped acrylic nails.
Exploring Nail Shapes: From Almond to Stiletto and Beyond
When considering how to make almond shaped acrylic nails at home, it's essential to understand the spectrum of nail shapes available, as this knowledge can influence your choice. Almond nails, known for their elegant, slightly pointed shape, are just one option among many, including oval nails, stiletto nails, and square nails. Each shape suits different finger types and personal styles. For instance, stiletto nails, with their dramatic pointed tip, offer a bold look, while oval nails provide a more classic, understated elegance. Choosing the right nail shape can enhance the overall appearance of your hands and complement your style.
In addition to aesthetic considerations, the practicality of different nail shapes should also be evaluated. For example, if you're someone who types a lot or uses their hands for fine work, long stiletto nails might not be the most practical choice. In contrast, shorter almond nails or even round nails might offer more comfort and less risk of breaking. When deciding on the shape, consider the look and the lifestyle compatibility. This dual consideration ensures that your acrylic nails don't just look fantastic but also fit well into your daily activities without causing inconvenience.
Exploring the Versatility of Almond-Shaped Nails Across Different Lengths
Almond shaped nails are not just versatile in style but also in the various lengths they can be fashioned into. Whether you prefer short almond nails for a more practical and understated elegance or long almond nails for a dramatic and bold statement, this nail shape adapts beautifully. Short almond nails maintain the classic, rounded tapering of the almond shape, making them ideal for those who use their hands but still want a stylish, feminine touch. On the other hand, long almond nails provide a larger canvas for intricate nail art designs and color experimentation, perfect for making a fashion statement.
The Art of Filing: Achieving the Perfect Almond Shape
Mastering the filing technique is crucial when making almond-shaped acrylic nails at home. Start by securing the nail tip that extends from the natural nail, ensuring it blends smoothly at the point where it meets the natural nail. Use a fine-grit nail file to gently shape the sides of the nail tips into a tapered form, maintaining a slight angle to achieve the iconic almond shape. This method helps create a natural transition from the natural nails to the acrylic tips, essential for a seamless look.
Filing should be done with patience and precision. Focus on keeping the file at the same angle and use a consistent filing motion. The goal is to create a narrow tip with a rounded peak resembling an almond. Avoid sharp corners or uneven edges that can detract from the smooth, curved edge that almond nails are known for. Regularly check the symmetry of both hands to ensure uniformity in shape. This attention to detail will make your almond-shaped acrylic nails look professionally done, enhancing the overall beauty of your hands.
The Importance of Nail Bed Preparation for Almond-Shaped Acrylic Nails
Before diving into the exciting world of almond-shaped acrylic nails, it's crucial to prepare your nail bed properly. This preparation ensures that your acrylics adhere better and last longer. Start by gently pushing back the cuticles with a cuticle pusher, ensuring not to cut or tear the skin. This exposes more of the nail bed, providing a larger surface area for the acrylic to bond. Next, use a fine-grit nail file to lightly buff the surface of the natural nails. This removes the natural shine and creates a slightly rough texture, enhancing the grip of the acrylic mixture.
Proper nail bed preparation also involves cleaning and dehydrating the nail surface. After buffing, remove any dust and debris with a soft brush or a lint-free wipe soaked in nail polish remover. This step is crucial as it removes any residual oils or moisture that could prevent the acrylic from adhering correctly. Applying a dehydrator further ensures that the nail bed is completely dry. These preparatory steps are essential for achieving a flawless application of almond-shaped acrylic nails, ensuring they look great and have robust longevity.
Choosing the Right Nail File for Almond-Shaped Acrylic Nails
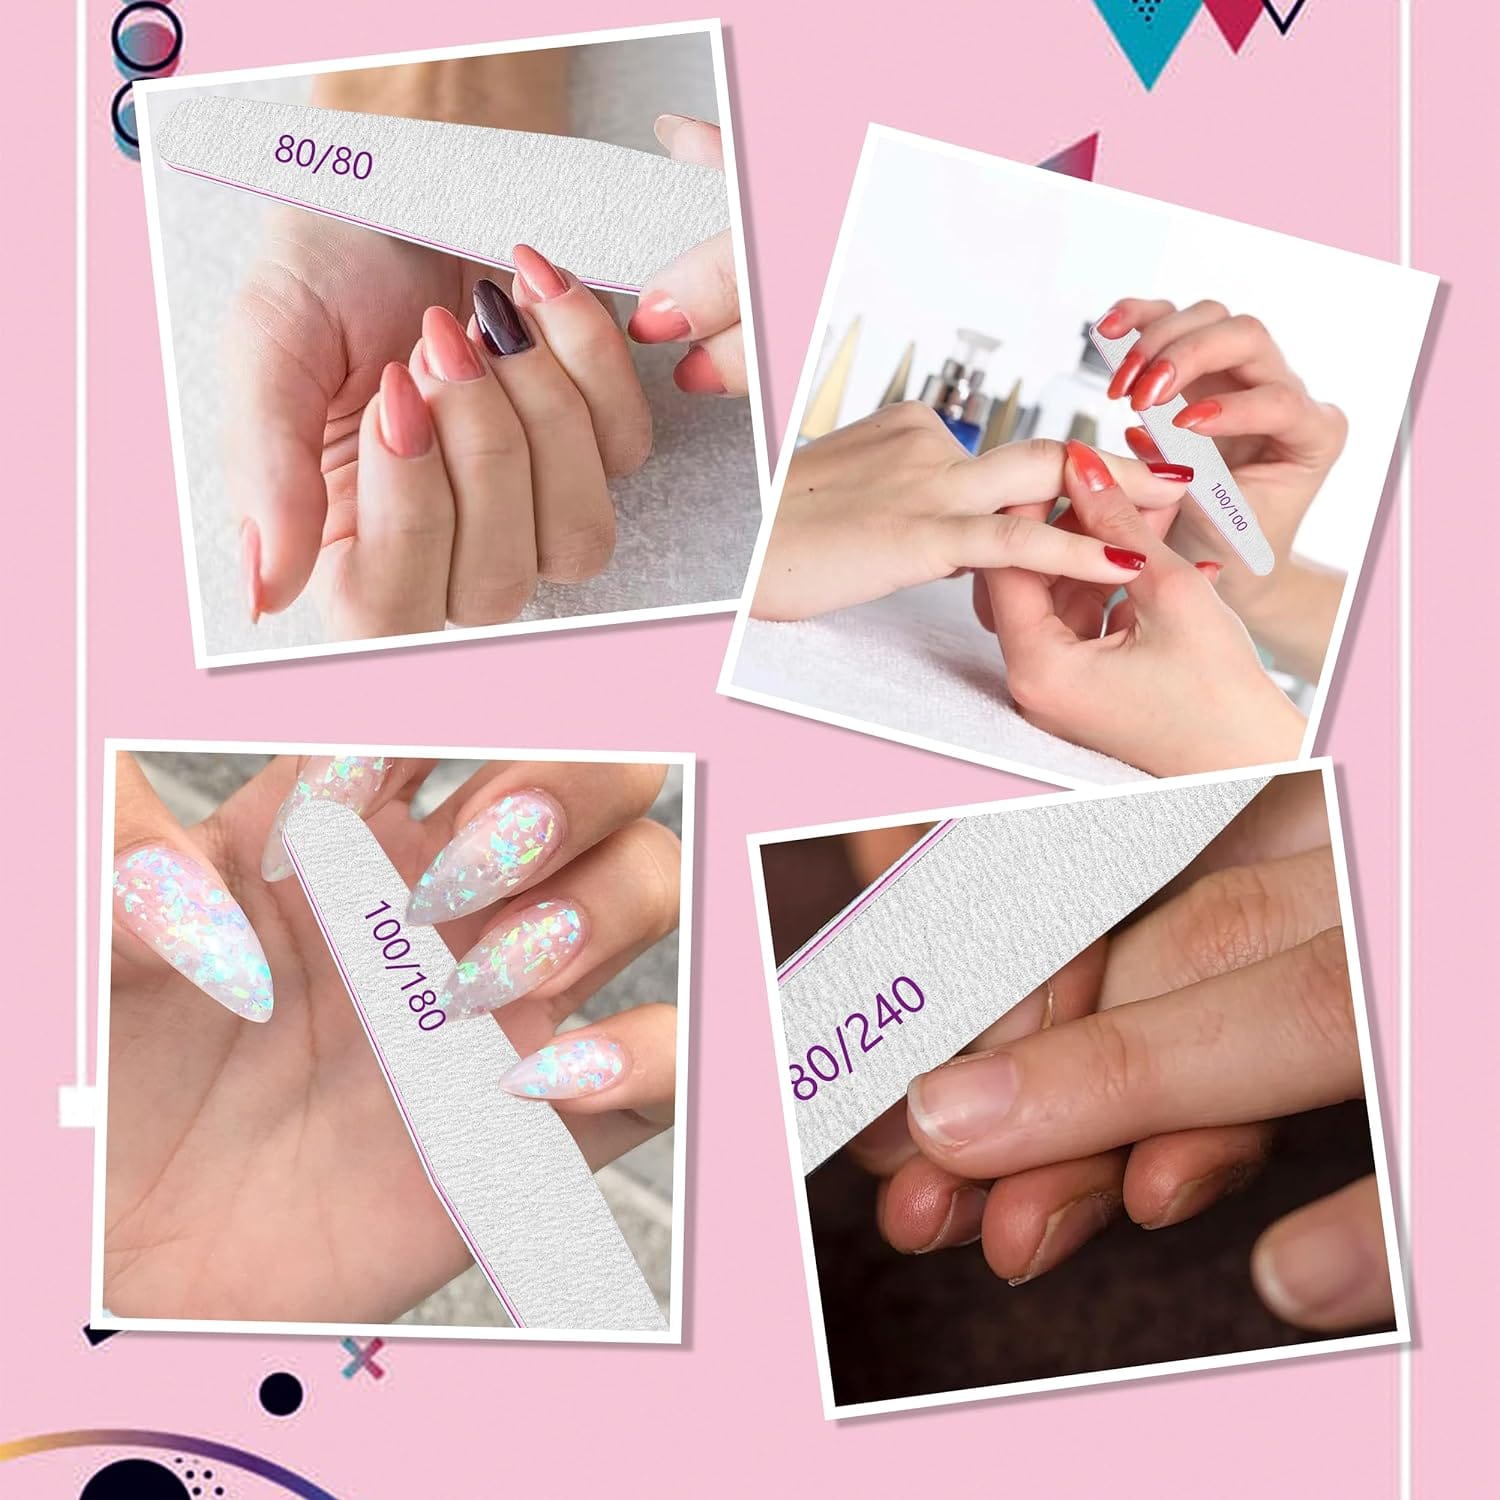
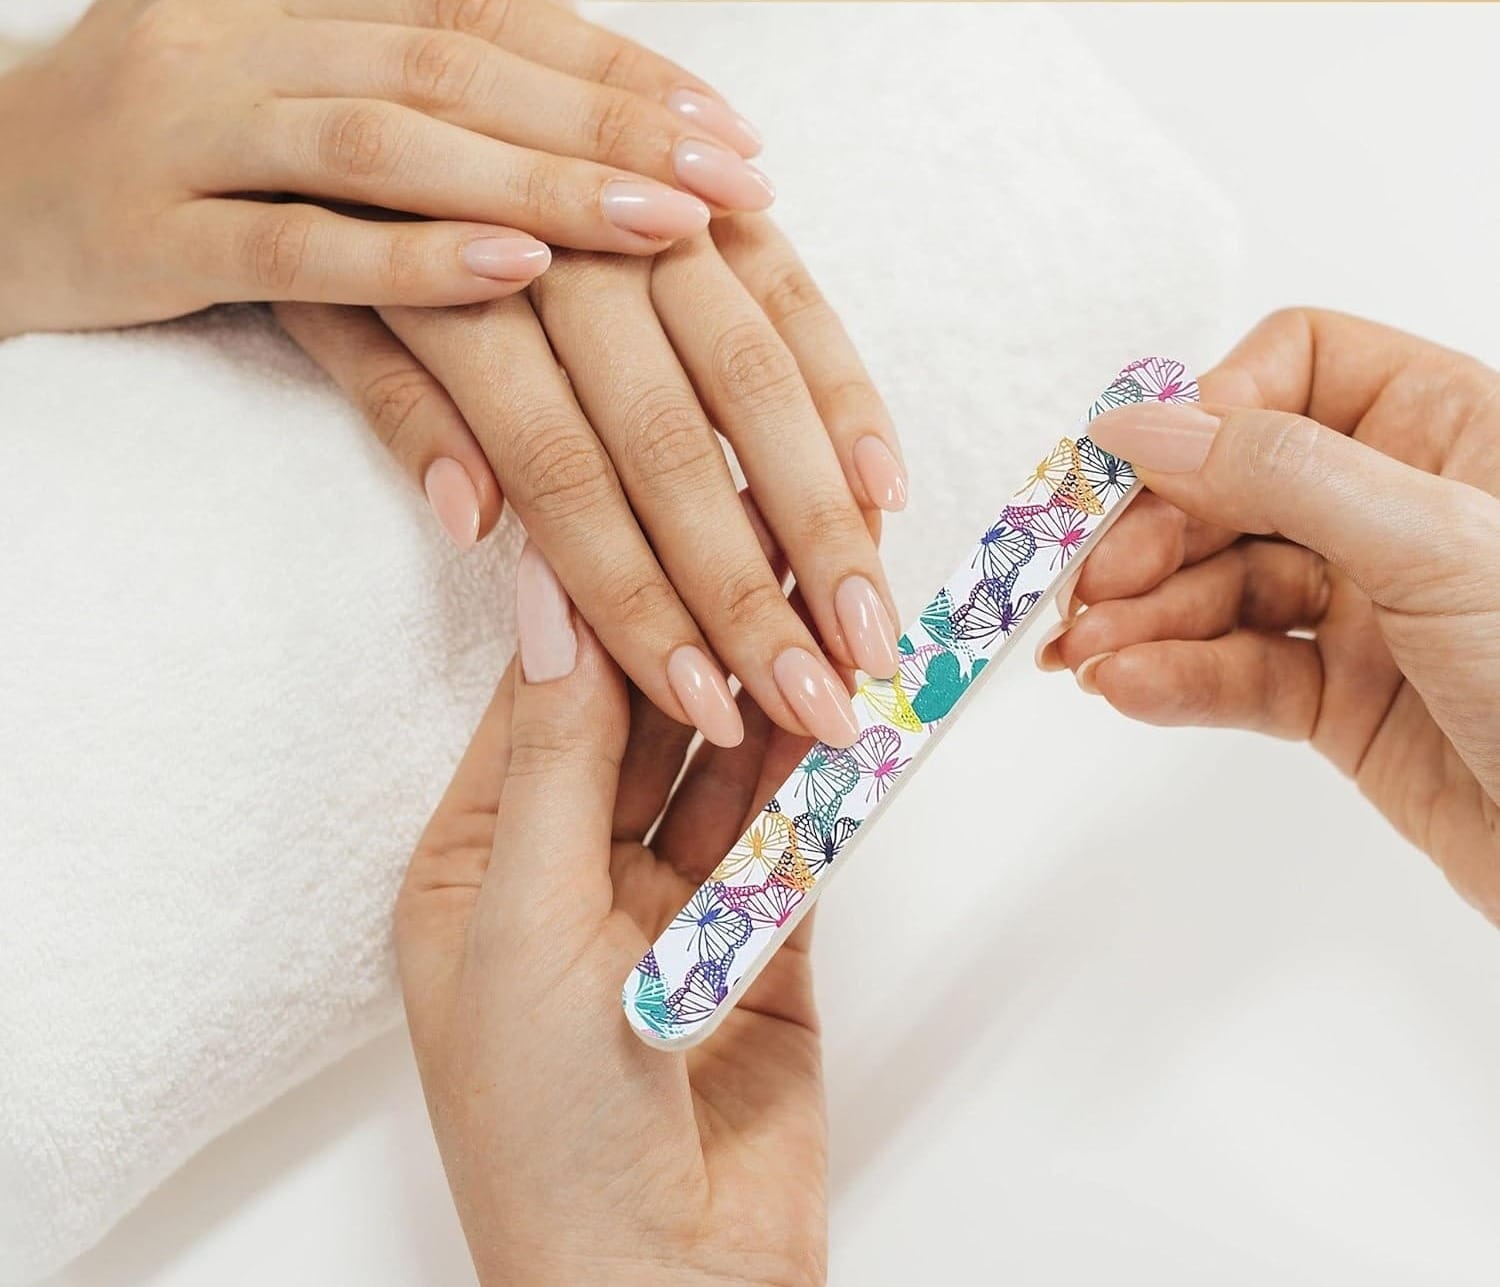
Selecting the appropriate nail file is pivotal for shaping almond nails effectively. For acrylic nails, using a coarse nail file is recommended for initially cutting down the length and adjusting the basic shape. Once the desired length and rough shape are achieved, switch to a finer grit file to refine the edges and fine-tune the almond shape. This two-step filing process helps minimize damage to the nail bed and ensures a smoother finish, which is crucial for applying nail polish or nail art later on.
It's also beneficial to have a variety of nail files on hand to address different needs during the shaping process. For instance, an emery board is suitable for softening the edges of natural nails, while a sturdy metal file can be more effective for sculpting acrylics. Remember, the right nail file not only makes the process easier but also protects your nails from potential damage. Regularly replacing nail files will prevent bacterial build-up and promote healthier, stronger nails.
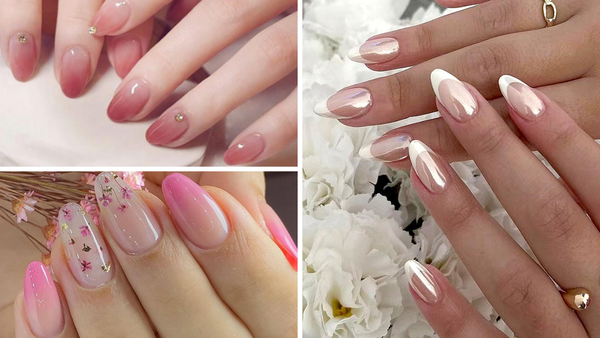
The Role of Nail Polish in Enhancing Almond-Shaped Acrylic Nails
Choosing the right nail polish can dramatically enhance the appearance of almond-shaped acrylic nails. The unique curved surface of almond nails is an excellent base for various polish types, from glossy gel polish to matte finishes. When applying polish to almond-shaped nails, start at the center point of the nail, spreading outwards to maintain an even coat without pooling at the edges. This technique helps accentuate the almond shape, making the nails look longer and more refined.
For those looking to add a bit of personality to their nails, experimenting with different nail designs can be particularly rewarding with almond nails. The elongated yet rounded shape provides an ideal backdrop for everything from simple color blocking to more elaborate art like marbling or geometric patterns. A top coat is essential, not just for achieving a desired glossy or matte finish but also for protecting the intricate designs underneath. Regular maintenance, including applying a top coat every few days, will ensure your polished almond nails remain stunning and durable.
Essential Tools for DIY Almond-Shaped Acrylic Nails
Selecting the right nail file is crucial for achieving the perfect almond nail shape at home. A fine-grit nail file is ideal for smoothing the edges without causing too much abrasion to the acrylic or the natural nail underneath. Start filing from the side towards the center point of the nail in one direction to maintain the integrity of the shape. This method helps create the iconic tapered look of almond-shaped nails without sharp corners.
Mastering the Filing Technique for Perfect Almond Shaped Acrylic Nails
Achieving the perfect almond shape starts with the right nail file and technique. For almond-shaped acrylic nails, using a fine grit nail file is crucial as it allows for more precise shaping without causing too much abrasion to the acrylic material. Start filing at a slight angle at the sides of the nails and gradually work towards the center point, maintaining a consistent filing motion. This technique helps create the smooth, tapered look that defines almond nails. It's important to file in one direction to avoid damaging the nail bed and to achieve a clean, refined edge.
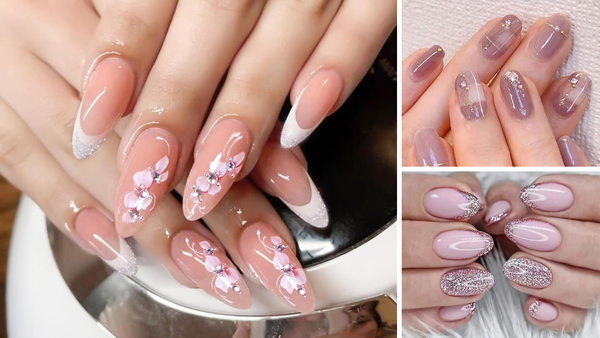
Incorporating Nail Art into Almond Shaped Acrylics
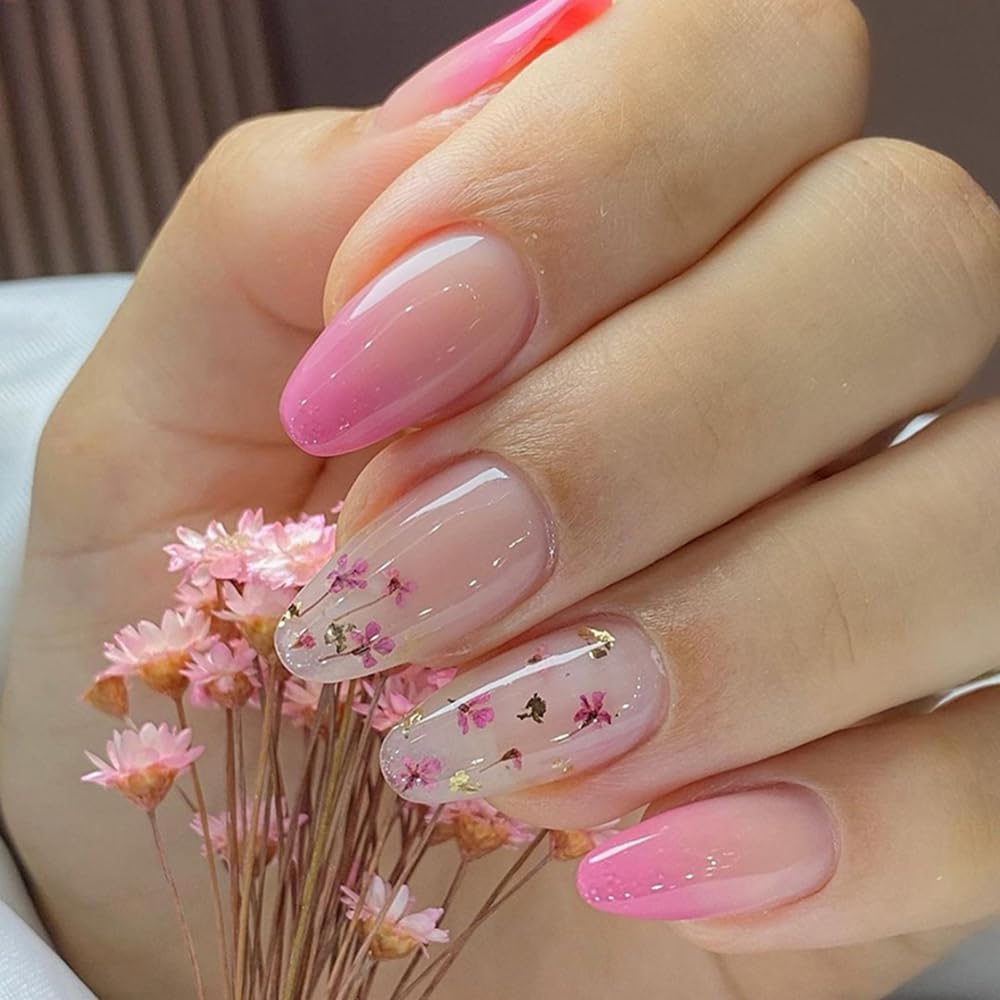
Almond-shaped nails provide a fantastic canvas for creative nail art due to their elegant and slightly elongated form. For those exploring nail designs, consider using techniques that complement the almond shape. One popular method is the ombre effect, where colors gradually blend into each other along the length of the nail, emphasizing its curvature. Start with a lighter shade at the cuticle and blend into a darker shade towards the tip. This technique not only highlights the almond shape but also adds a touch of sophistication to your nail art.
Creative Inspirations: Nail Art Ideas for Almond-Shaped Acrylic Nails
Due to their elegant and slightly pointed shape, almond-shaped nails provide a fantastic canvas for creative nail art. For those exploring how to make almond-shaped acrylic nails at home, consider incorporating ombre techniques, which blend two colors naturally, mimicking the smooth, tapered look of the almond shape. Using colors that contrast well, like a soft pink fading into a deep burgundy, can highlight the unique contour of your nails and add an artistic touch.
Another exciting idea is to experiment with geometric patterns or thin line art, which can be meticulously drawn using a fine nail brush. These designs can enhance the almond shape by elongating the appearance of the nails, making them look even more sophisticated. For a more glamorous approach, adding small rhinestones or metallic strips at the free edge or along the cuticle line can catch the light beautifully and make your DIY almond-shaped acrylic nails stand out in the crowd.
Refining the Shape
Once the acrylic has hardened, refine the almond shape using your nail file. Focus on keeping the symmetry and smoothness along the sides and tip. The goal is to mimic the smooth, rounded shape of an almond.
Buffing and Polishing
After shaping, buff the surface of the nails to remove any rough edges or uneven surfaces. Wash your hands to remove any dust and debris. Apply a base coat to protect the nail, followed by your choice of nail polish or gel polish. Finish with a top coat to add shine and durability.
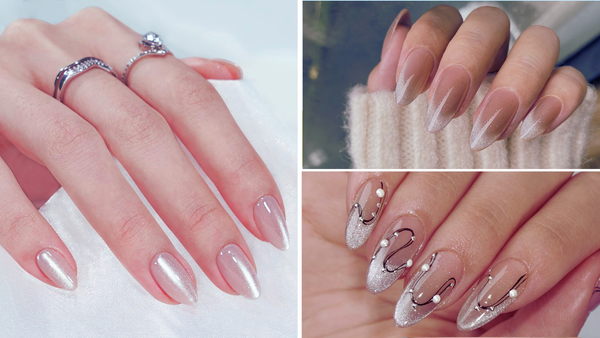
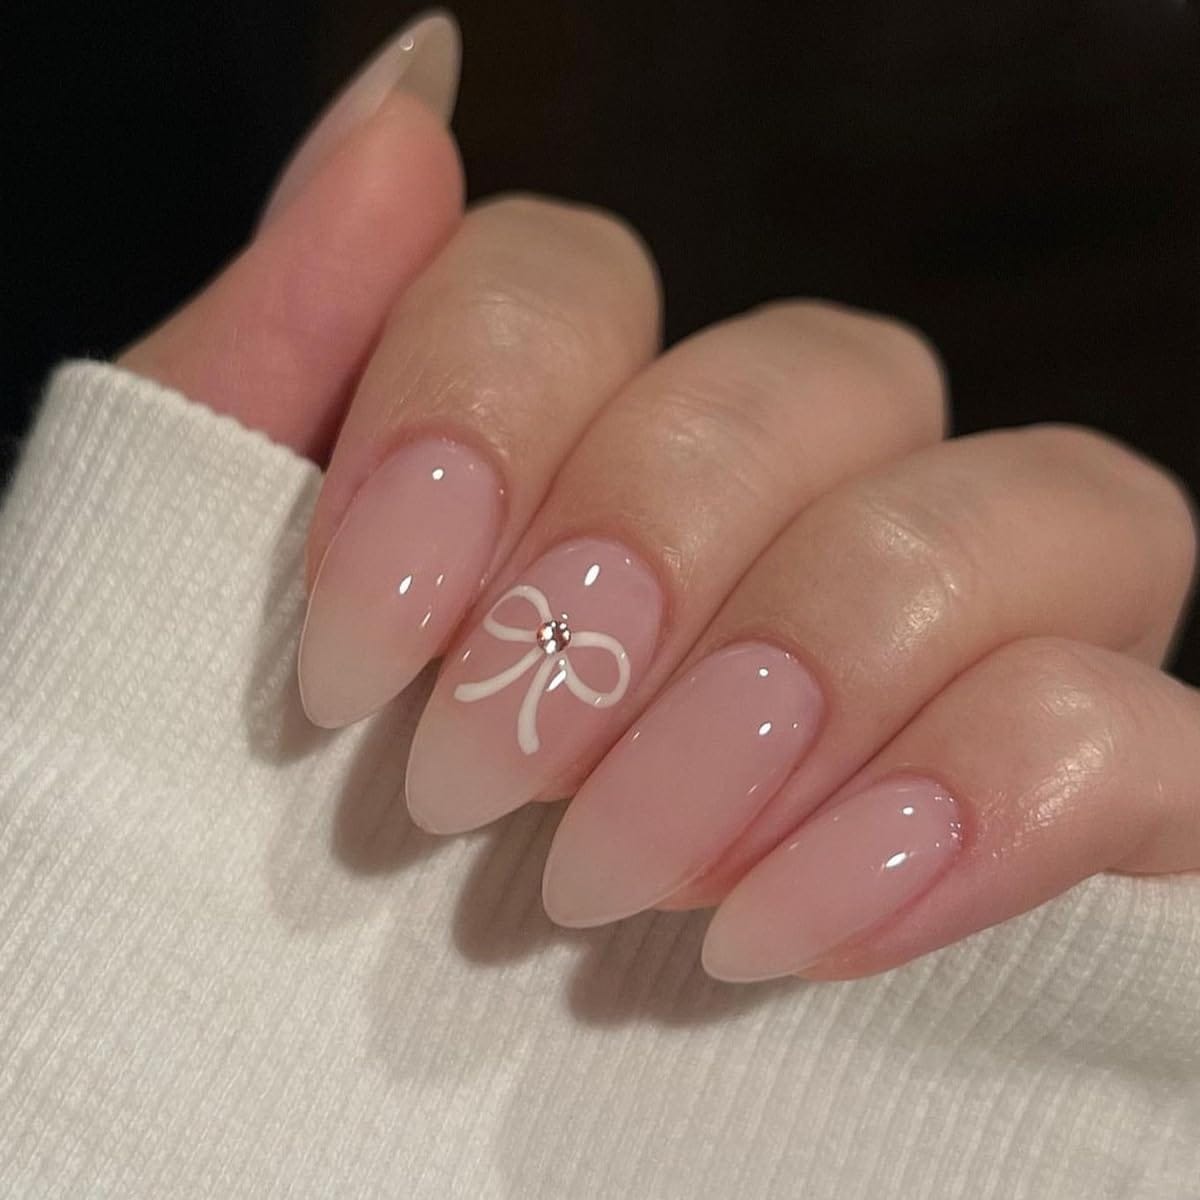
Customizing Your Nail Art
Now that you have your almond-shaped acrylic nails, you can customize them with nail art. Whether you prefer a simple, elegant look with a single color or something more elaborate like glitter or patterns, the almond shape provides a great canvas.
Maintenance and Aftercare
To maintain your almond-shaped acrylic nails, keep them clean and avoid using them as tools to prevent breakage. Regularly apply cuticle oil to nourish your nails and keep the skin around them soft.
Summary
Creating almond-shaped acrylic nails at home is a rewarding DIY project that allows for customization and creativity. By following the steps outlined, from preparation to polishing, you can achieve professional-looking nails at a fraction of the cost.
FAQ Section
What is the best way to remove acrylic nails at home?
To safely remove acrylic nails, soak them in acetone until the acrylic breaks down, and gently remove the softened material with a cuticle pusher.
How often should I redo my acrylic nails?
Typically, acrylic nails should be redone every 2 to 3 weeks to accommodate nail growth and prevent lifting.
Can I apply gel polish over acrylic nails?
Yes, you can apply gel polish over acrylic nails for a glossy, durable finish. Ensure you use a base coat before applying the gel polish and cure it under a UV or LED lamp.
How do I apply nail tips for almond-shaped acrylic nails at home?
To apply nail tips for almond-shaped acrylic nails at home, start by preparing your natural nails, select the appropriate nail tips, apply adhesive, and carefully press the tips onto your nails, ensuring a snug fit before trimming and shaping them to achieve the desired almond shape.
Can I create almond-shaped acrylic nails at home with short nails?
Yes, you can achieve almond-shaped acrylic nails at home, even with short nails. Start by prepping your nails, applying nail tips to extend the desired length, and then sculpting the almond shape using acrylic powder and a brush. Finish with filing and shaping to your preference.
Can I create almond-shaped acrylic fake nails at home?
Yes, you can make almond-shaped fake acrylic nails at home by prepping your natural nails, applying nail tips, sculpting the almond shape with acrylic powder and a brush, and finishing with filing and shaping for your desired look.
What type of nail is best for creating almond-shaped acrylic nails at home, and how can I ensure their durability with this type of nail?
The type of nail is crucial for crafting almond-shaped acrylic nails at home. Opt for durable nail tips that offer both flexibility and strength. Properly prepping your natural nails and evenly applying acrylic layers over the chosen nail type ensures longevity and durability.
Is there a specific filing motion to follow when shaping almond acrylic nails at home?
Yes, it's essential to use the same filing motion consistently. This ensures uniformity and helps achieve the desired almond shape with smooth edges.
Can I create a stiletto nail shape at home using gel nails?
Yes, you can achieve the stiletto nail shape at home by applying gel nail extensions or tips. Sculpt the gel to achieve the sharp, pointed stiletto shape, ensuring precision for the desired style.
How can I achieve coffin nails at home?
To achieve coffin nails at home, start by applying nail tips or sculpting the desired length and shape using acrylic or gel. Shape the nails with a straight edge and tapered sides, resembling a coffin or ballerina shape. Refine the edges and surface for a sleek finish.
How can I achieve oval-shaped nails at home?
To achieve oval-shaped nails at home, begin by shaping the tips of your nails into a rounded oval using a nail file. Ensure both sides are symmetrical for a balanced look. Finish by smoothing the edges and refining the shape until you achieve your desired oval shape.