


Key Takeaways:
- Proper preparation and application are crucial for achieving shiny black press on nails.
- Using high-quality products and following a meticulous process ensures long-lasting results.
- Regular maintenance and care can keep your press-on nails looking salon-fresh for up to two weeks.
Introduction
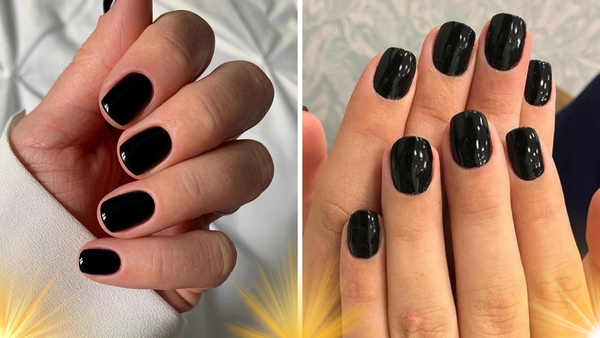
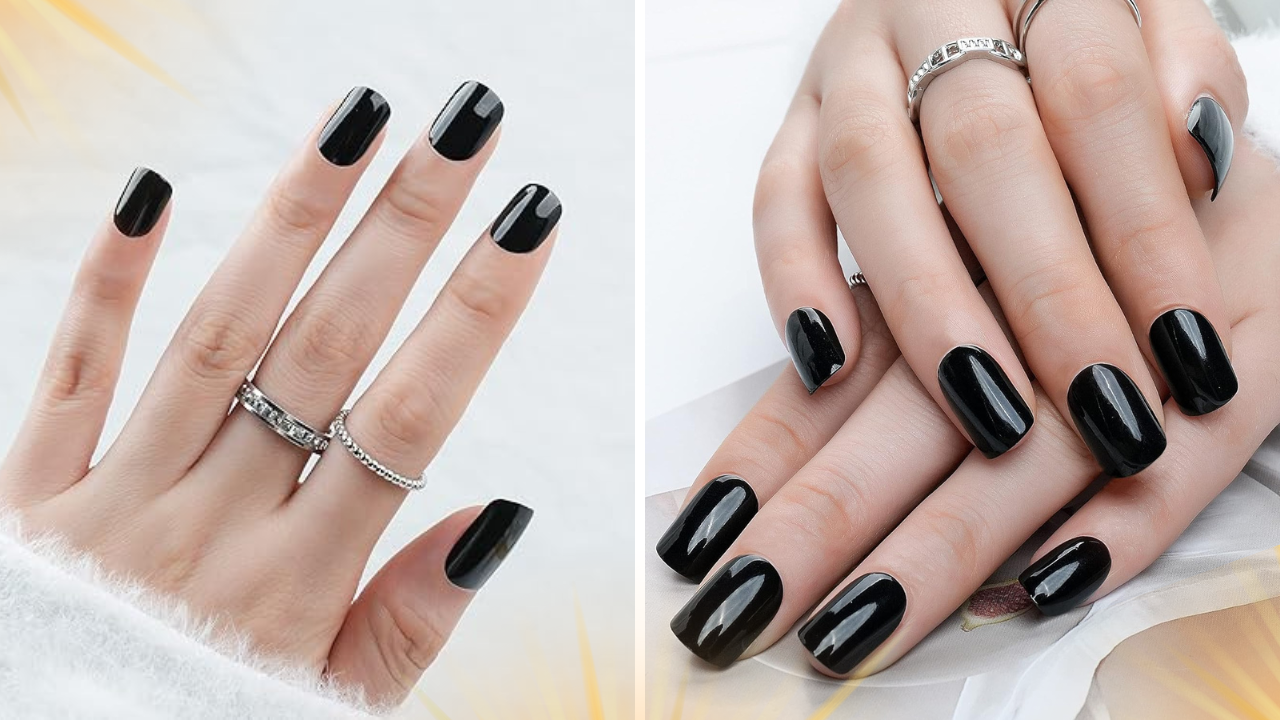
Black press-on nails are a chic and versatile for anyone looking to elevate their manicure game. However, achieving that perfect, glossy shine can sometimes be a challenge. Whether you're a seasoned nail enthusiast or a newbie, this guide will walk you through the steps to make your black press-on nails shiny and keep them looking fabulous for weeks.
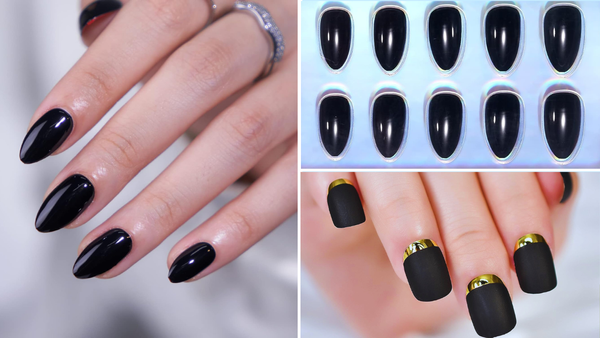
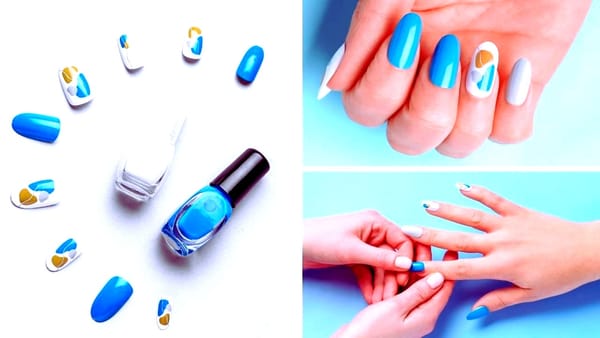
Choosing the Right Press On Nails
Selecting the right press-on nails is the first step to achieving a shiny finish. Look for high-quality press-ons designed to mimic the look and feel of acrylic nails. These nails are usually more durable and have a smoother surface, which makes them easier to polish to a high shine.
When choosing your press-on nails, consider the size and shape. Nails slightly larger than your natural nails can be filed down to fit perfectly, ensuring a seamless and natural look. This is crucial because a perfect fit will look better and last longer.
Preparing Your Natural Nails
Before applying your press-on nails, it's essential to prepare your natural nails properly. Start by washing your hands thoroughly with warm water and soap to remove dirt and oils. This will help the adhesive stick better and prevent your press-ons from popping off prematurely.
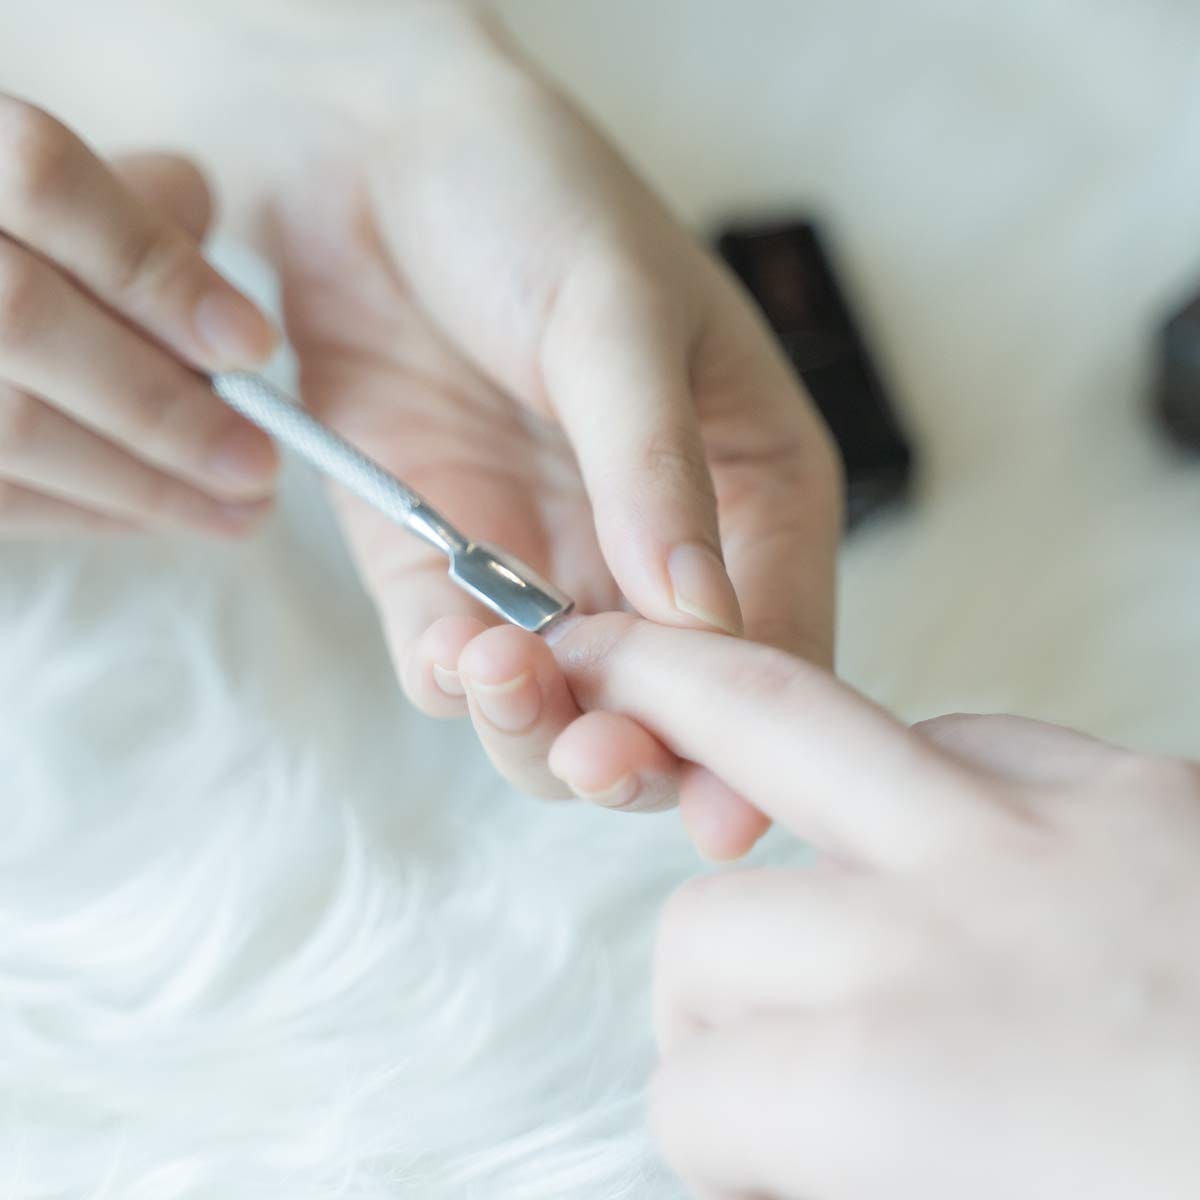
Next, gently push back your cuticles using a cuticle pusher. This step is important because it creates more space for the press-on nails to adhere to your nail bed. Trim and file your natural nails to ensure they are smooth and free of rough edges that could interfere with the application process.
Applying the Base Coat
A base coat is crucial to achieving a shiny finish on your black press-on nails. Apply a thin layer of base coat to your natural nails and let it dry completely. This will create a smooth surface for the press-on nails to adhere to and help prevent air bubbles from forming.
Using a base coat also helps protect your natural nails from any harsh chemicals in the nail glue or polish. It acts as a barrier, preventing your nails from becoming weak or damaged over time.
Using High-Quality Nail Glue
The quality of the nail glue you use can significantly affect the shine and long-lastingness of your press-on nails. Opt for a high-quality glue specifically designed for press-on nails. These glues are usually stronger and more durable, ensuring that your nails stay in place for up to two weeks.
Apply a small amount of glue to both your natural and the press-on nail. Gently press the press-on nail onto your natural nail, holding it in place for a few seconds to ensure a strong bond. Be careful not to use too much glue, as this can cause the nails to lift and create an uneven surface.
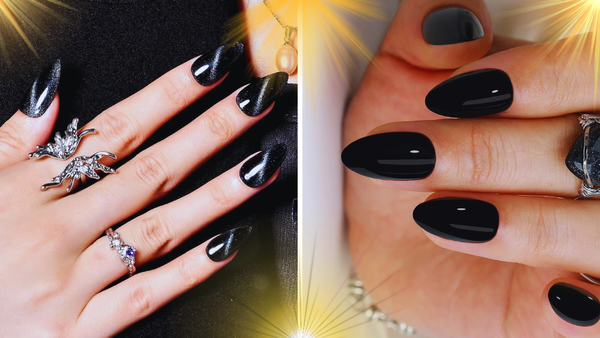
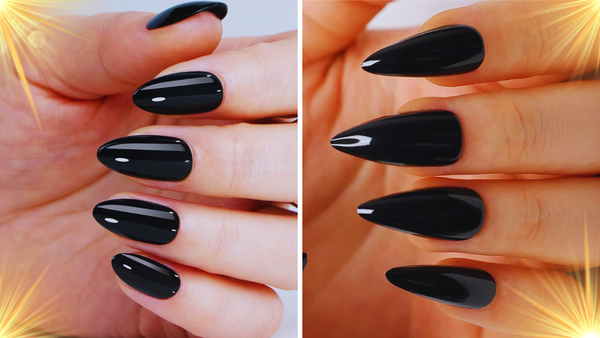
Shaping and Filing
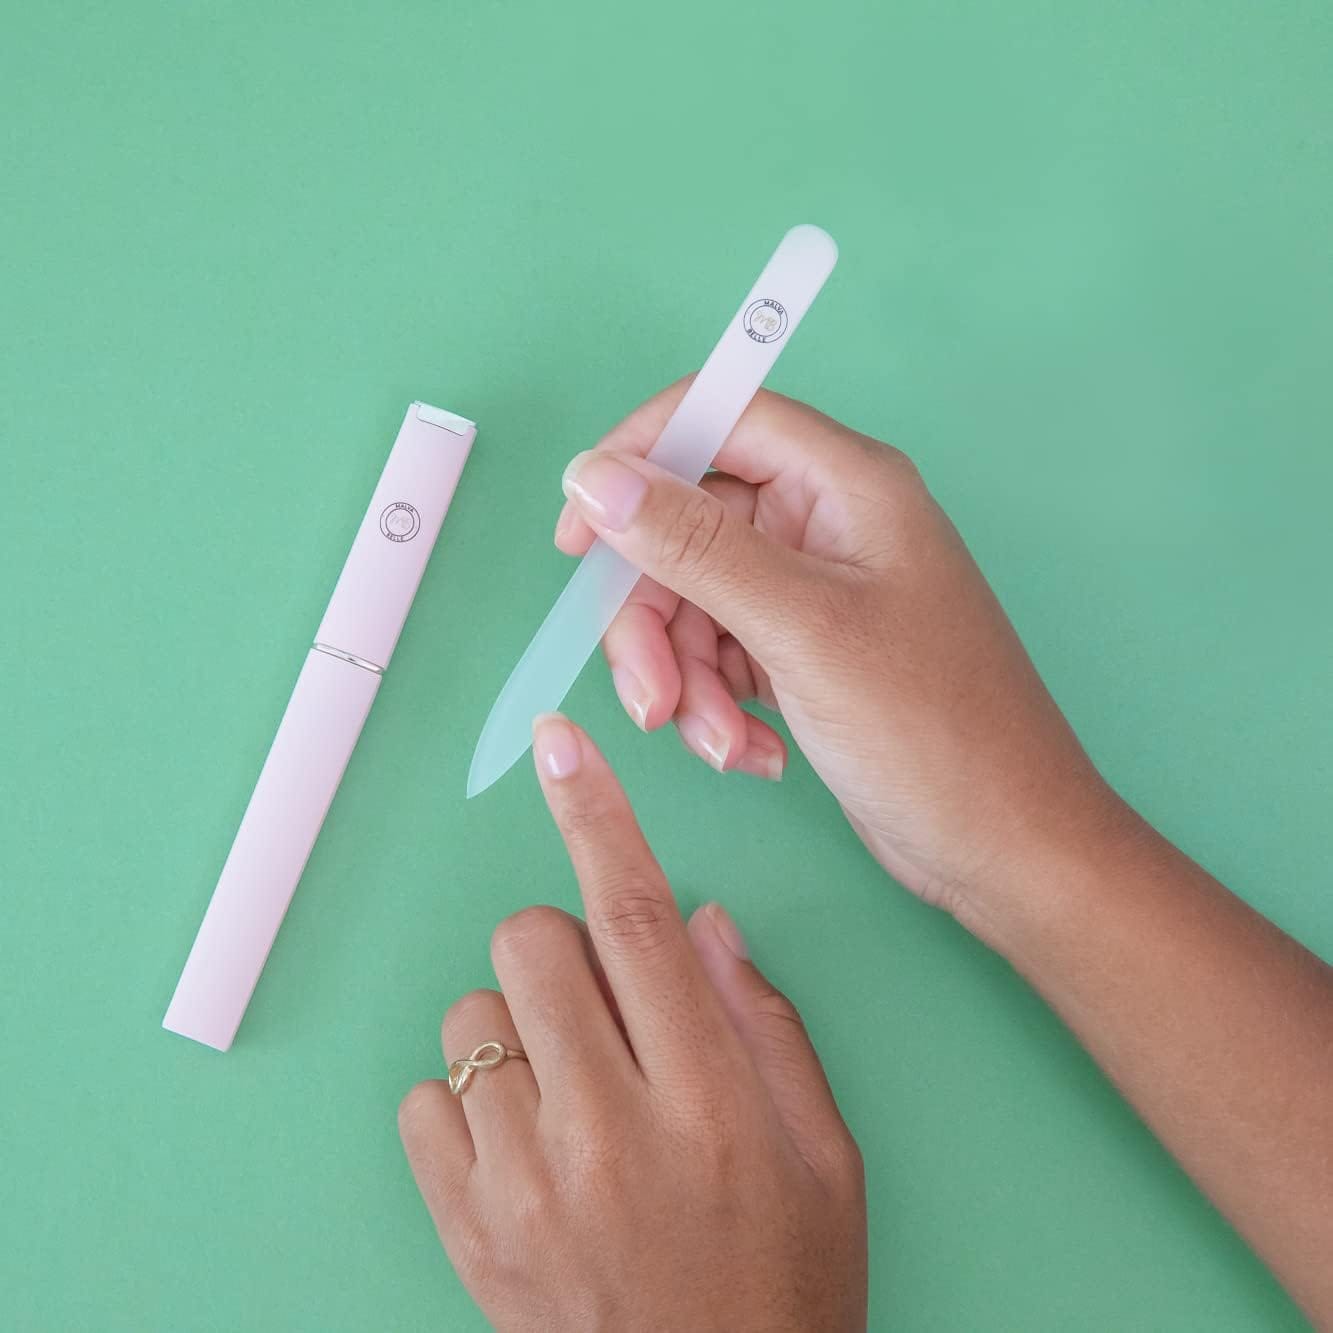
Once your press-on nails are securely in place, it's time to shape and file them to your desired length and shape. Use a nail file to gently file the edges of the nails, creating a smooth and even surface. This step is crucial for achieving a polished and professional look.
If you prefer a more natural look, you can file the nails to match the shape of your natural nails. You can opt for a stiletto or coffin shape for a more dramatic look. Whatever shape you choose, file the nails evenly to avoid any rough edges that could catch on clothing or other objects.
Applying the Top Coat
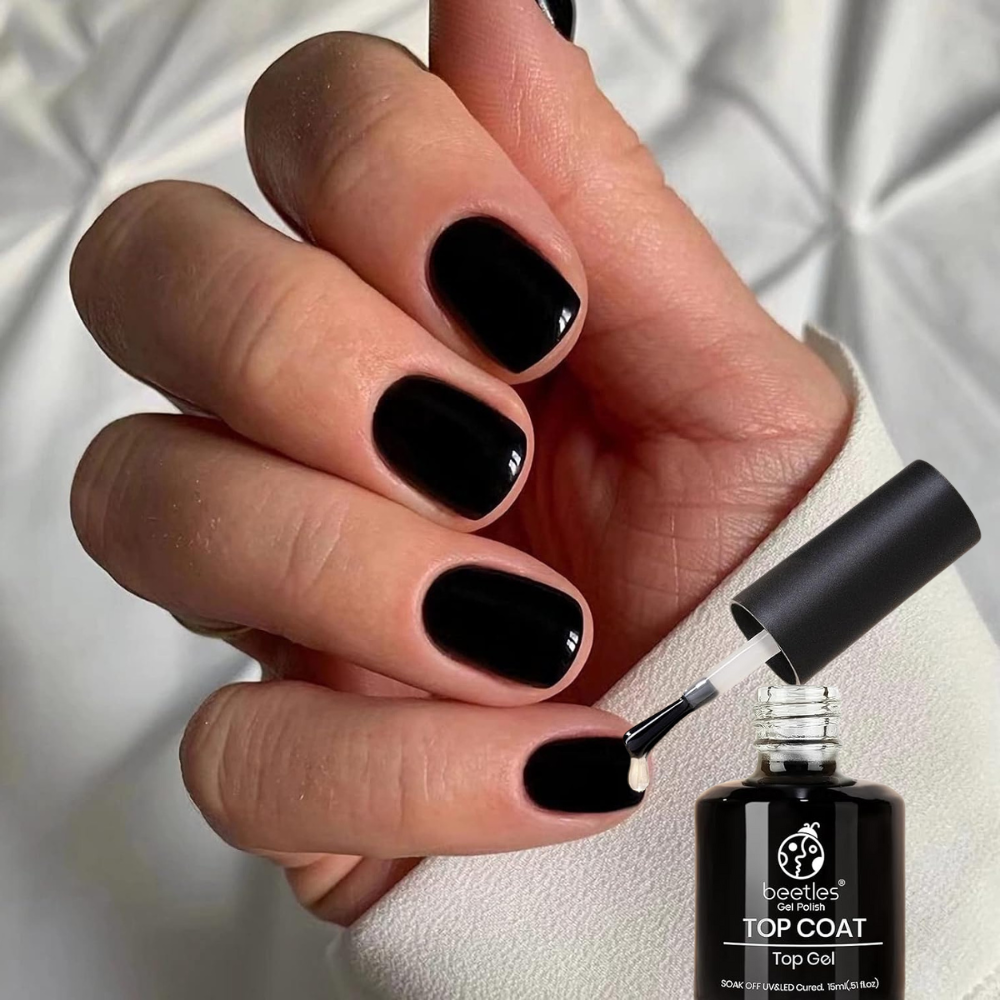
A top coat is the key to achieving a shiny finish on your black press-on nails. Apply a thin layer of top coat to each nail, covering the entire surface. This will create a glossy finish and help protect the nails from chipping and peeling.
Allow the top coat to dry completely before touching anything. This step is crucial because any smudges or dents can ruin the shiny finish. For an extra glossy look, you can apply a second layer of top coat once the first layer is completely dry.
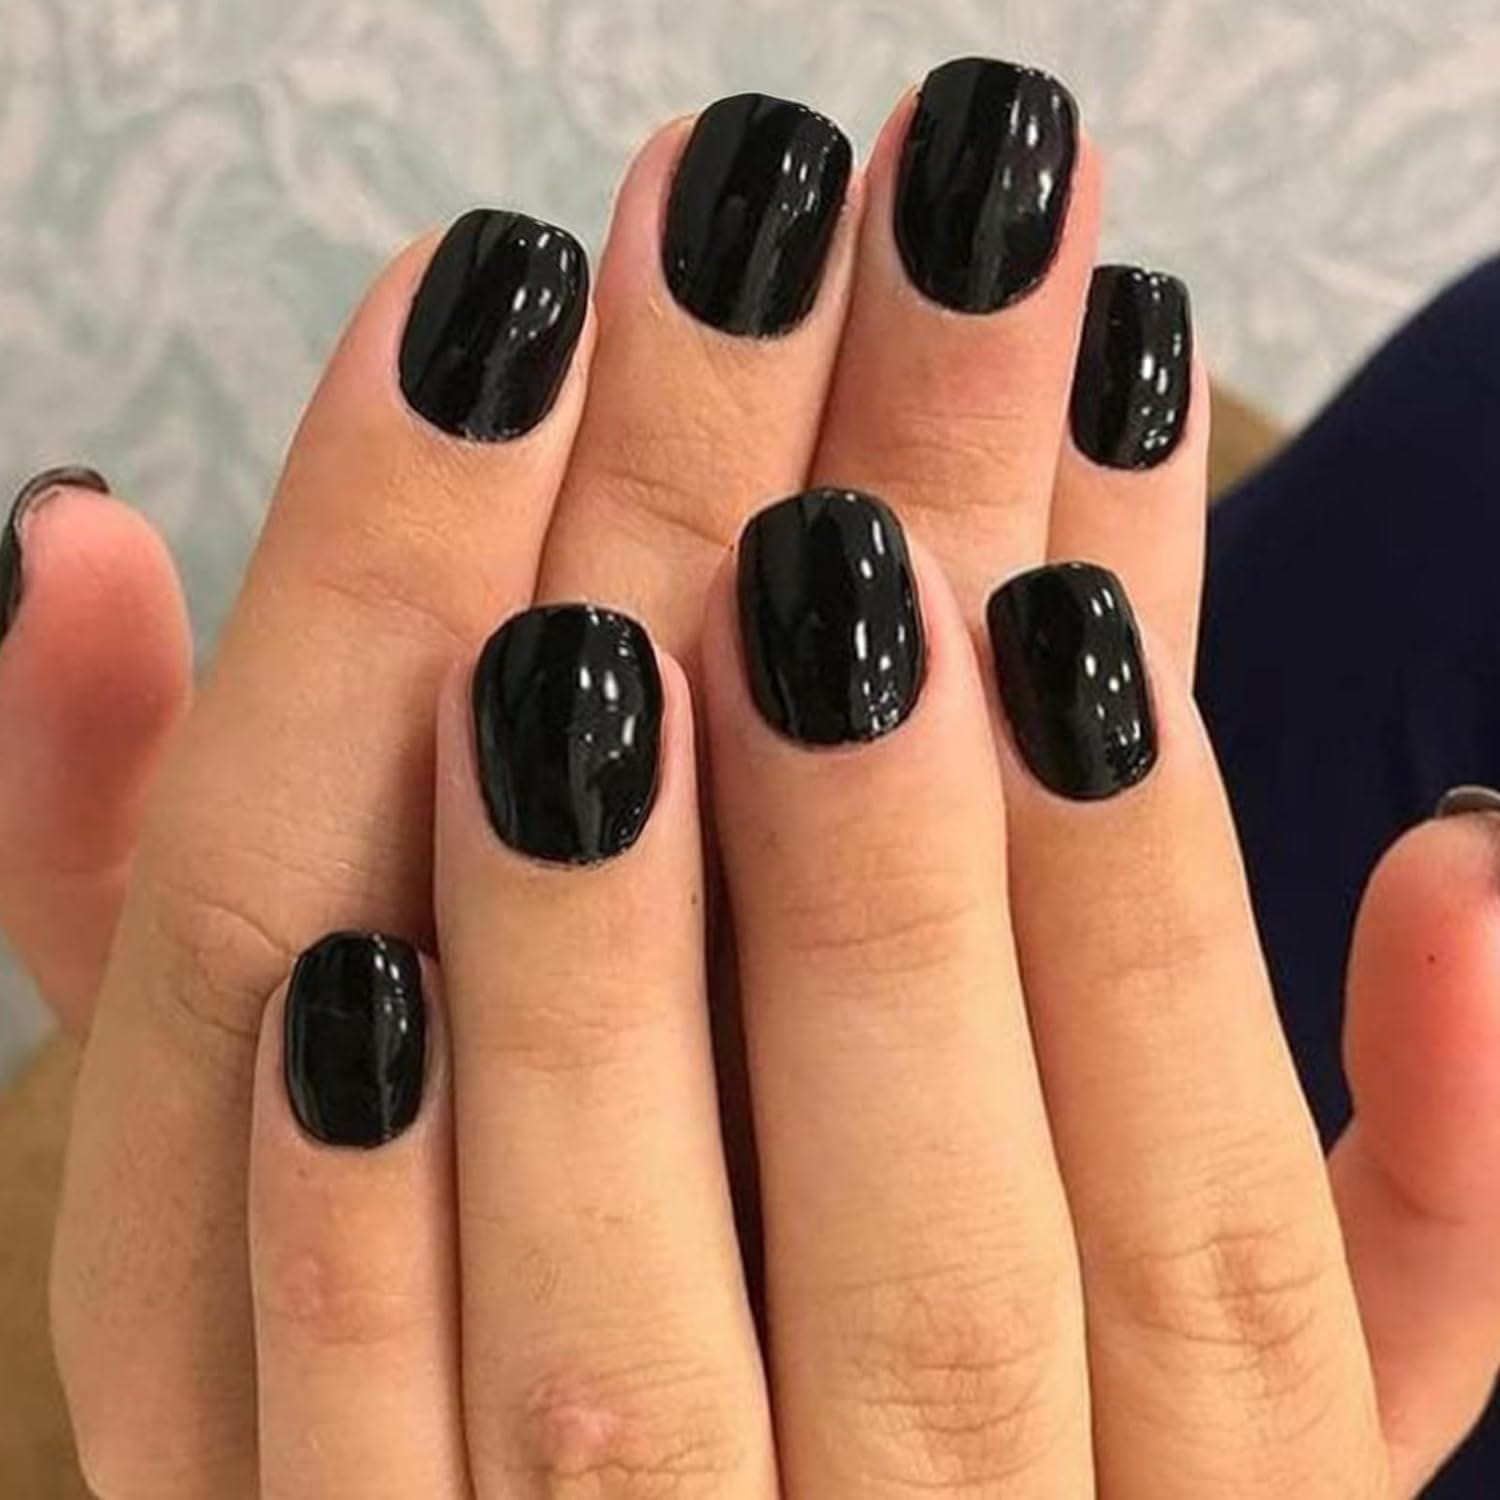
Buffing for Extra Shine
If you want to enhance your nails' shine, consider buffing them after applying the top coat. Use a nail buffer to gently buff the surface of each nail, creating a smooth and shiny finish. This step can significantly improve the overall appearance of your nails.
Buffing also helps to remove any imperfections or ridges on the surface of the nails, creating a flawless finish. Be careful not to buff too hard, damaging the top coat and creating a dull appearance.
Regular Maintenance
It's essential to maintain your black press-on nails regularly to keep them looking shiny and fresh. Apply cuticle oil to your nails and cuticles daily to keep them hydrated and prevent dryness or cracking. This will also help keep the nails looking glossy and healthy.
Avoid using harsh chemicals or abrasive materials on your nails, as these can cause the polish to chip and the nails to become dull. If you notice any chips or peeling, apply a thin layer of top coat to the affected area to restore the shine and protect the nails.
Removing Press On Nails Safely
When it's time to remove your press-on nails, it's important to do so safely to avoid damaging your natural nails. Soak your nails in warm water for a few minutes to soften the glue. Gently lift the edges of the press-on nails using a cuticle pusher, being careful not to pull or force them off.
If the nails are stubborn, you can use a small amount of acetone to help dissolve the glue. Apply the acetone to a cotton ball and place it on the nail for a few seconds before gently lifting the press on the nail. This method is less likely to damage your natural nails and will make removal much easier.
Summary
Proper preparation, application, and maintenance are essential for achieving shiny black press on nails. By choosing high-quality products and following a meticulous process, you can enjoy salon-worthy nails lasting up to two weeks. Regular care and attention will keep your nails glossy and fresh, ensuring you always have a stunning manicure.
FAQ Section
How long do black press-on nails last?
Black press on nails can last up to two weeks with proper application and care. Using high-quality glue and following a meticulous application process will help ensure your nails stay in place and look shiny for as long as possible.
Can I use regular nail polish on the press-on nails?
Yes, you can use regular nail polish on press-on nails. However, using a base coat and top coat is important to ensure a smooth and shiny finish. Allow each layer to dry completely before applying the next to avoid any smudges or dents.
How do I prevent my press-on nails from popping off?
To prevent your press-on nails from popping off, prepare your natural nails properly before application. This includes washing your hands, pushing back your cuticles, and applying a base coat. Use high-quality glue and press the nails firmly in place for a few seconds to ensure a strong bond. Regular maintenance, such as applying cuticle oil and avoiding harsh chemicals, will help keep your nails in place.
How can I make my black press-on nails shiny while maintaining a natural nail appearance?
To achieve a glossy finish on your black press-on nails while keeping a natural nail look, start by prepping your natural nails. Ensure they're clean and dry before applying the press-ons. Once applied, you can use a clear topcoat designed for press-on nails to add shine without altering the color. Avoid excessive layers of topcoat, as this can make the nails appear thicker and less natural.
What's the best way to make my black press-on nails shiny using nail glue while preserving a natural appearance?
When using nail glue to apply your black press-on nails, you can still achieve a shiny finish while maintaining a natural look. After applying the press-ons, wait for the glue to dry completely. Then, gently buff the surface of the nails with a nail buffer to smooth out any imperfections and create a polished base. Finally, apply a clear topcoat designed for press-on nails to add shine without compromising the natural appearance.