


Key Takeaways:
- Preparation is Key: Properly preparing your natural nails ensures better adhesion and a more realistic look.
- Application Technique: Using the right technique and products can make a difference in achieving a salon-quality finish.
- Maintenance Matters: Regular upkeep and care will keep your press-on nails fresh and natural for weeks.
Introduction
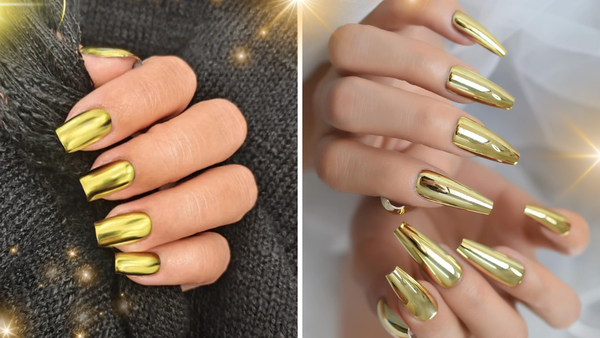
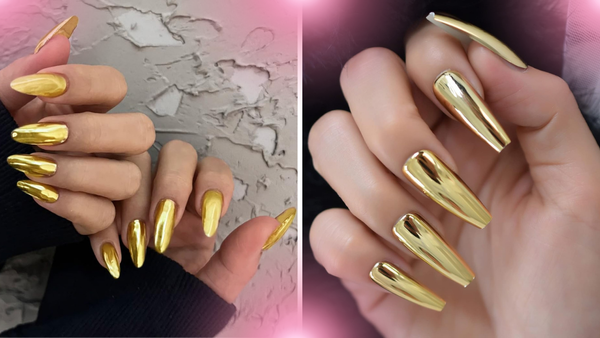
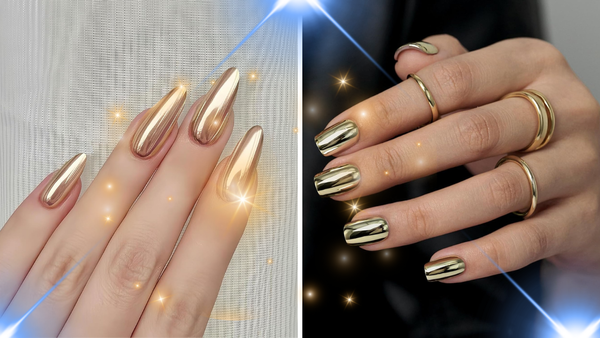
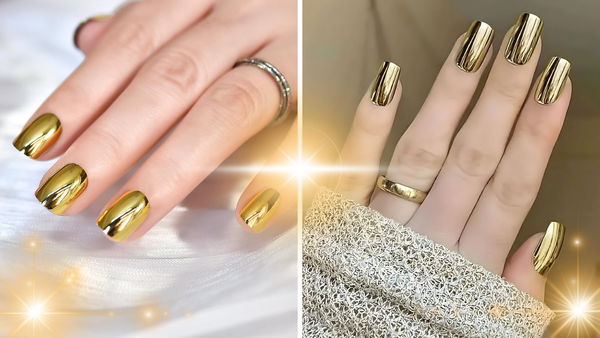
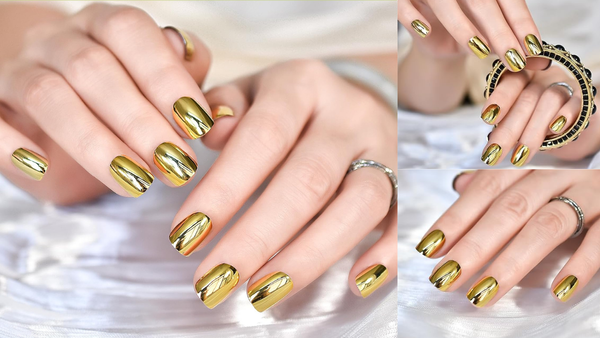
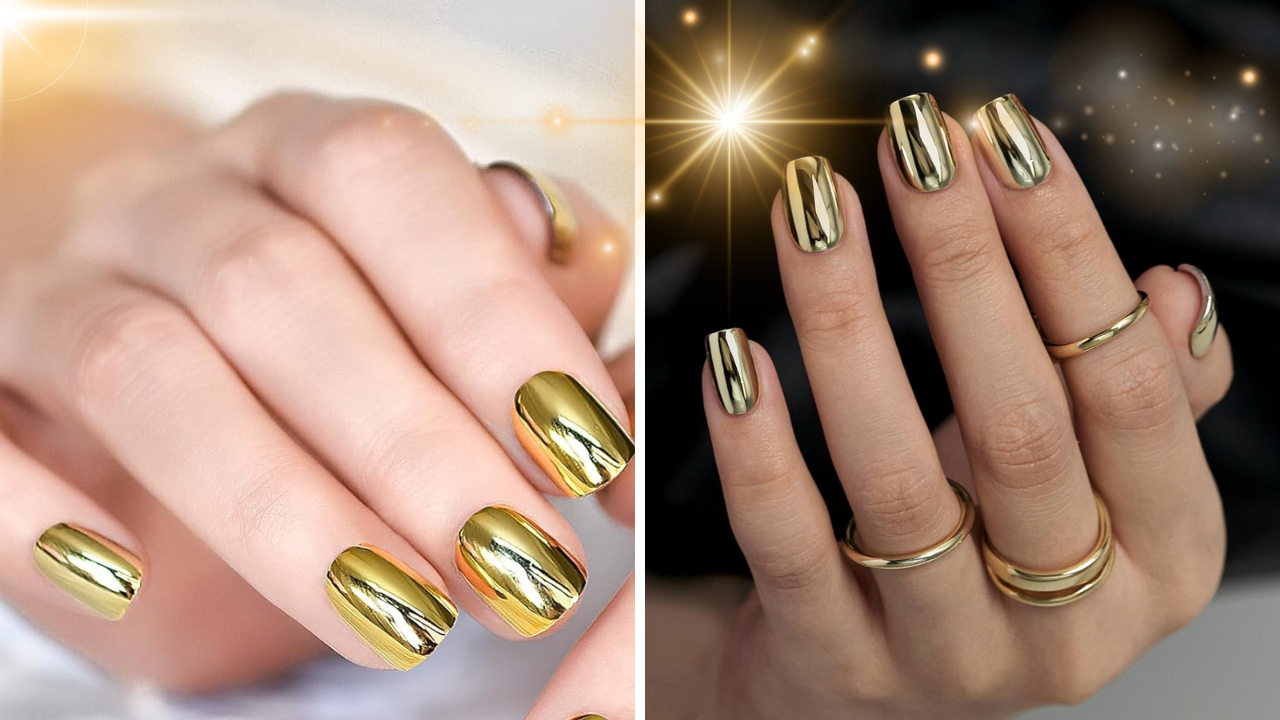
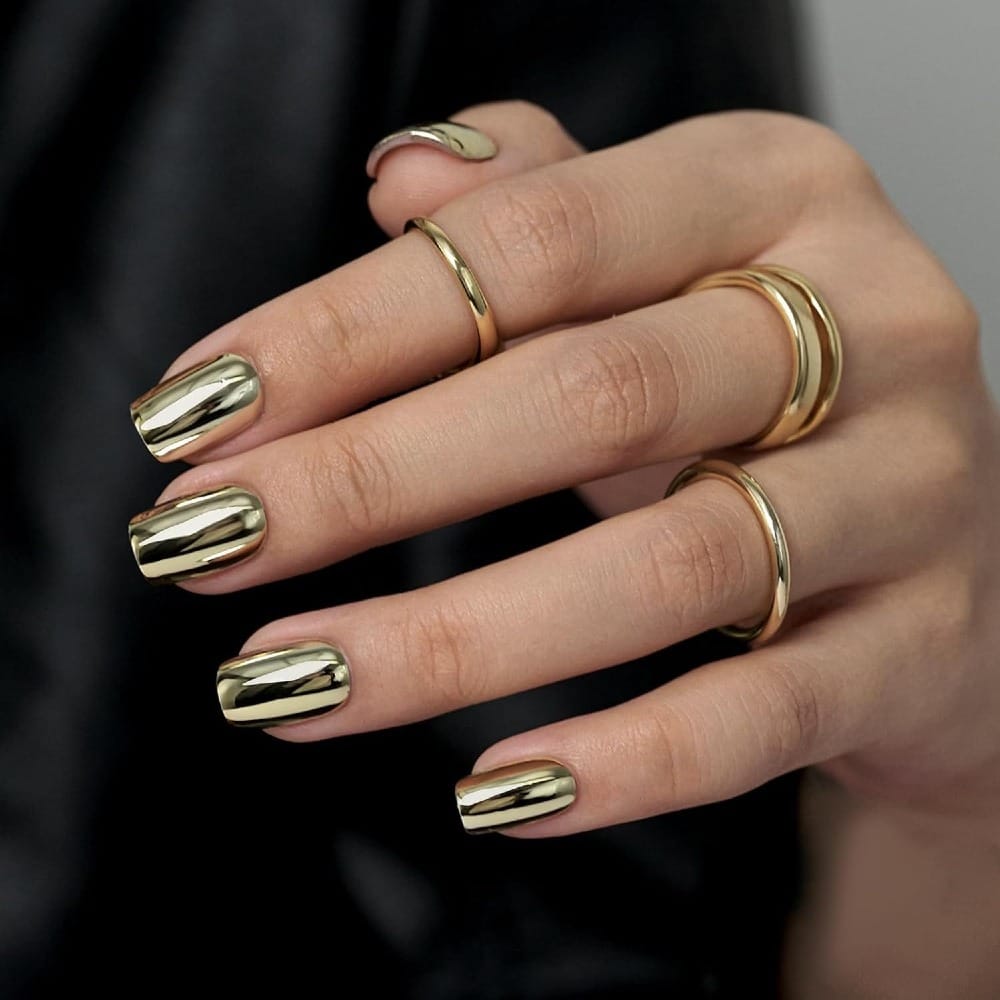
Gold press on nails can be a game-changer for anyone looking to add a touch of glamour without the hassle of a salon visit. However, making them look real can be a bit tricky. With the right tips and tricks, you can achieve a flawless, natural look that will have everyone thinking you just stepped out of a high-end nail salon. Let’s dive into the steps to make your gold press-on nails look as real as possible.
Preparing Your Natural Nails
Before you apply your gold press-on nails, you need to prepare your natural nails. This is the most important step in ensuring that your press-ons adhere properly and look natural. Start by soaking your nails in warm, soapy water for a few minutes to soften your cuticles. Gently push back your cuticles with a cuticle pusher and clip any excess skin. This will create a clean canvas for your press-on nails.
Next, use a nail file to shape your natural nails and smooth out any rough edges. Buff the surface of your nails to remove any shine, which will help the nail glue adhere better. Wipe your nails with acetone to remove any oils or residue. This step is crucial for ensuring that your press-on nails stick properly and last longer.
Choosing the Right Size
Selecting the right size for your press-on nails is essential for a natural look. A nail slightly larger than your natural nail can look bulky and fake, while a nail that's too small won't cover your nail bed properly. Most press-on nail kits come in various sizes, so take your time to find the perfect fit for each nail.
If you can't find an exact match, choosing a slightly larger nail and filing it down to fit your nail bed is better. This will ensure that your press-on nails look seamless and natural. Remember, the goal is to make your press-on nails look like extensions of your own nails, not a separate entity.
Applying the Nail Glue
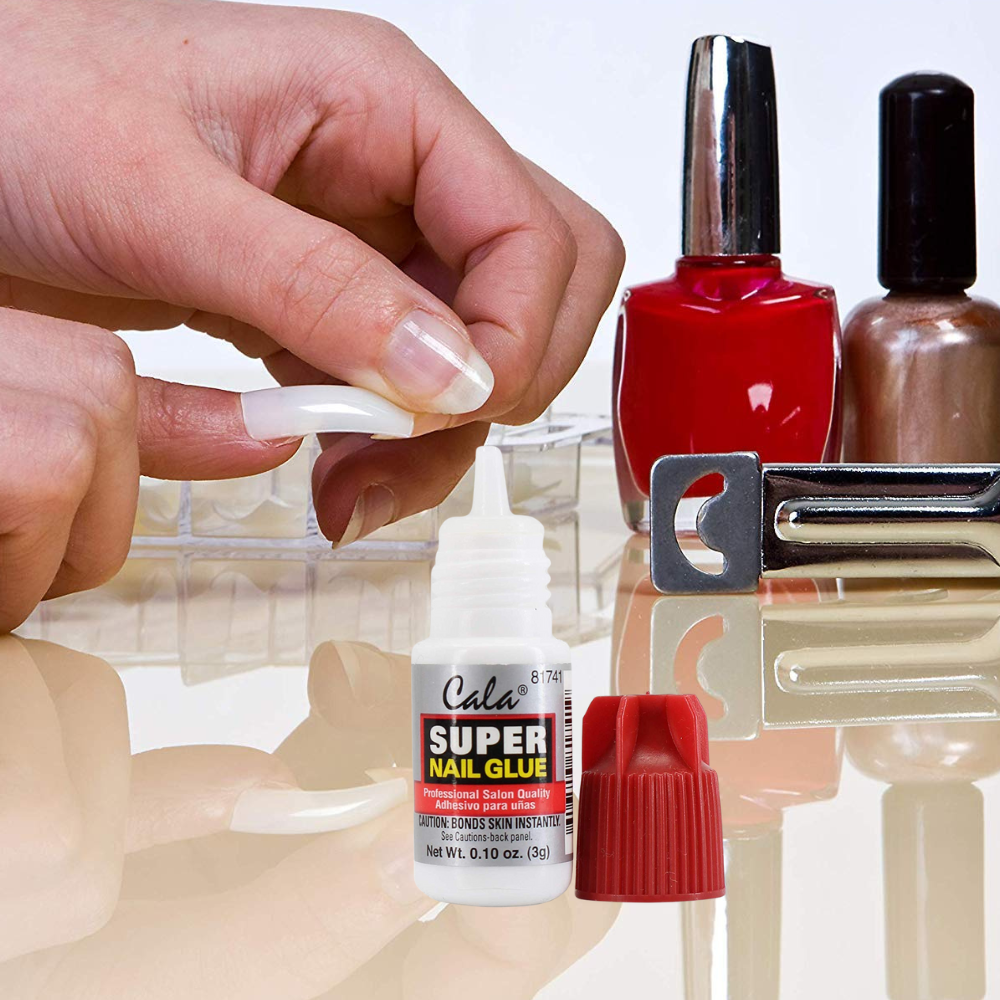
Applying the nail glue can significantly affect how real your press-on nails look. Start by applying a thin layer of nail glue to your natural nail. Then, apply a small amount of glue to the back of the press-on nail. This double-glue method ensures better adhesion and a longer-lasting hold.
Press the press-on nail onto your natural nail, starting at the cuticle and pressing down toward the tip. Hold it for a few seconds to allow the glue to set. Press down firmly but gently to avoid any air bubbles, which can make your nails look less natural.
Shaping and Filing

Once your press-on nails are securely in place, it's time to shape and file them to match your natural nail shape. Use a nail file to gently file the edges of the press-on nails, making sure they blend seamlessly with your natural nails. This step is crucial for achieving a natural look.
If your press-on nails are shaped differently than your preferred style, don't worry. You can always reshape them to your liking. Whether you prefer a square, oval, or almond shape, a little filing can make your press-on nails look custom-made.
Applying a Base Coat and Top Coat
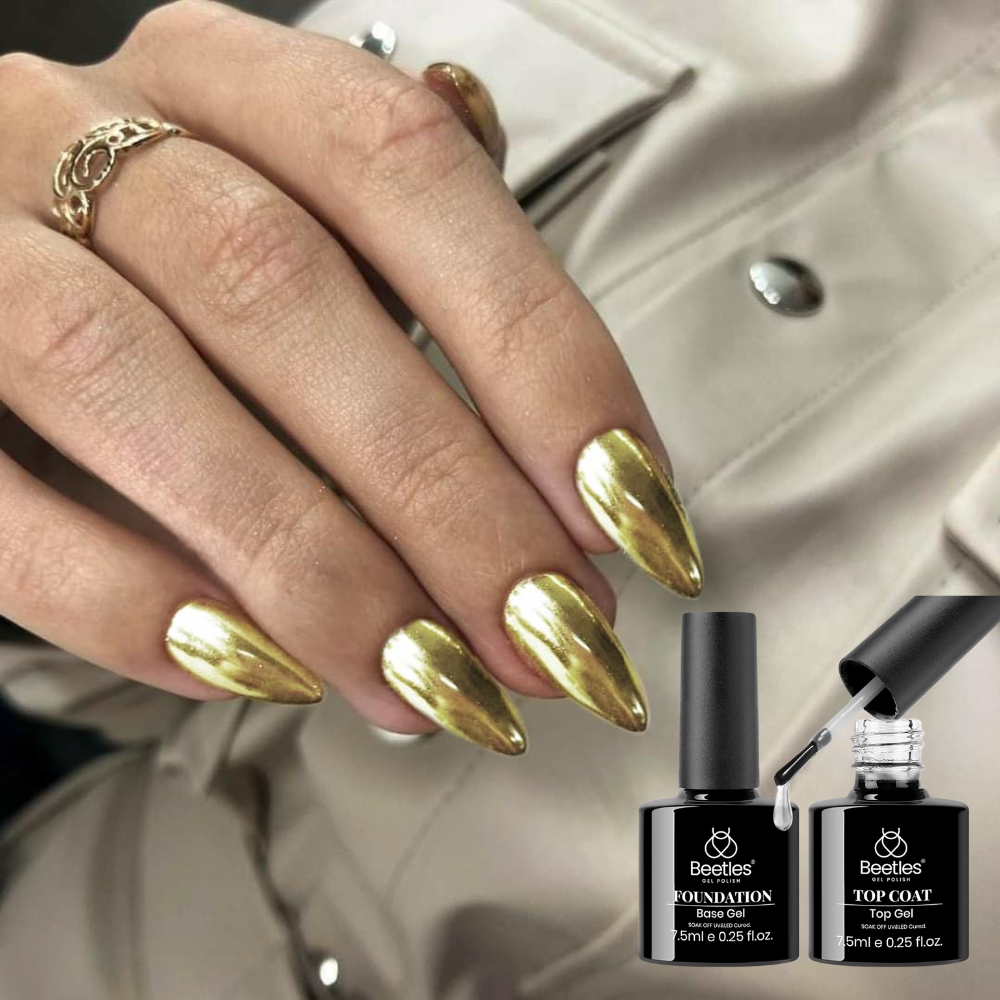
To make your gold press-on nails look even more realistic, apply a base coat and a top coat. The base coat will help the press-on nails adhere better to your natural nails, while the top coat will add a glossy finish that mimics the look of a professional manicure.
Apply a thin layer of base coat to your press-on nails and let it dry completely. Then, apply a thin layer of top coat, making sure to seal the edges of the nails to prevent any lifting. This step will not only make your press-on nails look more natural but also help them last longer.
Adding Nail Art
If you want to take your gold press on nails to the next level, consider adding some nail art. Simple designs like stripes, dots, or even a small accent nail can make your press-on nails look more unique and personalized. Use nail art pens or stickers for easy application.
Adding nail art can also help distract from imperfections and make your press-on nails look more like a professional manicure. To keep your nail art fresh and vibrant, seal it with a top coat.
Maintaining Your Press On Nails
Regular maintenance keeps your gold press-on nails looking real and fresh. Avoid using your nails as tools to open packages or cans, as this can cause them to lift or break. If you notice any lifting, apply small nail glue to the affected area and press down firmly.
Apply cuticle oil daily to keep your nails clean and moisturized. This will keep your cuticles healthy and help your press-on nails look more natural. If you notice any chips or cracks, you can always file them down or apply a fresh, top coat to keep them looking pristine.
Removing Your Press On Nails
When it's time to remove your press-on nails, do it gently to avoid damaging your natural nails. Soak your nails in warm, soapy water for a few minutes to loosen the glue. Then, gently lift the edges of the press-on nails and peel them off slowly.
If the nails are stubborn, you can use acetone to help dissolve the glue. Soak a cotton ball in acetone, place it on your nail, and wrap it in aluminum foil. Let it sit for a few minutes, then gently push off the press-on nail with a cuticle pusher. This method will help you remove your press-on nails without causing any damage to your natural nails.
Final Thoughts
Making gold press on nails look real is all about preparation, application, and maintenance. Properly preparing your natural nails, choosing the right size, and using the right techniques can achieve a flawless, natural look. Regular upkeep and gentle removal will keep your nails looking fresh and healthy. With these tips and tricks, you'll enjoy beautiful, salon-quality nails at a fraction of the cost.
FAQ Section
How long do press-on nails last?v
Press-on nails can last one to two weeks, depending on how well they are applied and maintained. Using good-quality nail glue and following the proper application steps can help extend their lifespan.
Can I reuse press-on nails?
Yes, you can reuse press-on nails if they are still in good condition. Gently remove any residual glue from the back of the nails and store them safely. When you're ready to wear them again, reapply nail glue and press them onto your natural nails.
Are press-on nails safe for my natural nails?
Press-on nails are generally safe for your natural nails if applied and removed correctly. Avoid using excessive force when removing them, and always keep your natural nails clean and moisturized. If you notice any damage or irritation, give your nails a break and allow them to recover before applying press-on nails again.