Key Takeaways:
- Learn the steps to create your own custom silver nail polish at home.
- Discover tips for achieving the perfect silver manicure with a homemade touch.
- Understand how to mix and apply your silver polish for a long-lasting finish.
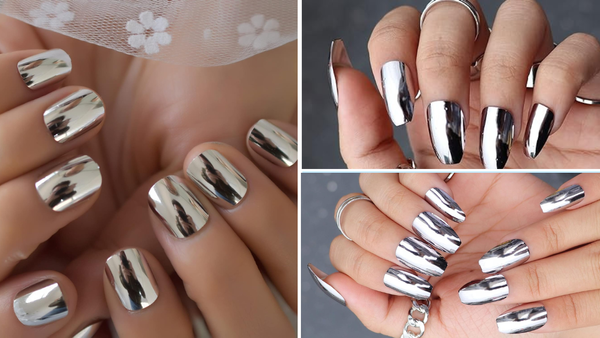
Silver nail polish is a timeless choice that adds a touch of elegance and fun to any look. Whether you're preparing for a special occasion or want to add some sparkle to your everyday style, knowing how to make silver nail polish can be both a creative and satisfying endeavor. This article will guide you through the process, from gathering supplies to applying the final top coat.

Gather Your Supplies
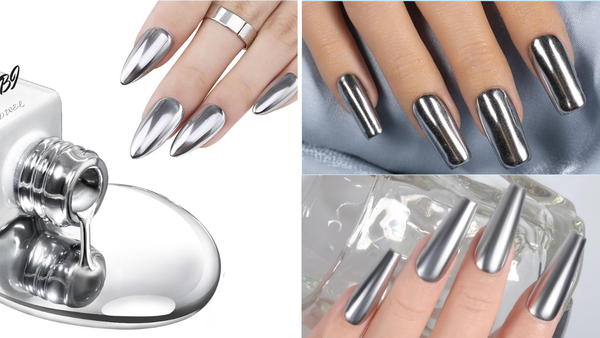
Before you start your silver polish adventure, it's essential to have all the necessary supplies on hand. You'll need a clear base coat to start with, which will serve as the foundation of your silver nail polish. Additionally, gather fine silver glitter or a silver pigment powder, which will give your polish that desired sparkly effect. A small mixing palette and a stir stick are crucial for blending your ingredients smoothly.
Choose Your Silver Shade
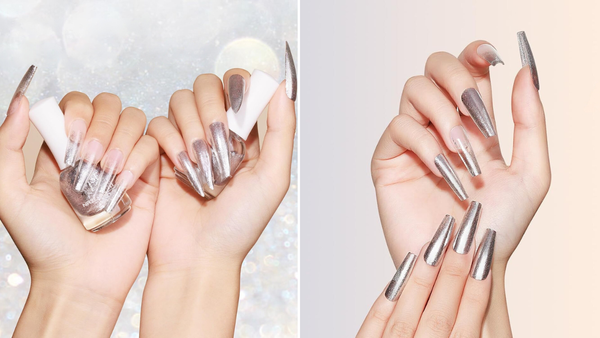
Silver comes in various shades, from a light, icy hue to a deep, metallic charcoal. Decide on the shade of silver that best suits your style and the occasion. If you aim for a subtle, matte look, you might opt for a lighter silver with less glitter. For a more dramatic, sparkly manicure, choose a darker silver with a higher concentration of glitter or pigment.
Mixing Your Silver Nail Polish

To create your silver nail polish, pour some of the clear base coat into your mixing palette. Gradually add the silver glitter or pigment powder, stirring consistently to ensure a smooth blend. The amount of silver you add will determine the opacity and intensity of your polish, so experiment until you're satisfied with the result.
Achieving the Perfect Consistency
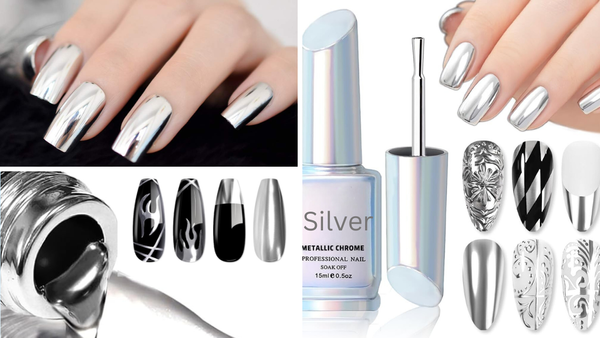
The key to a smooth and even silver polish is getting the right consistency. If the mix is too thick, it will be challenging to apply and may not dry properly. If it's too thin, the silver may not appear as vibrant as you'd like. Aim for a balance where the polish flows easily off the stir stick but still holds a good amount of silver particles.
Preparing Your Nails
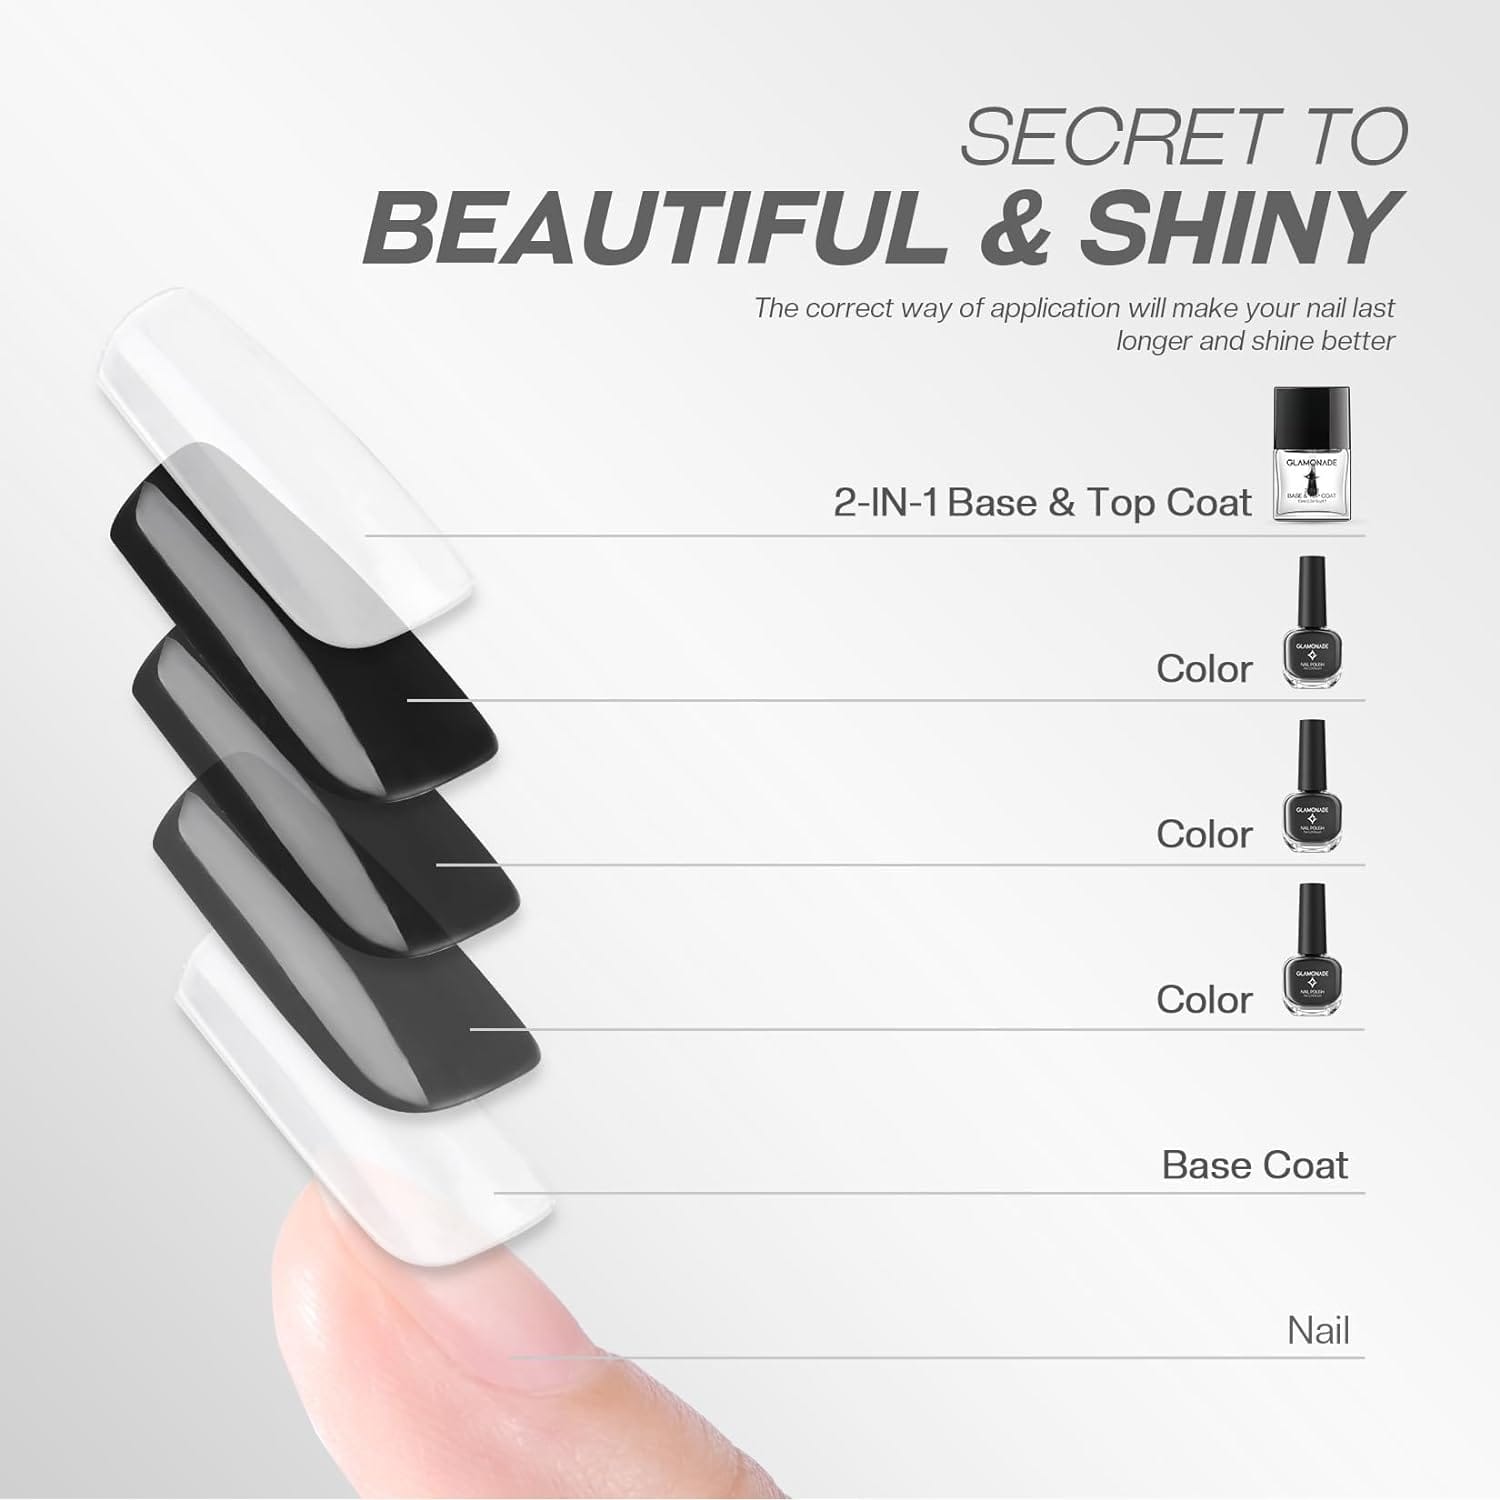
Before applying your homemade silver nail polish, ensure your nails are clean, dry, and free of any old polish. Apply a base coat to protect your nails and create a smooth surface for the silver polish to adhere to. Allow the base coat to dry completely before moving on to the next step.
Customizing Your Silver Nail Polish Shade
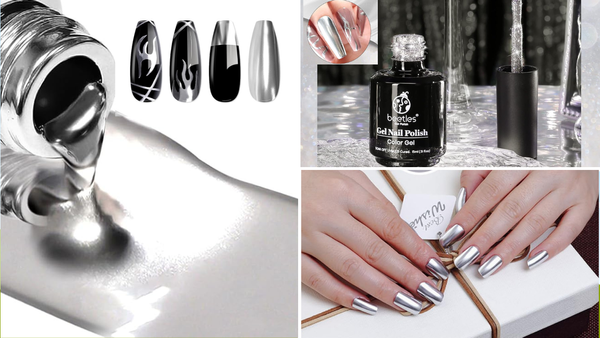
Have you ever wanted to create a silver nail polish that's uniquely yours? Let's discuss how to personalize your silver manicure to match your style. Start by choosing a base coat of silver that you love. From there, it's all about the mix! Add a drop of blue or yellow to shift the hue to a cool or warm tone, respectively. Remember, it's like having a mini palette at your fingertips – literally! Experiment with the proportions until you find the perfect shade that says 'you'.
But why stop at just colors? For those who adore some texture, consider adding a matte finish or go sparkly with fine glitter. The key is to add these elements to your base silver polish before applying it to your nails. Stir gently to blend without creating air bubbles. This is your chance to experiment and have fun – think of it as your signature in nail art. And when you're satisfied with your concoction, it's time to show it off!
The Right Tools for the Perfect Silver Manicure
Now, let's chat about the tools that can take your silver nails from good to great. It's not just about the polish; it's also about what you use to apply it. A high-quality brush can make all the difference in achieving that smooth, even coat. Look for brushes that are dense yet flexible to navigate the shape of your nails with precision. Don't forget a clean, flat surface to work on – this will help you avoid unwanted smudges and spills.
But the tools don't end there. To elevate your nail art, consider using dotting tools or thin brushes for those intricate designs. They allow you to add detailed patterns or accents with ease. And when it comes to sealing in your masterpiece, a reliable top coat is a must. It's the seal of approval that not only adds shine but also protects your nails. So, gather these supplies, set up your workspace, and get ready to create a silver manicure that's as unique as you are!
Applying Your Silver Nail Polish

Once your base coat is dry, it's time to apply your custom silver polish. Start from the base of your nail and brush upwards in smooth, even strokes. Depending on the opacity you've created, you may need one or two coats to achieve the desired look. Allow each coat to dry thoroughly before adding the next.
Sealing with a Top Coat
To ensure your silver manicure lasts and to add an extra layer of shine, finish off with a clear top coat. This will seal in the silver polish and prevent it from chipping. Apply the top coat carefully, covering the entire nail surface, and allow it to dry completely.
Nail Art and Intricate Designs
If you're a nail art enthusiast, consider using your homemade silver polish to create intricate designs. Use a thin brush or a toothpick to add details over a base color, or mix your silver with other colors to expand your palette. Silver polish can be a versatile tool in your nail art arsenal, perfect for adding highlights or creating a statement nail.
Maintaining Your Silver Nails

To keep your silver nails looking their best, avoid activities that can cause chipping or wear. When doing tasks that are tough on your hands, like cleaning or gardening, wear gloves to protect your manicure. If you notice any chips, you can easily touch them at home with your custom polish.
Embrace the DIY Spirit

Making your silver nail polish is not only a fun and creative process, but it also allows you to customize your manicure to your exact preferences. Embrace the DIY spirit and experiment with different shades and glitter densities to find your perfect silver style.
Summary
Creating silver nail polish is an easy and enjoyable way to personalize your manicure. By following the steps outlined in this guide, you can mix a custom shade of silver that reflects your style and lasts. Prepare your nails properly, apply the polish in smooth coats, and seal it with a top coat for a professional-looking finish.
FAQ Section
Can I use any glitter to make silver nail polish?
Yes, you can use any fine silver glitter, but make sure it's cosmetic grade to avoid any potential reactions and to ensure it blends well with the base coat.
How long should I wait for the nail polish to dry between coats?
It's best to wait at least 5-10 minutes between coats to ensure the polish dries properly and to avoid smudging.
Can I mix different colors with my silver polish to create new shades?
Absolutely! Feel free to experiment by adding small amounts of other nail polish colors to your silver base to create unique shades and finishes.