


Key Takeaways:
- Proper preparation and application are crucial for a natural appearance.
- Using the right tools and techniques can make press-on nails last up to two weeks.
- Regular maintenance and care can keep your press-on nails looking fresh and real.
Introduction
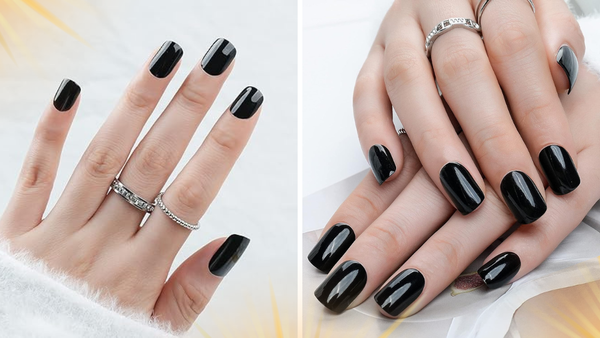
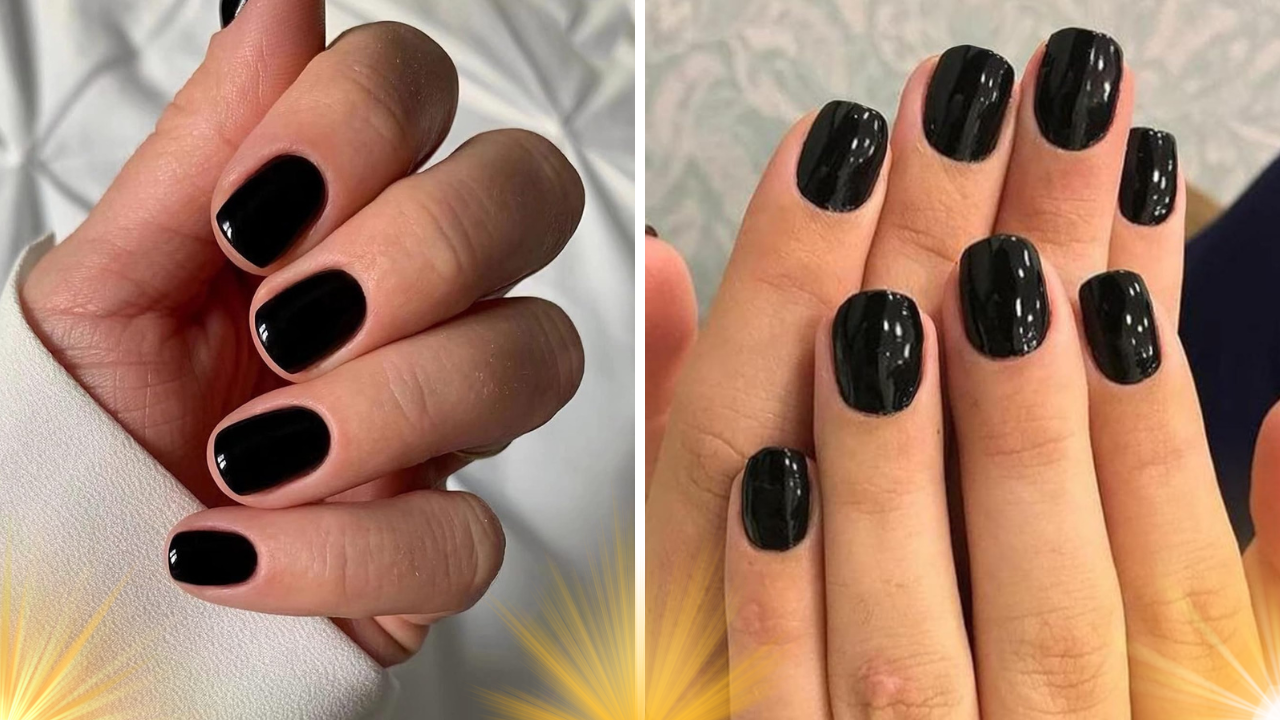
Black press-on nails can be a chic and stylish addition to your look, but making them appear natural can be a bit of a challenge. With the right techniques and tools, you can achieve a flawless, salon-quality finish at home. This step-by-step guide will walk you through the process of making your black press-on nails look real, ensuring they blend seamlessly with your natural nails.

Choose the Right Size
The most important step is selecting the correct size for your press-on nails. Nails that are too large or small will look unnatural and uncomfortable. Press slightly larger nails, which can be filed down to fit perfectly.
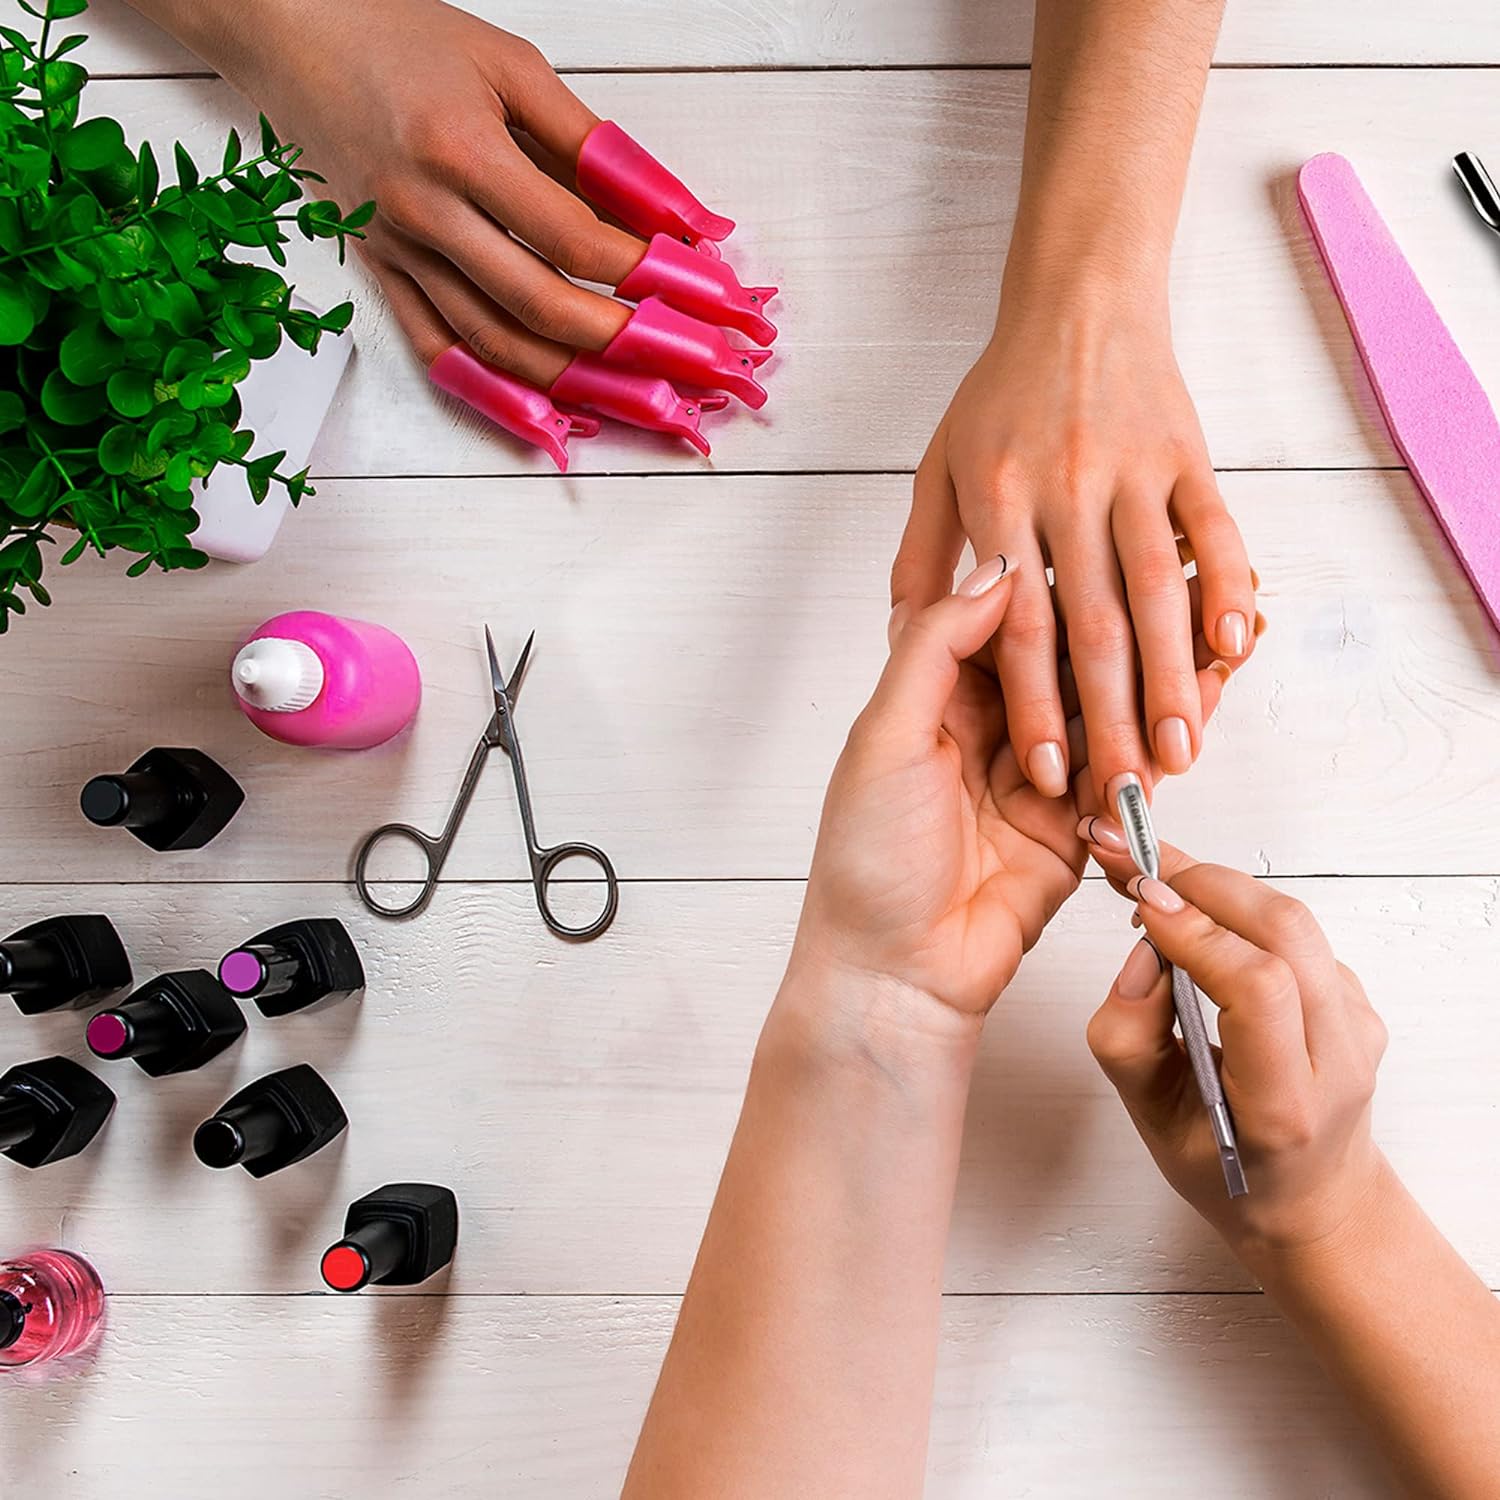
Prepare Your Natural Nails
Start by cleaning your natural nails thoroughly. Remove any old polish and wash your hands to remove oils and dirt. Push back your cuticles using a cuticle pusher and trim any excess cuticles. This will create a smooth canvas for the press on nails.
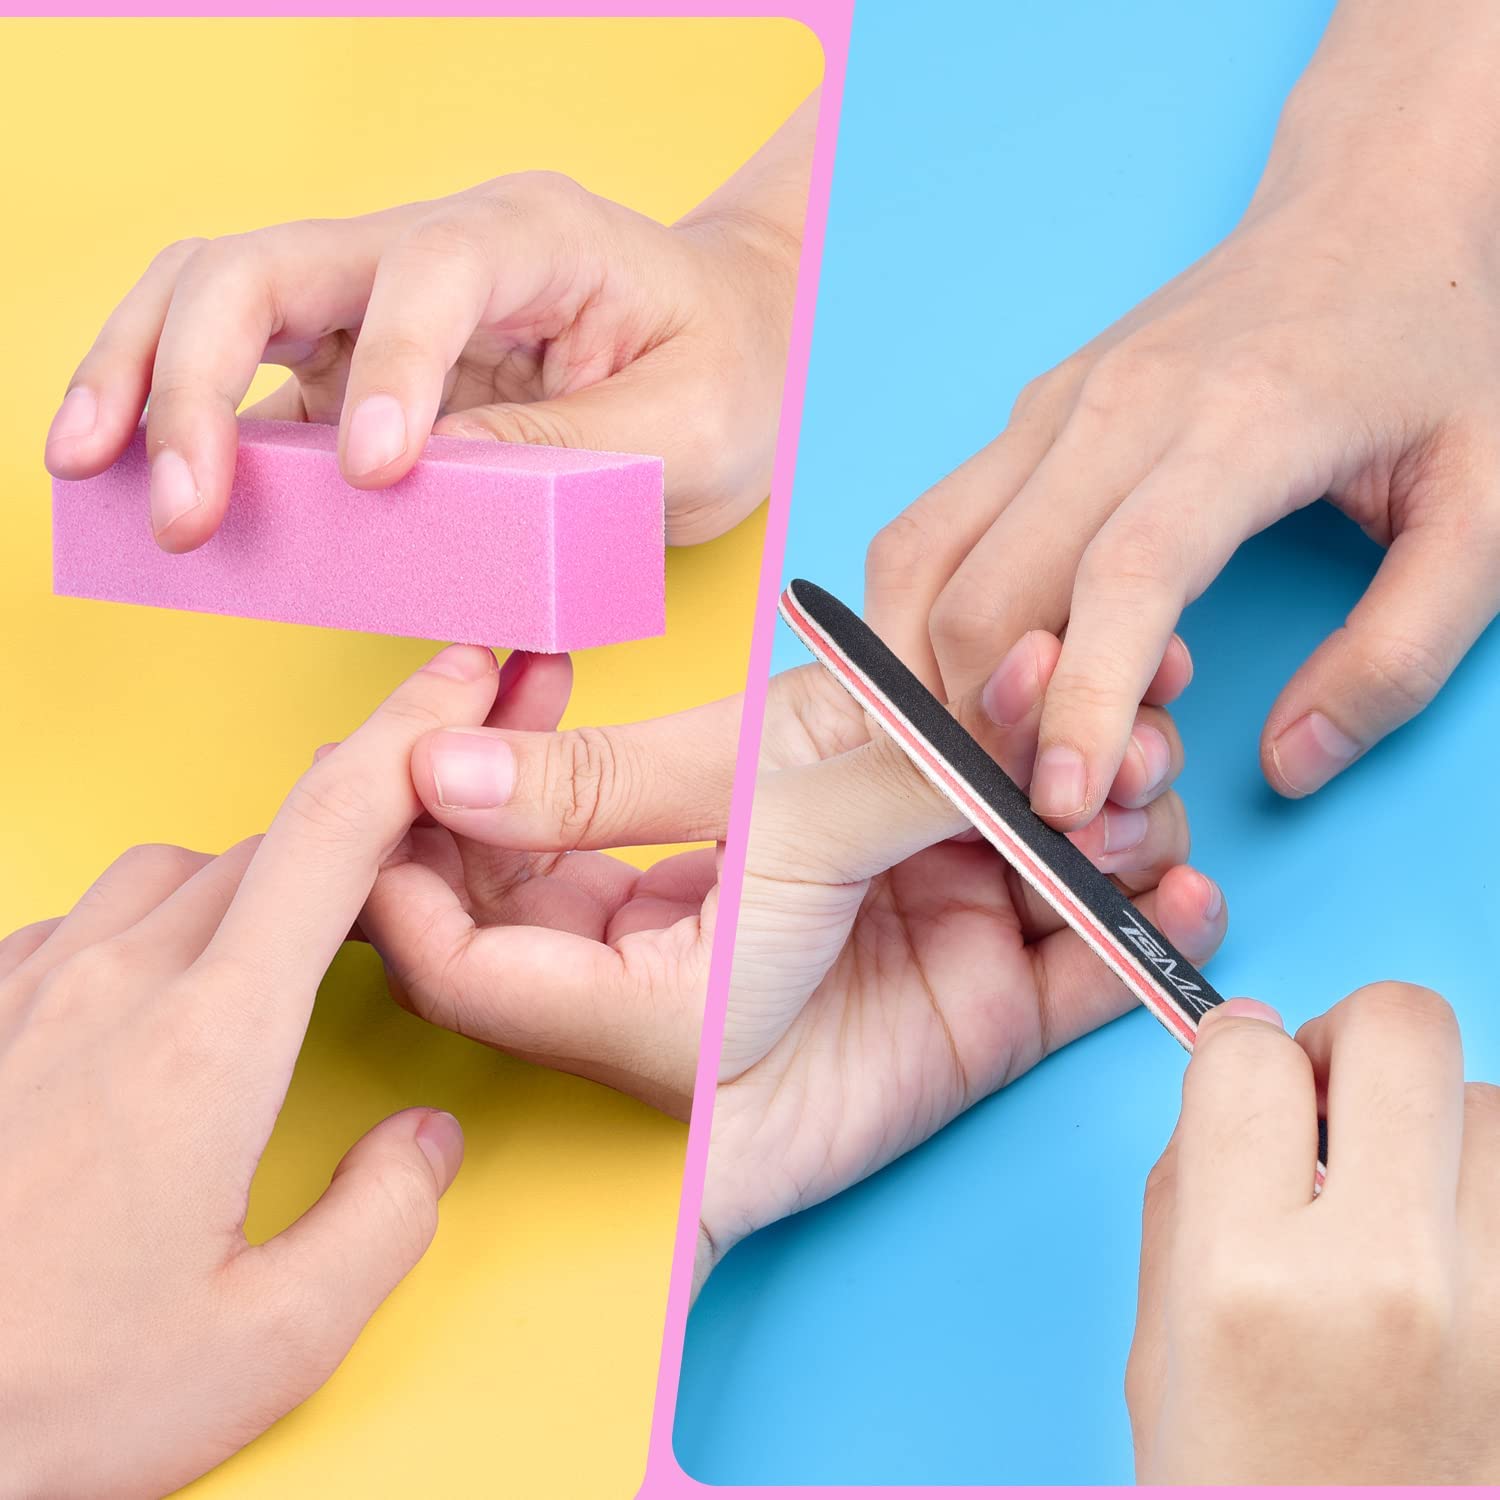
File and Buff Your Nails
Use a nail file to shape your natural nails and smooth out any rough edges. Buff the surface of your nails to remove shine, which helps the press-on nails adhere better. A smooth, matte surface is ideal for proper application.
Apply Cuticle Oil
Applying cuticle oil can keep your nails and cuticles hydrated. This step is crucial for maintaining the health of your natural nails and preventing them from becoming dry and brittle. However, make sure to wipe off any excess oil before applying the press-on nails.

Use Nail Glue Sparingly
When applying the press-on nails, use a thin layer of nail glue. Too much glue can cause the nails to pop off, while too little can result in a weak bond. Apply a small dot of glue to both your natural nail and the press-on nail for a secure fit.
Press and Hold
Press the press-on nail onto your natural nail and hold it in place for a few seconds. This ensures the glue sets properly and creates a strong bond. Make sure to press down firmly to avoid any air bubbles.
Shape and Trim
Once the press-on nails are applied, you may need to shape and trim them to your desired length and style. Use a nail file to smooth out rough edges and create a natural shape that complements your nail beds.
Apply a Top Coat
A top coat can add a glossy finish and protect your press-on nails from chipping. Choose a high-quality top coat and apply a thin layer over the entire nail. This step can make your press-on nails look more like a professional manicure.
Regular Maintenance
Regular maintenance is key to keeping your press-on nails looking real. Reapply cuticle oil daily to keep your cuticles hydrated and prevent the nails from lifting. If a nail pops off, reapply it immediately using nail glue.
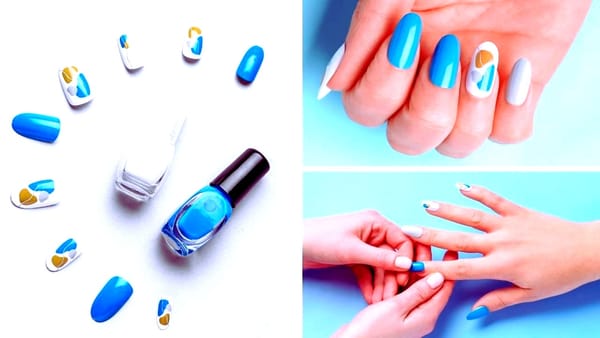
Experiment with Nail Art
Intricate designs and nail art can make your press-on nails look even more realistic. Use nail kits that include various tools and accessories to create unique designs. This can add a personal touch and make your nails stand out.
Use the Right Tools
Using the right tools is essential for a flawless application. Invest in a good quality nail file, cuticle pusher, and nail glue. These tools can make a significant difference in the final result.

Choose a Natural Color
If you want your press-on nails to look as natural as possible, choose a color that complements your skin tone. Black is a bold choice, but make sure it suits your overall look and style.
Apply a Thin Layer of Glue
Applying a thin layer of glue is crucial for a secure fit. Too much glue can cause the nails to lift, while too little can result in a weak bond. Find the right balance for the best results.
Avoid Over-Filing
Overfiling your natural nails can weaken them and make it harder for the press-on nails to adhere. File gently and only as much as necessary to create a smooth surface.
Trim Your Nails Regularly
Regularly trimming your natural nails can prevent them from growing too long and causing the press on nails to lift. Keep your nails at a manageable length for the best results.
Use a Nail File for Touch-Ups
A nail file can be used for touch-ups and smooth rough edges. Keep one handy for quick fixes and to maintain the shape of your press-on nails.
Summary
Making your black press-on nails look real is all about preparation, application, and maintenance. By choosing the right size, preparing your natural nails, and using the right tools and techniques, you can achieve a flawless, natural appearance. Regular maintenance and care can keep your press-on nails looking fresh and real for up to two weeks.
Frequently Asked Questions
How long do press-on nails last?
With proper application and care, press-on nails can last up to two weeks. Regular maintenance, such as reapplying cuticle oil and avoiding harsh chemicals, can help extend their lifespan.
Can I reuse press-on nails?
Yes, you can reuse press-on nails if they are in good condition. Remove any old glue and clean the nails thoroughly before reapplying them.
How do I remove press-on nails without damaging my natural nails?
To remove press-on nails without damaging your natural nails, soak them in warm, soapy water for a few minutes to loosen the glue. Gently lift the edges of the nails and peel them off. Avoid using harsh chemicals or excessive force.
What adhesive should I use to make my black press-on nails look real?
Use a high-quality adhesive designed for press-on nails. Apply a thin, even adhesive layer to avoid lumps and ensure a smooth, natural appearance. For best results, press and hold each nail in place for 30 seconds to secure a strong bond.
How Long Does the Adhesive on Black Press-On Nails Last?
The adhesive on black press-on nails typically lasts 1 to 2 weeks, depending on factors like nail preparation, application method, and exposure to water or oils. For longer-lasting wear, it's essential to properly clean and buff your natural nails before application and avoid soaking your hands in water for extended periods.
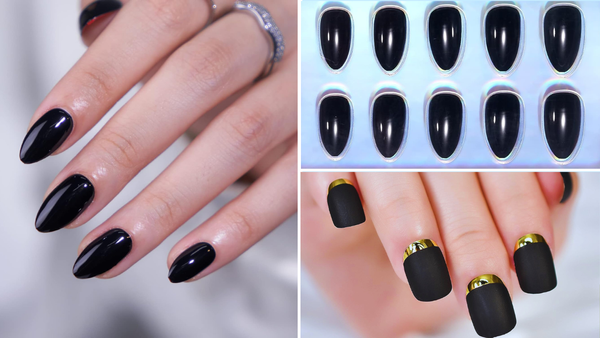
Are There Press-On Nail Kits Specifically for Black Press-On Nails?
Yes, press-on nail kits are specifically designed for black press-on nails. These kits often include a variety of black nail designs, sizes, and shapes to fit different nail beds, along with adhesive options like glue or adhesive tabs, a nail file, and a cuticle stick for easy and secure application. Look for kits that offer high-quality materials to ensure durability and a sleek finish.
How Can I Prepare My Natural Nail Before Applying a Press-On Nail?
To prepare your natural nail before applying a press-on nail, clean the nail to remove oils and dirt, trim and file it to the desired length and shape, gently buff the surface for better adhesion, push back the cuticle to maximize the bonding area, and ensure the nail is completely dry before application. This preparation helps the press-on nail adhere securely and last longer.
How Long Do Fake Nails Last?
Fake nails typically last about 1-2 weeks with proper application and care.
How Do I Apply Press-Ons?
To apply press-ons, clean your nails, select the right size, apply adhesive, press firmly onto your natural nail, and hold for a few seconds. Trim and shape if needed for a perfect fit.
How Do I Apply Press-On Nails?
Applying press-on nails involves cleaning your nails, selecting the right size, applying adhesive, firmly pressing the nail onto your natural nail, and holding it for a few seconds to ensure a secure bond. Trim and shape as needed for a perfect fit.