


Key Takeaways:
- Understanding the nature of the sticky residue on gel nails is crucial for a perfect manicure.
- Proper application and curing techniques prevent a sticky gel nail base coat.
- Knowing how to remove the sticky layer effectively enhances the longevity and shine of gel nails.
Gel nails have revolutionized the beauty industry, offering a durable and glossy finish that can last for weeks. However, one common question for DIY enthusiasts and professional manicurists is: "Is gel nail base coat sticky?" This article will delve into the intricacies of gel nail polish, the sticky residue often encountered, and how to achieve that flawless gel manicure.
The Sticky Situation with Gel Nails
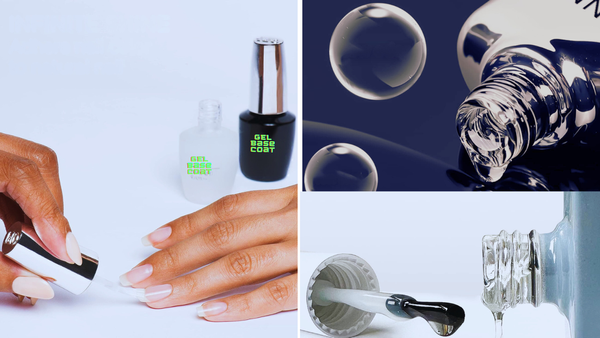
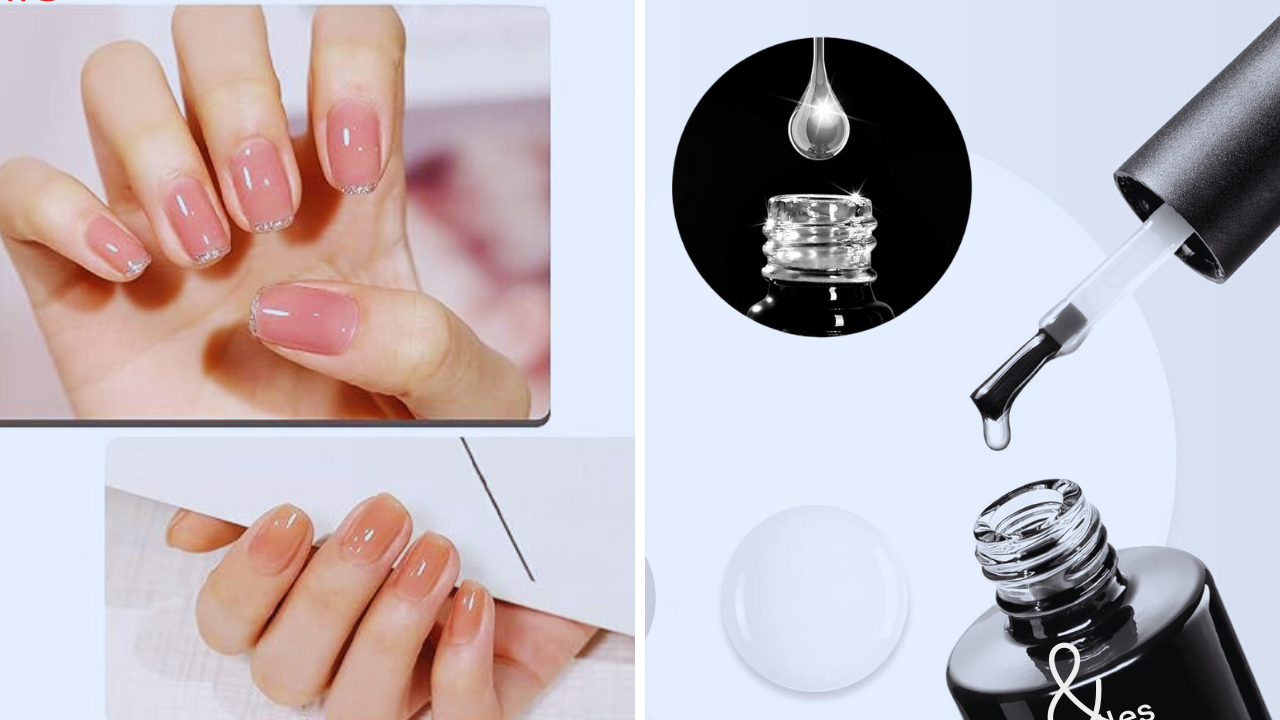
When you apply a gel base coat, you might notice a tacky, sticky layer after curing it under a UV or LED lamp. This is not a sign of a faulty product or a mistake in application; rather, it's a normal part of the gel nail process. The sticky residue, also known as the inhibition layer, results from the gel polish not curing completely, leaving behind uncured oligomers.
Why Does the Base Coat Remain Sticky?

The sticky layer serves a purpose; it helps the next coat of gel polish adhere better to the nails. Without this sticky base, the subsequent layers of color and top coat might also not stick, leading to a manicure that chips or peels prematurely. The tacky layer indicates that the base coat is ready for the next step in the gel nail application process.
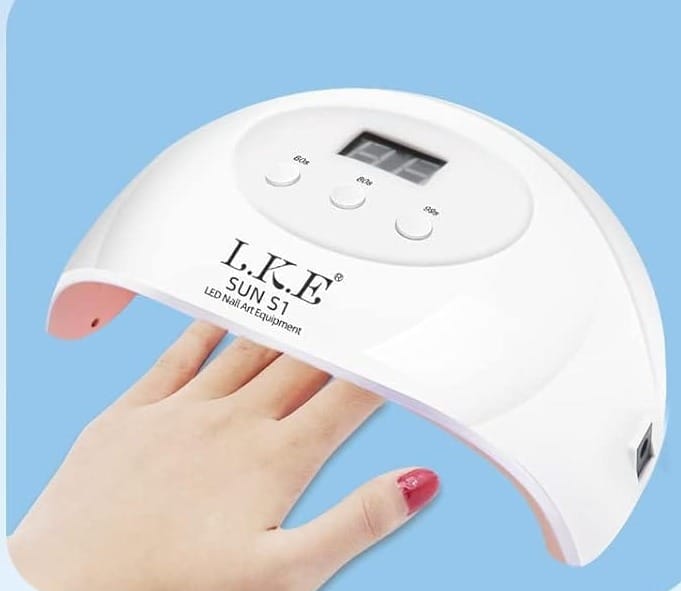
The Role of UV Light in Curing
Curing is a chemical process triggered by exposing gel polish to UV light. The UV light activates photoinitiators within the gel polish, which starts a chain reaction that turns the liquid gel into a solid state. However, the top layer often remains uncured, making it sticky or tacky after being under the lamp.
Proper Curing Techniques

To ensure that your gel nails cure properly, it's essential to apply thin layers of polish. Thick layers can prevent the UV or LED light from penetrating through the bottom layers, resulting in a sticky mess. Always follow the curing times recommended by the gel polish manufacturer, as under-curing can lead to a sticky base coat while over-curing can cause the polish to become brittle.
Removing the Sticky Residue
After curing the final gel top coat, you'll still find a sticky layer on top. To remove this, soak a lint-free wipe in a gel cleanser or isopropyl alcohol with a high concentration and gently wipe each nail. This step not only removes the sticky residue but also gives your gel manicure a glossy finish.
Exploring the Inhibition Layer in Gel Manicures
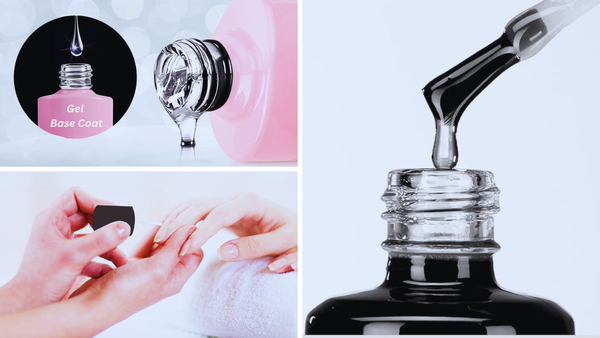
The term "inhibition layer" might sound like a complex scientific concept, but it's a common occurrence in gel manicures. This tacky or sticky layer that forms on top of the gel nail polish after curing under a UV or LED lamp is not a sign of incomplete drying. Instead, it's a byproduct of the curing process, where the topmost molecules of the gel remain uncured. This sticky residue is often referred to as the dispersion or inhibition layer, and it plays a crucial role in allowing the layers of gel polish to adhere to one another. Without this sticky surface, the next coat of gel polish would not bond properly, leading to a manicure that could easily chip or peel.
To manage this sticky situation, nail technicians use a gel cleanser or isopropyl alcohol on a lint-free wipe to remove the inhibition layer after the final cure. This step is essential to achieve the glossy, smooth finish that gel manicures are known for. It's important to wait until all layers of gel polish, including the top coat, have been properly cured before attempting to remove the sticky residue. Skipping this step or using the wrong type of cleanser can turn your beautiful manicure into a sticky mess, so always ensure you're using the right products.
The Chemistry of Gel Polish Adhesion

When you're painting your nails with gel polish, have you ever wondered why the base coat is designed to be sticky? It's not just a random characteristic; there's some fascinating chemistry at play here. The base coat is formulated to create a tacky layer that ensures the colored gel polish adheres firmly to your nails. This sticky foundation is crucial for a long-lasting manicure. Without it, the polish would peel off much sooner, leaving you with a less-than-perfect look.
The tacky, often called the inhibition layer, results from the curing process. When you cure the base coat under a UV or LED lamp, the topmost molecules don't fully cure, which is intentional. This creates a sticky surface that the next coat of gel polish can bond with effectively. It's a bit like using double-sided tape: one side attaches to your nail, and the other side is ready to grip the color coat. This ensures that each layer of gel polish becomes a unified, durable structure.
The Art of Perfecting the Gel Manicure
Achieving the perfect gel manicure is an art that involves more than just applying and curing the polish. One of the key steps is dealing with the sticky residue that remains after curing. This is where a high-quality gel cleanser comes into play. Using a lint-free wipe soaked in gel cleanser or isopropyl alcohol, you can easily remove the sticky layer, revealing a glossy and smooth finish. It's important to use gentle pressure to avoid dulling the shine or causing smudges.
But why not just leave the sticky residue? Well, aside from feeling unpleasant, it can attract dust and lint, turning your beautiful manicure into a sticky mess. Moreover, if you plan to add nail art, a clean and non-tacky surface is essential for precise application. Whether adding delicate stickers or freehand designs, a non-sticky base ensures that your nail art stays put and looks professional. Remember, the final top coat must also be cleansed of its inhibition layer to achieve that coveted glossy finish that makes gel manicures appealing.
The Science Behind Sticky Gel Polish Issues

Gel polish issues can arise for a few reasons, and understanding the science behind them can help you avoid a sticky situation. One common issue is improper curing, which can occur if the gel polish is applied in too thick layers or if the UV lamp is not of the right wattage or is past its prime. Thick layers of gel polish can prevent the UV light from fully curing the product, leaving a sticky residue that won't go away. On the other hand, a UV lamp that doesn't emit the correct intensity of light can also result in a manicure that remains sticky and is prone to lifting or peeling.
Another factor contributing to sticky gel polish issues is using products from different brands. Each brand formulates its gel products to work optimally with its system, and mixing brands can lead to unpredictable results. For instance, the oligomers in one brand's base coat might not react well with the photoinitiators in another brand's top coat, leading to an improperly cured finish. To ensure a fully cured, non-sticky result, it's best to use the base coat, color, and top coat from the same brand and follow the curing times recommended by the manufacturer. This attention to detail will help you achieve the durable, long-lasting gel manicure you desire.
The Importance of Using the Right Products
Using the same brand of gel cleanser as your gel polish can sometimes make a difference. Manufacturers often formulate their cleansers to work optimally with their specific gel products. If you're experiencing issues with leftover residue, consider switching to a cleanser from the same brand as your gel polish.
Sticky Layers and Nail Art
For those who love adding nail art to their gel manicures, the sticky base coat can be beneficial. It can act as an adhesive layer for adding embellishments or creating intricate designs. Just remember to seal everything in with a gel top coat and cure it properly to lock in your artwork.
Avoiding Sticky Gel Polish Issues
To avoid sticky gel polish issues, always ensure that your nails are clean and free from oils before applying the base coat. Use a nail file to gently buff the surface of your nails, which helps the gel polish adhere better. Also, wearing gloves when dealing with household chemicals can prevent the gel from becoming sticky due to exposure.
When Gel Nails Won't Cure Properly

If your gel nails remain sticky even after attempting to cure them properly, there could be a few reasons. The UV lamp might be faulty or not powerful enough, the gel polish could be too old, or you might be applying the polish too thickly. Always check your equipment and products to ensure they are working well.
The No Wipe Gel Manicure Option
For those who want to skip the step of wiping off the sticky layer, there are no wipe gel top coats available. These products are formulated to cure without leaving any sticky residue, providing a smooth finish without needing a gel cleanser.
Summary
The sticky layer on a gel nail base coat is a normal and essential part of the gel manicure process. It allows for better adhesion of subsequent layers and contributes to the durability of the manicure. Proper application, curing, and removing the sticky residue are key to achieving a perfect gel manicure. By following the guidelines outlined in this article, you can ensure that your gel nails look professional and last longer.
FAQ Section
Can I just leave the sticky layer on my gel nails?
No, it's not recommended to leave the sticky layer on your gel nails as it can attract dust and lint, ruining the appearance of your manicure. It's best to remove it with a gel cleanser or isopropyl alcohol for a clean, glossy finish.
Why are my gel nails still sticky after curing and wiping?
If your gel nails are still sticky after curing and wiping, it could be improper curing, using incompatible products, or not using a high enough alcohol concentration to remove the sticky layer. Ensure that you're following the manufacturer's instructions and using quality products.
Can I use regular nail polish remover to remove the sticky layer on gel nails?
Regular nail polish remover, which usually contains acetone or ethyl acetate, is not recommended for removing the sticky layer on gel nails as it can damage the gel polish. Instead, use a specialized gel cleanser or isopropyl alcohol with a high concentration.