


Key Takeaways:
- Preparation is Key: Gather all necessary tools before starting the removal process.
- Gentle Techniques: Use gentle methods to avoid damaging your natural nails.
- Hydration and Care: Keep your nails hydrated and nourished post-removal.
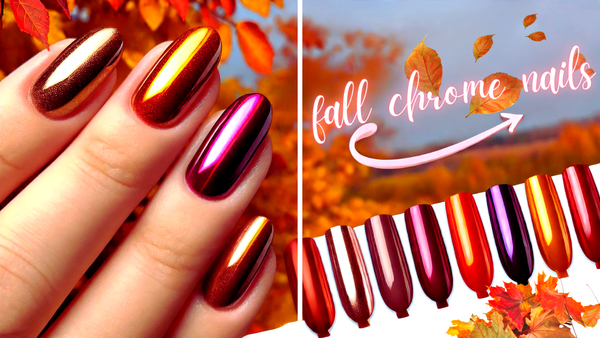
Chrome nails have taken the beauty world by storm, offering a dazzling, mirror-like finish that’s hard to resist. But as stunning as they are, removing them can be a challenge. If you’re wondering, “How do I remove chrome nails?” you’re in the right place. This guide will walk you through the process step-by-step, ensuring your nails remain healthy and beautiful.
Understanding Chrome Nails
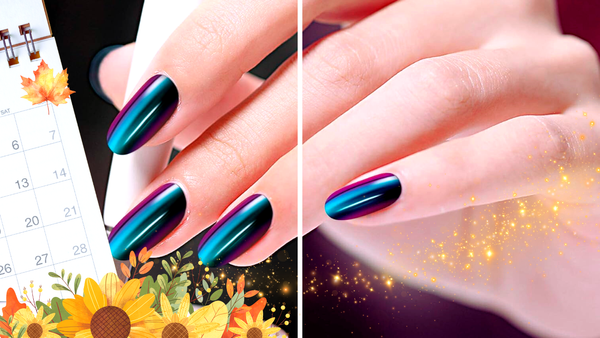
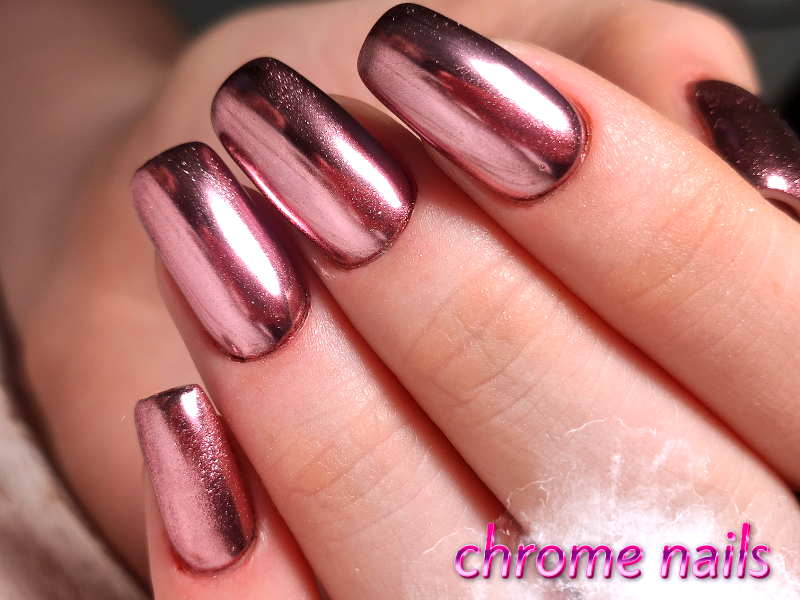
Chrome nails are created using a special chrome powder that gives your nails a reflective, metallic finish. This powder is usually applied over a gel polish base and sealed with a top coat. The result is a stunning, high-shine look that can last for weeks. However, the removal process can be tricky due to the multiple layers involved.
Tools You’ll Need
Before diving into the removal process, gathering all the necessary tools is essential. Here’s a list of what you’ll need:
- Nail polish remover (preferably acetone-based)
- Nail file
- Nail buffer
- Aluminum foil
- Cotton balls or pads
- Cuticle pusher
- Soft brush
- Sponge or eyeshadow applicator
- Cuticle oil
- Paper towels
Having these tools on hand will make the process smoother and more efficient.
Step-by-Step Removal Process
Step 1: File the Top Coat
Start by gently buffing the top coat of your chrome nails using a nail file. This step is crucial as it breaks the seal off the top coat, allowing the nail polish remover to penetrate the layers beneath. Be careful not to file too aggressively, as this can damage your natural nails.
Step 2: Soak Cotton Balls in Nail Polish Remover
Next, soak cotton balls or pads in an acetone-based nail polish remover. Acetone is more effective at breaking down the gel polish and chrome powder, making the removal process easier. Place the soaked cotton balls on each nail, ensuring they cover the entire nail bed.
Step 3: Wrap Nails in Aluminum Foil
To keep the cotton balls in place and enhance the effectiveness of the nail polish remover, wrap each finger in a small piece of aluminum foil. This creates a snug fit and helps the acetone work more efficiently. Leave the foil wraps on for about 10-15 minutes.
Step 4: Remove Foil and Cotton Balls
After 10-15 minutes, gently remove the foil and cotton balls. You should notice that the gel polish and chrome powder have started to lift off your nails. If some areas are still stubborn, don’t worry; we’ll address that in the next step.
Step 5: Gently Push Off the Gel Polish
Using a cuticle pusher, gently push off the remaining gel polish and chrome powder. Be careful not to scrape too hard, as this can damage your natural nails. If you encounter any resistant spots, reapply the soaked cotton balls and foil for a few more minutes.
Step 6: Buff and Smooth Your Nails
Once all the gel polish and chrome powder have been removed, use a nail buffer to smooth out the surface of your nails. This step helps remove any remaining residue and prepares your nails for the next step.
Step 7: Hydrate and Nourish Your Nails
After the removal process, your nails may feel dry and brittle. To restore moisture and strength, apply cuticle oil and massage it into your nail bed and cuticles. Keeping your nails hydrated is essential for maintaining their health and preventing damage.
Tips for Maintaining Healthy Nails

Removing chrome nails can be harsh on your natural nails, so taking steps to keep them healthy is crucial. Here are some tips to help you maintain strong and beautiful nails:
- Avoid Over-Buffing: While buffing is necessary for removing chrome nails, over-buffing can thin your nails and make them more prone to breakage.
- Use a Gentle Nail Polish Remover: Opt for an acetone-based remover, but avoid excessive use as it can dry out your nails.
- Keep Nails Hydrated: Regularly apply cuticle oil and hand cream to keep your nails and cuticles moisturized.
- Give Your Nails a Break: Allow your nails to breathe between manicures to prevent damage and promote natural growth.
Common Mistakes to Avoid
When removing chrome nails, it’s easy to make mistakes that can damage your natural nails. Here are some common pitfalls to watch out for:
- Skipping the Buffing Step: Failing to buff the top coat can make the removal process more difficult and increase the risk of damaging your nails.
- Using Excessive Force: Scraping too hard with a cuticle pusher can cause your nails to become thin and weak.
- Neglecting Aftercare: Skipping the hydration step can leave your nails dry and brittle, making them more susceptible to damage.
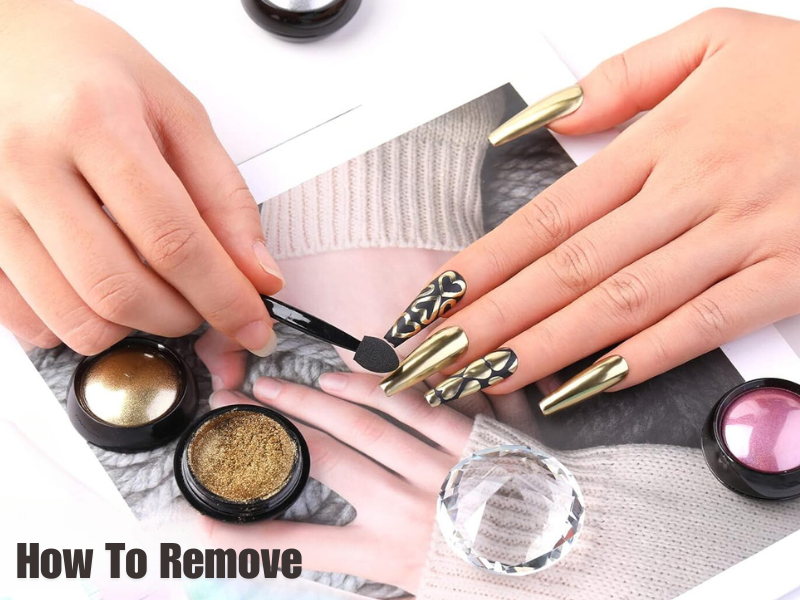
The Role of Chrome Powder in Nail Art
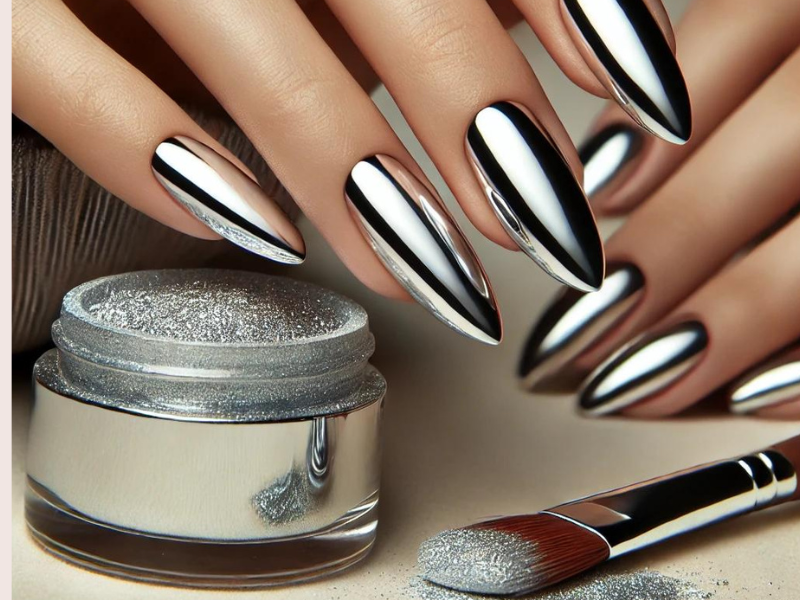
Chrome powder is the magic ingredient that gives chrome nails their stunning, reflective finish. This fine powder is applied over a gel polish base and sealed with a top coat to create a mirror-like effect. The application process involves using a sponge or eyeshadow applicator to rub the powder onto the nails, ensuring an even and smooth finish.
Chrome powder comes in various shades, allowing for endless creativity and customization. From classic silver to holographic hues, the possibilities are endless. However, the removal process can be challenging due to the multiple layers involved, making it essential to follow the proper steps to avoid damaging your natural nails.
Alternatives to Chrome Nails

While chrome nails are undeniably stunning, they may not suit everyone. If you’re looking for alternatives, here are some options to consider:
- Dip Powder Nails: Dip powder nails offer a similar, long-lasting finish without the need for UV light. The application involves dipping your nails into a colored powder and sealing it with a top coat.
- Gel Polish: Gel polish provides a glossy finish lasting for weeks. It’s applied like regular nail polish but cured under a UV or LED light.
- Holographic Nails: Holographic nails use a special powder to create a rainbow-like effect. The application process is similar to that of chrome nails, but the result is a multi-dimensional finish.
Each of these alternatives offers unique benefits and can be a great option if you’re looking to switch up your nail game.
Summary
Removing chrome nails can be daunting, but with the right tools and techniques, it’s entirely manageable. Following the steps outlined in this guide, you can safely and effectively remove your chrome nails without damaging your natural nails. Remember to keep your nails hydrated and nourished post-removal to maintain their health and strength. Stay connected by subscribing to our newsletter today for more tips, updates, and exclusive nail content!
FAQ
Can I use regular nail polish remover to remove chrome nails?
While regular nail polish remover can work, an acetone-based remover is more effective at breaking down the gel polish and chrome powder. It’s recommended to use acetone for a quicker and more efficient removal process.
How often should I give my nails a break between manicures?
It’s advisable to give your nails a break every few weeks to allow them to breathe and recover. This helps prevent damage and promotes natural growth.
What should I do if my nails feel weak after removing chrome nails?
If your nails feel weak, regularly use cuticle oil and hand cream to keep them hydrated. You can also use a nail strengthener to help restore their strength and prevent breakage.