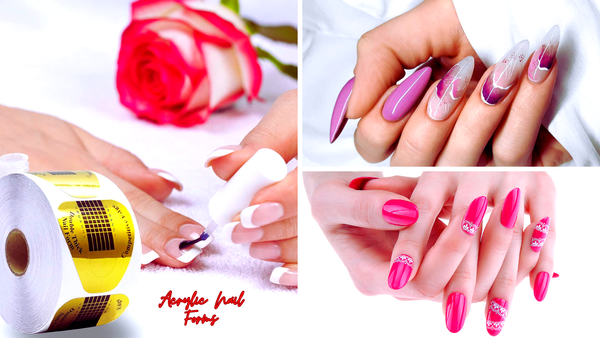


If you’re exploring the world of acrylic nails, you may have stumbled upon the term ‘nail forms’ and wondered, “What are forms in acrylic nails?” Simply put, nail forms are essential tools nail technicians use to sculpt and shape acrylic nails, ensuring each extension is perfectly customized to your preference. From creating different lengths and shapes to intricate nail art, forms are the hidden foundation for dazzling nail designs. In this guide, we’ll unveil the various types of nail forms, their application, and how they compare with other methods, like nail tips, to give you a solid understanding and inspiration for your next acrylic adventure.
Key Takeaways
- Nail forms are essential tools for acrylic nail extensions. They allow for custom shapes and lengths while serving as a guide for consistent sizing and perfect sculpting.
- Precise application of nail forms is crucial in acrylic extension, from preparing the natural nails to attaching the form correctly and applying the acrylic with an aim for minimal filing afterward.
- Advanced techniques in nail form use, such as incorporating nail art, customizing forms for specific shapes, and using high-quality acrylic products, can elevate the nail sculpting experience and enhance creative freedom.
Demystifying Nail Forms: The Foundation of Acrylic Artistry
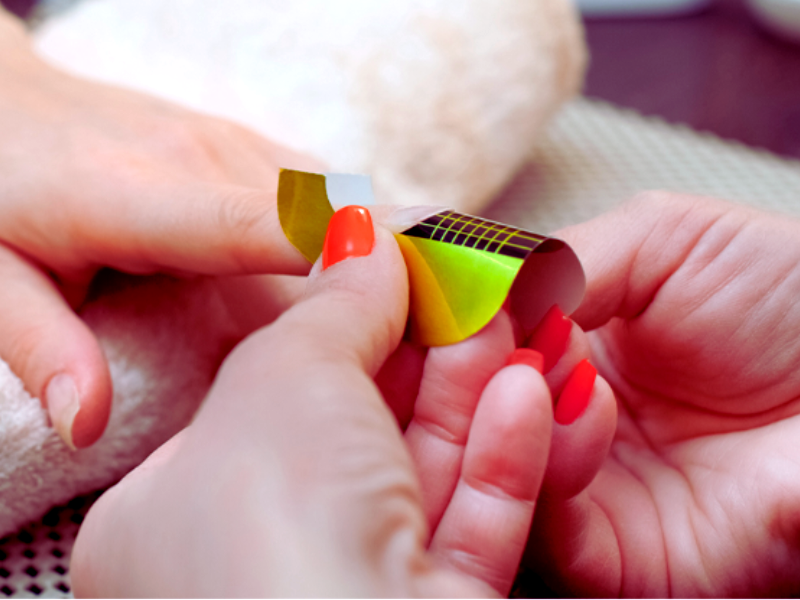
Nail forms are the silent architects of the acrylic world, offering a canvas upon which beauty is built. They are not merely placeholders but guides that contour and craft with a precision that ensures each nail extension is a custom-fit marvel. These little wonders wrap around the finger like a bespoke glove, allowing nail technicians to sculpt with a finesse that turns the natural nail plate into a work of art.
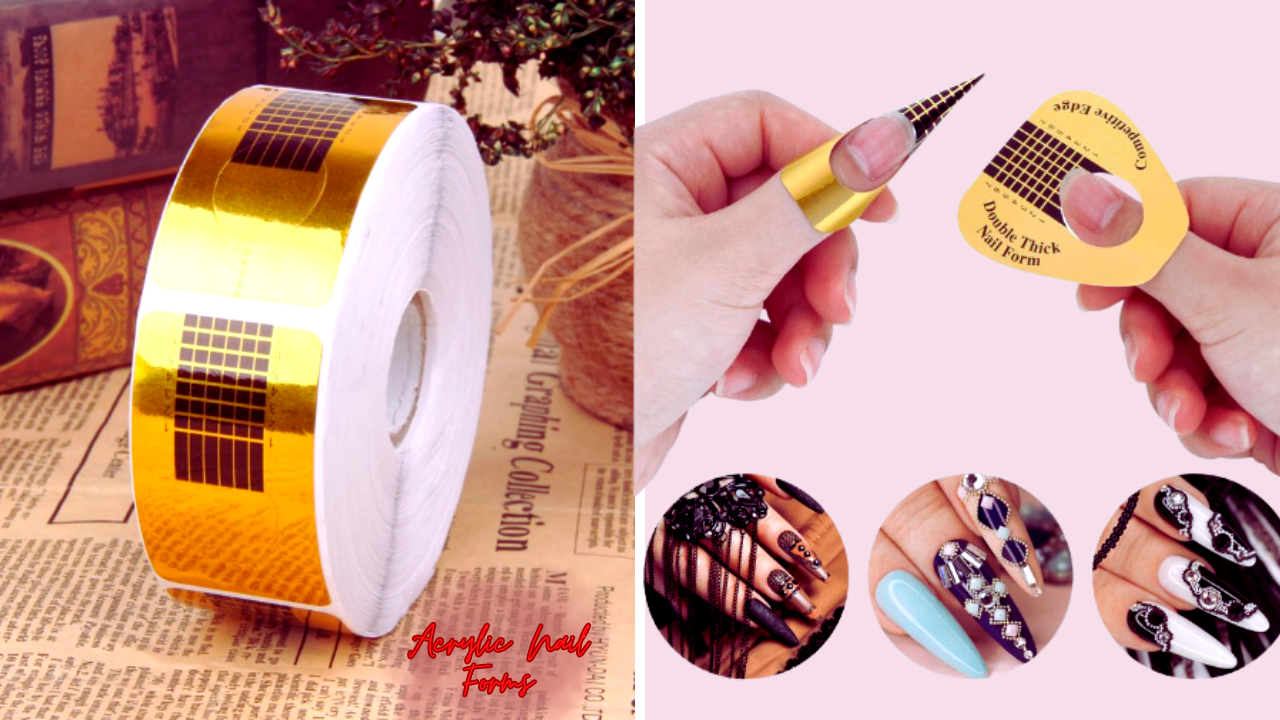
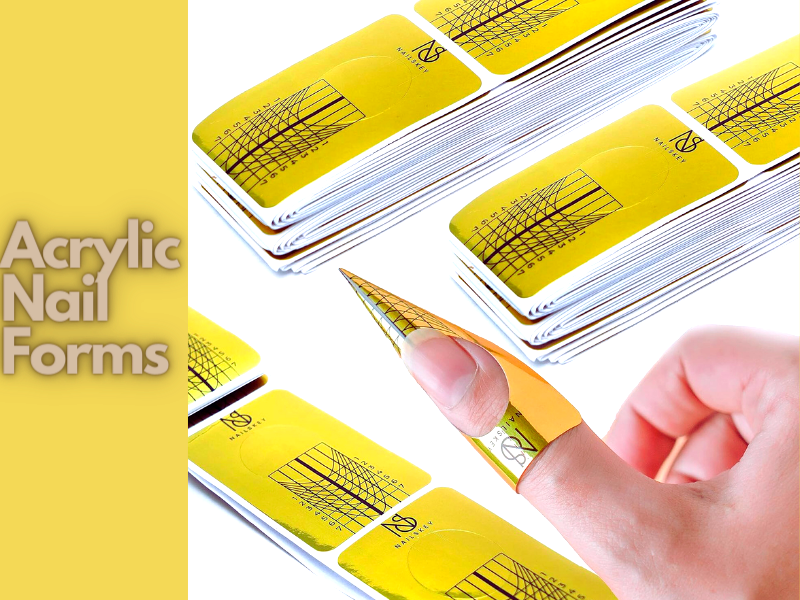
With the help of a clever grid system, nail forms facilitate the creation of perfect angles, sidewalls, and free edges, setting the stage for nail designs that are nothing short of perfection.
The Essence of Nail Forms
Nail forms are the backbone of the nail extension process, serving as a temporary base that brings the desired shape and length to life with either gel or acrylic. They are indispensable for the sculpting method, giving nail artisans the freedom to construct nails that meet and exceed expectations.
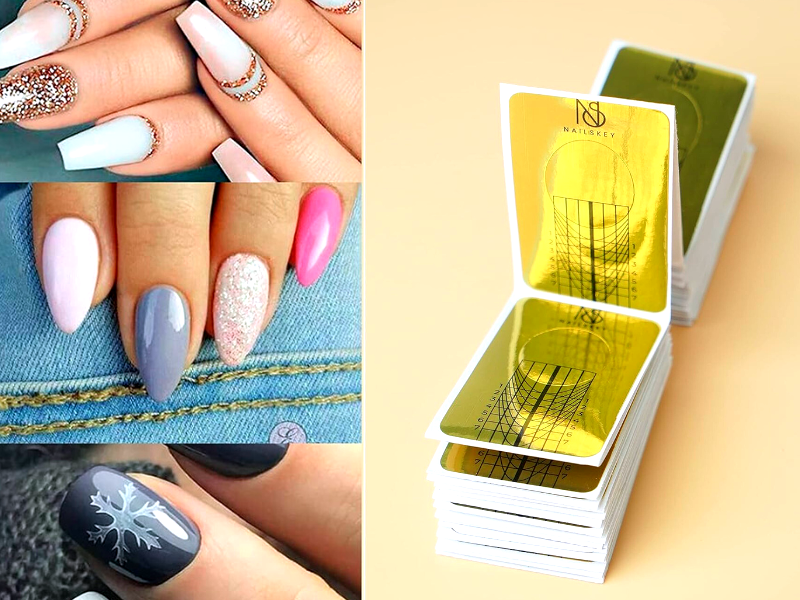
Whether aiming for a daring stiletto or a classic square, nail forms are the foundation of creativity blossoming.
Types of Nail Forms
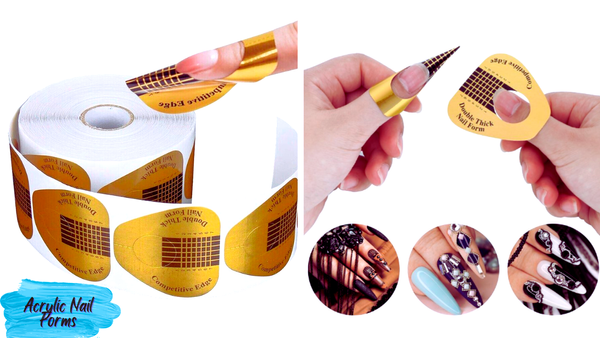
From the sticky, secure base of adhesive-backed nail forms to the sustainable charm of reusable options crafted from materials like Teflon, nail forms come in an array of types tailored to every imaginable need. These forms are designed to accommodate various nail shapes and lengths, ensuring that each client’s personal flair is reflected in their nail extensions, including those who prefer fake nails.
With the help of vertical and curved horizontal lines, nail forms act as a guide for consistent sizing and shaping across all nails, making symmetry in extension work a breeze.
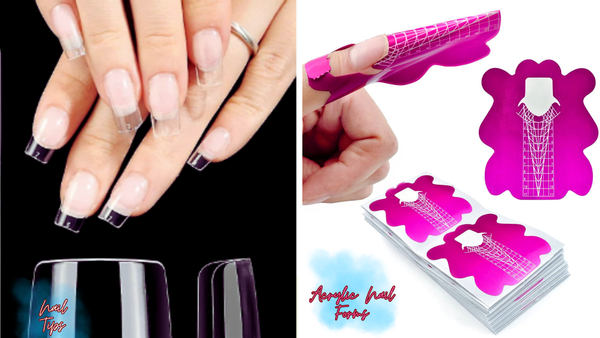
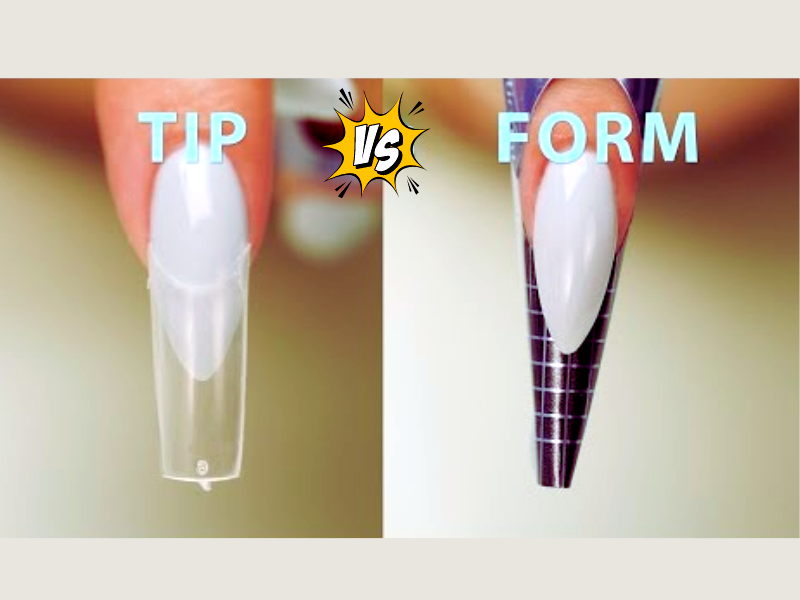
Nail Forms vs. Nail Tips
Nail forms and tips are often mentioned in the same breath, yet they cater to different aspirations. While tips are adhered to the nail's surface, offering predetermined shapes and lengths, forms are placed directly under the nail’s edge, serving as a mold for acrylic or gel applications. Nail forms excel in customization, allowing for a personalized shaping experience, unlike tips, which may restrict the artisan’s vision.
Depending on the desired outcome, whether it’s a one-of-a-kind creation or a consistent set of extensions, the choice between forms and tips can make all the difference.
Step-by-Step Guide: Applying Nail Forms for Acrylic Extensions
The journey to magnificent nails begins with the meticulous application of nail forms. This step-by-step guide will walk you through preparing the natural nail, attaching the nail form, and sculpting with acrylic to achieve stunning nail extensions.
Preparing the Natural Nail
Before the transformation commences, prepping the natural nails is a critical first step. Shortening the nails is essential, as it prevents them from interfering with the nail form’s placement and ensures a snug, perfect fit that’s crucial for the adhesion and quality of the acrylic extensions.

The preparation also involves buffing the nail surface, pushing back cuticles, and applying a primer to create an ideal canvas for the nail forms to adhere to, ensuring they create pressure for a perfect fit.
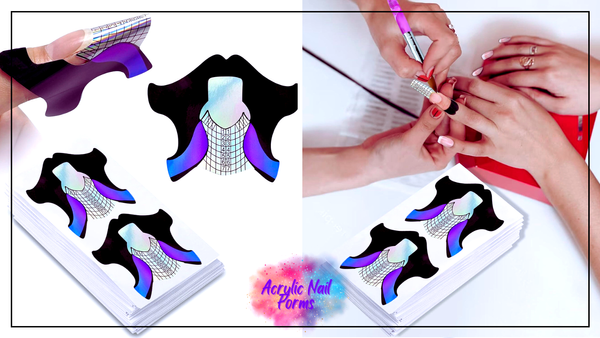
Attaching the Nail Form
Once the nails are primed and ready, attaching the nail form is the next pivotal step. It’s all about precision here, as a correctly aligned form under the free edge creates a solid foundation for the acrylic nail extension. The nail form must hug the underside of the natural nail without leaving any gaps, which could result in an improperly formed acrylic. Moreover, it is vital to avoid creases or dents in the form, as these imperfections can affect the final sculpt.
Sculpting with Acrylic
Now, for the magic to happen—sculpting with acrylic. This step requires a steady hand and an eye for detail. Using a sculpting brush, the acrylic mixture must be applied precisely, ensuring it adheres well to the natural nail. The architecture of the nail, especially the upper arch and apex, is fundamental for durability, providing the necessary support for the natural nail as it grows out.

Achieving Perfection: Tips for Working with Nail Forms
Mastering the art of nail forms is akin to conducting a symphony: every movement must be precise, and every decision deliberate. Here are some virtuoso tips for achieving that flawless finish with nail forms.
Avoiding Common Mistakes
One key to perfection is avoiding common mistakes. Misalignment of the nail form can lead to crooked extensions, so take the time to ensure that the form perfectly aligns with the finger and wings. When applying the acrylic, follow these guidelines to minimize the need for extensive filing later:
- Apply the acrylic with the mindset that no filing will be necessary afterward, using the correct consistency and amount.
- The thickness at the free edge should be no more than that of a credit card.
- Position the apex just before the smile line for extensions that last without snapping or lifting.
Creating Consistent Results
Consistency in nail form application is a hallmark of a seasoned nail technician. Practicing across various finger types is vital to mastering the art of uniform shape and length, as every client’s hands are unique. Keep in mind, that achieving uniformity is not just aesthetically pleasing, but also ensures that the acrylic enhancements are balanced and comfortable for the wearer.
Advanced Techniques: Elevating Your Nail Form Game
For those ready to take their nail form artistry to the next level, advanced techniques offer a world of possibilities. Let’s explore how to elevate your nail form game to the realm of the extraordinary.
Incorporating Nail Art
True artistry shines when nail art is integrated into acrylic extensions. Quality materials from brands like Daisy Nail Designs and Valentino Beauty Pure bring a spectrum of colors and textures to the table, ensuring that your designs stand out and last long. Techniques such as encapsulating decorative elements or freehand painting allow for depth and customization that makes each nail a signature piece. With Lavis’ highly pigmented acrylic powders, you can achieve durable finishes that captivate and endure.
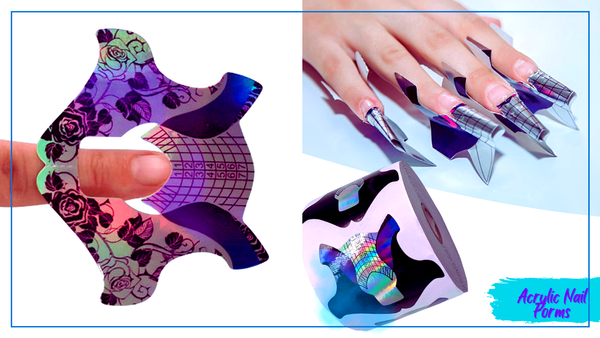
Customizing Nail Forms
Customizing nail forms for different shapes and client needs is a craft. Adjusting the forms for almond or square shapes, for example, requires different approaches to ensure the structure is accurate. Special adjustments, such as adding curves or cutting a ‘V’ for an extended hyponychium, cater to clients with specific nail issues, ensuring comfort and a custom fit every time.
Sometimes, two nail forms may need to be combined to accommodate wide nail beds, especially on thumbs or toenails, showcasing the adaptability of nail forms to any situation.
Transitioning from Tips to Forms
Making the leap from nail tips to forms is a transition worth considering for any technician. When you choose nail tips, they can be suitable for beginners but may limit creativity. In contrast, nail forms offer a canvas for limitless shaping possibilities, including creating a perfect nail tip. The move to nail forms and nail sets unlocks a new level of creative freedom and allows nail technicians to push the boundaries of nail sculpting.
Summary
In our exploration of acrylic nail forms, we’ve uncovered their essential role in the art of acrylic nail extensions. From the basics of applying and customizing nail forms to the advanced techniques of incorporating art and selecting quality products, nail forms are indeed the cornerstone of creating exquisite nail sets. With the right knowledge and tools, the possibilities are limitless. Embrace the art, perfect the craft, and let your creativity flourish with every nail you sculpt.
Frequently Asked Questions
How do you put on acrylic nail forms?
To put on acrylic nail forms, place the nail form in the center, ensuring the tabs stick out from underneath and that the black line is perfectly down the center. Then verify it's straight and not angled up or down from the side.
How long do acrylic nail forms last?
Acrylic nail forms can last up to six weeks with proper maintenance and care but may begin peeling off after just one week without proper upkeep.
What are the main differences between nail forms and nail tips?
Nail forms allow for more customization in shape and length when creating acrylic or gel extensions, while nail tips offer less flexibility for personalized designs.