


Key Takeaways:
- Nail stamping plates are typically made from stainless steel or plastic and feature engraved designs.
- Proper care and cleaning with a polish remover and a lint-free pad can extend the life of stamping plates.
- The right tools and techniques are crucial for achieving perfect nail stamping designs.
Nail art enthusiasts are always on the lookout for new ways to add intricate designs to their nails. One popular method is nail stamping, which allows for detailed patterns to be transferred onto the nail with precision. But have you ever wondered what are nail stamping plates made of? These small but mighty tools are essential for any nail artist's kit, and understanding their composition can help you make the most of your nail art design adventures.
The Composition of Nail Stamping Plates
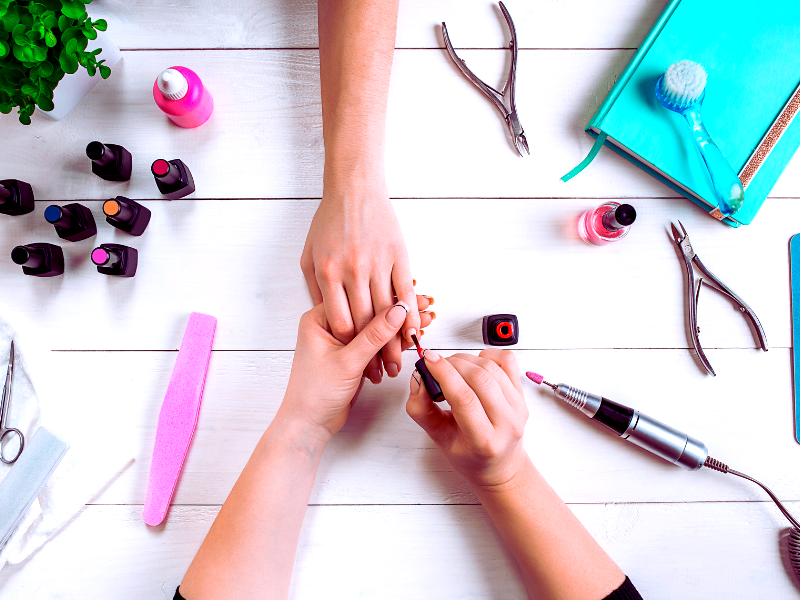
Nail stamping plates are the foundation of the stamping process. They are typically made from stainless steel, which is favored for its durability and ease of cleaning. The plates feature various designs etched into the surface, ranging from simple shapes to intricate patterns that can fill an entire nail. The depth and precision of the etching are crucial, as they need to be aligned properly to hold the right amount of polish for a clear transfer.
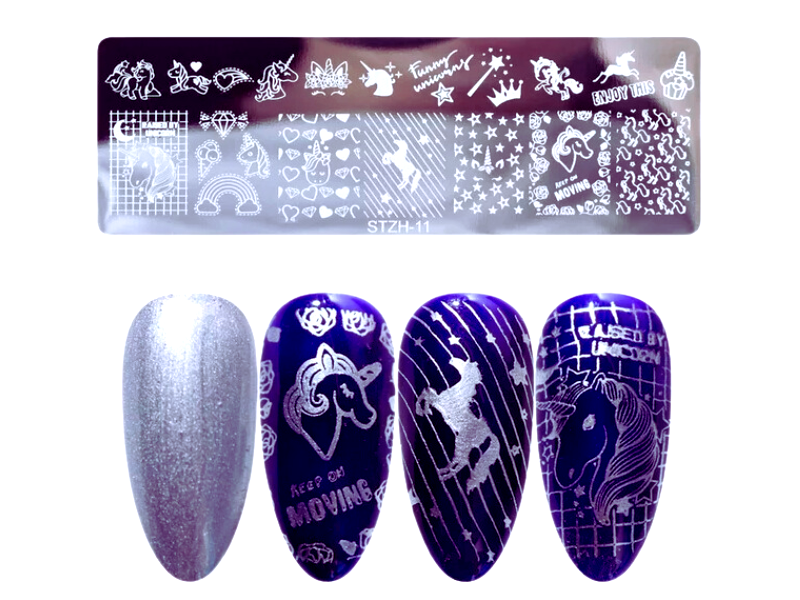
Some stamping plates are also made from plastic, which can be a more affordable option. However, these may not last as long as their steel counterparts, as they can scratch more easily during the cleaning process. Regardless of the material, the plates must have a smooth surface to ensure that the nail polish can be scraped off cleanly, leaving only the desired image behind.
The Role of Stamping Polish
Stamping polish plays a vital role in the nail stamping process. It is specifically formulated to be thicker and more pigmented than regular nail polish, allowing it to fill the designs etched into the stamping plate. When choosing stamping polish, look for options that are labeled as such, as they will provide the best results. The polish should be applied generously to the plate, and any excess should be quickly scraped off before transferring the design onto the nail stamper.
The color of the stamping polish can greatly affect the final look of your nail art design. While black and white are classic choices for their contrast, don't be afraid to experiment with glitter, metallics, or even neon colors. The key is to use a polish that will stand out against your base color, ensuring that the design pops on your nails.
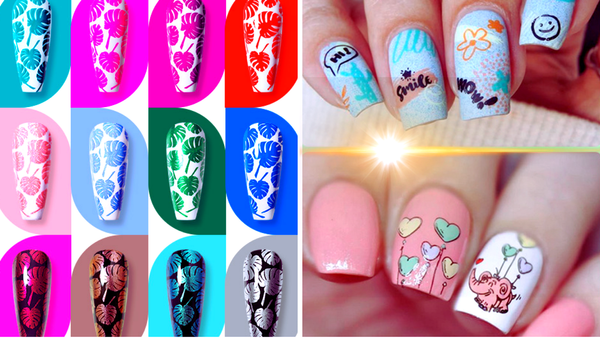
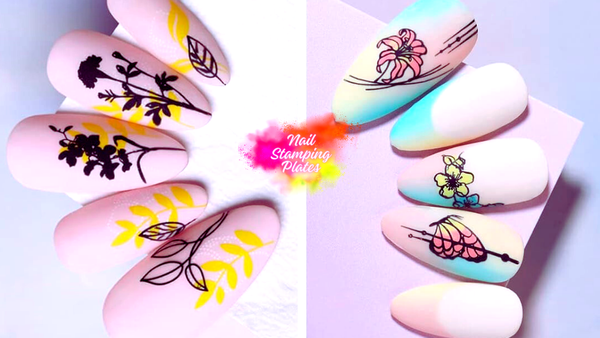
Exploring the Variety in Nail Stamping Designs
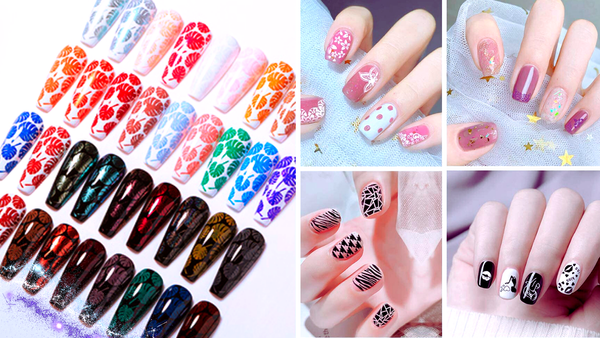
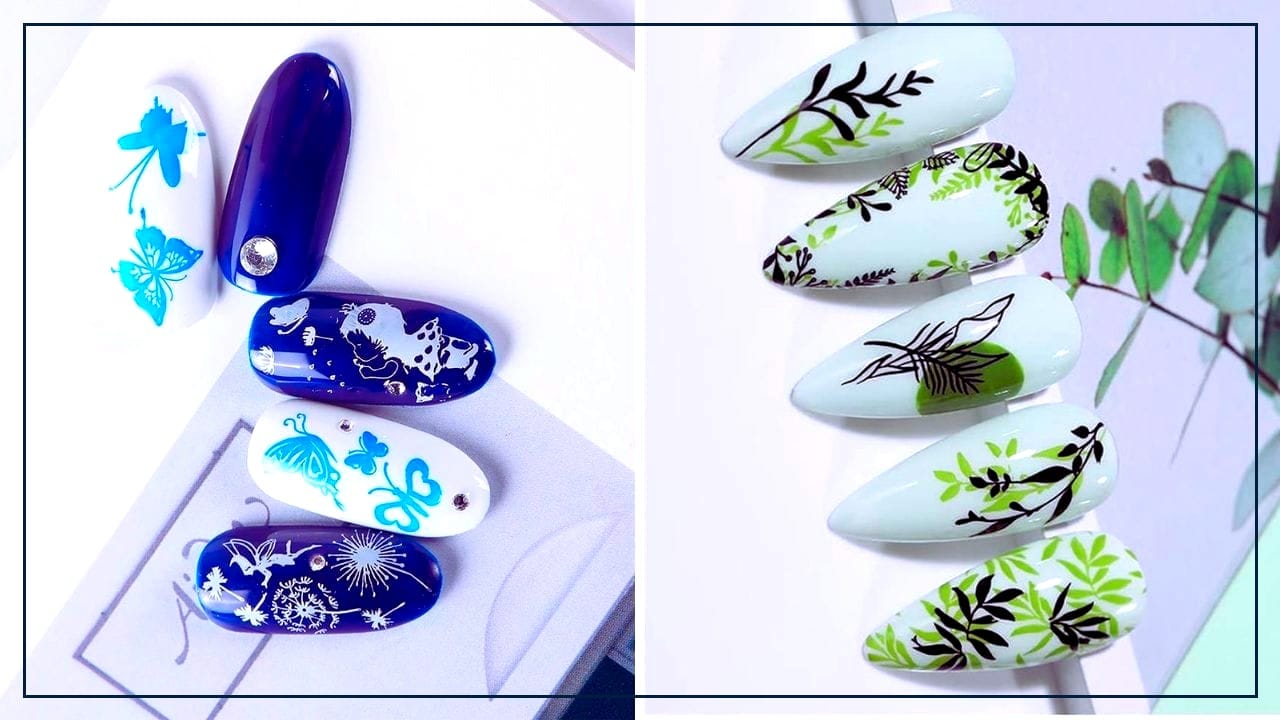
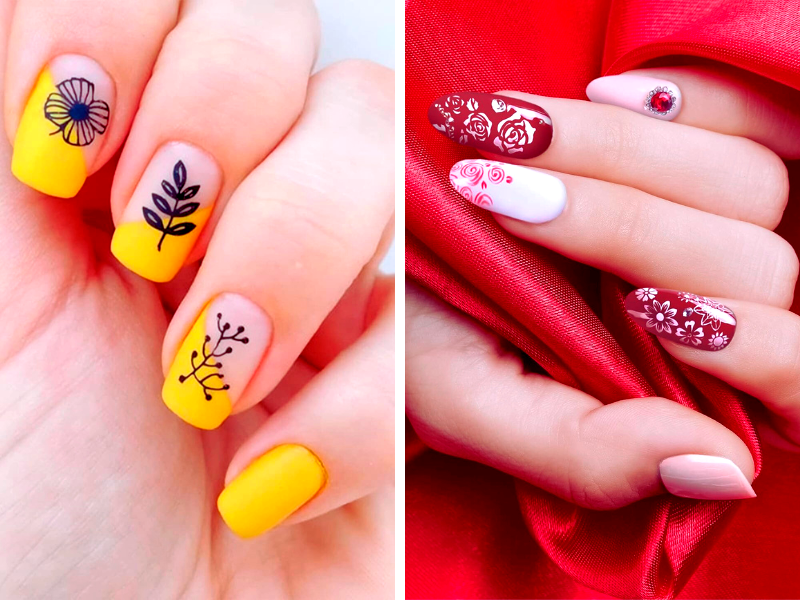
Nail stamping plates offer an incredible array of designs, from intricate lace patterns to bold geometric shapes. With these tools, you can adorn your nails with several images that fill the entire nail or opt for smaller accents that add a touch of elegance. The beauty of nail stamping is that the designs range from simple to complex, catering to beginners and seasoned nail art enthusiasts. Whether you're aiming for fancy French tips with a twist or a full-blown glitter extravaganza, the right stamping plate can make your vision a reality.
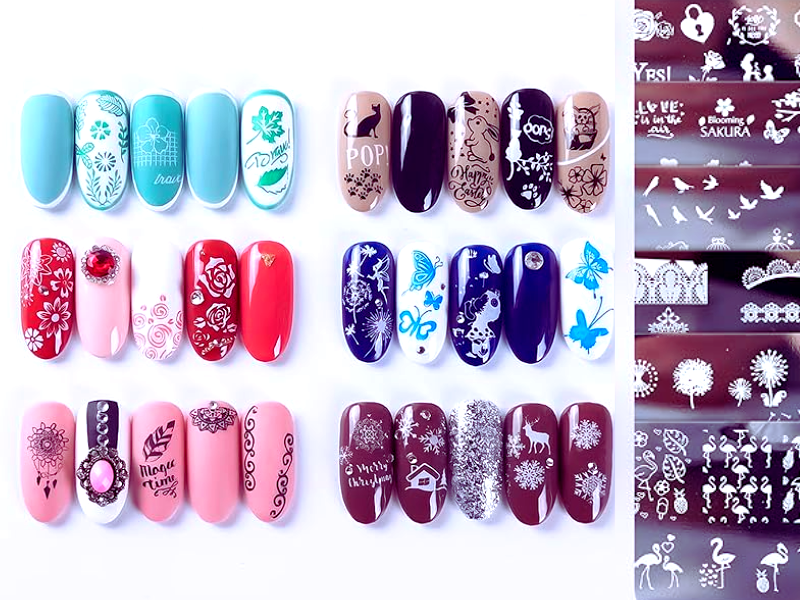
The versatility of nail stamping plates means more colors and patterns can be combined to create unique nail art designs. By layering different images from various plates, you can achieve a multidimensional look as unique as you are. For instance, start with a base color, add a coat of glitter stamping polish, and then overlay an intricate pattern. With the right tools and a little practice, your nails can showcase art that reflects your style and creativity.
The Evolution of Nail Stamping Plates
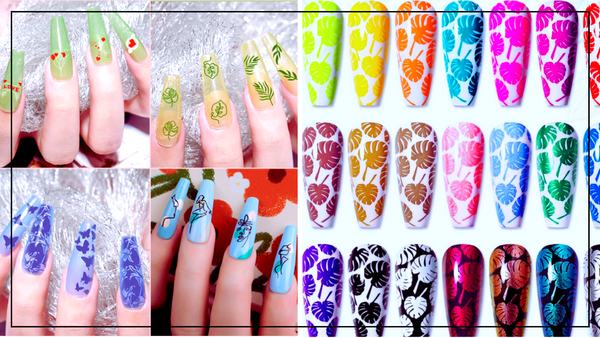
Nail stamping plates have come a long way since their inception, evolving from basic tools to intricate art accessories. Initially, stamping plates were simple, with limited designs and patterns. Now, they are crafted from thin steel or plastic and boast an array of images that can fill the entire nail or add delicate accents. The evolution of these plates has allowed for more complex and detailed nail art designs, catering to the ever-growing demand for personalized and stylish nail art. With the right tools, including a nail stamper and quality stamping polish, nail enthusiasts can recreate salon-level art at home.
The variety of designs ranges from geometric patterns to floral motifs, and even to pop culture references, ensuring there's something for every taste. The plates are designed with a special stamping polish, thicker and more pigmented than regular nail polish, allowing for crisper images and a more vibrant look. Whether you're aiming for fancy French tips or a glitter-packed statement nail, the right stamping plate can elevate your nail art game. It's all about choosing designs that resonate with your style and mastering transferring these patterns onto your nails with a firm movement and a light touch.
The Science Behind Perfect Stamping
Achieving the perfect stamp with nail stamping plates is almost a science. It requires a base color that is completely dry before you start the stamping process. Once the base coat is set, you must quickly apply the stamping polish to the plate, scrape off the excess, and transfer the design onto the stamper. The key is to have a light touch when rolling the stamper across the plate to pick up the image. If the polish is too wet, it may smudge, and if it's too dry, the image won't transfer properly. Timing and pressure are crucial to ensure the designs are aligned properly and fully transferred onto the nail.
After stamping, it's important to wait for the design to dry before applying a top coat. Applying the top coat with too much pressure or before the design is dry can cause smearing, ruining the crisp lines of the stamp. For those looking to add more colors to their designs, patience is key. Each layer of stamping polish should be allowed to dry before adding another to prevent the colors from blending unintentionally. With practice, the process becomes intuitive, and the results are consistently stunning, with clear, detailed designs that last. Remember, the top coat is not just for shine; it seals in the art, providing durability to your creative work.
Cleaning and Maintenance
After each use, it's important to clean your nail stamping plates to remove any dried polish remains. A cotton ball or paper towel soaked in polish remover is usually effective for this task. For a more thorough clean, a lint-free pad lightly rubbing the plate can ensure that no residue is left behind. This step is crucial to maintain the clarity of the designs and to prevent any build-up that could affect future stamping.
Avoid using harsh chemicals or abrasive materials on your stamping plates, as these can damage the etched designs. Gentle, firm movement with a lint-free pad soaked in polish remover is often all that's needed to keep your plates in top condition.
Summary
Nail stamping plates are essential tools for creating intricate nail art designs with ease. Made from stainless steel or plastic, these plates feature a variety of etched patterns that can be transferred onto nails using special stamping polish. Proper cleaning and maintenance of the plates are crucial for their longevity and the clarity of the designs. With the right tools and techniques, nail stamping can elevate your manicure to a work of art.
FAQ Section
Can I use regular nail polish for stamping?
While it's possible to use regular nail polish for stamping, it's not recommended. Stamping polish is specifically formulated to be thicker and more pigmented, which is necessary to achieve clear and vibrant designs.
How do I prevent the stamping polish from drying too quickly?
Work quickly and efficiently. Have all your tools ready, apply the stamping polish to the plate, scrape off the excess, and immediately press the stamper onto the plate to pick up the design. Then, transfer it to your nail without delay.
Can nail stamping plates be reused?
Yes, nail stamping plates can be reused many times as long as they are properly cleaned and maintained. Use a polish remover and a lint-free pad to clean the plates after each use to ensure the designs remain clear for future stamping.