


Gel nail extensions have taken the beauty world by storm, offering a durable and stylish alternative to traditional nail polish. Whether you're a seasoned nail tech or a DIY enthusiast, having the right tools in your gel nail extension kit is crucial for achieving salon-quality results. In this article, we'll dive into the essential tools you need to create stunning gel nails at home or in a professional setting.
Key Takeaways:
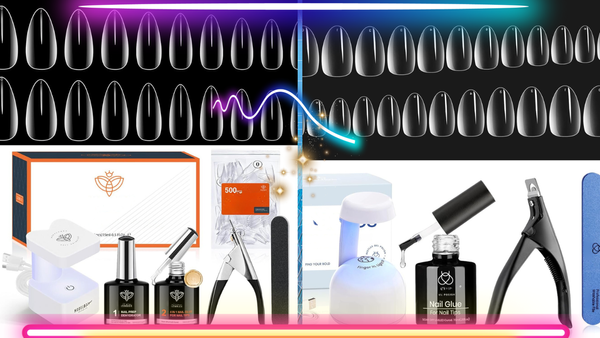
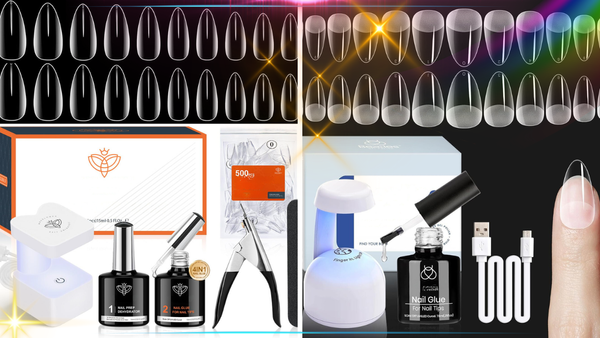
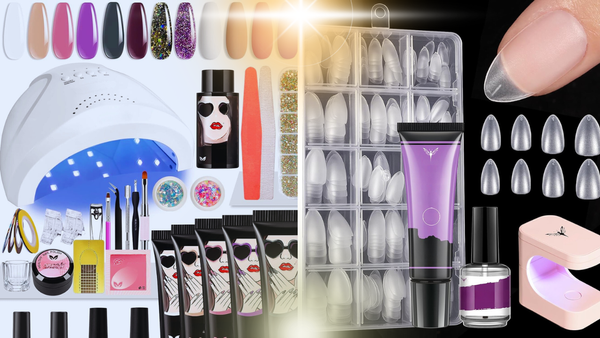
- Essential Tools: A comprehensive gel nail extension kit includes items like gel polish, nail files, cuticle pushers, and UV lamps.
- Proper Preparation: Prepping your natural nails with tools like nail dehydrators and primers is key to long-lasting extensions.
- Application and Finishing: Using the right brushes, forms, and curing lamps ensures a smooth and professional finish.
Gel Polish
Gel polish is the cornerstone of any gel nail extension kit. Unlike regular nail polish, gel polish requires curing under a UV or LED lamp, providing a long-lasting and chip-resistant finish. It's available in a wide range of colors, allowing you to mix and match to create unique nail art.
When selecting gel polish, opt for reputable brands that offer high-quality products. Cheap alternatives may not provide the same durability and could lead to wasting money on frequent touch-ups. Always apply gel polish in thin coats to ensure even curing and a smooth finish.
Natural Nails Preparation
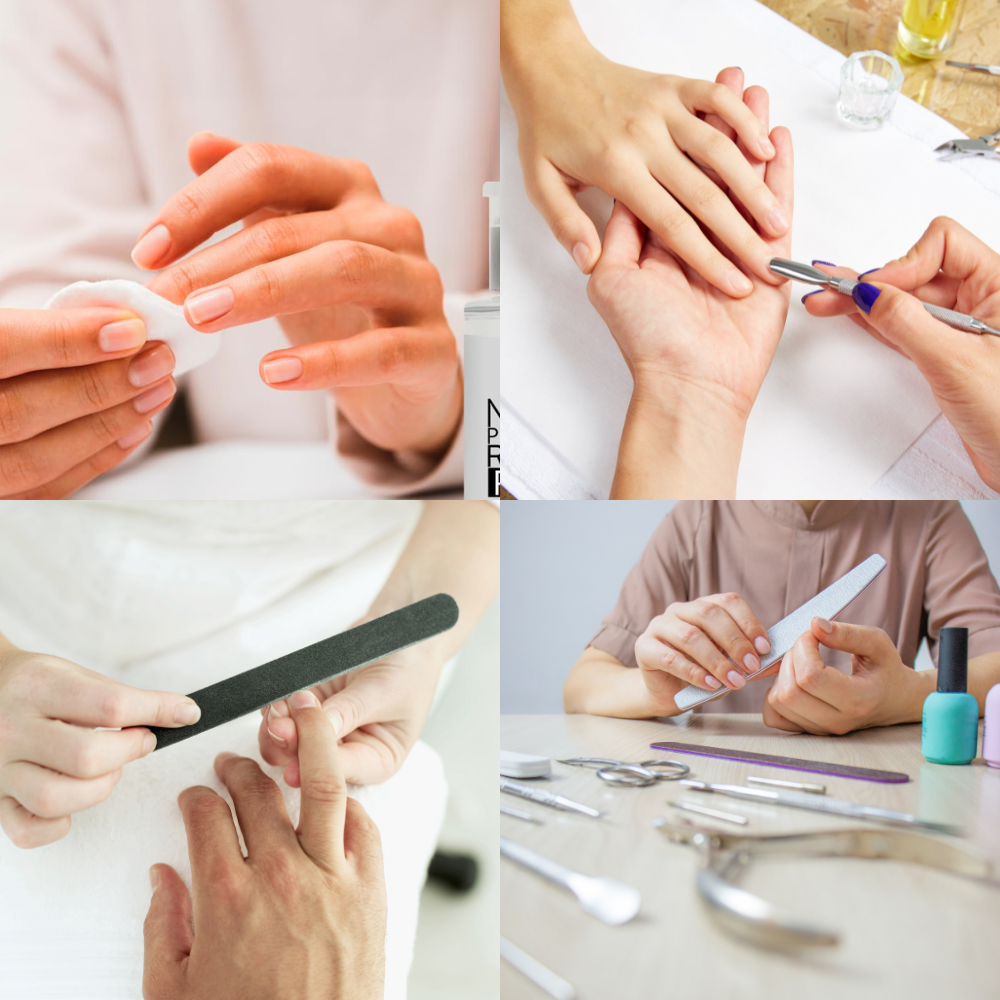
Before applying gel nail extensions, it's essential to prep your natural nails properly. This involves cleaning, shaping, and buffing the nail plate to create a smooth surface for the gel to adhere to. A nail file and buffer are indispensable tools for this step.
Using a nail dehydrator and primer is also crucial. These products remove any oils and moisture from the nail bed, ensuring better adhesion of the gel extensions. Proper preparation can significantly extend the life of your gel nails, saving you time and effort in the long run.
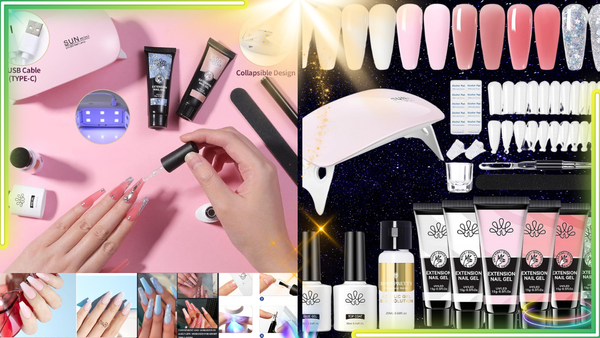
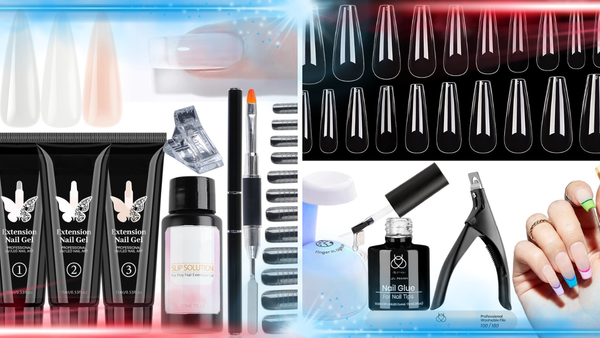
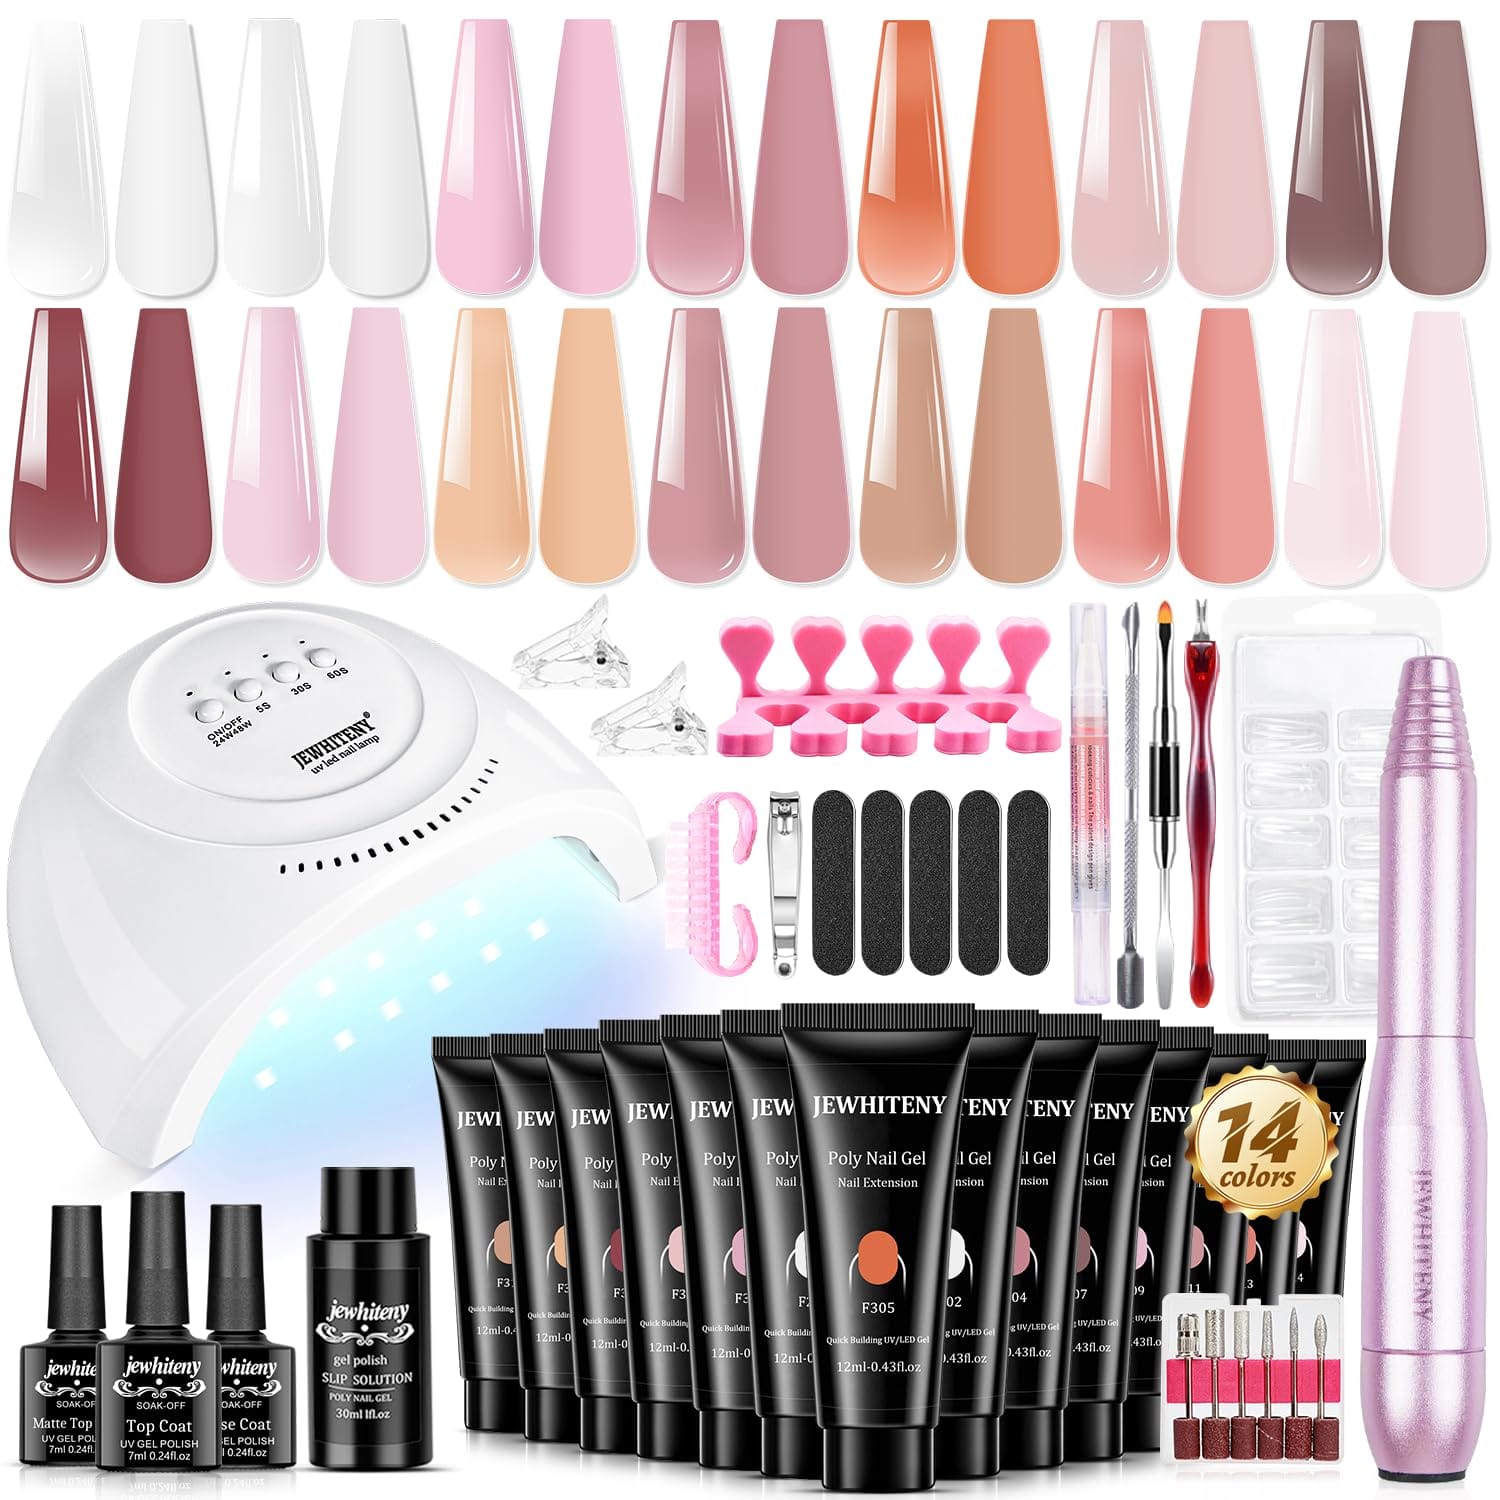
Gel Nail Extensions
Gel nail extensions are the stars of the show. These extensions can be applied using nail tips or forms, depending on your preference and skill level. Nail tips are pre-shaped pieces that are glued to the natural nail, while forms are used to sculpt the extension directly onto the nail.
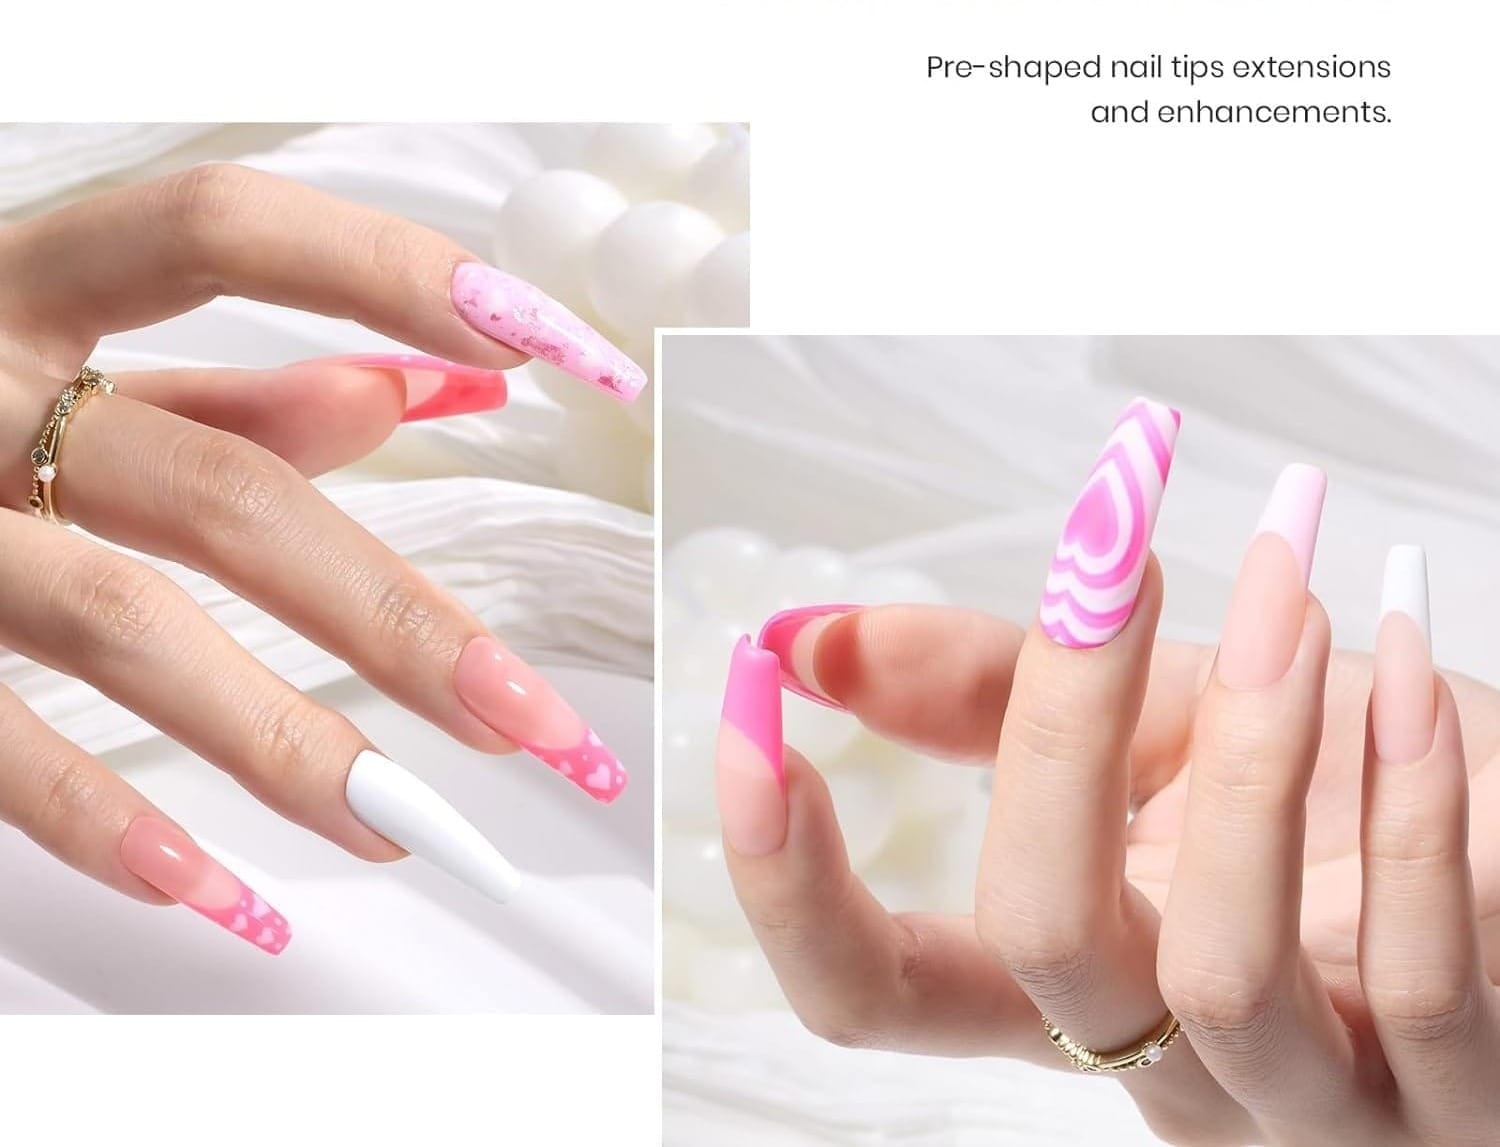
Builder gel is the primary product used to create extensions. It's a thick, viscous gel that can be molded and shaped to the desired length and thickness. Builder gel requires curing under a UV or LED lamp to harden and set.
Nail Files and Buffers
Nail files and buffers are essential for shaping and smoothing both natural nails and gel extensions. A good quality nail file will help you achieve the desired shape, whether it's square, oval, or stiletto. Buffers are used to smooth out any rough edges and create a glossy finish.
Investing in a variety of nail files with different grits can make the shaping process more efficient. For example, a coarse file is ideal for initial shaping, while a finer grit file is perfect for refining the edges.
Cuticle Pusher and Cuticle Oil
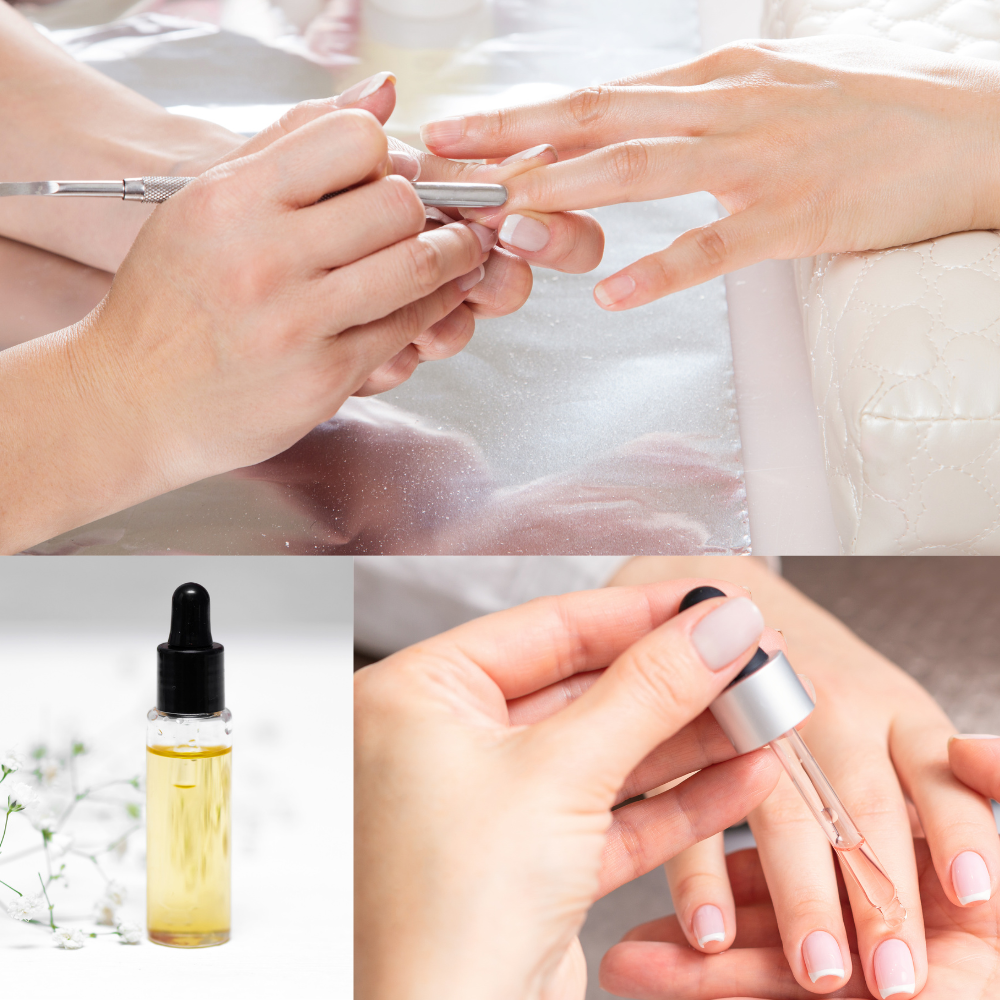
A cuticle pusher is a must-have tool for prepping the nail bed. It helps push back the cuticles, creating more room for the gel extensions and ensuring a clean application. A metal cuticle pusher is durable and easy to sanitize, making it a great addition to your kit.
After completing your gel nail application, use cuticle oil, which is essential for maintaining healthy nails and cuticles. It helps moisturize and nourish the skin around the nails, preventing dryness and cracking.
Nail Forms and Nail Tips
Nail forms and nail tips are two different methods for creating gel nail extensions. Nail forms are flexible templates that are placed under the natural nail, allowing you to sculpt the extension directly onto the nail. They are ideal for creating custom shapes and lengths.
Nail tips, on the other hand, are pre-shaped pieces that are glued to the natural nail. They are quicker and easier to apply, making them a popular choice for beginners. Both methods require builder gel and curing under a UV or LED lamp.
Nail Dehydrator and Primer
A nail dehydrator and primer are essential for ensuring the longevity of your gel nail extensions. The nail dehydrator removes any oils and moisture from the nail bed, creating a clean surface for the gel to adhere to. The primer acts as a bonding agent, enhancing the adhesion of the gel to the natural nail.
Using these products can significantly reduce the risk of lifting and peeling, ensuring your gel nails stay intact for weeks. Always follow the manufacturer's instructions for the best results.
Gel Brushes
Gel brushes are specialized tools designed to apply builder gel and gel polish. They come in various shapes and sizes, allowing you to create precise and intricate designs. A flat gel brush is ideal for applying builder gel, while a fine detail brush is perfect for nail art.
Investing in high-quality gel brushes can make a significant difference in the application process. Cheap brushes may shed bristles or become misshapen, leading to uneven application and frustration.
UV Lamp or LED Lamp
A UV or LED lamp is essential for curing gel polish and builder gel. These lamps emit light that activates the photoinitiators in the gel, causing it to harden and set. UV lamps are generally more affordable but take longer to cure, while LED lamps are faster and more energy-efficient.
When choosing a lamp, consider the wattage and size. A higher-wattage lamp will cure the gel more quickly, while a larger lamp can accommodate all five fingers at once, saving you time during the application process.
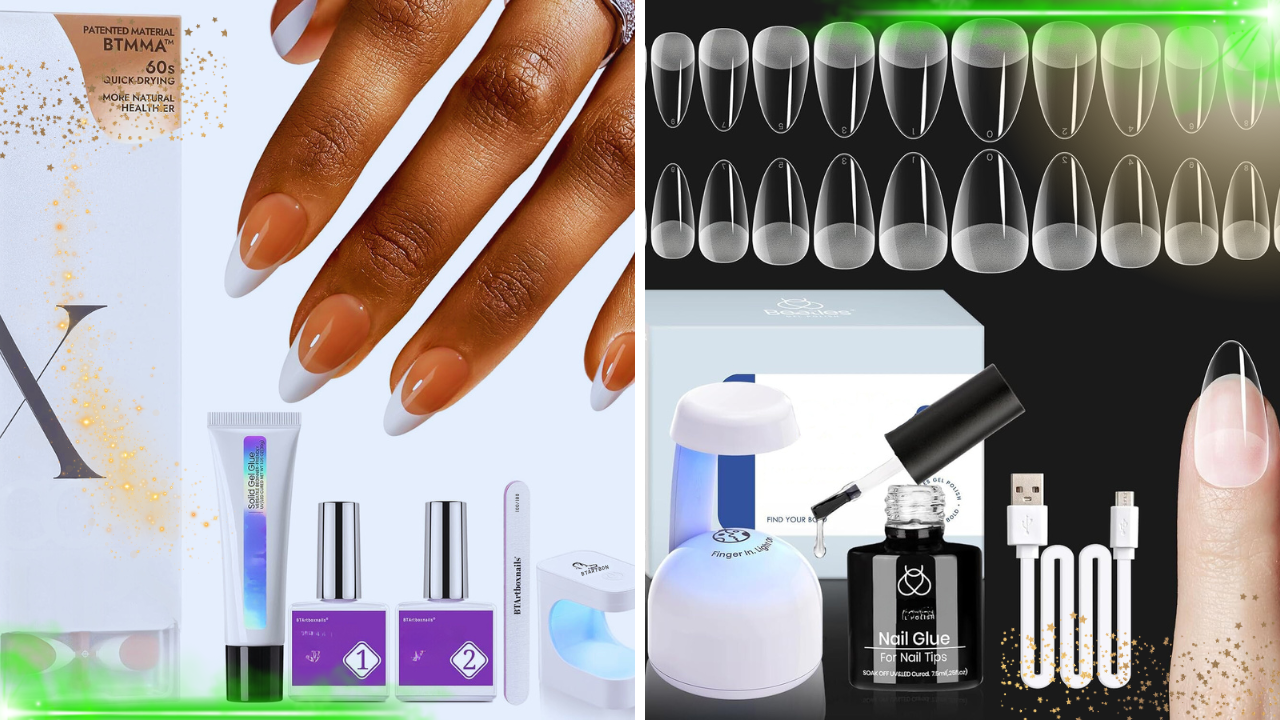
Nail Glue
Nail glue is a crucial component for applying nail tips. It provides a strong bond between the natural nail and the tip, ensuring the extension stays in place. Look for a fast-drying, high-strength glue to make the application process more efficient.
Using too much glue can create a mess and make it difficult to achieve a smooth finish. Apply a small amount of glue to the tip and press it firmly onto the natural nail for a few seconds to ensure a secure bond.
Nail Polish Remover and Pure Acetone
Nail polish remover and pure acetone are essential for removing gel polish and extensions. Pure acetone is particularly effective for breaking down the gel, making it easier to remove without damaging the natural nail. Soak a cotton pad in acetone, place it on the nail, and wrap it in foil for 10-15 minutes to soften the gel.
Using a gentle nail polish remover can help maintain the health of your natural nails. Avoid harsh chemicals that can dry out the nails and cuticles, leading to brittleness and breakage.
Nail Art Tools
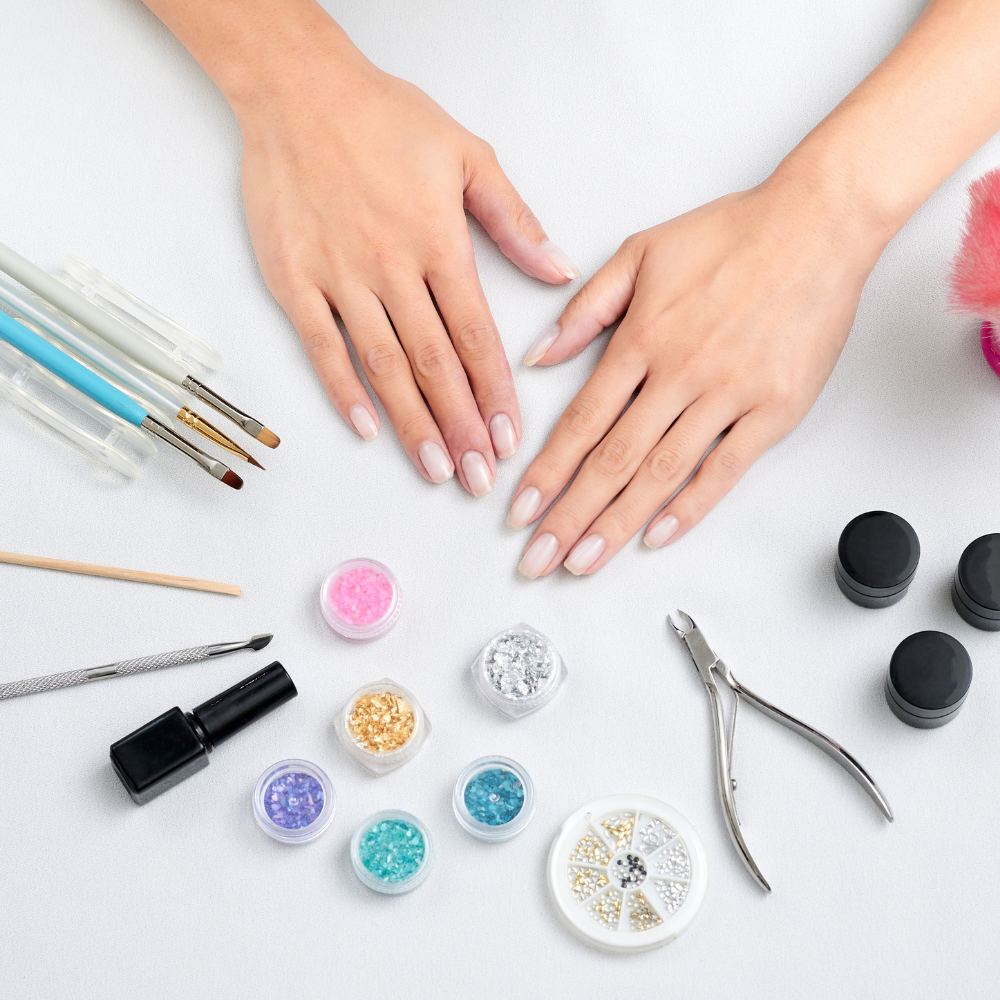
Nail art tools are a fun addition to any gel nail extension kit. These tools include dotting tools, striping brushes, and stamping plates, allowing you to create intricate designs and patterns. Nail art can add a unique touch to your gel nails, making them stand out.
Experimenting with different nail art techniques can be a creative and enjoyable process. Whether you're a beginner or an experienced nail artist, having a variety of tools at your disposal can inspire new designs and ideas.
Rubbing Alcohol
Rubbing alcohol is an essential tool for cleaning and sanitizing your nail tools. It helps remove any residue or oils from the nail surface, ensuring a clean application. Use rubbing alcohol to wipe down your brushes, files, and other tools after each use to maintain hygiene.
Keeping your tools clean and sanitized is crucial for preventing infections and ensuring the longevity of your gel nail extensions. Regularly disinfecting your tools can also help maintain their performance and effectiveness.
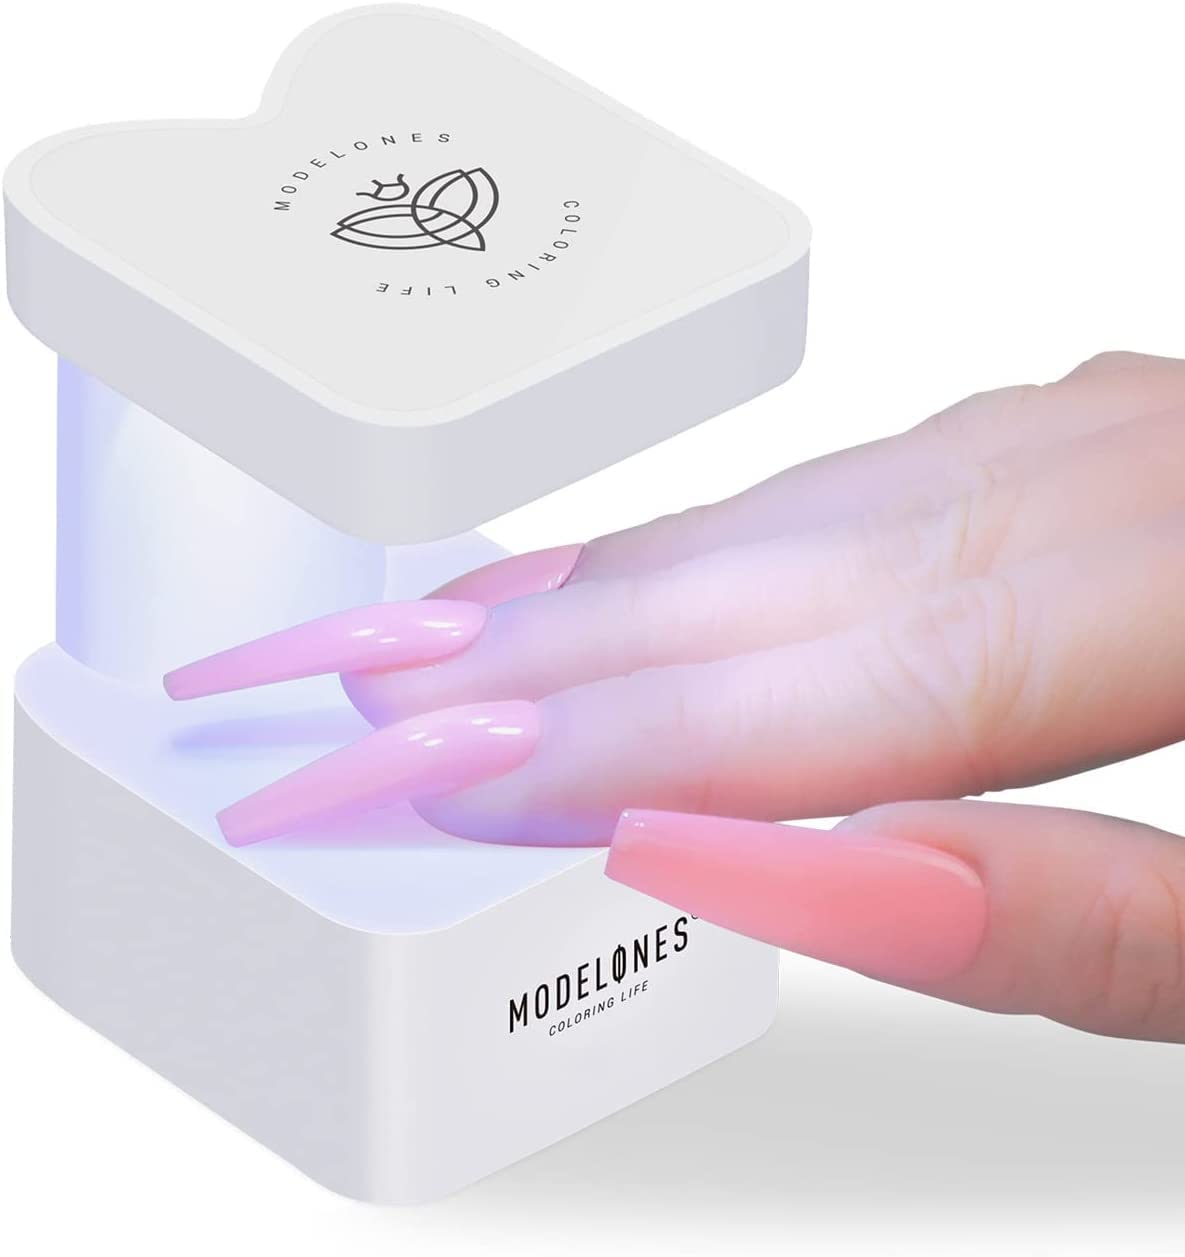
Flash Cure Lamp
A flash cure lamp is a handy tool for quickly curing small sections of gel. It emits a focused beam of light, allowing you to cure individual nails or specific areas without using a full-sized lamp. This is particularly useful for nail art and intricate designs.
Using a flash cure lamp can save time and make the application process more efficient. It's a great addition to any gel nail extension kit, especially for those who enjoy experimenting with different nail art techniques.
Summary
Creating stunning gel nail extensions requires a comprehensive kit with all the essential tools. From gel polish and builder gel to nail files and UV lamps, each tool plays a crucial role in achieving a professional finish. Proper preparation and application techniques, along with high-quality products, can ensure long-lasting and beautiful gel nails.
Please click here if you’re interested in other nail products and want to get up to 50% off.
FAQ Section
What is the best way to remove gel nail extensions?
The best way to remove gel nail extensions is to soak a cotton pad in pure acetone, place it on the nail, and wrap it in foil for 10-15 minutes. This softens the gel, making it easier to remove without damaging the natural nail.
How long do gel nail extensions typically last?
Gel nail extensions can last anywhere from 2 to 4 weeks, depending on how well they are applied and maintained. Proper preparation and using high-quality products can extend the life of your gel nails.
Can I use regular nail polish with a gel nail extension kit?
While regular nail polish can be used over gel extensions, it won't provide the same durability and chip resistance as gel polish. For the best results, use gel polish and cure it under a UV or LED lamp.