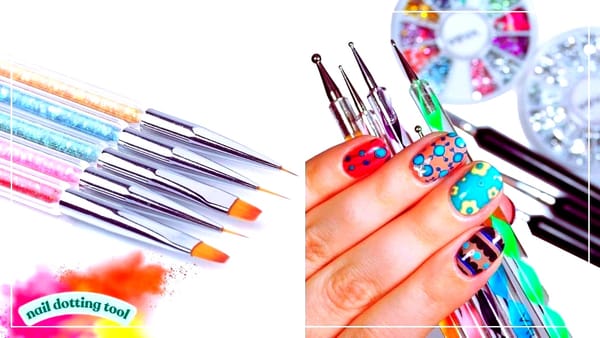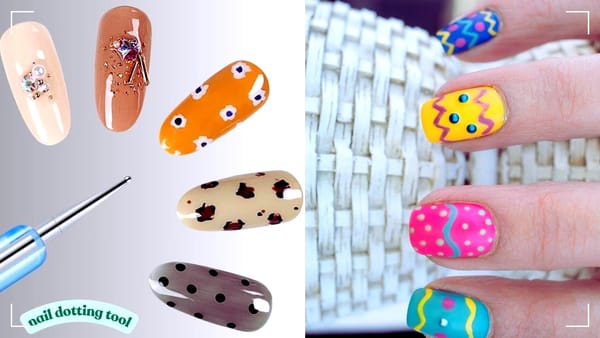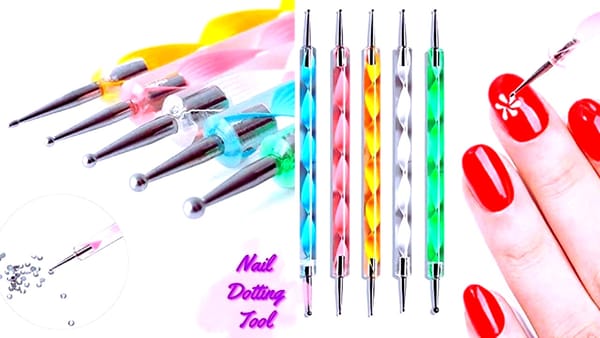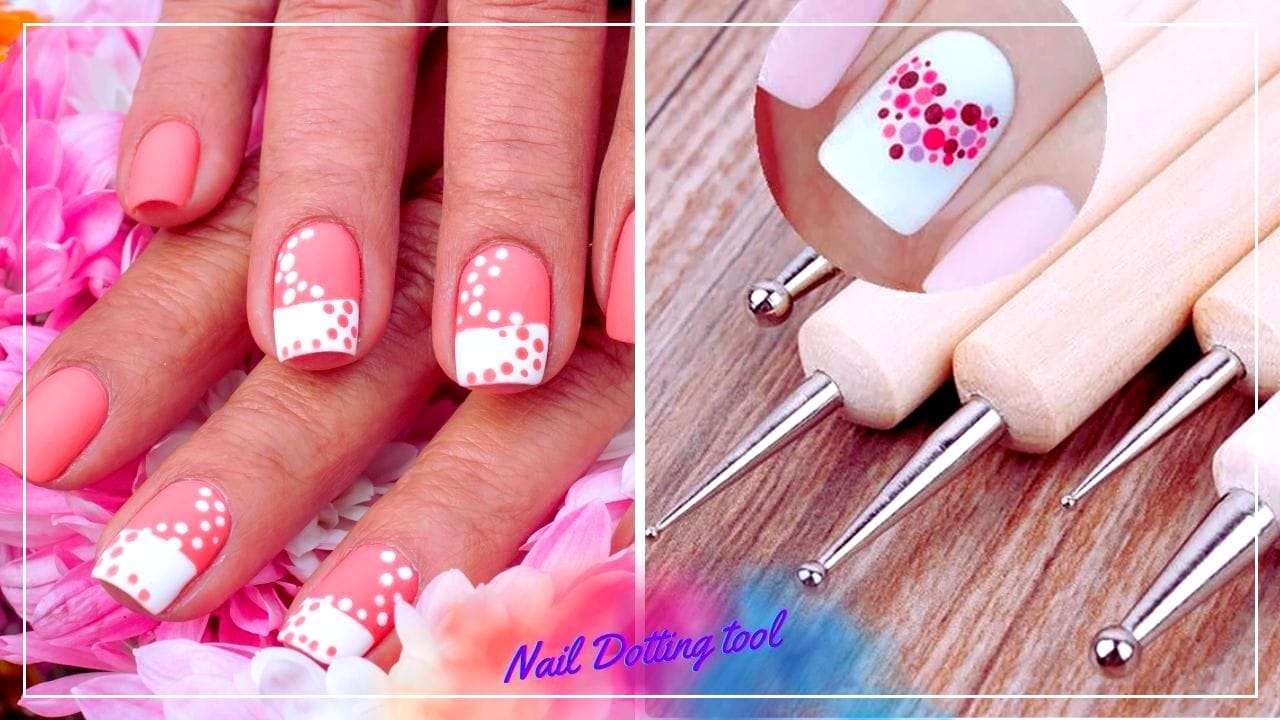


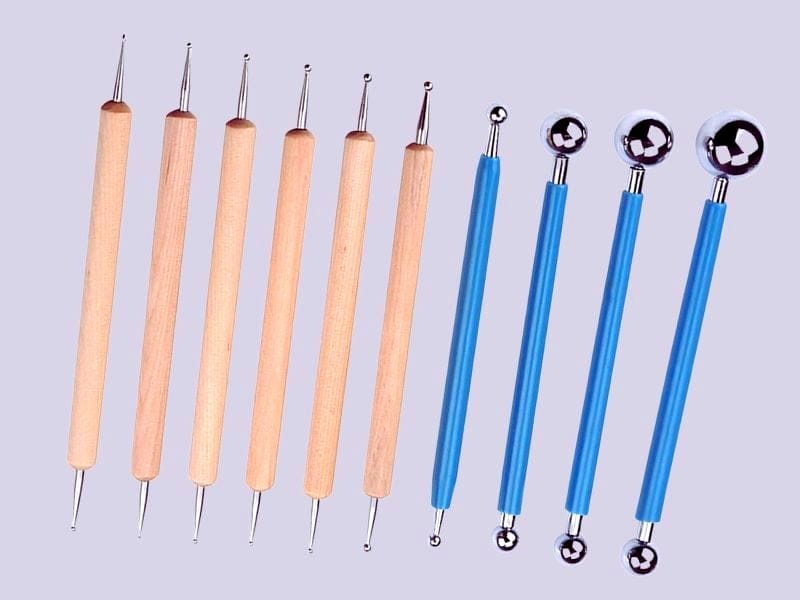
Creating intricate nail art can be a fun way to express your creativity and add a pop of personality to your look. One of the essential techniques in nail art is dotting, which allows you to create various sizes and shapes of dots on your nails. But what if you don't have a professional dotting tool? No worries! This article will explore several household items that can be effective nail dotting tools.
Key Takeaways:
- Discover household items that can be used as nail art dotting tools.
- Learn how to create dots of various sizes with tool alternatives.
- Understand the proper technique for applying polish with homemade dotting tools.
The Easiest Way to Dot Without a Dotting Tool
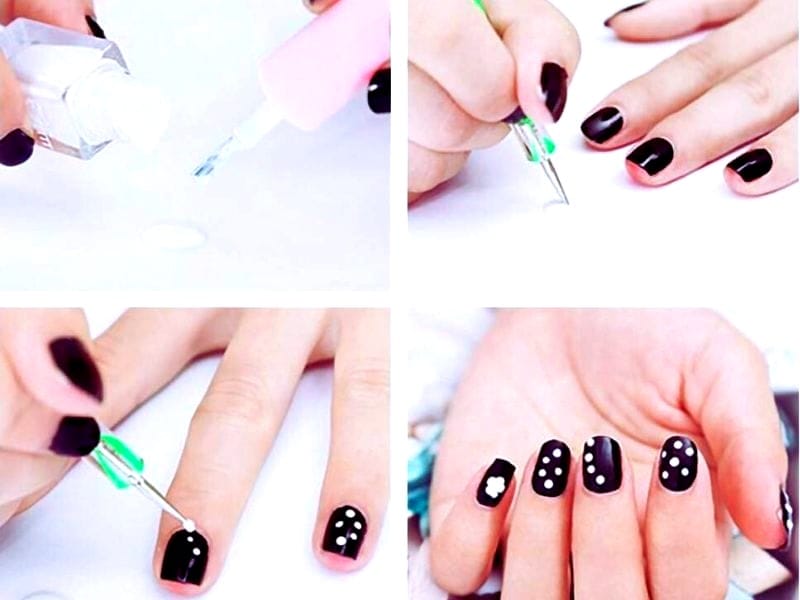
When you're ready to create dots on your nails but lack a professional dotting tool, there's no need to panic. The easiest way to achieve this is by using items you likely have lying around the house. A bobby pin, for instance, can be your go-to tool for creating medium-sized dots. Simply dip the round tip of the bobby pin into your nail polish and gently press it onto your nail. The key is to have a steady hand and dip the pin into the polish each time you want to create a new dot.
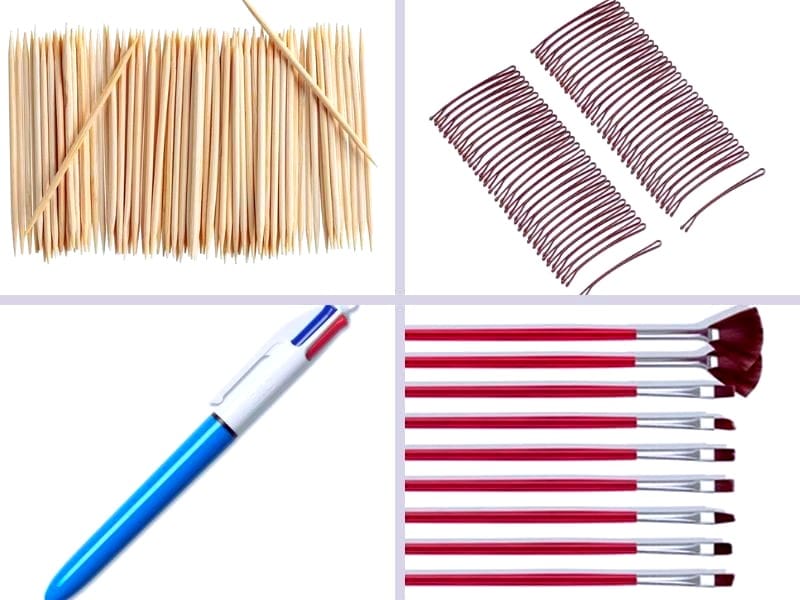
Another readily available item is a toothpick. Toothpicks are perfect for creating small dots and adding fine details to your nail art. The thin, sharp end can be dipped into polish and used to precisely dot. Just be careful not to press too hard, as the point can create divots in the polish if too much pressure is applied.
Bobby Pins: Not Just for Hair
Bobby pins are one of the most versatile tools in DIY nail art. To use a bobby pin as a dotting tool, simply straighten it out and use the rounded end. This will give you a perfect circle every time. For smaller dots, use the tip of the pin. Bobby pins are especially useful because they can create dots of different sizes depending on which end you use. Plus, they're cheap, and you probably have a bunch already at home.
When using bobby pins, it's essential to let the polish dry completely before applying a top coat. This will prevent the dots from smearing and ensure your manicure looks professional. Remember to clean the tip of the bobby pin with nail polish remover after each use to keep it free from clumps of dried polish.
Pencil It In
Believe it or not, the humble pencil can be a fantastic nail dotting tool. The eraser end of a pencil is typically the perfect size for medium to large dots. For this technique, you'll want to dip the eraser end into the nail polish and then carefully apply it to your nail. The softness of the eraser allows for a more controlled application, making it easier to create uniform dots.
If you aim for smaller dots, sharpen the pencil and use the pointed end. This can be a bit trickier, as the pencil tip will absorb some of the polish, but with a bit of practice, you can achieve impressive results. Just be sure to have a piece of paper handy to dab off any excess polish before applying it to your nails.
Toothpicks: The Tiny Detailers
Toothpicks are the unsung heroes of nail art dotting tools. They are perfect for creating tiny, precise dots and are essential for intricate designs. To use a toothpick, simply dip the sharp end into your nail polish and dot away. For slightly larger dots, you can cut the tip off to create a flat surface that will pick up more polish.
The beauty of using toothpicks is that they allow incredible control and precision. They're also disposable, so you can use a new one for each color without worrying about cleanup. Just be sure to dip the toothpick into the polish frequently to maintain the size and shape of your dots.
Pen Caps and Their Potential
Who knew that the cap of a pen could double as a nail art tool? The circular opening at the top of most pen caps can create perfect round dots on your nails. To use a pen cap, dip the open end into the polish and press it onto your nail. This method is great for creating larger dots or making a statement with bold polka dots.
For smaller dots, you can use the other end of the pen cap, where the clip is usually attached. The smaller circle can be dipped into polish to create smaller, more delicate dots. Ensure the pen cap is clean and ink-free before dipping it into your nail polish.
Paint Brushes: A Stroke of Genius
Fine-tipped paintbrushes can be a fantastic alternative to traditional dotting tools. They are especially useful for creating dots of various sizes and for painting thin stripes or other detailed patterns. To use a paintbrush as a dotting tool, dip the tip into the nail polish and gently touch it to your nail. You can adjust the size of the dots by using brushes with different bristle thicknesses.
When using paint brushes, it's important to clean them thoroughly with nail polish remover after each use. This will prevent the bristles from becoming stiff and unusable. Additionally, you can trim the bristles to achieve the exact size and shape you need for your nail art designs.
The Art of Dotting: Tips and Techniques
Creating dots on your nails requires practice and a steady hand. When using any of these tool alternatives, it's important to dip the tool into the polish every time you create a new dot. This ensures that the dots are uniform in size and shape. Also, let each layer of polish dry before applying the next to prevent smudging.
Experiment with different angles and pressures to find what works best for you. Remember, the key to perfect dots is consistency, so take your time and don't rush the process. With a little practice, you'll create stunning dot designs in no time.
Summary
In the world of nail art, dotting is a fundamental technique that can be achieved with a variety of household items. From bobby pins to pencils and toothpicks to pen caps, there are numerous alternatives to professional dotting tools that can help you create beautiful designs. Remember to practice and be patient as you master dotting with these unconventional tools. With these tips and a bit of creativity, your DIY manicure will look like it was done by a pro!
FAQ Section
Can I use anything besides a professional dotting tool for my nails?
Absolutely! Household items such as bobby pins, toothpicks, pencils, and pen caps can all be used as dotting tools for creating nail art.
How do I create different-sized dots on my nails?
You can create various-sized dots by using different ends of the bobby pins or by cutting the tip of a toothpick for larger dots. Pencils and pen caps can also be used for medium to large dots, while fine-tipped paint brushes can be adjusted for various sizes.
Should I let the polish dry before applying a top coat over my dotted nail art?
Yes, it's essential to let the polish dry completely before applying a top coat. This prevents the dots from smearing and ensures a clean, professional finish.