


Key Takeaways:
- The top coat seals gel nail polish, providing a glossy finish and preventing chipping.
- It acts as a protective barrier for the nail plate, enhancing the longevity of gel manicures.
- Proper application of the top coat is crucial for achieving a professional and long-lasting gel nail look.
Gel nails have revolutionized the beauty industry, offering a durable and long-lasting alternative to regular nail polish. But what does top coat do for gel nails, and why is it considered an indispensable step in the gel manicure process? Let's dive into the world of gel polish top coat and discover its multifaceted role.
The Protective Shield: Top Coat's Primary Function
The gel top coat is the superhero cape for your gel manicure. It acts as a protective shield over the entire nail, safeguarding the underlying color from the wear and tear of daily life. This thin layer is more than just a finishing touch; it's a durable barrier that resists scratches, chips, and peeling. By applying a top coat, you're not only enhancing the appearance of your gel nails but also extending their life.
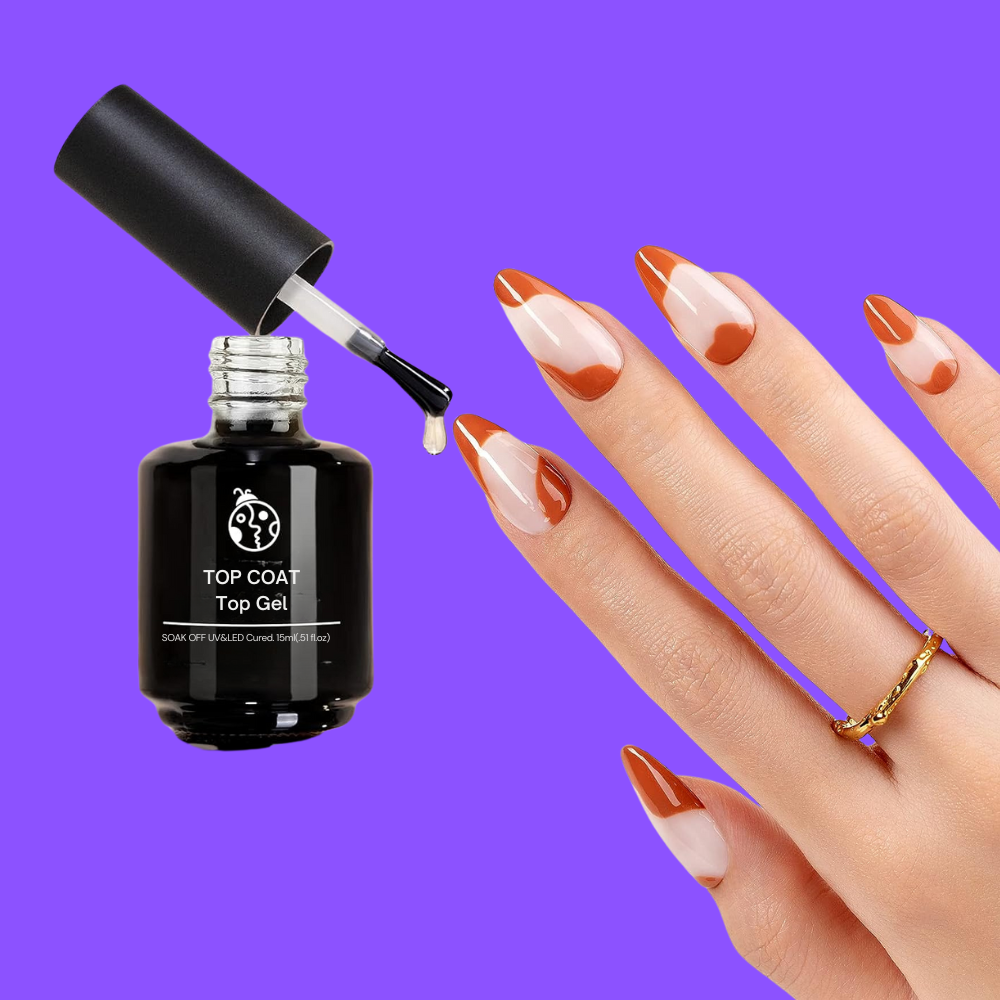
Glossy Finish for a Brilliant Shine
A gel top coat is formulated to provide a brilliant shine that makes your gel manicure stand out. The glossy finish reflects light, giving your nails a freshly painted and professional look. This shine is not just about aesthetics; it's also a sign of a healthy, well-protected nail. The top coat ensures that the shine remains consistent throughout the life of the gel manicure, preventing the color from becoming dull or faded.
Locking in Color and Art
For those who love nail art, a gel top coat is essential. It seals in intricate designs and vibrant colors, ensuring your artistic expression stays intact. Whether a simple accent or a complex pattern, the top coat acts as a clear canvas that locks everything in place. This means you can enjoy your nail art for weeks without worrying about it wearing off or losing its luster.
The Cure for Durability
Curing is a critical step in the gel manicure process. After applying the gel top coat, it needs to be cured under a UV or LED lamp. This process hardens the coat, making it incredibly durable and resistant to damage. The curing time varies depending on the type of lamp and the specific product used, but it's typically a matter of minutes. Once cured, the top coat becomes a solid layer that contributes to the overall strength and longevity of your gel nails.
The Alchemy of Gel Top Coat Formulation
When pondering over what a top coat does for gel nails, it's essential to understand the alchemy behind its formulation. A gel top coat is not just a transparent layer; it's a carefully crafted blend of ingredients like formaldehyde resin, ethyl tosylamide, and camphor. These components work in harmony to create a durable, shiny finishing touch that not only seals your gel nail polish but also provides a protective barrier against the daily wear and tear that can lead to chipping and peeling.
The formula is designed to interact with a UV or LED lamp, which catalyzes the curing process, transforming the gel topcoat from a liquid to a solid state. This curing creates a bond between the top coat and the underlying layers of gel polish, locking in color and ensuring a long-lasting manicure. The result is a glossy, smooth surface that resists cracks and retains its brilliant shine for weeks. It's the meticulous balance of these ingredients that gives gel manicures their edge over regular nail polish.
The Chemistry Behind Gel Top Coats
Gel top coats are not just about the shine; they're a marvel of cosmetic chemistry. Formulated with ingredients like ethyl tosylamide, camphor, and formaldehyde resin, these top coats create a durable, glossy finish that's resistant to chipping and peeling. When you paint a thin layer over your gel nail polish, the top coat acts as a sealant, protecting the color and any nail art beneath it. The chemistry ensures that the top coat adheres to the nail plate without causing damage, maintaining the integrity of the entire nail.
The curing process is where the magic happens. Once applied, the gel top coat requires exposure to a UV or LED lamp. This exposure causes a chemical reaction that turns the liquid top coat into a solid, long-lasting shield. The lamp's light triggers photoinitiators in the gel formula, which start a polymerization reaction, transforming the thin layers into a single, solid film. This is why a gel manicure can withstand the rigors of daily life without the frequent touch-ups required by regular nail polish.
The Science of Gel Top Coat Adhesion
How Gel Top Coat Bonds with Gel Polish
Gel top coats are not just about the shine; they're the unsung heroes of adhesion. When you paint a gel top coat over gel nail polish, a chemical reaction occurs under a UV or LED lamp. This reaction causes the top coat to form a strong bond with the colored polish beneath it. The top coat essentially becomes one with the gel polish, creating a seamless layer that resists lifting and peeling. This is why a gel manicure can withstand the rigors of daily life without chipping, unlike regular nail polish, which can easily flake off the nail plate.
The Importance of Curing Time

Curing time is crucial for achieving that perfect bond between the gel polish and the gel top coat. When the top coat is exposed to a UV or LED lamp, it doesn't just dry; it cures through a process called photoinitiation. The gel top coat contains photoinitiators that, when exposed to the right wavelength of light from the lamp, activate and harden the coat from a liquid to a solid state. This process, if done correctly, ensures that the entire nail is covered with a durable, long-lasting layer that is completely dry and resistant to the wear and tear of everyday activities.
The Versatility of Gel Top Coats Beyond Shine
The Multifunctional Benefits of Gel Top Coats
Gel top coats are the unsung heroes that go beyond just providing a brilliant shine to your gel manicure. They act as a protective barrier, shielding the nail plate from potential damage and wear. Think of it as an invisible suit of armor for your nails; it's not just about aesthetics. The gel top coat is carefully formulated to resist chipping and peeling, which is essential for maintaining the integrity of the entire nail. Whether you're typing away at a keyboard or digging in the garden, a quality gel top coat ensures your gel polish remains unscathed, preserving the beauty and health of your nails.
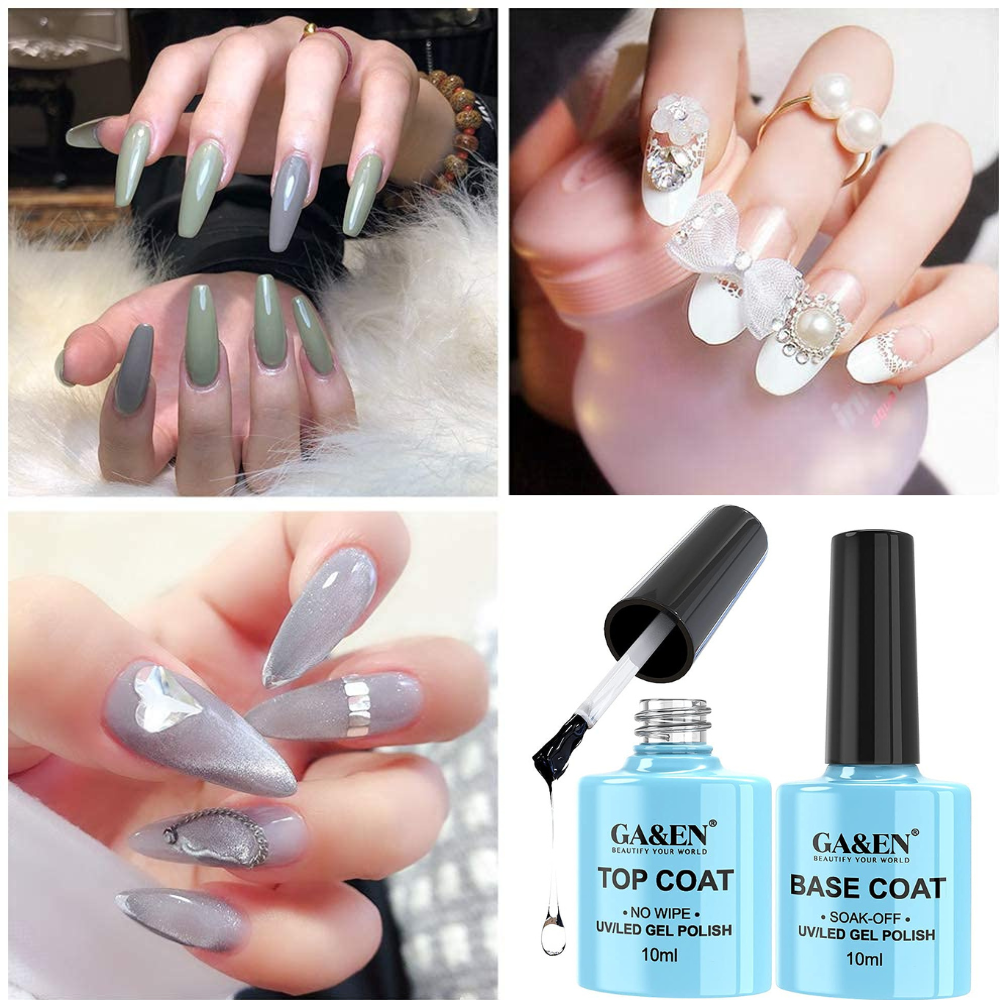
The Role of Gel Top Coats in Nail Art Preservation
For those who adore nail art, the gel top coat is the finishing touch that seals in the intricate designs and vibrant colors. It's like the final layer of lacquer on a masterpiece painting, locking in the artistry beneath a glossy surface. When applied over nail art, the gel top coat acts as a clear canvas, allowing the details to shine through while safeguarding them from the elements. This thin layer is crucial for keeping your nail art looking fresh and vibrant for weeks. Whether it's a delicate flower or a bold geometric pattern, the gel top coat ensures that your creative expression has a long-lasting impact.
The Role of UV and LED Lamps in Gel Top Coat Application
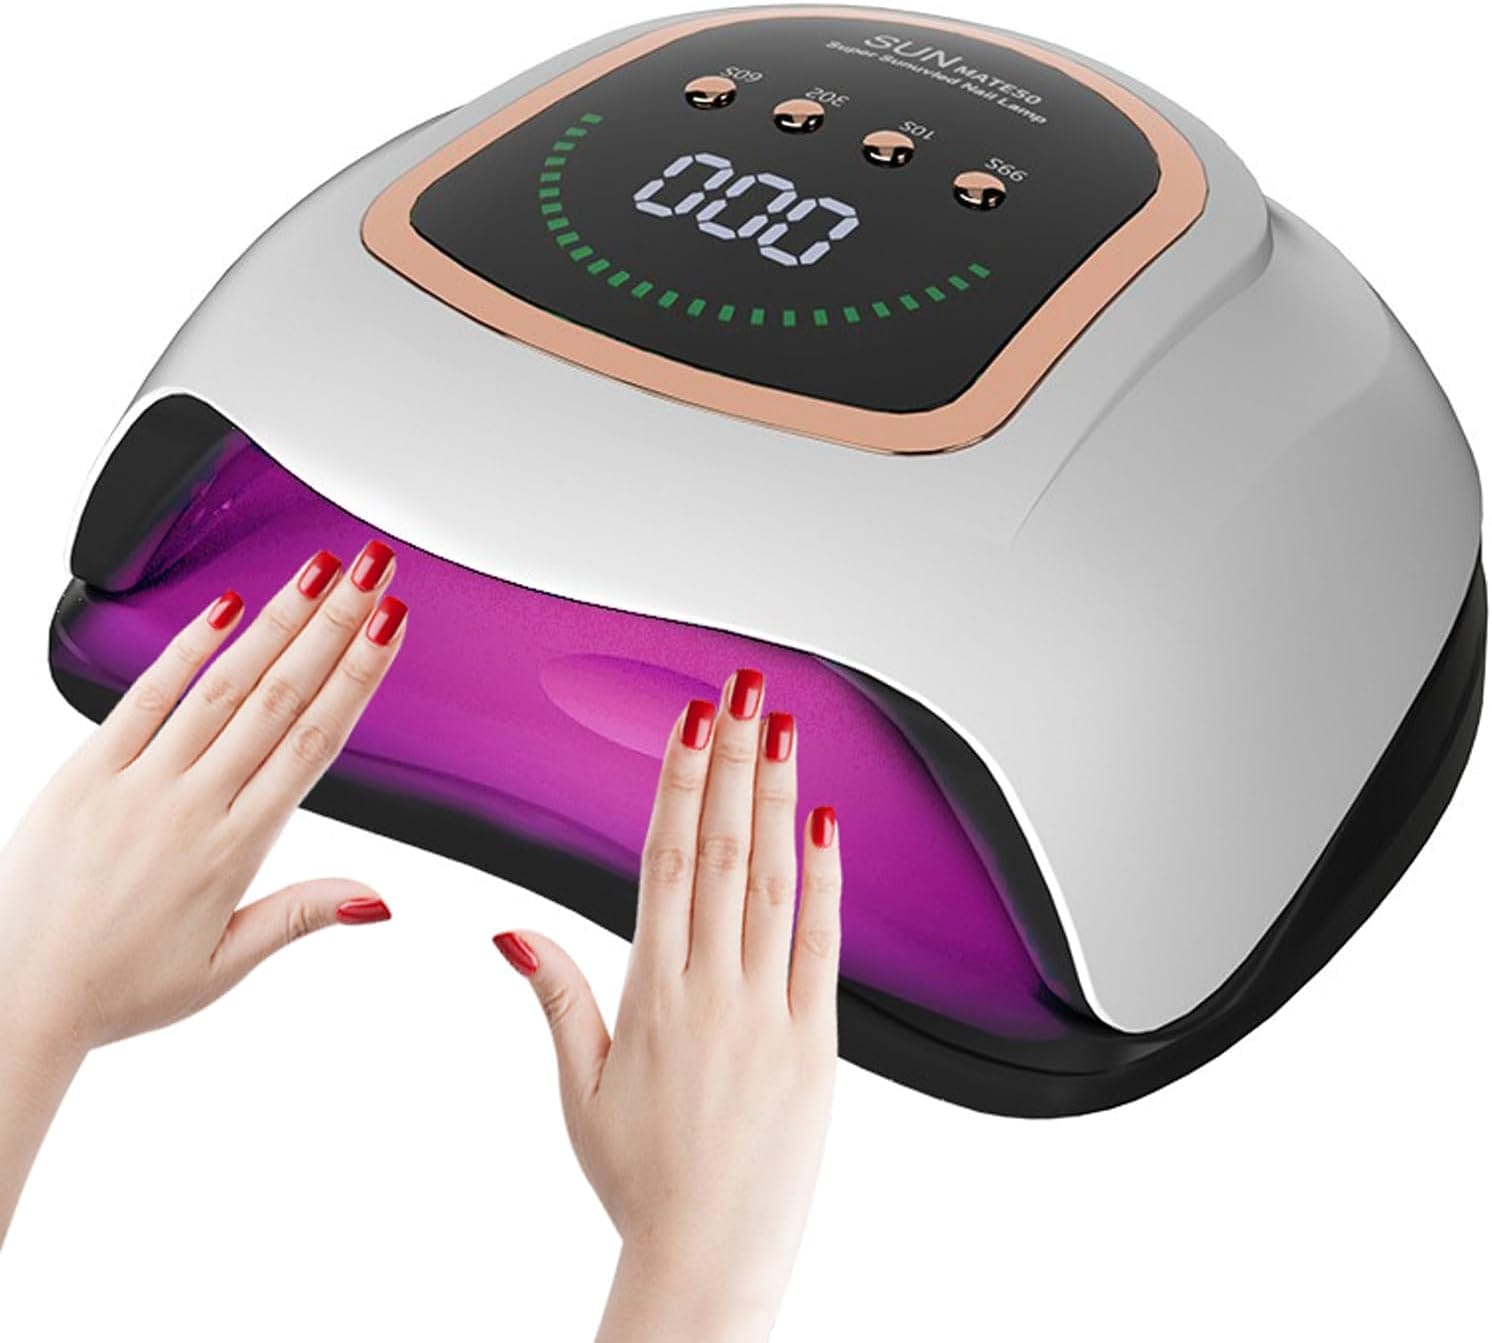
When it comes to achieving that long-lasting, brilliant shine of gel nails, the role of UV and LED lamps cannot be overstated. These lamps are essential in the curing process, which is what sets gel manicures apart from regular nail polish. The gel top coat, when exposed to the light from a UV or LED lamp, undergoes a chemical reaction that transforms it from a liquid to a solid state. This process not only ensures that the gel top coat and polish gel bond securely to the nail plate but also contributes to the durability and shine that gel manicures are known for.
The choice between a UV lamp and an LED lamp can affect the curing time and the overall quality of the gel manicure. LED lamps are generally faster, taking only 30 seconds to a minute to cure each layer, while UV lamps can take up to two minutes. However, both types of lamps are effective in creating a hard, protective shell that prevents chipping and peeling. It's important for users to follow the recommended curing times to ensure that each thin layer of gel topcoat becomes completely dry, providing a shiny finishing touch that's both smooth and resilient.
The Role of Proper Maintenance in Gel Manicure Longevity
Maintaining a gel manicure extends beyond the salon visit. To keep that brilliant shine and prevent the gel from lifting at the free edge, regular use of cuticle oil is recommended. Cuticle oil not only keeps the cuticles moisturized but also helps maintain the flexibility of the gel top coat. This flexibility is crucial as it allows the gel to move with the natural movements of the nail bed and finger, reducing the likelihood of cracks and chips. A small drop of oil applied daily can significantly extend the life of your gel manicure.
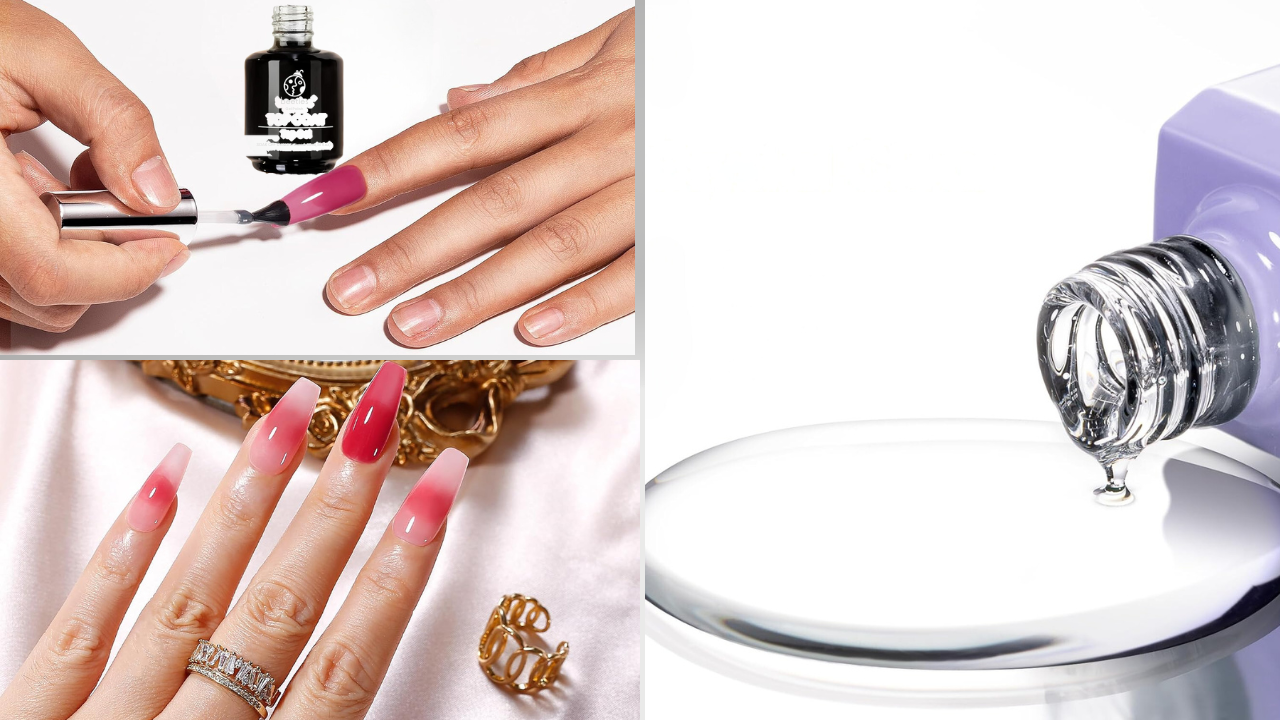
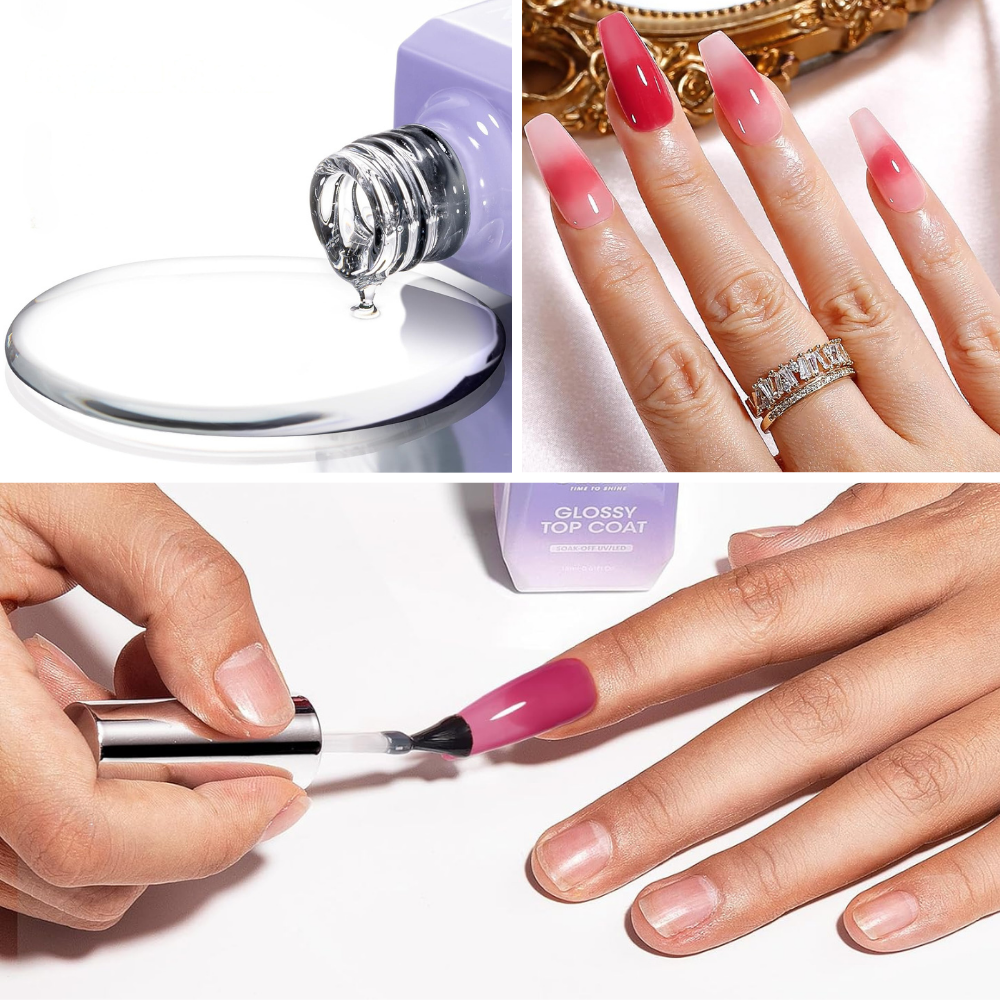
The Art of Applying Gel Top Coat
Applying a gel top coat is an art that requires a steady hand and a keen eye for detail. The process begins with a thin layer of gel topcoat, carefully painted over the entire nail, ensuring it covers the free edge. This technique helps to seal the edges and prevent lifting, which can lead to peeling. A manicure brush is used to smooth out the top coat, avoiding the cuticles and skin to maintain a clean and professional look. The goal is to create a thin, even layer that will cure under a UV or LED lamp to a completely dry and hard finish.
Once the gel top coat is applied, the nails are placed under a UV or LED light for a specified amount of time, usually around 30 seconds to a minute, depending on the lamp's power and the top coat's formulation. After curing, a cleanser may be used to wipe off any sticky residue, leaving behind a hard, shiny surface. This final step is crucial as it ensures the gel manicure is completely dry and ready to withstand the rigors of daily life. The careful application of the top coat is what gives gel nails their signature long-lasting, glossy appearance.
The Final Step in Gel Manicures
The application of a gel top coat is the final step in the gel manicure process. After the base coat, gel polish, and any nail art have been applied and cured, the top coat is painted on to complete the look. This sequence is crucial for achieving the desired outcome, and skipping the top coat would leave the gel polish vulnerable to damage and reduce the manicure's lifespan.
Summary
In summary, the gel top coat is a vital component of gel manicures, serving multiple purposes. It provides a protective layer that shields the nail from damage, locks in color and nail art, and offers a glossy finish for a professional look. The top coat also enhances the durability of the manicure, prevents chipping and peeling, and promotes nail health. Understanding the importance of the top coat and applying it correctly is key to enjoying beautiful, long-lasting gel nails.
FAQ Section
How often should I apply a top coat to my gel nails?
Typically, a top coat is applied once during the gel manicure process after the gel polish and any nail art have been cured. It's not necessary to reapply the top coat until your next manicure, as it's designed to last for the duration of the gel nails.
Can I use a regular nail polish top coat for gel nails?
No, regular nail polish top coats are not formulated to work with gel polish and will not provide the same level of protection or shine. It's important to use a gel top coat that's specifically designed to be cured under a UV or LED lamp.
How do I remove the gel top coat when ready for a new manicure?
To remove a gel top coat, you'll need to soak your nails in acetone or use a gel polish remover. This process softens the gel, allowing it to be gently scraped off the nail plate. It's important to be careful and patient during removal to avoid damaging the natural nail.