


Key Takeaways:
- Understanding the different grits of nail files is crucial for achieving the perfect acrylic nails.
- Using the right grit can prevent damage to natural nails and acrylic enhancements.
- Proper nail prep and filing techniques ensure a smooth, long-lasting finish.
Introduction
When it comes to achieving flawless acrylic nails, the grit of your nail file plays a pivotal role. Whether you're a seasoned nail technician or a DIY enthusiast, knowing what grit to use can make all the difference. This guide will walk you through the essentials of choosing the right grit for various stages of your acrylic nail process.
Understanding Nail File Grit
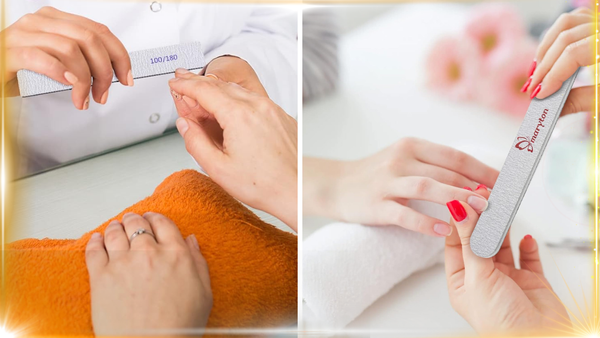
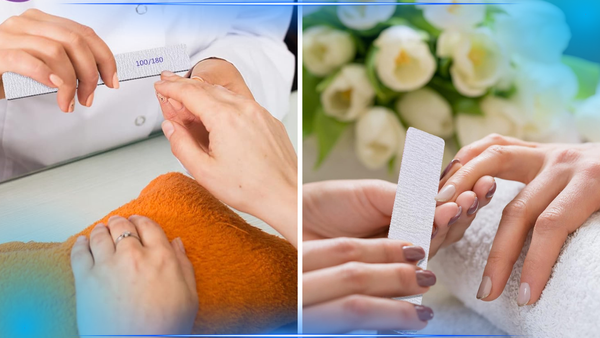
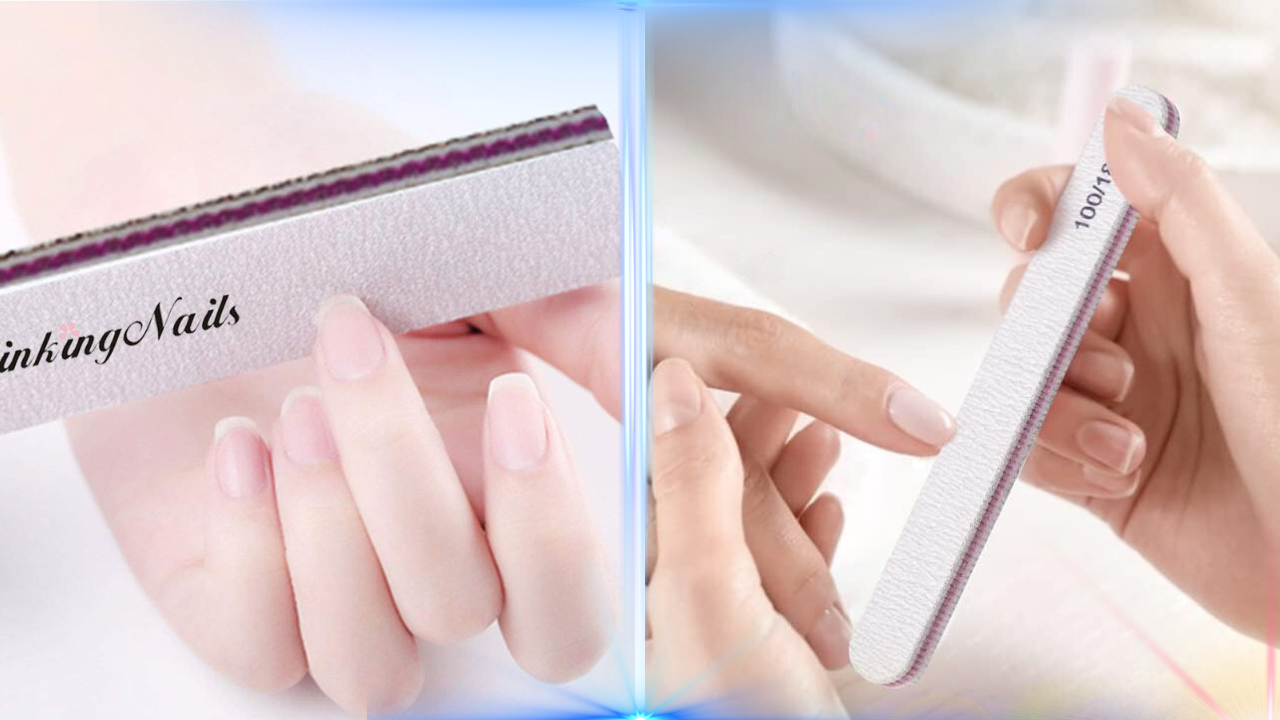
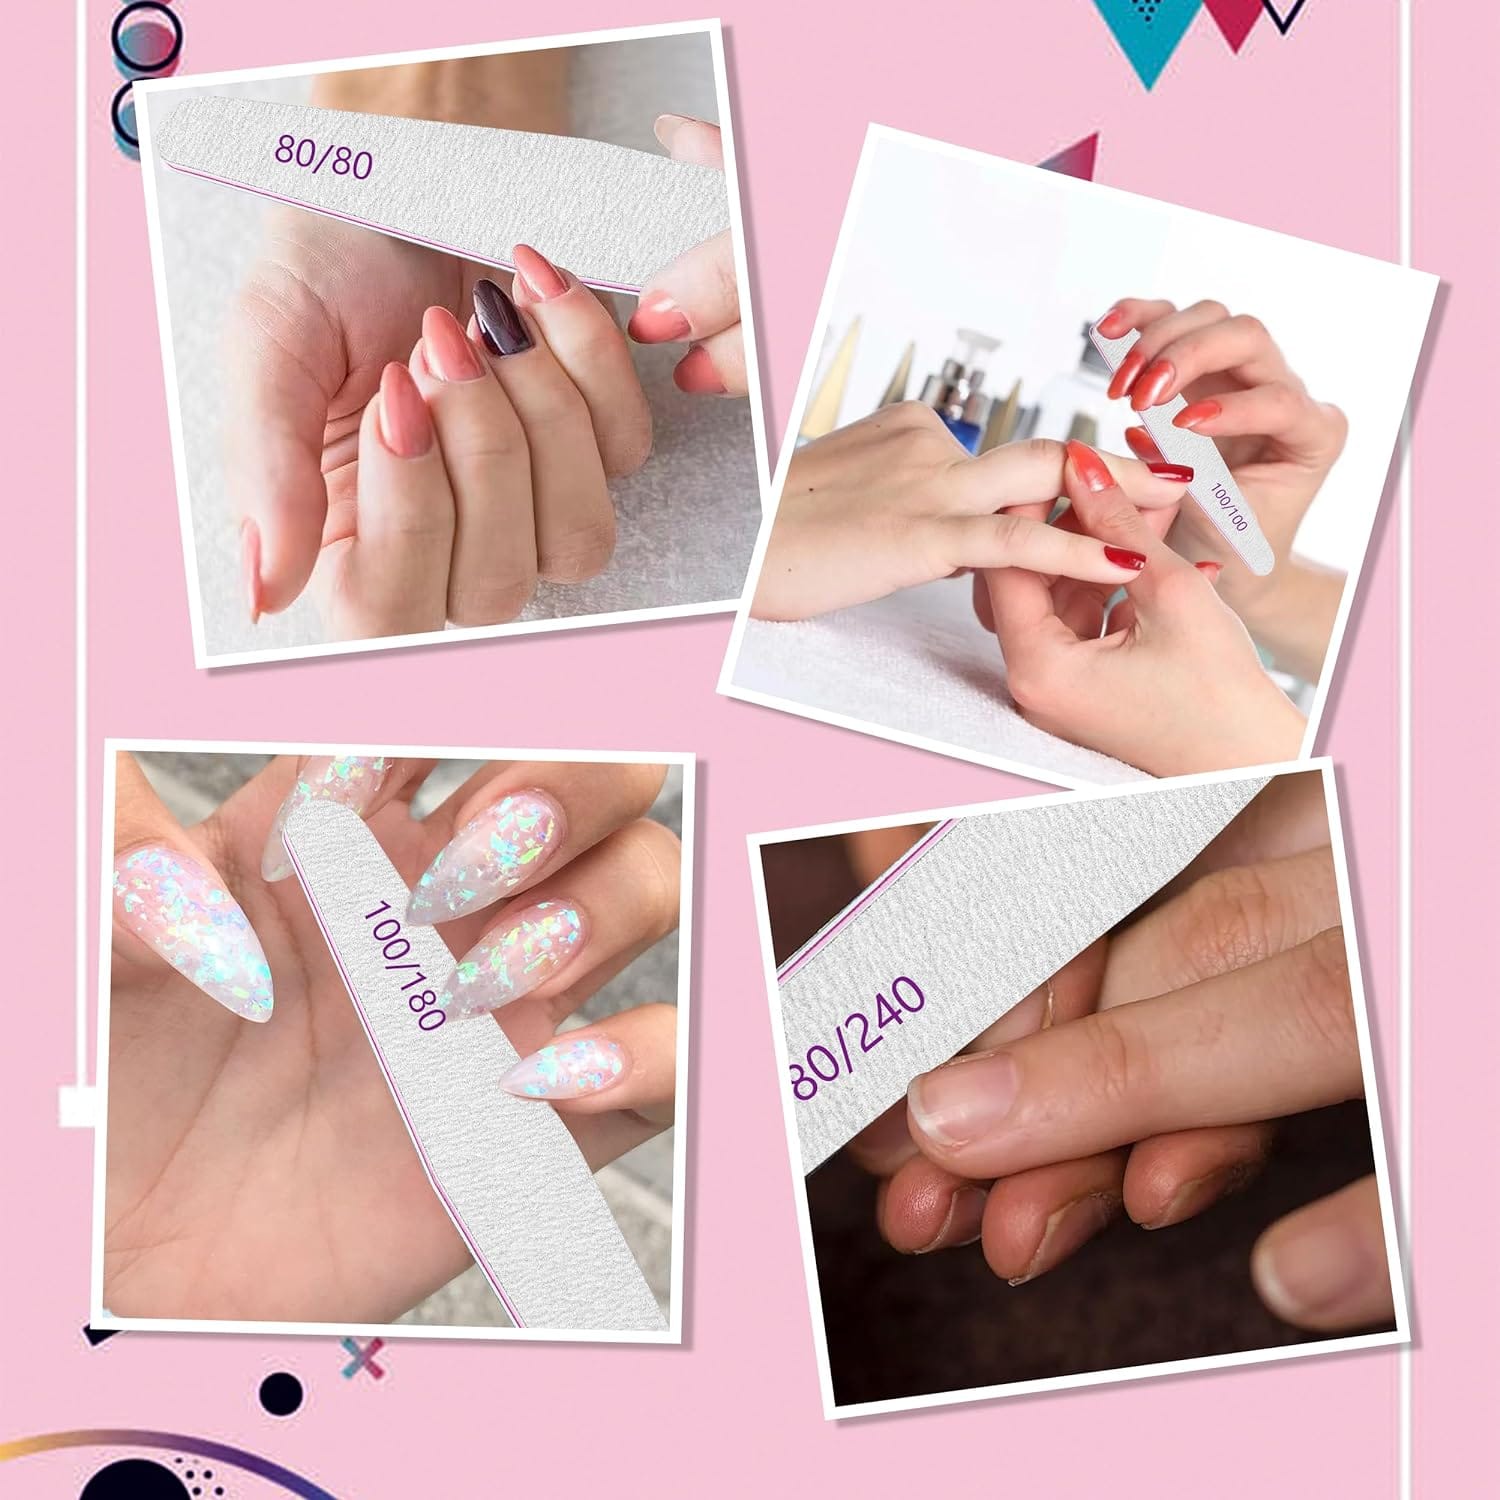
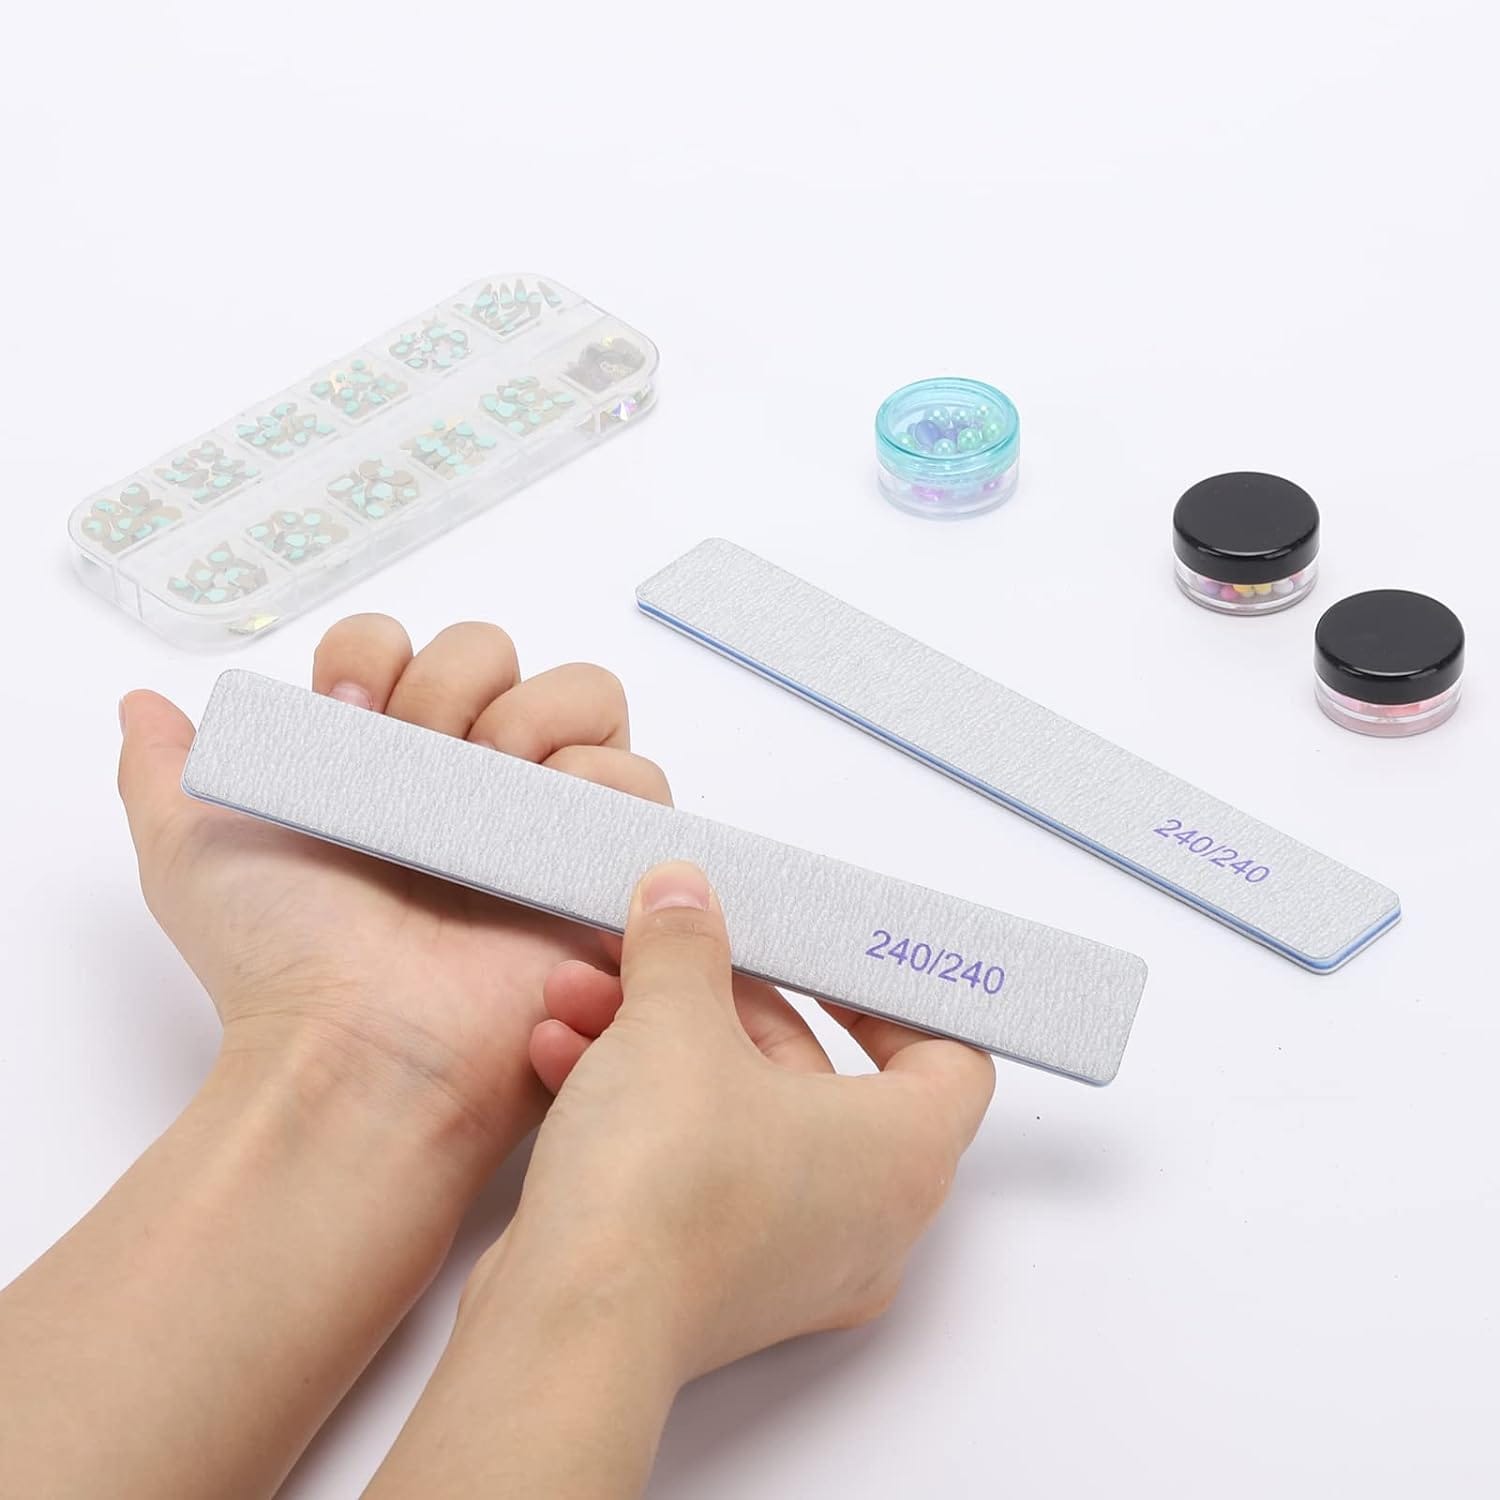
Nail files come in various grits, each serving a specific purpose. The grit number indicates the coarseness of the file: the lower the number, the coarser the file. For instance, a 100-grit file is much coarser than a 240-grit file. The grit number also indicates the coarseness or smoothness of the nail file surface, with a higher grit leading to a smoother finish after filing. Coarser files are ideal for shaping and debulking acrylic nails, while finer grits are perfect for smoothing and finishing.
Using the wrong grit can damage the acrylic and the natural nail underneath. Therefore, understanding the purpose of each grit is essential for maintaining the health and appearance of your nails.
Grits for Shaping Acrylic Nails

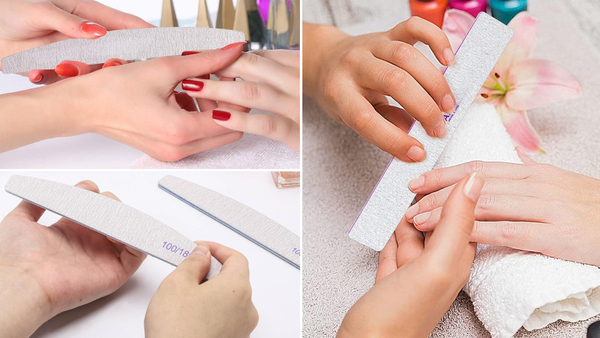
A coarser grit nail file, such as 100 or 180, is your best friend when shaping acrylic nails. These grits are perfect for quickly reducing the length and shaping the nail tip. A 100-grit nail file is particularly useful for debulking acrylic nails, while a 180-grit nail file can refine the shape without being too harsh.
Using a straight file is important to ensure that the nail tip is nice and straight. This helps achieve a professional look and prevents uneven edges that could lead to lifting or breakage.
Grits for Smoothing and Finishing
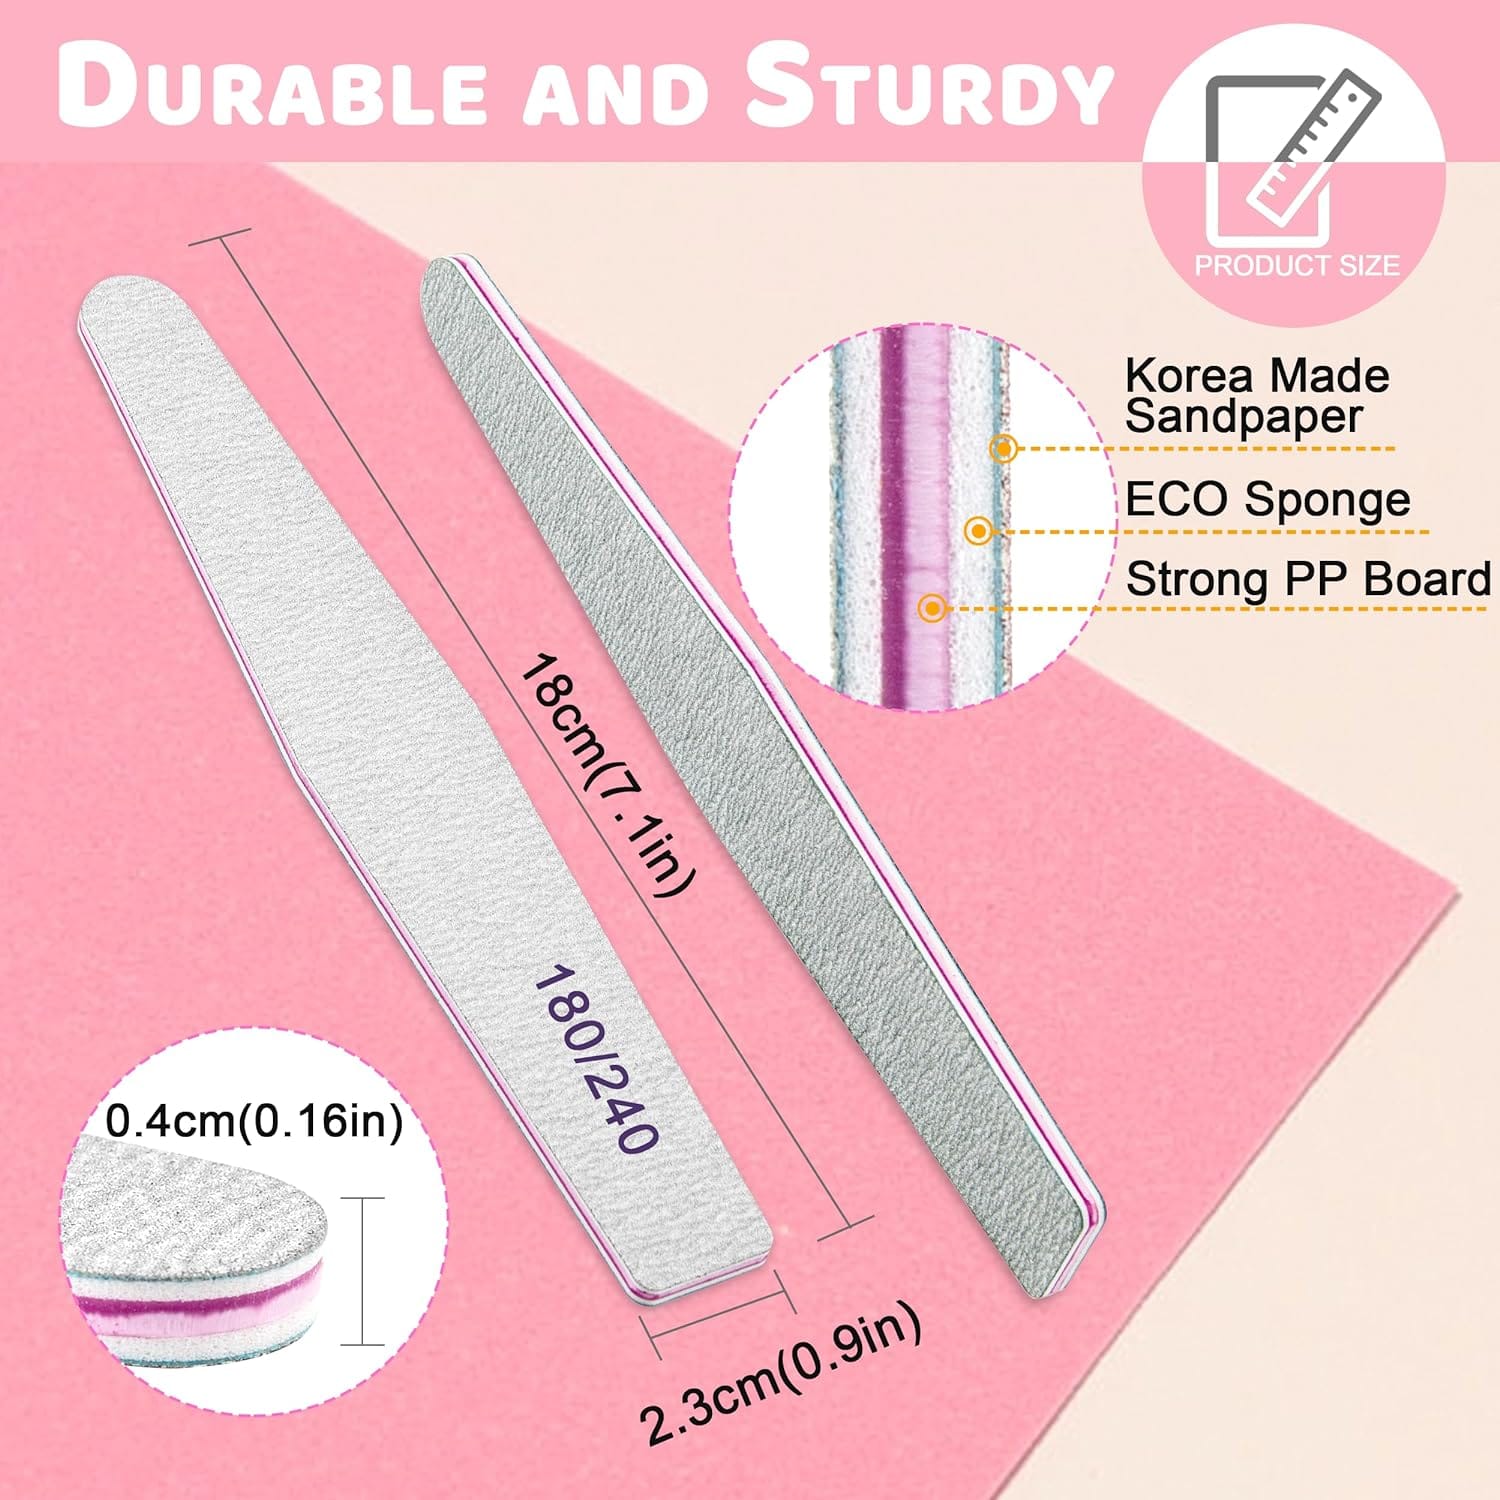
Once you've shaped your acrylic nails, it's time to smooth and finish them. You'll need a finer grit file, such as 240 or higher. These grits are gentle enough to smooth the nail surface without causing damage. A 240-grit file eliminates scratches and prepares the nail for UV gel polish application.
Using a cushioned layer buffer can also help achieve a mirror glass shine. Buffers typically come in various grits, and using a multi-grit buffer can provide a smooth, shiny finish that looks professional.
Prepping Natural Nails
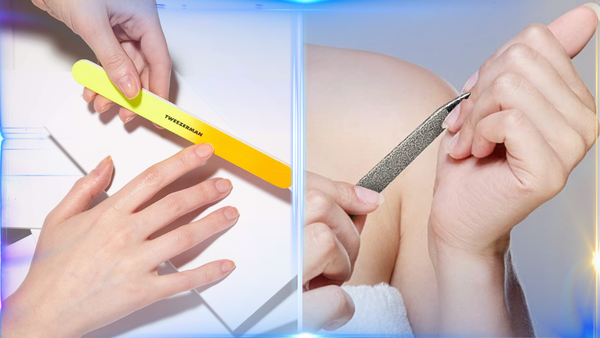
Before applying acrylic nails, it’s crucial to prep the natural nail properly. This involves gently buffing the nail plate with a fine grit file, such as 240 or 320, to prep nails before UV gel polish application. This step removes any ridges and creates a smooth surface for the acrylic to adhere to.
A softer file is essential for this step to avoid damaging the natural nail. Overfiling can weaken the nail plate, leading to issues like lifting and breakage. Therefore, always use a gentle touch and the appropriate grit when prepping natural nails.
Filing the Free Edge
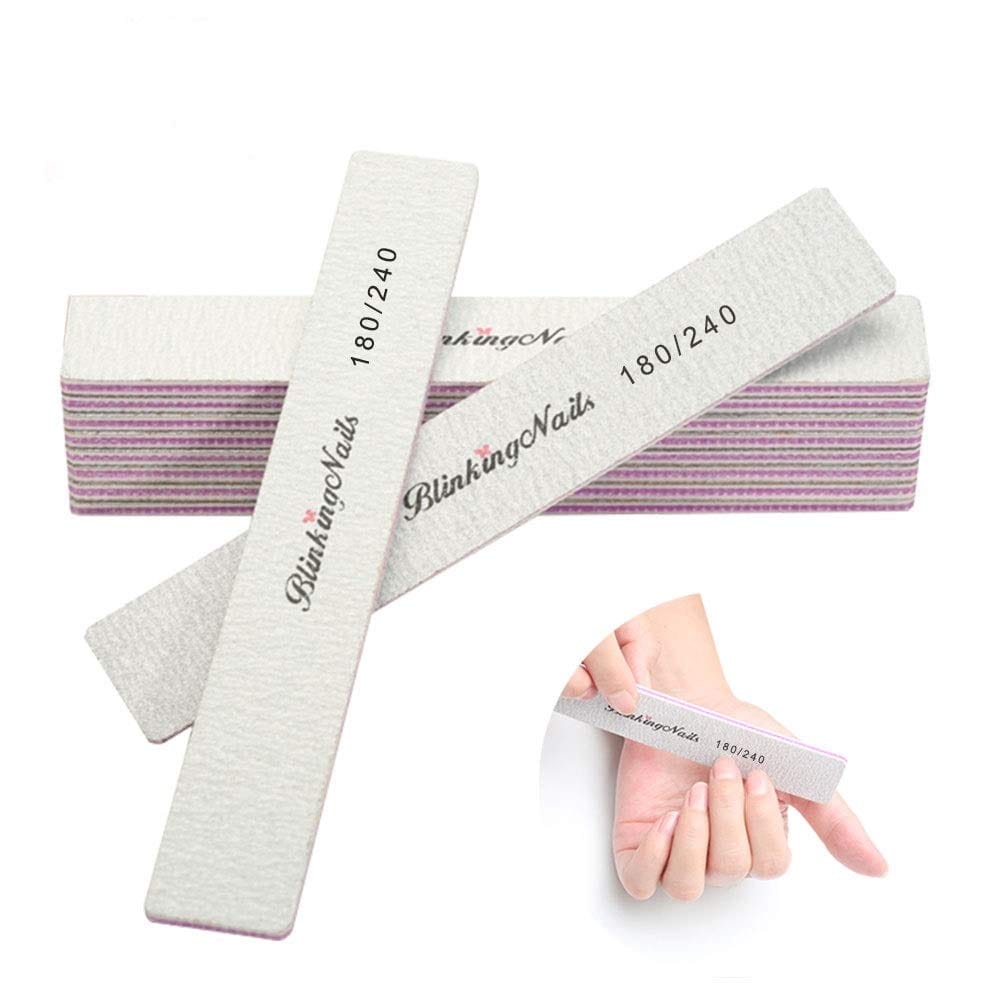
Filing the free edge of your natural nails is another important step in the prep process. A 180-grit file is ideal for this task, as it is coarse enough to shape the natural, free edge but not so harsh that it causes damage. The goal is to create a smooth, even edge that will support the acrylic overlay.
When filing the free edge, make sure to use a straight file and file in one direction. This helps maintain the nail's integrity and prevents splitting or peeling.
Blending Tips with Natural Nails
Blending the tips with your natural nails is a crucial step in achieving a seamless look. A 180-grit file works well to blend tips effectively. It is coarse enough to blend the tip without damaging the natural nail underneath.
Using a half-moon grit file can also be beneficial for blending the side walls and cuticle area. This ensures that the transition between the tip and the natural nail is smooth and undetectable.
Debulking Acrylic Nails

Debulking acrylic nails involves removing excess product to achieve the desired thickness and shape. A 100-grit file is perfect for this task, as it is coarse enough to remove large amounts of acrylic quickly. However, be cautious not to file too aggressively, as this can weaken the nail.
After debulking, switch to a finer grit file, such as 180, to refine the shape and smooth the surface. This two-step process ensures that your nails are both strong and aesthetically pleasing.
Smoothing the Nail Surface
Once you've debulked and shaped your acrylic nails, it's time to smooth the surface. A 240-grit file is ideal for this step, as it gently smooths the nail without causing damage. This grit is perfect for eliminating any remaining scratches and preparing the nail for polish application.
Using a buffer with a cushioned layer can further enhance the smoothness of the nail surface. Buffers typically come in various grits, and using a multi-grit buffer can provide a smooth, shiny finish that looks professional.
Preparing for Gel Polish Application

Before applying gel polish, it's essential to ensure that the nail surface is smooth and free of debris. A 240-grit file is perfect for this task, as it gently smooths the nail without causing damage. This grit is ideal for eliminating any scratches and preparing the nail for polish application.
Using a buffer with a cushioned layer can further enhance the smoothness of the nail surface. Buffers typically come in various grits, and using a multi-grit buffer can provide a smooth, shiny finish that looks professional.
Removing Gel Nails
Removing gel nails requires a different approach than removing acrylics. A 180-grit file is ideal for this task, as it is coarse enough to remove the gel without damaging the natural nail underneath. The goal is to gently file away the gel, taking care not to over-file and weaken the nail plate.
Using a softer file for this step is essential to avoid damaging the natural nail. Overfiling can weaken the nail plate, leading to issues like lifting and breakage. Therefore, always use a gentle touch and the appropriate grit when removing gel nails.
Maintaining Natural Nails
Maintaining natural nails involves regular filing and buffing to keep them healthy and strong. A 240-grit file is perfect for this task, as it gently smooths the nail without causing damage. This grit is ideal for eliminating scratches and preparing the nail for polish application.
Using a buffer with a cushioned layer can further enhance the smoothness of the nail surface. Buffers typically come in various grits, and using a multi-grit buffer can provide a smooth, shiny finish that looks professional.
Summary
Choosing the right grit for your acrylic nail file is essential for achieving flawless acrylic nails. Each grit serves a specific purpose, from shaping and debulking to smoothing and finishing. By understanding the different grits and their uses, you can ensure that your nails are strong and beautiful.
FAQ Section
What grit should I use for shaping acrylic nails?
A 100—or 180-grit file is ideal for shaping acrylic nails. These grits are coarse enough to quickly reduce the length and shape the nail tip without causing damage.
How do I smooth the surface of acrylic nails?
Use a 240-grit file to smooth the surface of acrylic nails. This grit is gentle enough to eliminate scratches and prepare the nail for polish application.
What grit should I use for prepping natural nails?
A 240 or 320-grit file is recommended for prepping natural nails. These grits are gentle enough to remove ridges and create a smooth surface for the acrylic to adhere to without causing damage.