


Gel nail extension kits have become the saving grace for many nail enthusiasts, offering a convenient way to achieve salon-quality nails at home. One popular option is the Aprés Gel X Nail Extension Kit, which includes various components for DIY nail extensions. But what exactly is a gel nail extension kit, and how does it work? Let’s dive into the details.
Key Takeaways:
- Gel nail extension kits provide all the tools needed to create beautiful, long-lasting gel nails at home.
- These kits typically include items like gel polish, nail tips, a UV or LED lamp, and essential tools for nail prep and application.
- Gel nail extensions offer a durable and flexible alternative to traditional acrylic nails, with a more natural look and feel.
Understanding Gel Nail Extensions
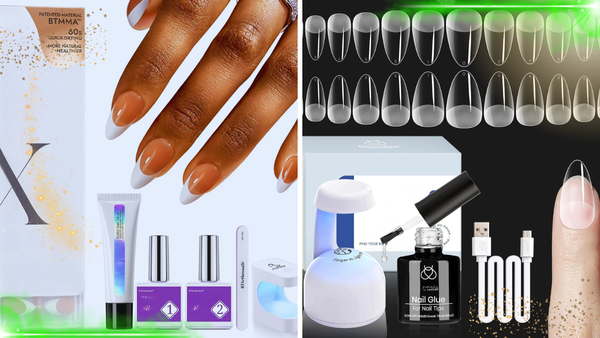
Gel nail extensions are a popular way to add length and strength to natural nails. Unlike acrylics, which use a liquid and powder system, gel extensions use a gel-based formula that hardens under UV or LED light. The Gel X Nail Extension Kit, featuring extended gel, is essential for adhering the extensions to the nails, creating a strong, flexible, and natural look. There are different application methods, including soft gel (flexible and easy to remove), hard gel (more durable), and poly nail gel (a hybrid of gel and acrylic). Each method suits different preferences and nail types.
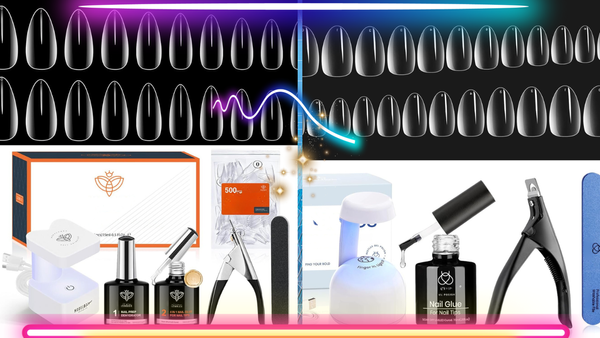
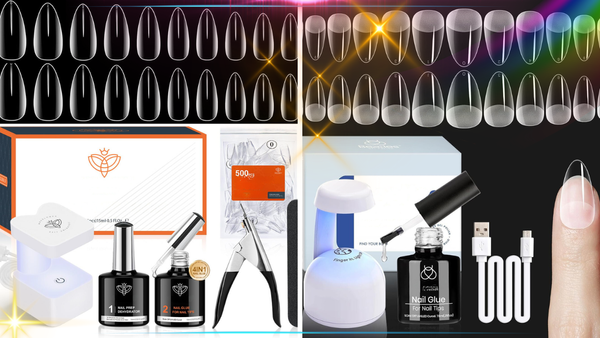
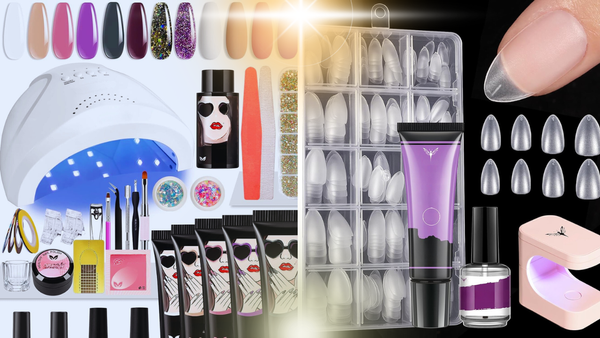
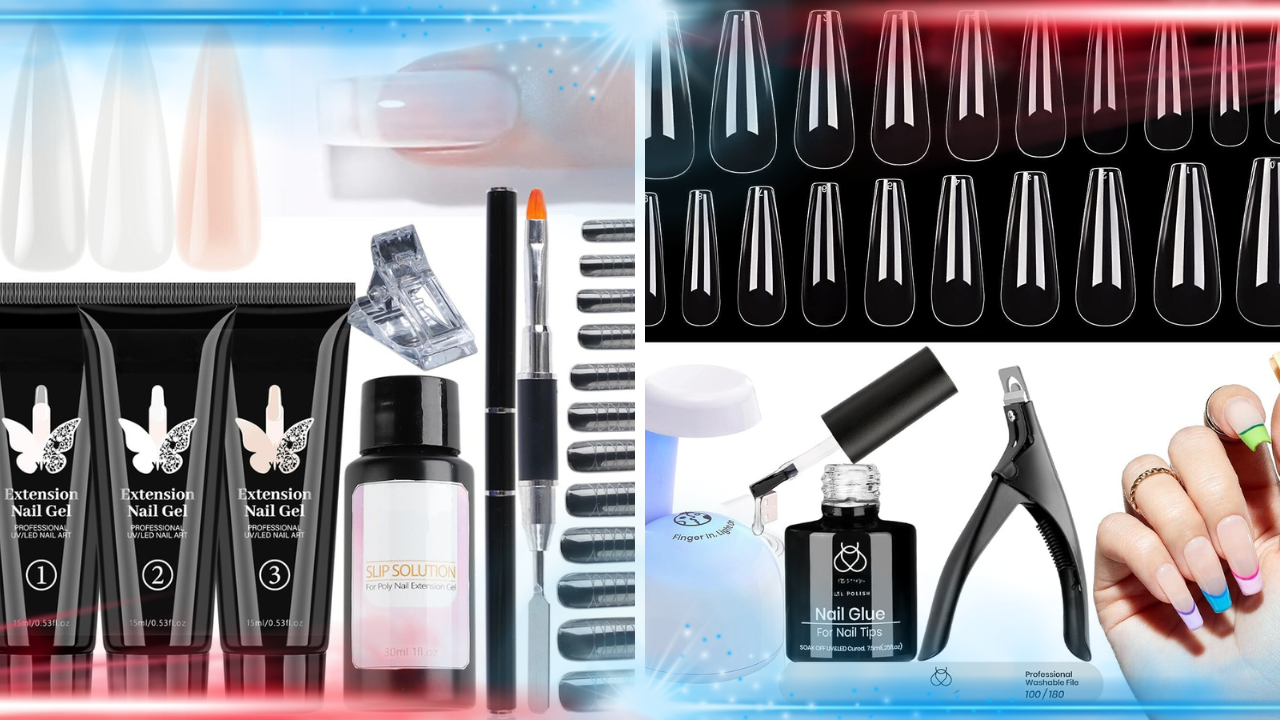
Components of a Gel Nail Extension Kit
A typical gel nail extension kit includes several essential items. First and foremost, you'll find gel polish, which comes in various colors and finishes. This gel polish is applied in thin coats and cured under a UV or LED lamp to create a durable, long-lasting finish.
Nail tips are another crucial component. These tips are applied to the free edge of your natural nails to add length and shape. They come in various shapes, such as coffin, square, and stiletto, allowing you to customize your look. Additionally, the kit will include a nail file, buffer, and cuticle pusher to prep your nails before application.
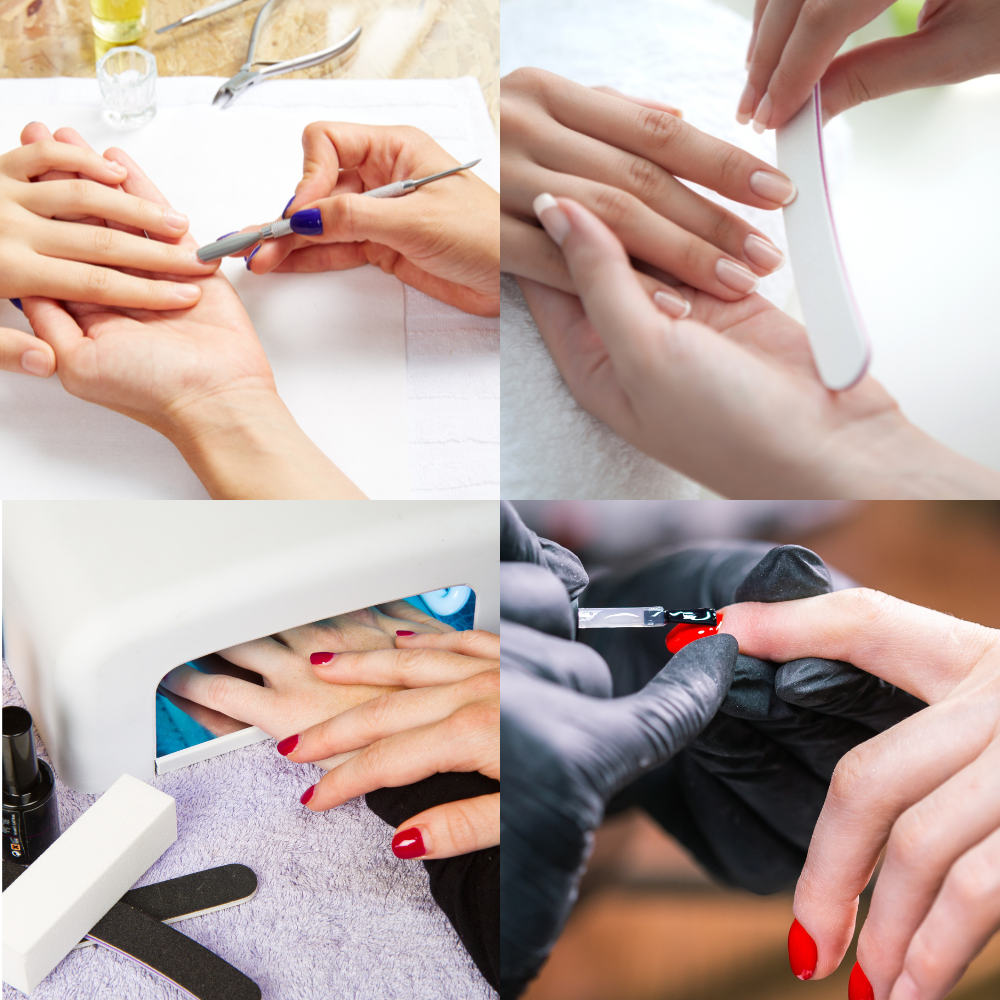
Preparing your natural nail for gel nail extensions involves several vital steps to ensure a strong and long-lasting application:
- Cleanse the Nail: Remove oils and residue using a nail cleanser.
- Shape the Nail: File your nails to your preferred shape for better adhesion.
- Push Back Cuticles: Create a smooth surface by gently pushing back cuticles.
- Buff the Nail: Lightly buff the nail to enhance gel adhesion.
- Apply Primer: Apply a thin layer of nail primer for a strong bond.
- Dry Primer: Ensure the primer dries completely before applying the gel.
By following these steps, you can ensure that your natural nails are properly prepped for gel nail extensions. This preparation is key to achieving a durable and successful application, giving you beautiful, long-lasting gel nails.
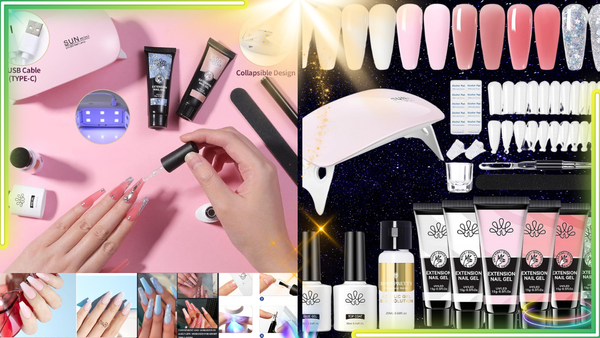
The Gel Application Process
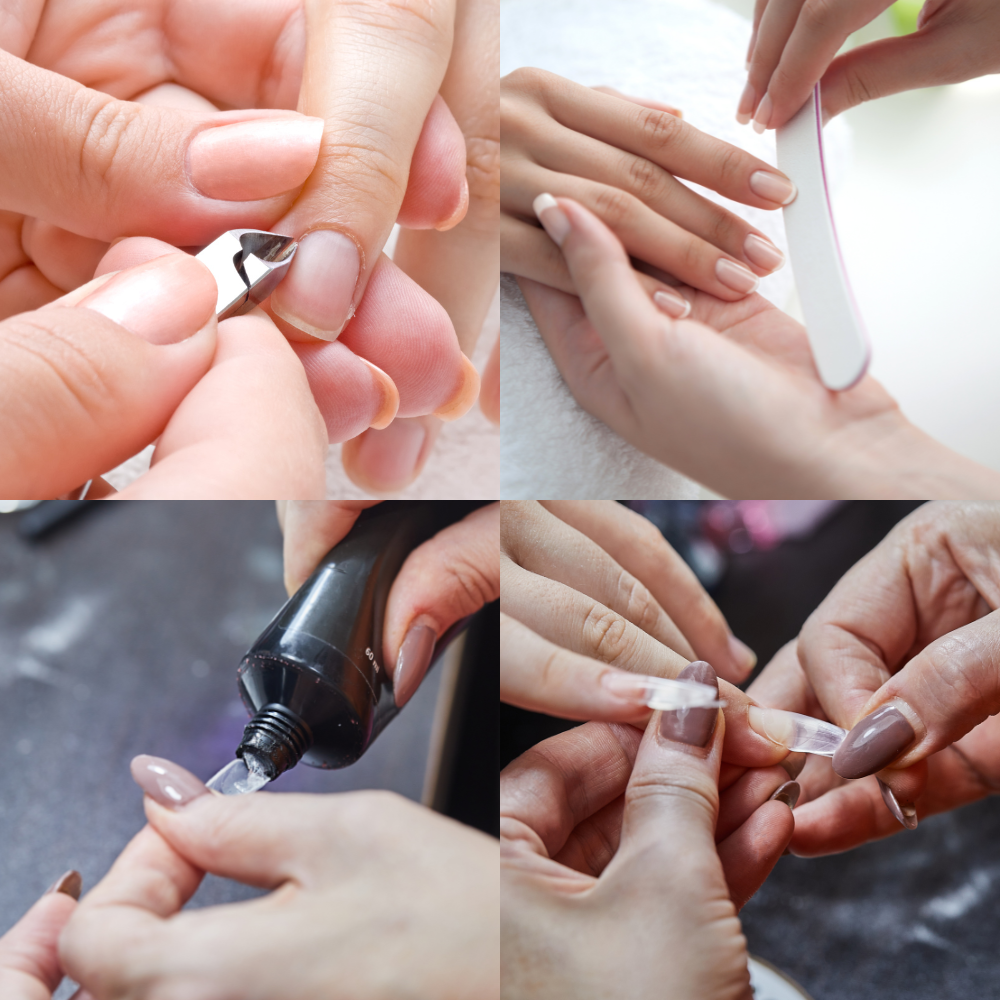
The gel application process begins with prepping your natural nails. This involves cleaning, filing, and buffing the nails to create a smooth surface. Next, you’ll apply a primer to ensure the gel adheres properly. Once your nails are prepped, you can start applying the gel polish in thin coats, curing each layer under the UV light or LED lamp to ensure proper adhesion and drying.
After applying the gel polish, you’ll attach the nail tips using a small amount of gel or adhesive. Once the tips are securely in place, you can shape and file them to your desired length and style. Finally, you’ll apply a top coat of gel polish and cure it under the lamp to seal the extensions and add shine.
Benefits of Gel Nail Extensions

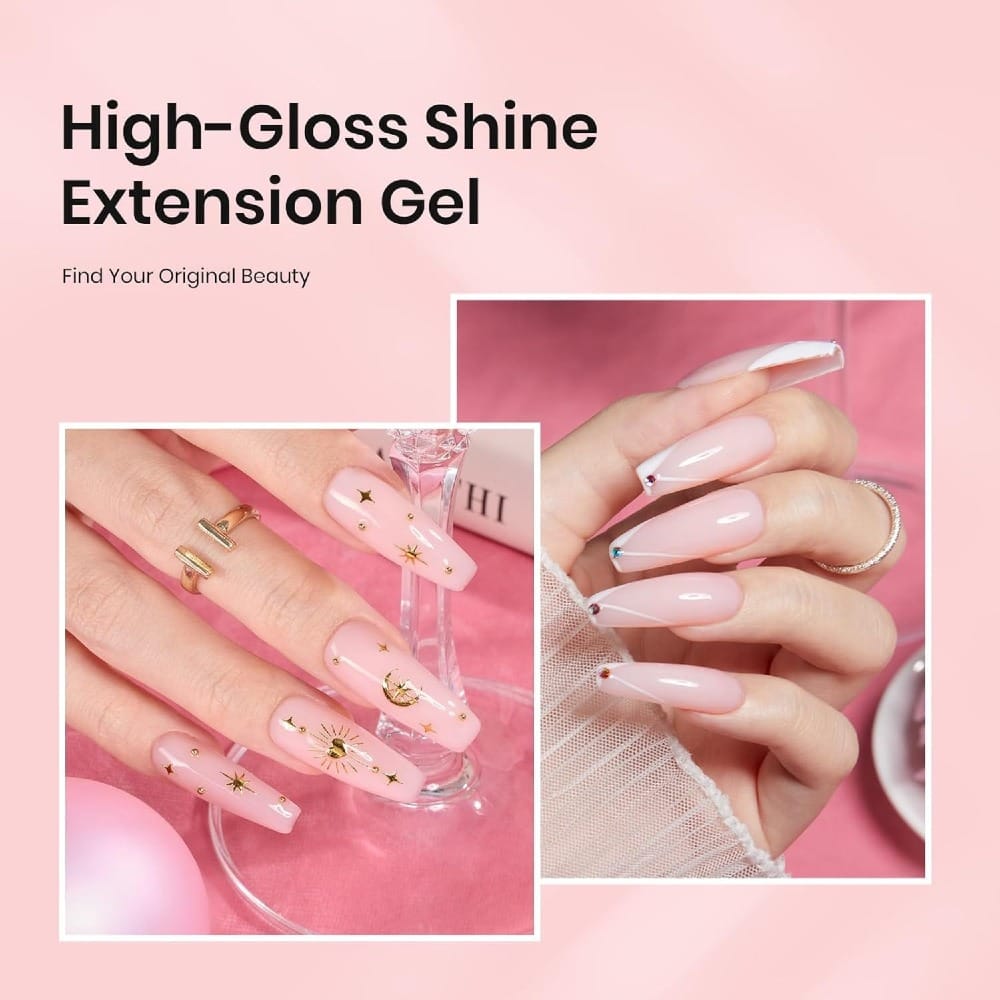
Gel nail extensions offer several advantages over acrylics, including greater flexibility and durability, as they are less likely to crack or break. They also provide a thinner, more natural look and feel. Gel nails are more accessible to remove—soft gels can be soaked off with acetone, while hard gels need filing. Additionally, they cause less damage to the natural nails, requiring less filing and buffing. Gel nail kits are convenient for achieving salon-quality results at home.
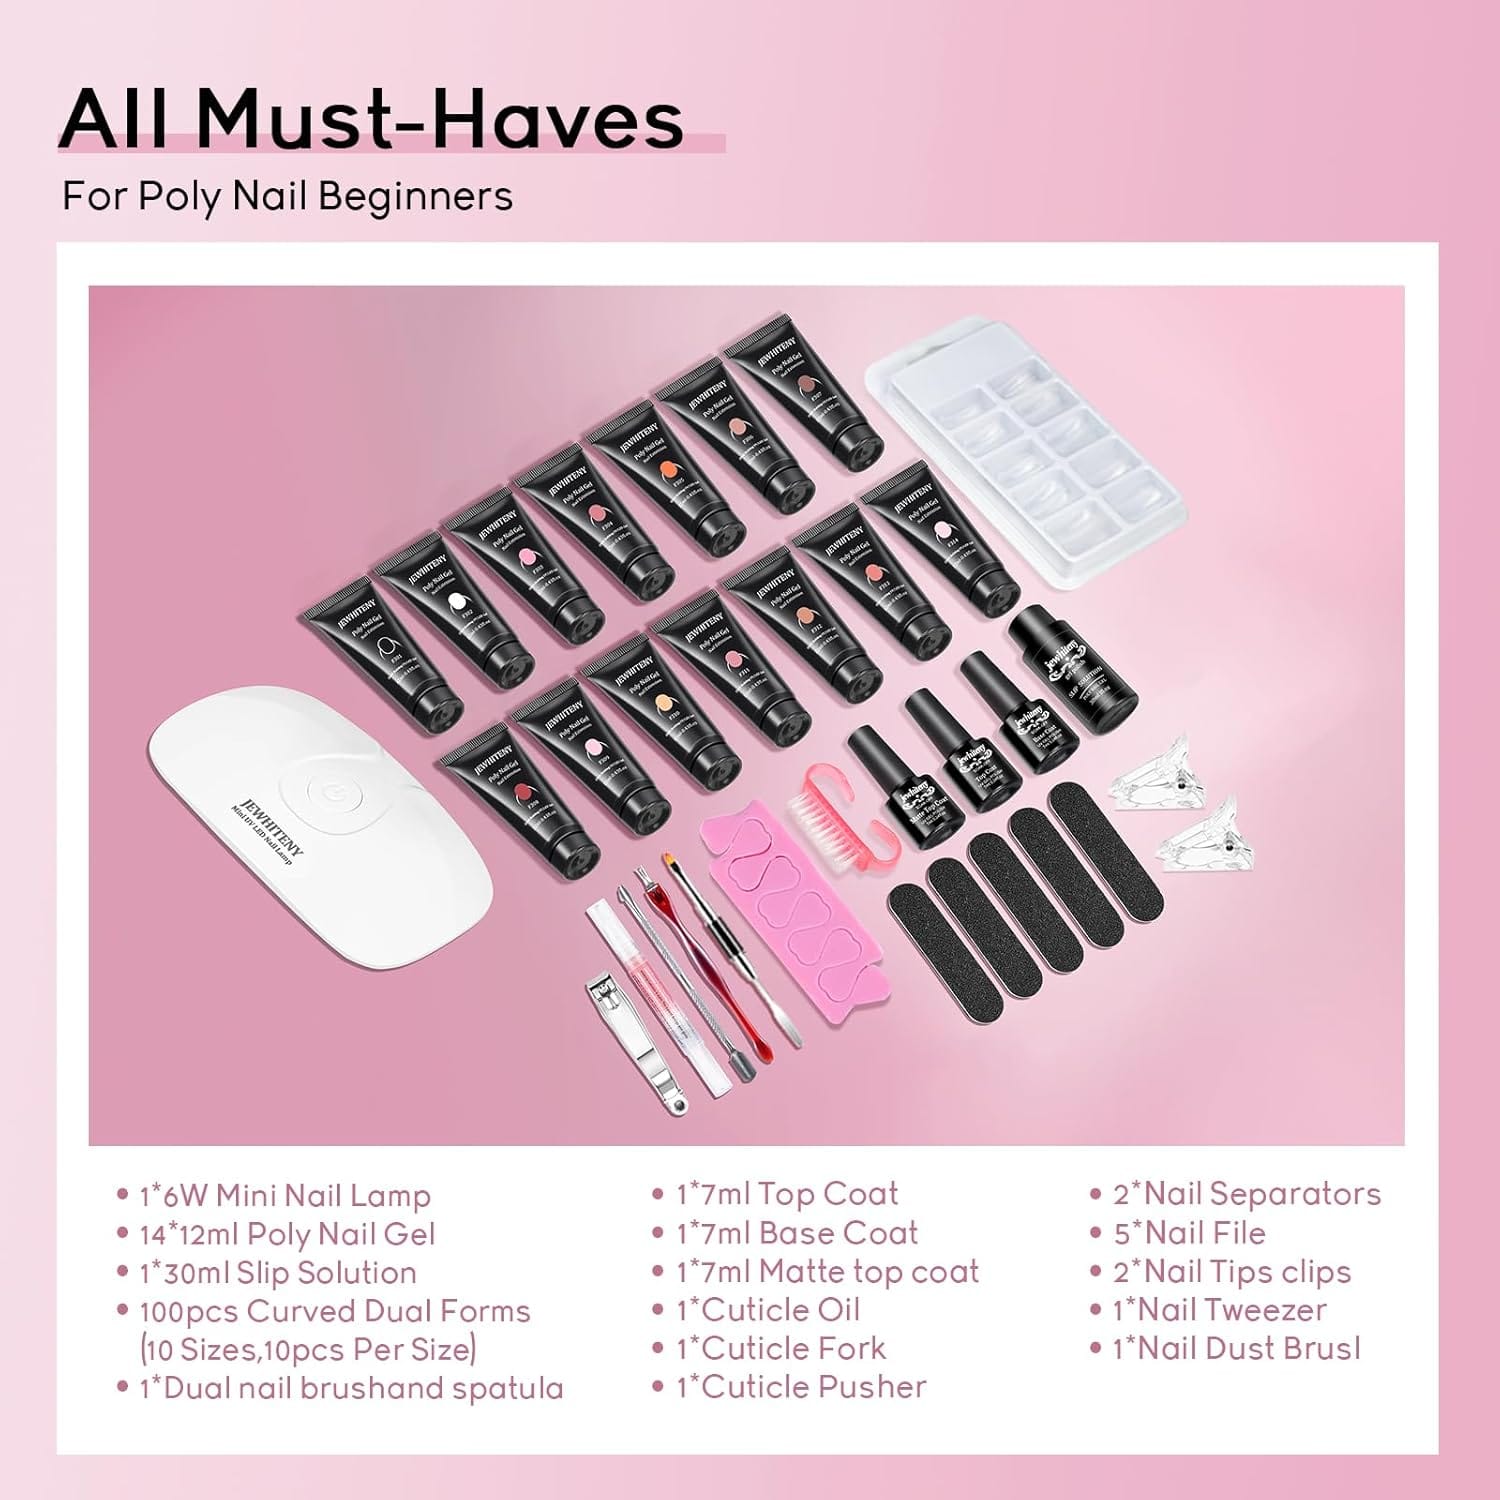
Choosing the Right Gel Nail Extension Kit
When selecting a gel nail extension kit, it’s essential to consider your needs and preferences. Poly uv gel products are versatile and elegant, available in various kits designed for beginners and experienced users to create durable and aesthetically pleasing nail extensions. Look for a kit that includes all the necessary tools and products, such as gel polish, nail tips, a UV or LED lamp, and prep tools. Some kits also come with additional items like nail art brushes, slip solutions, and cuticle oil.
It’s also important to choose a kit that suits your skill level. If you’re new to gel nails, opt for a beginner-friendly kit with detailed instructions and easy-to-use products. For more experienced users, a professional-grade kit with high-quality gel polish and advanced tools may be a better choice.
Tips for a Successful Gel Nail Application
To achieve the best results with your gel nail extension kit, follow these tips. First, make sure your natural nails are clean and free of any oils or residue. This will help the gel adhere better and prevent lifting. Use a nail file and buffer to create a smooth surface, and push back your cuticles to ensure a clean application.
When applying the gel polish, use thin coats and cure each layer thoroughly under the UV or LED lamp. This will prevent the gel from wrinkling or bubbling. Be sure to cap the free edge of your nails with each coat to seal the extensions and avoid chipping. Finally, apply a top coat and cure it to add shine and protect your nails.
Maintaining Your Gel Nail Extensions
Proper maintenance is key to keeping your gel nail extensions looking their best. It is crucial to have a qualified nail tech conduct the removal process correctly to prevent damage to your natural nails. Please avoid using your nails as tools, as this can cause them to chip or break. Wear gloves when doing household chores or working with harsh chemicals to protect your nails. Regularly apply cuticle oil to keep your nails and cuticles hydrated.
If you notice any lifting or chipping, you can do a quick touch-up by filing the affected area and applying a thin coat of gel polish. Be sure to cure it under the lamp to seal the repair when it’s time to remove your gel extensions and follow the recommended removal process to avoid damaging your natural nails.
Summary
Gel nail extension kits offer a convenient and cost-effective way to achieve beautiful, long-lasting nails at home. These kits include all the essential tools and products needed for a successful gel nail application, from gel polish and nail tips to a UV or LED lamp. With proper prep and maintenance, gel nail extensions can provide a durable and natural-looking alternative to traditional acrylic nails.
Please click here if you’re interested in other nail products and want to get up to 50% off.
FAQ Section
What is the difference between gel nail extensions and acrylic nails?
Gel nail extensions use a gel-based formula that hardens under UV or LED light, while acrylic nails use a liquid and powder system. Gel nails are more flexible and natural-looking, while acrylics are known for their durability and strength.
How long do gel nail extensions last?
Gel nail extensions can last up to three weeks with proper care and maintenance. Regular touch-ups and proper removal techniques can help extend the life of your gel nails.
Can I remove gel nail extensions at home?
Yes, you can remove gel nail extensions at home using acetone or a nail file. Soft gel extensions can be soaked off with acetone, while hard gel extensions require filing. Be sure to follow the recommended removal process to avoid damaging your natural nails.