


If you’re contemplating at-home manicures, you might ask: what is included in a nail extension kit? Generally, these kits come equipped with essential tools and products for creating long-lasting nail extensions, such as bonders, primers, and various tip sizes. Our guide will walk you through each item, ensuring you’re well-prepared to achieve that coveted salon finish in the comfort of your home.
Key Takeaways
- A nail extension kit often includes essential items like pH Bonder, Nail Primer, Extend Gel, gel tips, and tools like an e-file and an Omni Light to help achieve salon-grade manicures at home.
- Taking your time with the application is crucial, and proper prep, adhesion, curing, and finishing touches with gel topcoat are key to long-lasting, beautiful nail extensions.
- Regular maintenance, including moisturizing and protecting the extensions, as well as proper removal and aftercare, ensures the health of your natural nails and the longevity of your nail extensions.
Unboxing the Nail Extension Kit
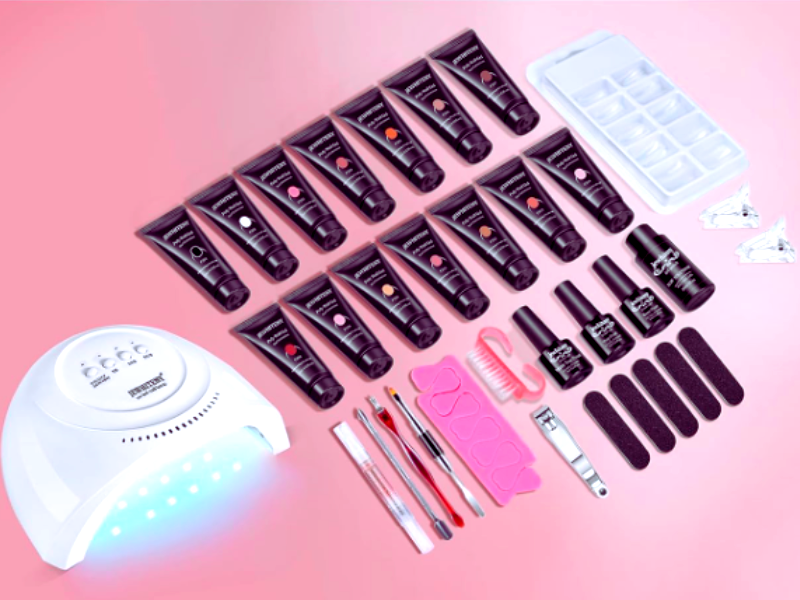
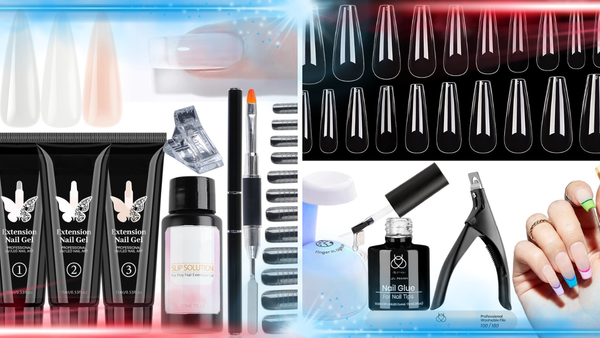
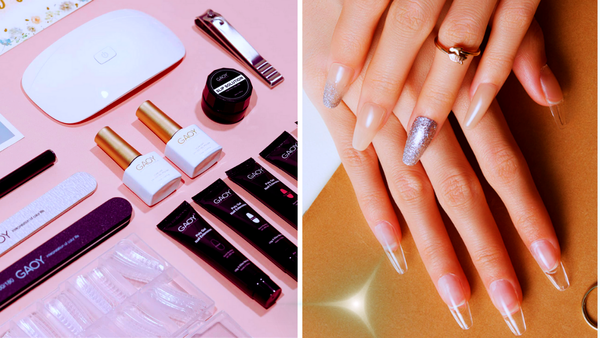
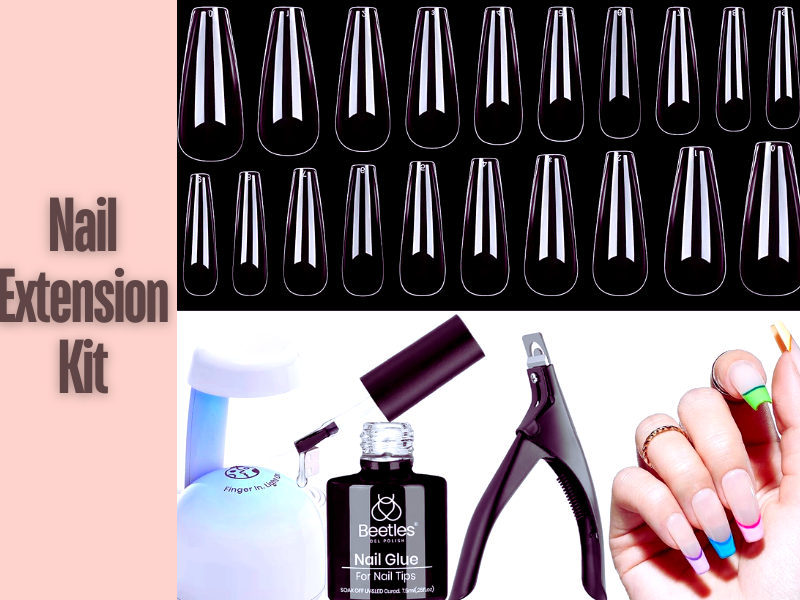
Picture this: you’ve just received your nail extension kit. Opening it gives the thrill of uncovering a treasure chest brimming with the potential of a flawless manicure using poly nail gel. Inside, you find crucial items like:
- A 15ml pH Bonder
- Acid-Free Nail Primer
- Gel-X Prep
- Extend Gel
- Non-Wipe Top Gel Coat
- an Omni Light
All are neatly packaged in a sleek black vegan patent leather case. A sense of anticipation builds as you lay out the tools of your new craft.
Every component in your kit contributes significantly to crafting a durable, salon-grade manicure. The Gel-X Tips, for instance, have been redesigned to have a thinner base for a more natural look, while the tip is thicker for long-lasting wear. And the best part? These tips include additional sizes such as 4.5, 5.5, and 6.5 to ensure a better fit and ease of use. We’re not just talking about a standard nail extension kit here. This is a comprehensive manicure toolkit designed for perfection!
Essential Components
Upon opening your kit, you’ll discern several items integral to your DIY manicure. One of these is the Extend Gel. This isn’t just regular old gel. It’s a powerhouse component that ensures your nail extensions can last over four weeks, significantly contributing to the quality of your manicure. Imagine flaunting perfect nails for an entire month with no chipping or peeling!
Another key component is full-cover nail tips. Compatible with gel polish, these tips offer versatility as they allow for frequent color changes without compromising the integrity of the nail extensions. This means you can switch up your nail color as often as possible without damaging your extensions. The freedom to explore different looks while maintaining the health and longevity of your extensions? Yes, please!
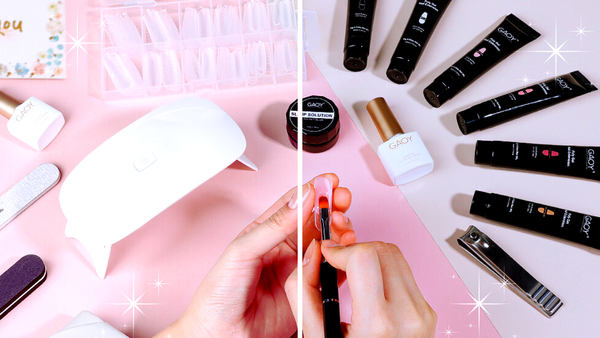
Tools of the Trade
Now, let’s pause to acknowledge the indispensable tools of the craft. These are the unsung heroes of your nail extension kit, each with a vital role in achieving a flawless finish. For instance, an e-file and a sanding band are crucial for lightly filing the inside of the Gel-X tip to improve adhesion to the natural nail. Who knew such a small tool could make such a significant difference?
But that’s not all. The kit also includes a Brush-X made of PBT fibers for precision during gel application. This slim-profile brush ensures precise application control, helping you avoid those pesky smudges or uneven layers. Remember, these tools are not just about functionality; they’re about making the process smoother and more enjoyable, helping you attain that perfect manicure with ease and finesse.
The Cure for Perfection
What’s the key to achieving impeccable, enduring nail extensions? The answer lies in the cure. No, not a magical potion, but the curing of gel in nail extensions, a process that requires a UV or LED lamp. Without this step, the gel would not be set properly, and your beautiful extensions would be more of a mess.
The Omni Light in your kit offers the flexibility of being used as a handheld device for single nail curing or set up for hands-free use. So whether you’re a multitasker or prefer to focus on one nail at a time, your nail lamp kit has covered you. The convenience and efficiency of a small lamp for flash curing individual nails and a larger lamp capable of simultaneously curing all nails, on one hand, make your kit the gold standard in at-home manicures.
Step-by-Step Guide to Using Your Kit
Shall we proceed to the main event? You’ve unboxed your kit and acquainted yourself with the tools, and now you’re ready to dive right into creating your perfect manicure. Here’s a step-by-step guide to using your nail extension kit:
- Prep your natural nails
- Apply nail tips or forms
- Apply the nail extension product
- Shape and file the extensions
- Buff and smooth the extensions
- Apply nail polish or nail art
- Apply a top coat for added durability and shine
Now, you’re ready to show off your beautiful, long-lasting nail extensions without growing your nails!
But before we start, remember this: patience is your best friend here. Enjoy the process, take your time, and remember that perfection is not achieved quickly. This isn’t just about getting those perfect nails; it’s about the joy of creating something beautiful with your own hands. Now, let’s start this journey together!
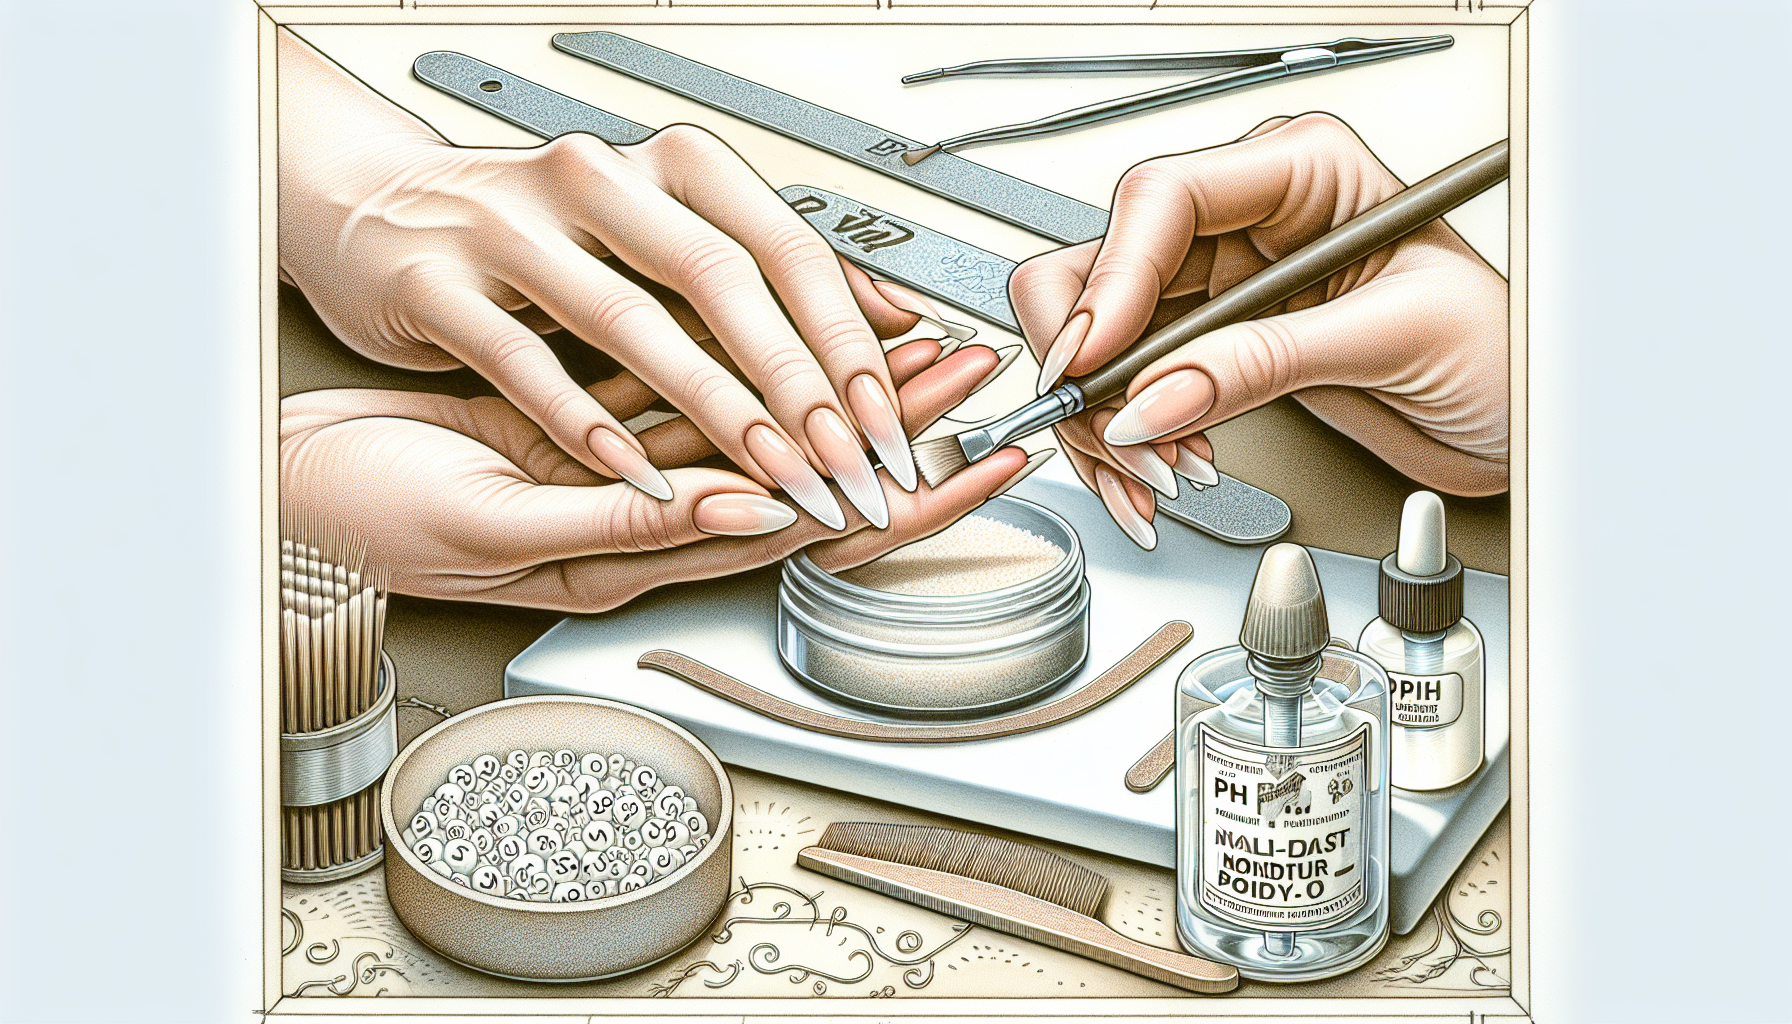
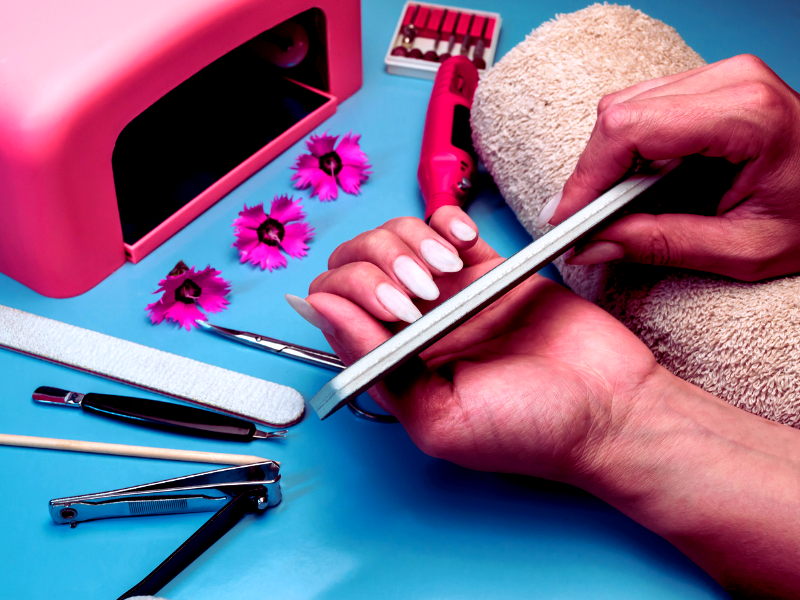
Prepping Your Natural Nails
First on the agenda: preparation. Before applying your nail extensions, it’s essential to ensure your natural nails are ready for the transformation. Start by cleaning and buffing your nails to create an ideal surface for adhesion. This seemingly small step plays a massive role in preventing lifting and ensuring better adhesion for your nail extensions.
Next, it’s time to shape your nails. Remember, filing in one direction from the outer edge to the center is recommended to minimize the risk of splitting the nails. Once your nails are clean, buffed, and shaped, it’s time to apply a bonder, followed by a primer, to achieve the tackiness required for effective bonding with Extend Gel. With your natural nails prepped, you’re ready for the application process.
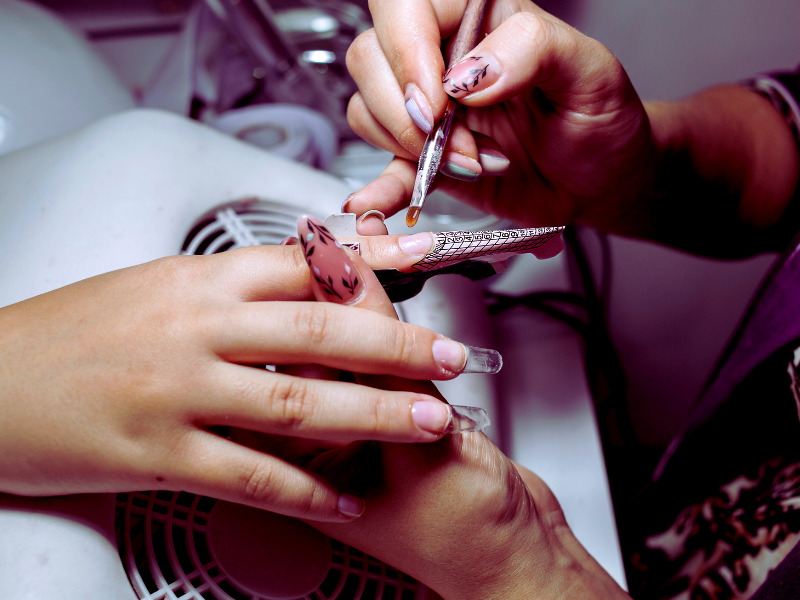
Application Process
The enchantment truly begins with the application process. Start by applying a thin layer of Extend Gel to your natural nail, then cure it under an LED light for 30 seconds or a UV light for one minute before the nail tip application. This step ensures a solid foundation for your nail extension.
Next, attach the Gel-X nail tip by following these steps:
- Place a bead of Extend Gel on the filed area inside the tip.
- Press firmly from cuticle to edge.
- Flashlight cures for 10 seconds.
- Fully cured under an LED or UV lamp.
You’ll see your extensions take shape with each nail, transforming your natural nails into a work of art. It’s an incredibly satisfying process, seeing the transformation unfold right before your eyes!
Finishing Touches
Now that your extensions are in place, it’s time to add the finishing touches. This includes filing any rough edges and adding a topcoat to give your nail extensions a professional look and enhance their durability. Remember, Gel top coats bond better with gel nails than standard non-gel top coats, providing a more durable finish and preventing peeling.
After applying a gel topcoat, the nails must be cured with a flash-cure method to secure the coating and enhance its durability. Finally, any residual gel should be cleaned to ensure the surface is smooth and the manicure has a flawless finish. With these final touches, your nail extensions are ready to dazzle!
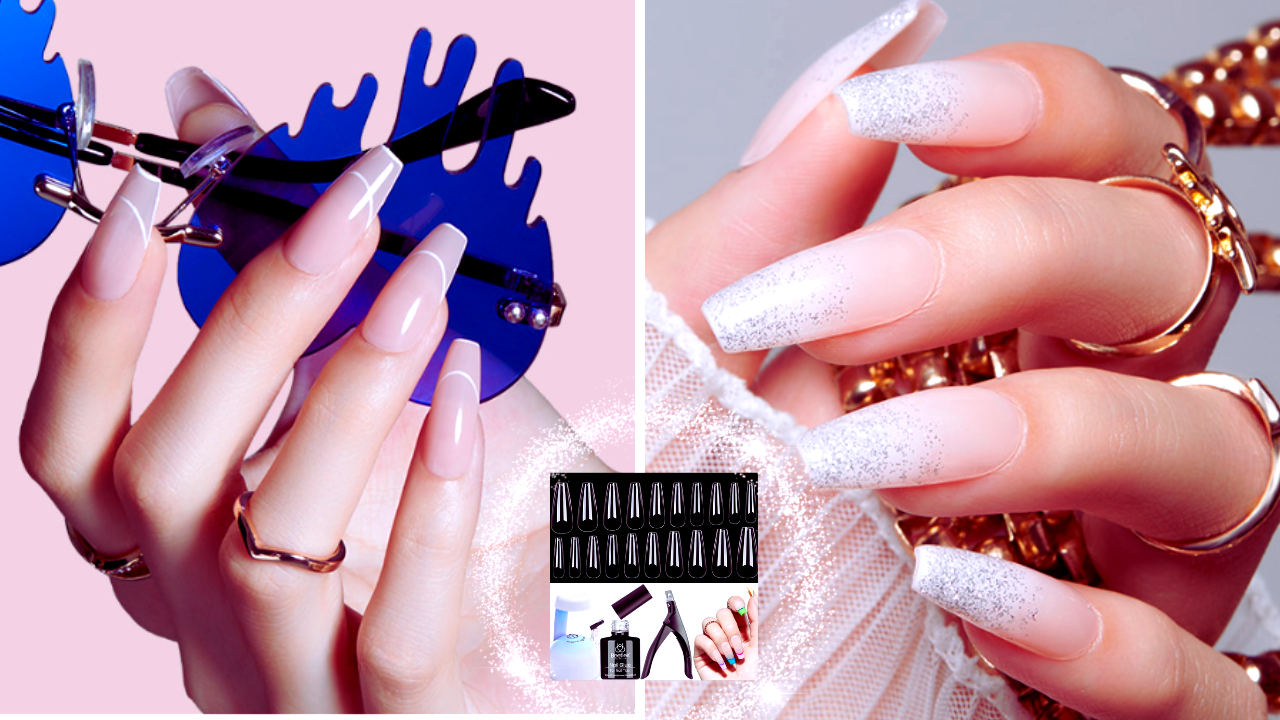
Customizing Your Nail Extensions
The allure of nail extensions resides in their adaptability and versatility. You can customize your extensions with the right kit to reflect your style and mood. Whether you prefer a minimalist look or love to make a bold statement, your nail extensions can be a canvas for creativity.
While more costly, some might consider investing in Apres Gel-X extensions for their ease of application, longevity, and professional look, especially for special occasions. However, it’s important to note that they require complete removal and reapplication as they cannot be filled after growth. Who doesn’t love a fresh new set of nails, right?
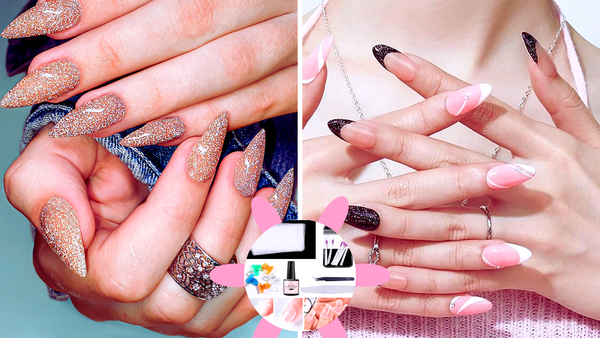
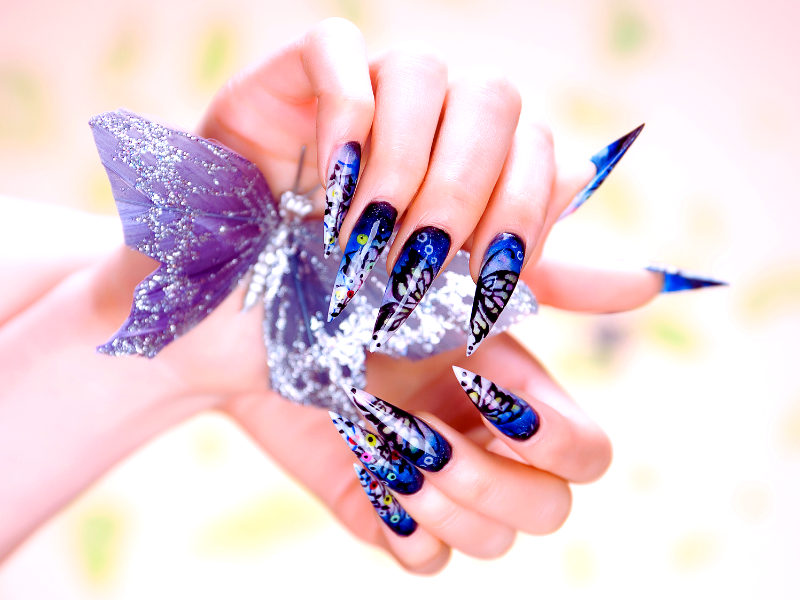
Color and Art
One of the best ways to express your style is through color and art. Various nail or gel polish shades can add a unique flair to your extensions. Some color options to consider include:
- Classic reds
- Cool blues
- Pastel pinks
- Bold blacks
- Shimmering metallics
The color possibilities are endless.
And then, there’s nail art. Applying stickers or decals on top of cured gel nail polish or acrylic nails, followed by a clear gel top coat and curing under UV or LED light, adds an artistic touch to your manicure. Mix and match colors, create patterns, or even try glitter – let your creativity run wild!
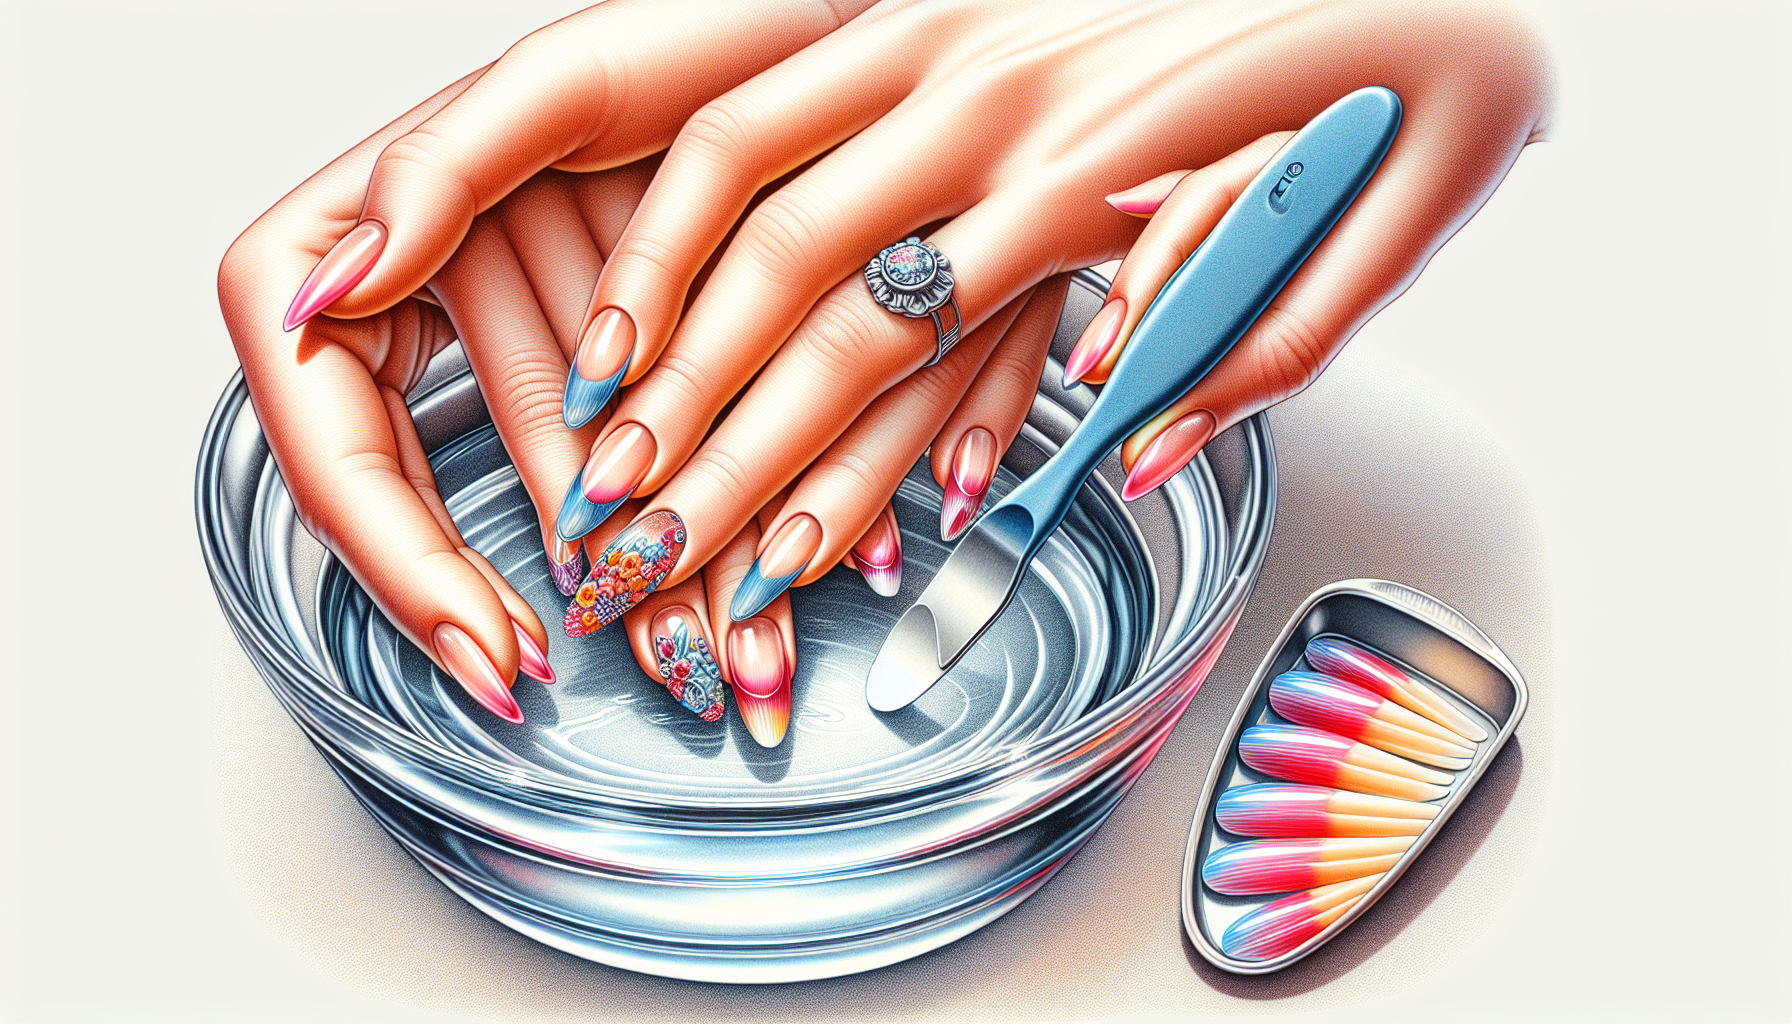
Achieving the Perfect Shape
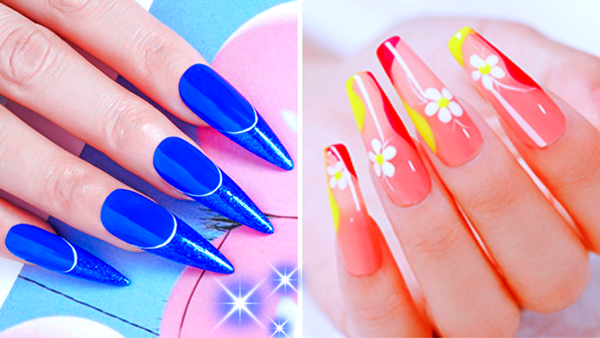
Of course, color and art are just half the story. The shape of your extensions plays a significant role in the overall look. Whether you prefer:
- square
- oval
- almond
- stiletto
- coffin-shaped nails
Your nail extension kit allows you to experiment with the entire nail and find the shape that best suits you.
For instance, to create an oval shape, you must file the sidewalls evenly from corner to center, using a curved motion to round out the tip. On the other hand, for stiletto nails, you’ll start by filing the sidewalls out straight and then taper from the sidewall to the center to create a pointed tip. So, play around with different shapes and find the one that makes you feel like the queen you are!
Maintenance and Upkeep
Having achieved your flawless manicure, it’s time to discuss maintenance and care. After all, we want to keep those extensions looking fabulous for as long as possible, right? To ensure the longevity of your nail extensions, you’ll need to pay attention to routine care and handle growth effectively.
Think of it as self-care for your nails. Just like you would take care of your skin daily, your nails need the same love and attention. So, let’s talk about how to give your extensions the care they deserve.
Routine Care
Routine care plays a significant role in maintaining your extensions. This includes simple practices like moisturizing hands after washing and avoiding alcohol-based sanitizers. Remember, moisturized hands not only look and feel good, but they also help prevent the drying and lifting of nail extensions.
Another important aspect of routine care is protecting your extensions from potential damage. Here are some tips to help you do that:
- Use quality rubber gloves during housework to protect nail extensions from the harmful effects of strong chemicals and water.
- Minimize excessive pressure on nail extensions, like tapping on phones or keyboards, to prevent the need for more frequent replacement.
- Treat your extensions with kindness and care.
Handling Growth
As your natural nails grow, it’s important to handle this growth effectively to maintain the overall condition of the extensions. One key strategy is daily cuticle care. Regular application of cuticle oil nourishes the nails, stimulates growth, and helps prevent the enhancements from lifting.
In addition to cuticle care, maintaining the overall condition of your nail extensions involves:
- Consistently moisturizing your cuticles with cuticle oil
- Keeping your manicure fresh as your natural nails continue to grow
- Well-maintained extensions are the secret to a long-lasting, flawless manicure!
Removal and Aftercare
Even the most stunning nail extensions eventually need removal. Whether it’s to replace them with a fresh set or give your natural nails a break, the removal process is just as important as the application. It’s crucial to remove your extensions correctly to avoid damaging your natural nails.
But what about aftercare? Once your extensions are safely removed, your natural nails will need a little TLC. So, let’s talk about how to care for your natural nails post-removal.
Removing Extensions
Removing your nail extensions involves the following steps:
- Lightly file the surface of your nails to break the topcoat seal, which facilitates the soak-off process.
- Soak your nails in acetone until the material softens.
- Gently remove the softened nail extensions.
Remember, most damage to nails occurs during the removal of coatings when performed incorrectly, leading to roughness and the development of spots and lines on the natural nail bed. So, take your time, follow the correct procedure, and your natural nails will remain strong and healthy underneath those gorgeous extensions.
Post-Removal Nail Care
Now that your extensions are off, it’s time to pamper your natural nails. Start by deeply moisturizing the nails and cuticles with oils to combat any dryness that may arise from the extension and removal process. This simple step goes a long way in keeping your natural nails healthy and ready for their next transformation.
To maintain nail health post-removal, opt for gentle soaps and hydrating hand sanitizers to prevent further nail dehydration and irritation. Additionally, applying a nail strengthener or using a nourishing base coat without polish can assist in recovering nail strength and integrity post-extension removal. With the right aftercare, your natural nails will be back to their best in no time!
Shopping Guide: Adding to Cart
Equipped with the knowledge and fueled by passion, you’re now primed to procure a nail extension kit. But wait, where do you start? What should you look for? How do you balance price with quality?
Remember, selecting the right nail extension kit involves considering the quality of the included materials, like the gel, and ensuring the kit contains a variety of nail tip sizes to ensure a proper fit. Armed with this knowledge, you’re ready to add to your cart!
What to Look For
When shopping for a nail extension kit, look for:
- Pre-shaped and sized nail extensions for ease of use
- Soft gel nail tips that offer a natural and flexible extension to the nail length, and their application does not involve the harsh odors typically associated with traditional acrylics
- A specialized gel adhesive to ensure the effective attachment of the soft gel tips
Different brands offer different features. For instance, Apres Gel-x provides pre-shaped and sized nail extensions for ease of use, while alternatives like Beetles nail extensions might be more affordable but require additional shaping. Consider these factors and choose a kit that fits your needs and skill level.
Summary
We’ve come a long way from unboxing our nail extension kit to perfecting our at-home manicure. We’ve learned about the importance of nail preparation, the magic of the curing process, the joy of customizing our extensions, and the necessary care to ensure their longevity. We’ve also learned to safely remove our extensions and care for our natural nails post-removal. We’ve even covered how to choose the right kit to start our nail extension journey.
Creating a salon-quality manicure at home is not just about achieving perfect nails; it’s about the joy and satisfaction of creating something beautiful with your hands. So, go ahead and explore the world of nail extensions. Remember, your nails are a canvas, and you are the artist. So, let your creativity shine, and most importantly, have fun along the way!
FAQs
How long do nail extensions last?
Nail extensions can last over four weeks with proper care and maintenance.
How do I choose the right nail extension kit?
When choosing a nail extension kit, look for high-quality materials such as gel and ensure the kit has a range of nail tip sizes for a good fit. This will help you achieve professional-looking results.
How do I remove my nail extensions?
To remove your nail extensions, lightly file the surface, soak them in acetone, and gently scrape off the softened material following the standard gel removal procedure. It's important to take your time and be gentle to avoid damaging your natural nails.