


Are you curious about the difference between nail polish and stamping polish? Regular polish is for overall nail coverage, and stamping polish is for nail art designs; it has a thicker consistency and more pigmentation for details. This post will guide you through the differences so you can master your nail art quickly.
Key Takeaways
- Stamping polish has higher pigment concentration and thicker consistency than regular polish and is for vibrant and precise stamping designs.
- Tools like stamping plates, scrapers, and stampers are important for nail art. The quality and way you use them will affect the design's outcome.
- Preparation is key to perfect nail stamping, which includes a clean and shaped nail bed, a protective base coat application for polish adhesion, and liquid latex or tape for clean edges.
Breaking Down the Basics: Nail Polish vs. Stamping Polish

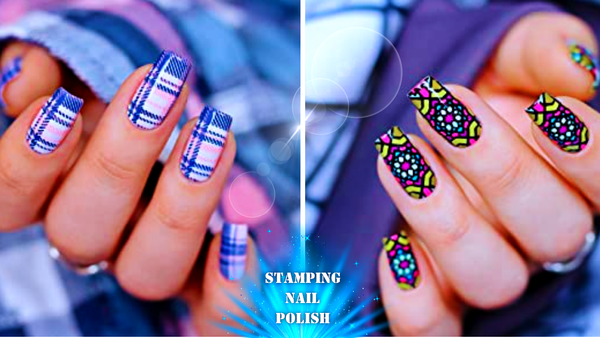
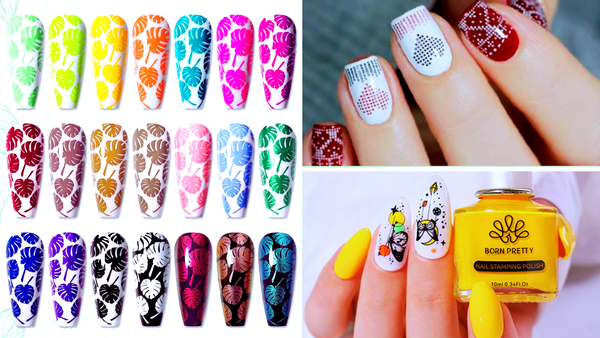
Not all polishes are created equal when it comes to nail art. Regular and stamping polishes may look similar, but they serve different purposes. Regular polish is designed for smooth application directly onto your nails and often requires multiple coats to be fully opaque. Stamping polish is formulated with more pigments so that designs will pop against any base color, including regular polish.
Another big difference is the consistency. Stamping polish is thicker, so it will stay on the stamping plate’s engraving lines and transfer cleanly onto your nails. This thicker consistency is key for intricate designs and clean lines that make nail art beautiful. Stamping polish also dries faster, which is important for stamping, so you don’t smudge, and the design sets perfectly.
Pigment Power: Regular Nail Polish vs. Stamping Polish
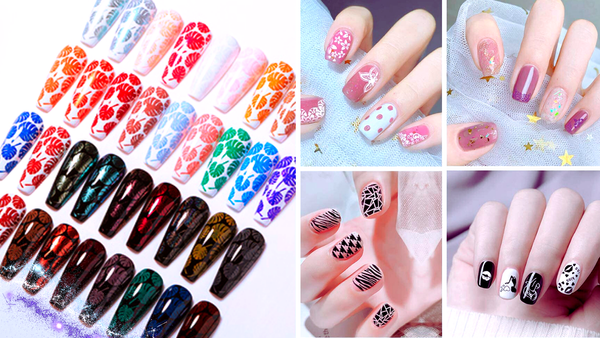
The magic of stamping polish starts with the pigment. Stamping polish is packed with pigment, unlike regular polish, which needs multiple coats for full coverage. So, when you stamp a lace design on your nail, the high pigment ensures every tiny detail is visible and bright.
Some regular polishes may be opaque enough to use for stamping, but they are the exception, not the rule. Stamping polishes are designed to give you solid, bold lines and shapes for nail stamping. Whether you’re doing a simple geometric or an elaborate floral design, the higher pigment in stamping polish makes all the difference.
Consistency Counts: The Thickness Factor

Consistency is another factor that sets stamping polish apart from regular nail polish. Thick nail polish, also known as stamping polish, is formulated to be thicker, which helps it adhere better to the stamping plate and transfer more accurately to your nails. This thicker consistency is essential for achieving clean, crisp lines in your designs, ensuring that the intricate details remain sharp and vivid. It’s this ability to maintain detail that makes stamping polish indispensable for nail artists aiming for perfection.
Drying Dynamics: Setting the Stage for Stamping
One of the pivotal advantages of stamping polish is its quick drying time. This feature is crucial for the stamping process, as it allows the design to set rapidly, reducing the risk of smudging.
Compared to regular polishes that might take longer to dry, stamping polishes are engineered to dry swiftly, making them more suitable for transferring intricate designs without compromising their integrity.
Essential Tools for Expert Stamping
To achieve those flawless stamped designs, having the right tools is just as important as using the right polish. A typical nail stamping kit includes stamping plates, a stamper, and a scraper, each playing a critical role in the nail stamping process. The stamping plate holds the design, the scraper removes excess polish, and the stamper transfers the design onto your nail.
High-quality stamping plates with crisp, clean engravings are essential for detailed and precise nail art. The stamper and scraper are equally important; mastering their use can make the difference between a smudged mess and a stunning piece of art. Together, these tools are the backbone of expert nail stamping, enabling you to create intricate and eye-catching designs with ease.
Choosing the Right Stamping Plate

Choosing the right stamping plate is crucial for achieving the nail art of your dreams. Look for plates with crisp, accurate engravings that suit your style preferences. Whether you prefer geometric patterns, floral designs, or whimsical motifs, the quality of the engraving on the stamping plate will determine how well the design transfers to your nail. The clearer and deeper the engraving, the more detailed and precise your stamped designs will be.
Mastering the Scraper and Stamper
Mastering the use of the scraper and stamper is essential for a clean and precise stamping process. When using a scraper, hold it at a 45-degree angle to evenly spread the stamping polish over the design and remove any excess. This technique ensures that the polish fills the engravings without flooding them, which is crucial for achieving a crisp pattern.
Once the design is ready on the plate, gently press the stamper onto the plate to pick up the design. It’s important to apply just the right amount of pressure – too much can smudge the design, while too little might not pick up all the details. Finally, roll the stamper over your nail from one side to the other in a smooth motion to transfer the design perfectly.
Prepping Your Canvas: Nail Bed and Base Coat Strategies
Before diving into the actual stamping, preparing your nails is a critical step that shouldn’t be overlooked. Start by cleaning your nails thoroughly and removing any oils or old polish to ensure a smooth and clean surface. Shaping your nails to your desired length and form also sets the stage for a flawless manicure.
Applying a base coat is the next crucial step. Not only does it prevent the nail bed from staining, but it also provides a smooth foundation for the stamping polish. A well-applied base coat enhances the adhesion of the stamping polish, making your nail art more durable and long-lasting. Ensure the base coat is fully dried before stamping to avoid any smudges or imperfections.
Protecting Your Nail Bed

The base coat is the unsung hero of nail art. It not only protects your natural nails from staining but also provides a smooth foundation for color application. This step is particularly important when using highly pigmented stamping polishes, which can sometimes stain the nail bed. By applying a base coat, you create a barrier that shields your nails and promotes better adhesion of the polish.
In addition to protection, a base coat also contributes to the longevity of your manicure. It helps the stamping polish adhere more effectively to your nails, reducing the chances of chipping and peeling. For the best results, ensure your base coat is fully dry before moving on to the stamping process.
Clean-Up Crew: Liquid Latex and Scotch Tape
To keep your nail art neat, liquid latex and Scotch tape are indispensable tools. Applying liquid latex around the nail bed and cuticles before stamping creates a barrier that protects your skin from excess polish. Once your stamping is complete, peel off the liquid latex for a clean finish. Alternatively, Scotch tape can be used to lift away any unwanted polish from the skin, ensuring crisp edges and a polished look.
Application Tips and Tricks

Perfecting the art of nail stamping requires a few insider tips and tricks. Begin by applying the stamping polish to the plate and scraping off the excess with a scraper held at a 45-degree angle. This technique ensures that the engraved design is filled with just the right amount of polish, preventing smudges and ensuring a clean transfer.
Priming your stamper is another essential step. Ensure it has the right level of stickiness to pick up the design from the plate without smudging it. When transferring the design to your nail, use a rolling motion and work quickly to maintain the sharpness and detail of the image. These tips can help you achieve flawless stamped designs every time.
One Stamp, No Sweat
Using a clear stamper can significantly improve the precision of your stamp placement, helping to avoid misalignments and additionally, applying a sticky base coat and allowing it to become tacky before stamping can enhance the adhesion and durability of your designs. Rolling the stamper across the plate onto your nail ensures a smooth and flawless transfer every time.
The Final Seal: Top Coat Tactics

Applying a top coat is the final step to seal and protect your stamped designs. It’s important to choose a stamping-friendly top coat to prevent smearing. Water-based top coats are highly recommended as they are less likely to cause smudging. Apply the top coat with a light touch, gently gliding the brush over the design to avoid any disruption.
When using nail foils in your designs, be mindful of the type of top coat you choose. Standard top coats can cause foils to crinkle or lose their shine. Instead, opt for top coats specifically designed for use with foils to maintain their reflective qualities and keep your nail art looking fresh and vibrant.
Mixing and Matching Colors
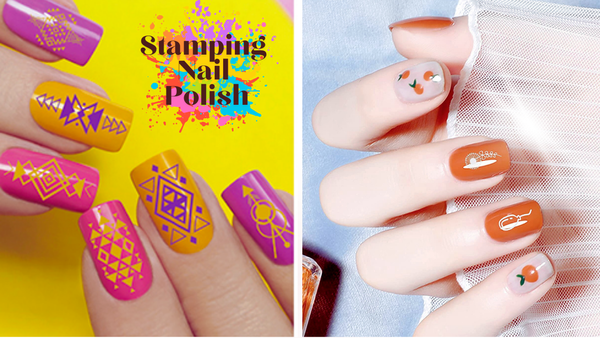
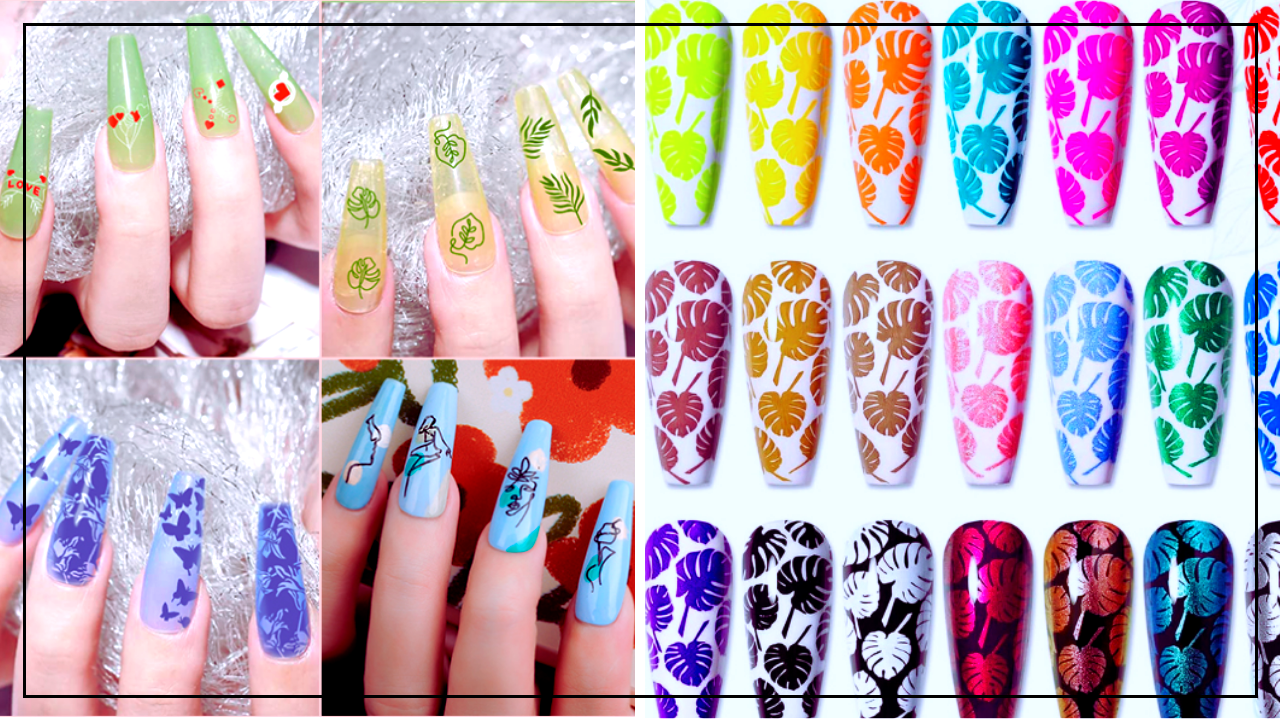
Mixing and matching colors is a fun way to create vibrant and cohesive nail art. Analogous colors, which sit next to each other on the color wheel, can be used to create sophisticated designs. Complementary colors, found opposite each other on the color wheel, provide a striking contrast that makes your nail art pop.
For a bold statement, consider using primary colors in your stamping designs. Combining different stamping polish colors can result in a vibrant, multi-hued manicure that stands out. The key is experimenting and finding color combinations that reflect your style and creativity.
Exploring Textures and Effects

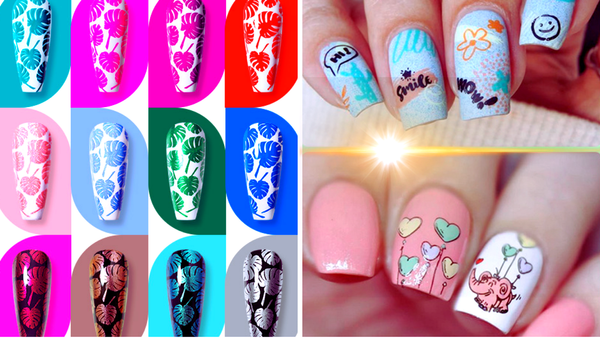
Exploring different textures and effects can take your nail art to the next level. Special effect stamping polishes, especially those with holographic finishes, add a reflective and dynamic quality to your designs. Nail foils can be layered over stamped designs to enhance texture and shine, creating a more intricate and captivating look.
Holographic and duo-chrome foils work exceptionally well for a nuanced appearance, like mimicking the variegation of fall leaves. The key is to match or complement the foil color with your stamping polish to achieve a harmonious finish.
Summary
Understanding the nuances between regular nail polish and stamping polish is crucial for any nail artist. Stamping polish stands out with its higher pigmentation, thicker consistency, and faster drying time, all essential for creating crisp and vibrant stamped designs. Equipping yourself with the right tools, such as high-quality stamping plates, scrapers, and stampers, further ensures precision and ease in your nail art process.
Preparation is key—starting with a well-prepped nail bed and a reliable base coat, followed by strategic clean-up methods using liquid latex or Scotch tape, sets the foundation for flawless nail art. By mastering application techniques and experimenting with various colors and finishes, you can unlock endless creative possibilities for your manicures. Embrace the journey with confidence and discover some amazing deals on nail tools!
FAQs
What is the main difference between regular nail polish and stamping polish?
The main difference between regular nail polish and stamping polish is the pigmentation. Stamping polish has a higher concentration of pigments, allowing for clear and vibrant designs when stamped.
Why is the consistency of stamping polish important?
The consistency of stamping polish is important because its thickness allows for clean and intricate designs to be transferred from the stamping plate to your nails.
How do I choose the right stamping plate?
To choose the right stamping plate, look for crisp and accurate engravings that suit your style preferences. The quality of the engraving determines the clarity and detail of your stamped designs.