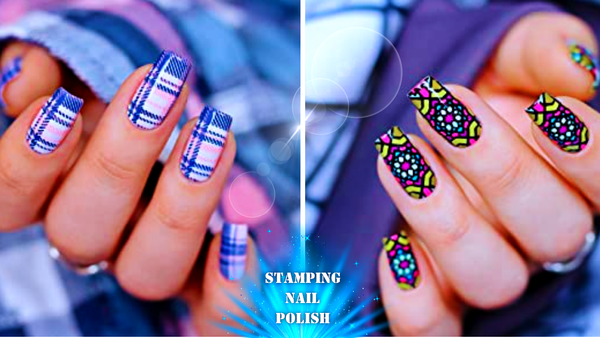


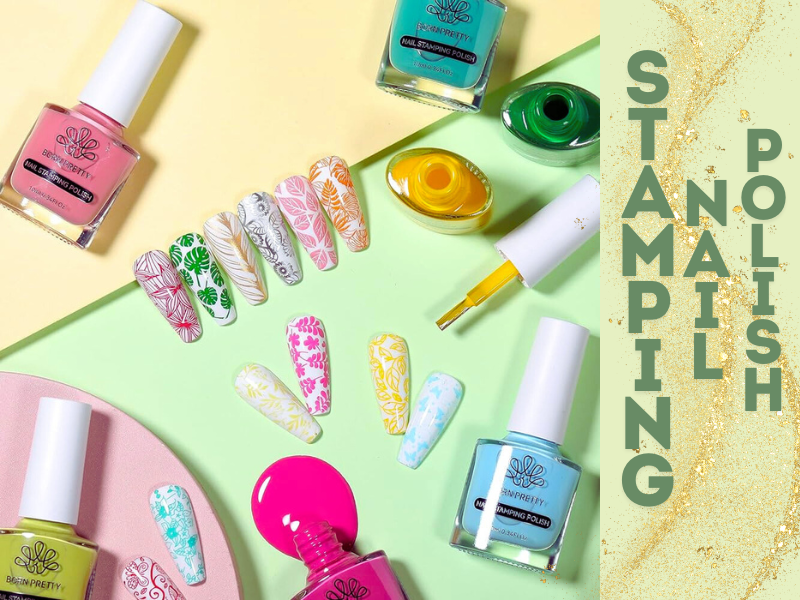
Wondering what is the proper way of applying stamping nail polish? This guide will show you the key steps—selecting the right tools to master the stamping technique. Follow along to make your nail art stand out with precision and flair.
Key Takeaways
- Gather the right tools for nail stamping: stamper, well-etched stamping plates, and thick, highly pigmented stamping polishes.
- Properly prepare your nails by cleaning, drying, and applying a sticky base coat for best design adherence.
- After stamping, use a clear or smudge-free top coat to ensure long-lasting and neat results.
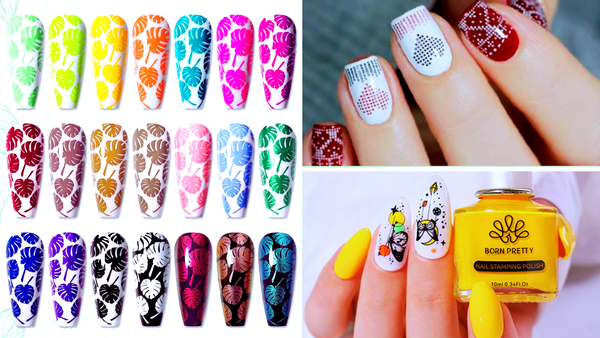
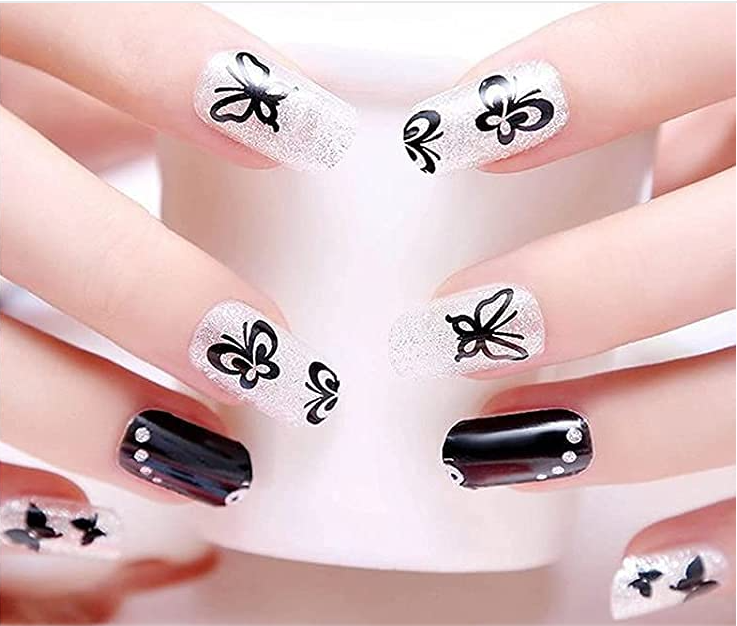
Unlock the world of nail stamping, a nail art technique revolutionizing how we think about manicures. With the simplicity and speed of transferring designs from a stamping plate to your nails, you can say goodbye to the painstaking process of drawing freehand or spending a fortune at the nail salon. Nail stamping is all about ease and efficiency, allowing anyone to achieve professional-looking nail art without a steady hand or an artistic eye.
Think of nail stamping as printing for your nails, a method that involves a few straightforward steps—applying polish to a metal plate etched with designs, scraping off the excess, and stamping it onto your nail. The beauty of this technique is not just in its simplicity but also in its flexibility, allowing for endless creativity and personalization. Ready to get started? Let’s delve into the essential tools, including nail stamping plates that will set you on the path to creating your stamping masterpieces.
Essential Tools for Nail Stamping
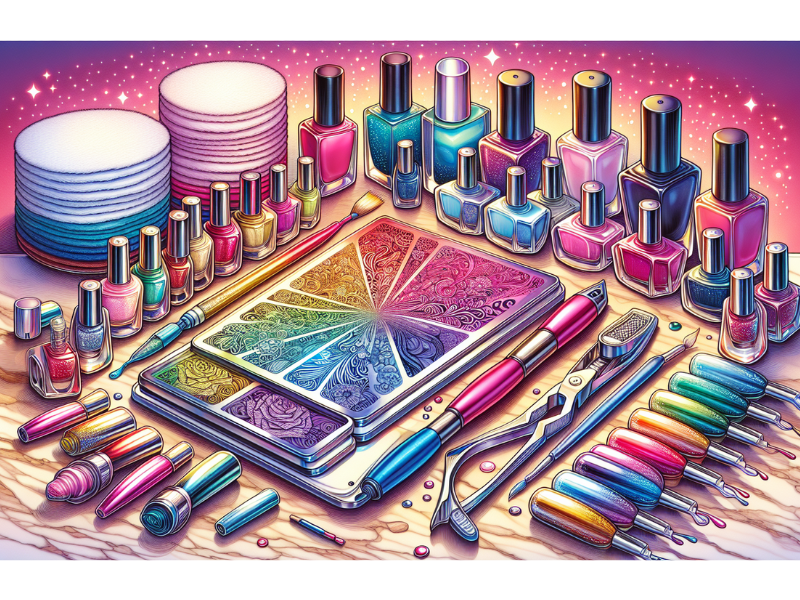
Before you begin your stamping journey, it’s important to gather the right tools. These essentials are the foundation of your nail art endeavors and will make the difference between an okay result and a truly professional look. You’ll need a nail stamper, a set of stamping plates with your desired designs, and, of course, the right stamping polishes. But it’s not just about having these items; understanding their roles and how to use them correctly is crucial for nail stamping success.
The stamper is your magic wand, the stamping plates your spellbook, and the stamping polishes your potions. Each tool plays a pivotal role in transferring your chosen designs onto your nails with precision. Remember, not all polishes or plates are created equally when it comes to stamping. Look for thick nail polish specifically designed for stamping, as it will give you the bold, crisp lines you’re after. And when it comes to choosing a plate, make sure the designs are well-etched and suit your style.
With these tools in hand, you’re ready to move on to the next crucial step: preparing your nails for the art that awaits.
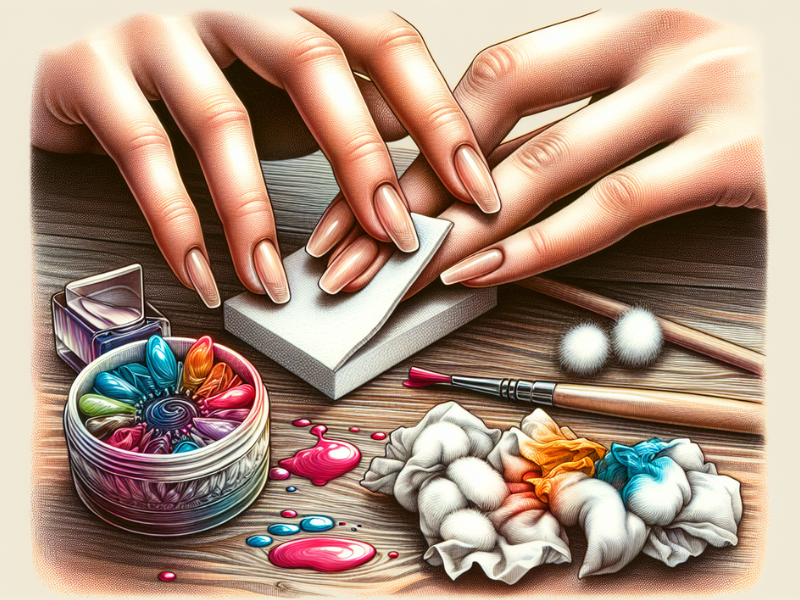
Preparing Your Nails for Stamping
A masterpiece needs a pristine canvas, and in the world of nail stamping, the canvas is your nail. The key to a flawless transfer is in the preparation. Start by ensuring your nails are clean, dry, and free of oils for the best design adherence. This might mean swiping a cotton pad dipped in rubbing alcohol over your nails if you’re stamping over gel polish.
Next, apply a clear or sticky base coat and give it about 30-45 seconds to get tacky—this will help the stamped polish cling to your nail like a magnet. Consider using gel polish as your base—it provides a smooth, even surface that’s ideal for capturing those intricate designs and details. Plus, its durability means your stamped nail art will have a long-lasting foundation.
With your nails perfectly primed and ready for action, you’re now set to choose the star of the show—the nail stamping polish. Its vibrant color and perfect consistency will bring your chosen design to life.
Choosing the Right Stamping Polish
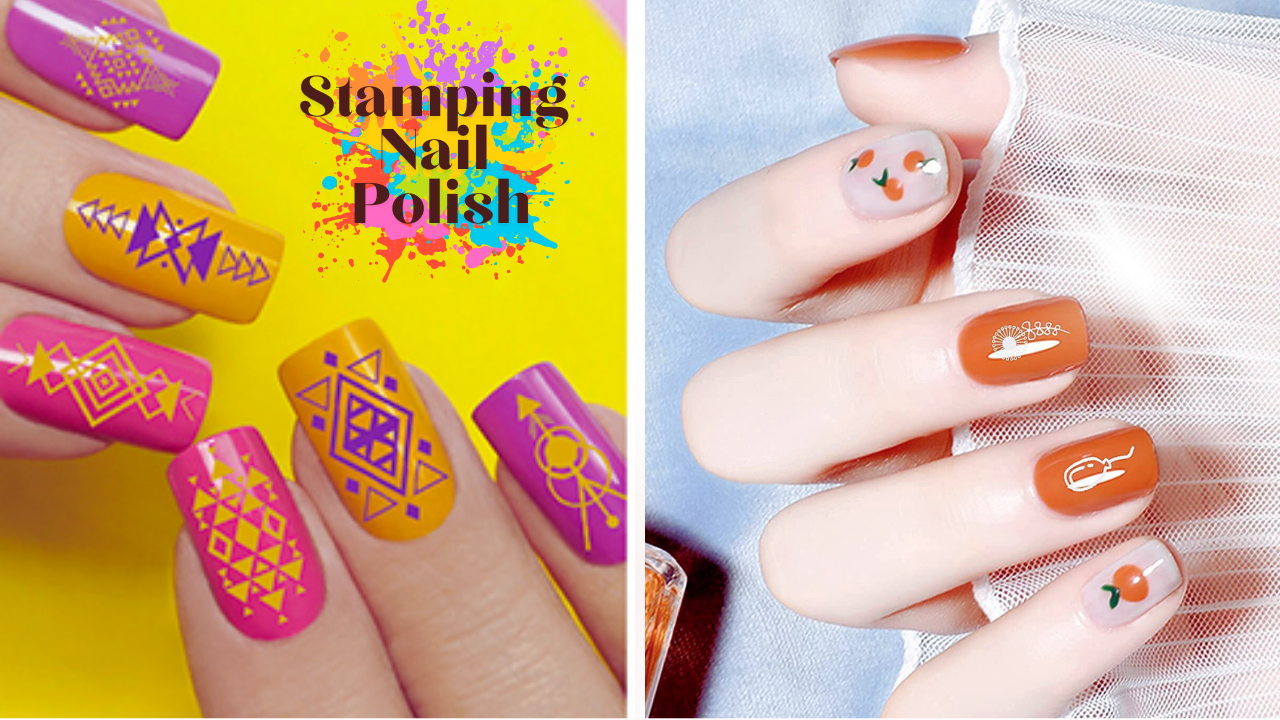
Choosing the right stamping polish is like picking the perfect paint for a canvas; it can make or break your design. The quality of your manicure hinges heavily on this decision, so it’s essential to select a polish that’s thick, highly pigmented, and specifically formulated for stamping. These polishes are designed to dry quickly, capturing every detail of your design before it has a chance to smudge.
While it’s tempting to grab any polish off your shelf, remember that not all polishes are suited for stamping. Regular nail polishes, particularly sheer or glittery ones, often lack the opacity and consistency needed to transfer designs effectively. For the best results, stick to dedicated stamping polishes—they’re your best bet for achieving designs that are bold, clear, and truly pop on your nails.
Now, with your chosen polish in hand, let’s walk through the stamping process step by step.
Applying Stamping Nail Polish: A Step-by-Step Guide
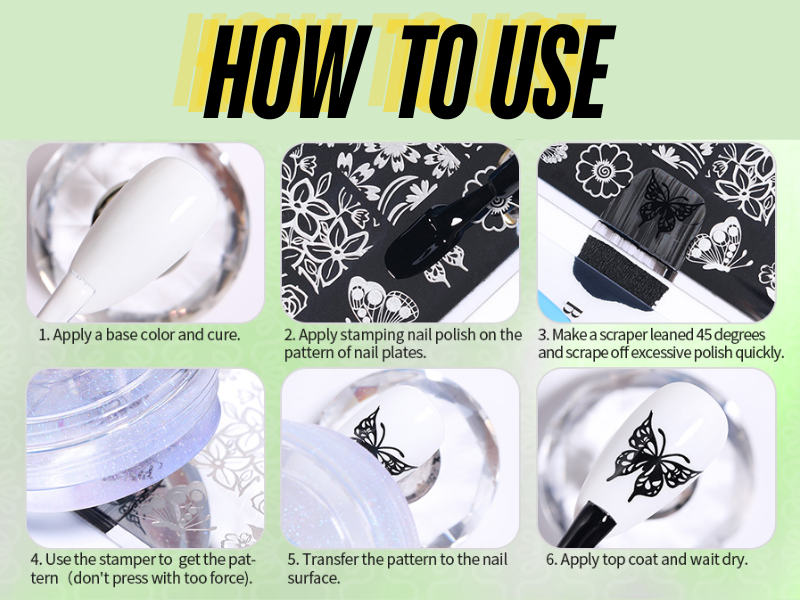
Applying stamping nail polish is an art form in itself, and like any good art, it requires a bit of know-how and practice. But fear not, for I’m here to guide you through each step, ensuring that you’ll be stamping like a pro in no time. From loading your stamper with the perfect amount of polish to transferring the design onto your nail with precision, these tips and tricks will have you flaunting pretty nails that make a statement.
Loading the Stamper
Loading your stamper for nail stamping is crucial in achieving flawless designs. Start by generously applying stamping polish to the pattern on your plate, ensuring full coverage. Use a scraper or an old credit card to firmly remove excess polish at a 45-degree angle, leaving the design filled but not flooded. Next, delicately press the stamper onto the polished image, applying the right amount of pressure to pick up the entire design without smudging.
It takes practice to find the perfect balance—too much pressure can blur the design, while too little might leave parts behind. Regularly clean your stamper to prevent residue buildup, which could affect the clarity of your transfer. If using a clear stamper, enjoy the advantage of precise alignment for impeccable nail art placement. Once your design is on the stamper, you're ready for the thrilling moment of transferring it onto your nail, completing your artistic journey with style and precision.
Transferring the Design
Transferring the design from the stamper to your nail is akin to performing a magic trick. Begin by positioning the stamper at the edge of your nail, then use a gentle, rolling motion to press the design onto the nail surface. This method ensures every detail is perfectly imprinted. Confidence and steadiness are key—avoid a shaky hand to prevent blurred or incomplete designs. Practice different rolling speeds and pressures until you achieve the desired result. Once mastered, marvel as the stamped polish settles, creating a head-turning design. Next, tidy up the edges for a polished, professional finish.
Cleaning Up Stray Polish
After stamping, you might notice some excess polish around your nail bed—no need for alarm, as cleanup is a cinch. One clever trick is to apply liquid latex around your nails before stamping. Once you’re done, peel it away along with any stray nail polish. If you didn’t use liquid latex, no worries. Grab a small brush dipped in nail polish remover or acetone, and carefully paint away any unwanted polish. It’s like using an eraser to perfect the edges of your nail art.
Those who prefer to avoid the mess altogether should consider using scotch tape. Place it around your nail, sticky side out, before stamping. This will catch any polish that strays off the desired nail. Whichever method you choose, ensure your design is dry completely before you start to clean to avoid smudging your freshly stamped nails.
Now, with your nails looking neat and your design sharp, it’s time to secure your artwork for the long haul.
Ensuring Long-Lasting Results
Your beautiful stamped design deserves to be admired for as long as possible, and a high-quality top coat is your best friend in this endeavor. Without it, you risk your artwork smudging or chipping away prematurely. Opt for a smudge-free topcoat, which will glide over your design without dragging the polish, maintaining the crispness of your stamped pattern. After applying your top coat, give it ample time to dry completely; patience is a virtue that will reward you with long-lasting, pretty nails.
If you’re working with a gel manicure as your base, remember to use a regular topcoat over your stamped design to lock it in place. This extra layer not only protects your nail art but also adds a glossy finish that enhances the overall look. With your design sealed and secured, you’re ready to flaunt your nails with confidence, knowing that your stamped masterpiece is here to stay.
Care and Maintenance of Stamping Tools

Proper care and maintenance of your tools are essential to ensure that your stamping adventures continue seamlessly. After each use, clean your stamper head with packing tape or a sticky lint roller to avoid the cloudiness that acetone can cause. A clean stamper is crucial for clear image transfer, so take the time to remove any oily residue, especially when using a new stamper head.
For stamping plates, a swipe with a cotton pad soaked in 100% acetone will leave them pristine and ready for their next use. Handling the cotton pad with tweezers or a cotton claw can prevent smudging your freshly done nails. Consistent cleaning not only preserves the quality of your tools but also ensures that each stamping session is as successful as the last. With your nail stamping tools in top shape, the world of nail stamping is yours to explore.
Summary
As we wrap up this journey through the enchanting world of nail stamping, let’s take a moment to reflect on what we’ve learned. From selecting the perfect stamping polish to applying it with precision, we’ve navigated the tips and tricks that transform a simple manicure into a work of art. Remember, the key to flawless nail stamping lies in the preparation and the quality of the tools and polishes you choose.
So, why not give it a try? With practice and patience, you’ll soon be creating nail designs that are beautiful and uniquely yours. Whether you’re prepping for a special occasion or simply looking to add a touch of creativity to your everyday look, nail stamping is a fun way to express your style. And who knows, you might just become the trendsetter amongst your friends with your newfound stamping skills! And don't miss out on amazing deals of up to 60% off on nail essentials. Click here to grab yours today!
FAQs
Can I use regular nail polish for stamping?
No, it's better to use stamping polishes specifically formulated to be thicker and more pigmented for the best results. Regular nail polishes, especially metallics, may not provide the same opacity and consistency.
How do I prevent my stamped design from smudging when applying a topcoat?
To prevent smudging, apply a smudge-free top coat gently, allowing enough time to dry completely before touching your nails. This will help preserve your stamped design without any smudging.
Why is my stamper not picking up the design properly?
Ensure there's no protective film on the stamping plate, keep it clean, and work quickly to prevent the polish from drying before transferring it to the nail. This should help you improve the image pickup with your stamper.